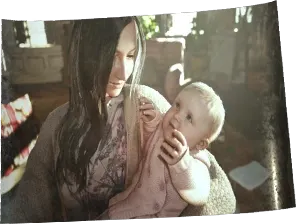
 Family Photo Family Photo | 1 · Prologue · The Winters' House In your inventory from the start: Ethan carries it (a picture of Mia and Rose). | It has one use: put it in the letterbox at Beneviento's Grave (House Beneviento entry, chapter 6). It opens the Elevator Passage Lower, the lift up to House Beneviento. Key items sit in their own tab (Key Items) and take no case slots, so there is no need to discard it. |
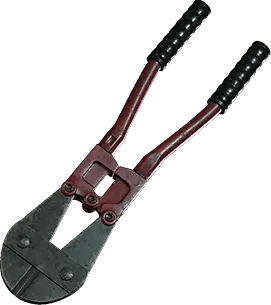 Bolt Cutters Bolt Cutters | 2 · The Village (1st visit) · Lycan Ambush · Luiza's House Old Man's House (Village): on the shelves in the area behind the curtain, in the house of the old man who gives you the LEMI, after the first Lycan fight. | Cut the chain on the gate in Old Man's Back Yard: the way into East Old Town. |
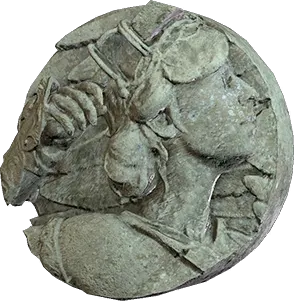 Maiden Crest Maiden Crest | 2 · The Village (1st visit) · Lycan Ambush · Luiza's House Church (Village): on the altar. | One of the two crests for the gate in the NW corner of the village (the Graveyard, on the way to the castle): it goes in the left slot. The other is the Demon Crest. |
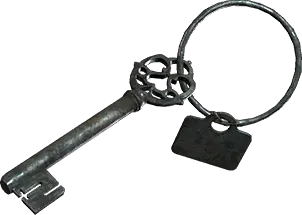
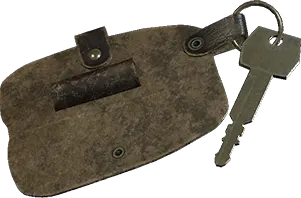 Truck Key Truck Key | 2 · The Village (1st visit) · Lycan Ambush · Luiza's House Luiza's House: in the drawer of the bench with the sink in the kitchen (guides describe it as the room next to the garage). | The game makes you examine it: turn the keychain to the pouch and you get the Screwdriver. Then use it on the red truck in the garage of Luiza's House: it starts, rams the wall and opens the way to the attic. |
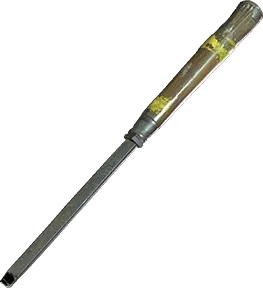 Screwdriver Screwdriver | 2 · The Village (1st visit) · Lycan Ambush · Luiza's House Inside the pouch on the Truck Key's keychain: examine it in Key Items. | Opens the small wooden kiosk (the "little blue altar") in Luiza's Yard, next to the metal gates: the Demon Crest is inside. |
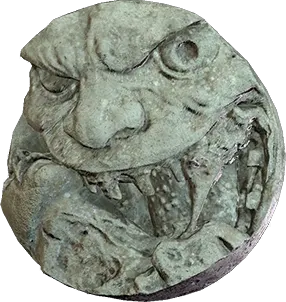 Demon Crest Demon Crest | 2 · The Village (1st visit) · Lycan Ambush · Luiza's House Luiza's Yard: inside the wooden kiosk next to the metal gates (you need the Screwdriver). | With the Maiden Crest it opens the NW village gate to the castle: it goes in the right slot. |
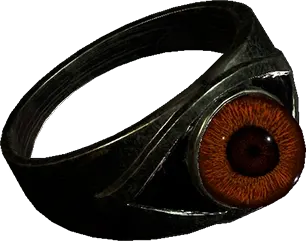 Maroon Eye Ring Maroon Eye Ring | 4 · Castle Dimitrescu Hidden Passage (Castle 1F): on the floor on the west side of the crawlspace you go through after freeing yourself from the hooks in the Bedchamber. You can't miss it. | Examine it in Key Items to take out the Maroon Eye. |
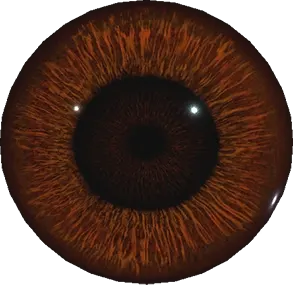 Maroon Eye Maroon Eye | 4 · Castle Dimitrescu From examining the Maroon Eye Ring. | Put it in the eye socket of the door with the woman pattern in the Main Hall 2F: it opens the Private Corridor. |
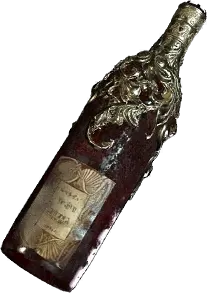 Sanguis Virginis Sanguis Virginis | 4 · Castle Dimitrescu Kitchen (Castle 1F): inside the tub of blood in the middle of the kitchen, after the Bela fight. | Put it in the bottle stand with silver flowers on the south side of the Wine Room (2F): the secret area with the Courtyard Key opens. It is Dimitrescu's vintage ("maiden's blood"). The hint is the file Winemaking History, on the Wine Room's central table. In The Mercenaries it is Lady Dimitrescu's healing item. |
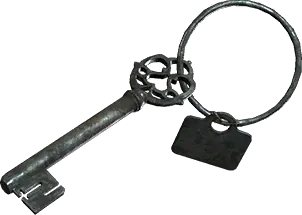 Courtyard Key Courtyard Key | 4 · Castle Dimitrescu Wine Room (Castle 2F): small red chest in the southern secret area the Sanguis Virginis opens. | Opens the Dining Room (1F) door to the Courtyard. |
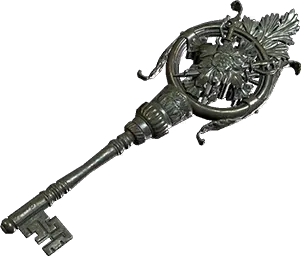 Dimitrescu's Key Dimitrescu's Key | 4 · Castle Dimitrescu Dimitrescu's Chambers (Castle 2F): hanging on the wall in the SW corner. | Opens 4 doors:
- Dimitrescu's Chambers → South East Wing.
- Dungeon → Hall of Sorrow.
- Courtyard → Northern Stairwell (the way to the Opera Hall).
- Private Corridor → Hall of Pleasure. After the Mask of Sorrow, the Hall of Pleasure and the Opera Hall can be done in either order. Do the Hall of Pleasure first: the Opera Hall leads on to the Atelier and the Attic, so you avoid backtracking. |
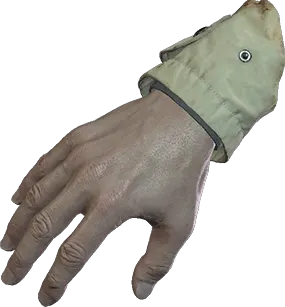 Severed Hand Severed Hand | 4 · Castle Dimitrescu Dungeon (Castle B2): Lady Dimitrescu cuts off Ethan's right hand by the gate mechanism on the east side. | Pick it up and Ethan reattaches it. Until you do, you cannot heal: dodge Lady Dimitrescu, use the mechanism again and go for the Mask of Sorrow. |
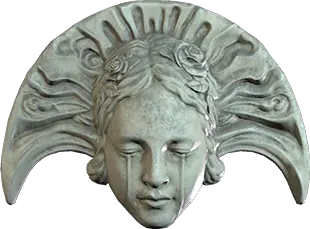 Mask of Sorrow Mask of Sorrow | 4 · Castle Dimitrescu Hall of Sorrow (Castle B2): on the statue in the middle, at the end of the Dungeon chase. | Mask 1 of 4 for the Hall of the Four (1F). Facing the door, left to right: Mask of Sorrow, Mask of Pleasure, Mask of Joy and Mask of Rage. |
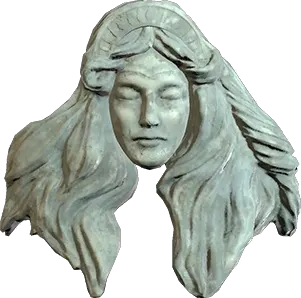 Mask of Pleasure Mask of Pleasure | 4 · Castle Dimitrescu Hall of Pleasure (Castle 2F): on the statue on the south side. Taking it bars the exit. | Mask 2 of 4 for the Hall of the Four (second from the left). To get out of the Hall of Pleasure, set the Animal Skull on the empty statue and the bars lift. |
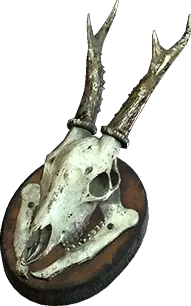 Mounted Animal Skull Mounted Animal Skull | 4 · Castle Dimitrescu Armory (Castle 2F): mounted above the fireplace on the west side, after the Cassandra fight. | Examine it in Key Items, turn it round to the back and detach it from the mount: you get the Animal Skull. |
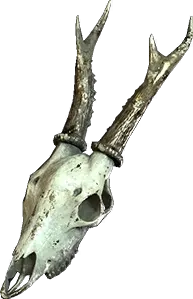 Animal Skull Animal Skull | 4 · Castle Dimitrescu From examining the Mounted Animal Skull. | Its two back protrusions match the Mask of Pleasure's: set it on the Hall of Pleasure statue and the barrier over the exit rises. |
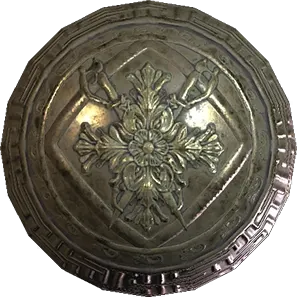 Flower Swords Ball Flower Swords Ball | 4 · Castle Dimitrescu Opera Hall (castle, 2F balcony): open chest in the small room at the end of the left (NW) walkway, next to a broken castle model. 1 Moroaică waits inside. | Optional. Put it in "The Castle" labyrinth in the Merchant's Room (1F, next to the Duke) and roll it to the goal: Crimson Skull (8,000 Lei). The first labyrinth you solve gives the challenge "Get the Ball Rolling". **Missable:** use it before placing the 4 masks, because the castle closes afterwards. |
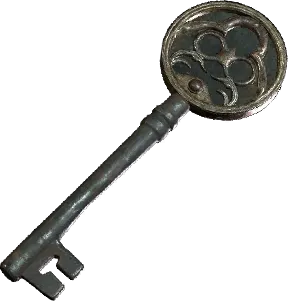 Iron Insignia Key Iron Insignia Key | 4 · Castle Dimitrescu Opera Hall (Castle 1F): it pops out of the piano once you play all 10 notes of the sheet music. Keys per Game8 (counting only the playable keys): 8-5-7-6-6-9-8-9-10-10. Wrong notes aren't punished: if the circle lands below the note, go right; above it, go left. | The key with the most uses in the game. It opens 5 doors:
- Opera Hall 2F → Library (story: Daniela and the Hall of Joy).
- Holding Area (Castle B1) → Special Chambers (optional: the Azure Eye, marked on the Treasure Map).
- Church Courtyard (Village) → Crypt Yard (optional: Goat of Warding #9, chapter 5).
- Old Man's Front Yard (Village) → Woodcutter's Yard (the Well Wheel, chapter 5).
- East Old Town → Water Mill (Waterwheel Weapon: GM 79 and a Lockpick, chapter 8). It is the only castle key that matters outside the castle: it stays with you when you leave. |
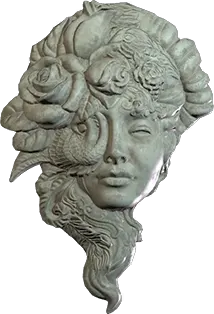 Mask of Joy Mask of Joy | 4 · Castle Dimitrescu Hall of Joy (Castle 2F): statue on the north side, after the Daniela fight in the Library. | Mask 3 of 4 for the Hall of the Four (third from the left). |
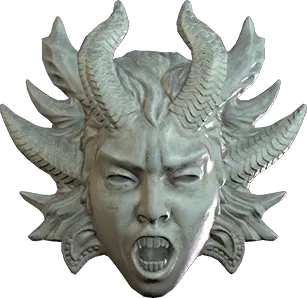 Mask of Rage Mask of Rage | 4 · Castle Dimitrescu Tower of Rage (castle tower): statue in the middle, right after the rooftop zipline. | The last mask (far right). With all 4 in the Hall of the Four, the door to the Causeway opens: the castle point of no return. Before placing them: the 19 windows for the "Hooligan" challenge, the Flower Swords Ball, the Treasure Map and any castle treasure. |
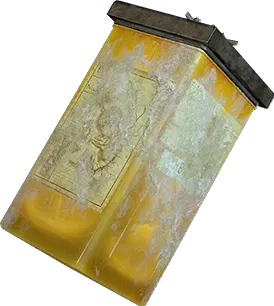 Dirty Flask Dirty Flask | 4 · Castle Dimitrescu Tower of Worship Crypt (Castle B1): on the altar on the south side, after Mutated Dimitrescu. | Take it to open the way out. The Duke identifies it at the Altar (chapter 5) and it becomes the Head Flask. It bears the flower-and-swords crest; it is too dirty to see inside. |
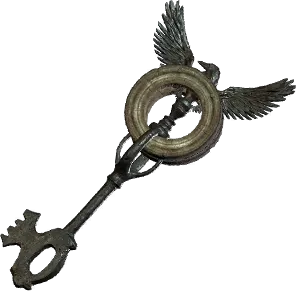 Winged Key Winged Key | 5 · The Village (2nd visit) · The Red-Chimney House Cave Altar (River map): small chest on the altar in the middle, after the cutscene with the old woman. | Opens the Cave Altar gate to the Cave Exit and the Altar door to the Maiden of War. It gains wings in three steps: Four-Winged Key (chapter 5), Four-Winged Unborn Key (chapter 6) and Six-Winged Unborn Key (chapter 8). Each version opens another Altar door. |
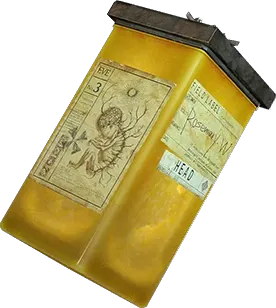 Head Flask Head Flask | 5 · The Village (2nd visit) · The Red-Chimney House Altar (Village), first visit to the Duke: the Dirty Flask turns into this flask. | One of the 4 flasks for the Altar pedestal (with the Legs Flask, Arms Flask and Torso Flask). Place it now or later: all 4 together form the Giant's Chalice. Labelled "head"; entrusted to Dimitrescu. The file Eugen's Diary tells how Miranda turned the baby into a white crystal and gave each Lord a part in a flask. |
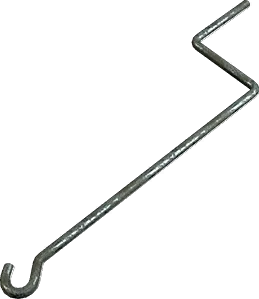 Jack Handle Jack Handle | 5 · The Village (2nd visit) · The Red-Chimney House Workshop Building (Village): padlocked locker in the NE corner. Code 070408: read the back of the photo on the workbench, look out of the window and combine the numbers painted on the frame and on the buildings. | Use it on the jack under the tractor in the middle of West Old Town: it lifts it and you crawl underneath. The same locker holds the **M1911**. When you leave with it, 4 Lycans show up: 3 on the east side of West Old Town and 1 in West Old Town Farmer's Land (3 there on Village of Shadows). |
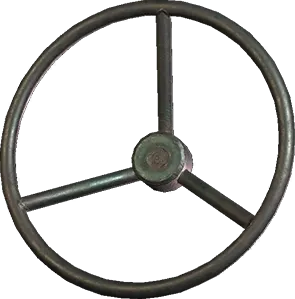 Well Wheel Well Wheel | 5 · The Village (2nd visit) · The Red-Chimney House Woodcutter's Shed (Village): on the barrels at the back of the shed, behind the Iron Insignia Key gate (Woodcutter's Yard) and before the yellow ladder. | Optional. Fit it on a well and turn it to raise what's at the bottom. 7 wells:
- Maiden of War (east side) → Wooden Animal (Head).
- West Old Town Farmer's Land → Lockpick.
- Church Courtyard (behind the church) → Necklace with Two Holes.
- Fallow Plot Shed Yard → Pipe Bomb ×3.
- North Garden (House Beneviento entry) → Madalina (Head).
- Moreau's Laboratory (end of the SW path) → Flashbang ×3.
- Craftsman's Back Yard (River) → a ladder rises to the Trap Chamber (Large Pigeon Blood Ruby). Used wells get crossed out on the map. They stop working once Chris's section begins. |
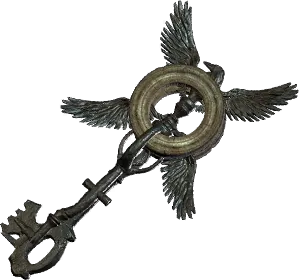 Four-Winged Key Four-Winged Key | 5 · The Village (2nd visit) · The Red-Chimney House Eugen's House (the red-chimney house, West Old Town): jewellery box on the table in the middle, next to Eugen's Diary. Examining it adds 2 wings to the Winged Key. | Opens the Altar door to Potter's Field, the way to House Beneviento. Getting it also opens the Duke's kitchen. Hints on how to get there: Craftsman's Note and Leonardo's Message. |
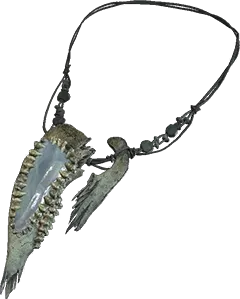 Luiza's Necklace Luiza's Necklace | 5 · The Village (2nd visit) · The Red-Chimney House Luiza's Yard: jewellery box on the front-porch steps of the house, which appears when you come back from the castle (it is the marked treasure "Luiza's Heirloom"). | Examine it in Key Items and remove the jewel: Necklace Stone (treasure, 8,000 Lei). The necklace becomes the Necklace with Key. The only treasure that comes out of a key item. |
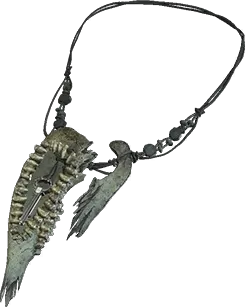 Necklace with Key Necklace with Key | 5 · The Village (2nd visit) · The Red-Chimney House From removing the jewel from Luiza's Necklace. | Examine it again: Luiza's Key. |
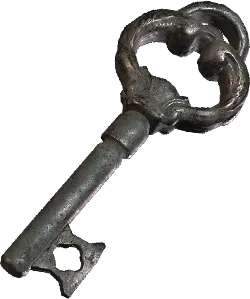 Luiza's Key Luiza's Key | 5 · The Village (2nd visit) · The Red-Chimney House Inside the Necklace with Key. | Optional. Opens the locked jewellery box in the south-east passage of Lone Road: Cesare's Goblet (19,000 Lei). |
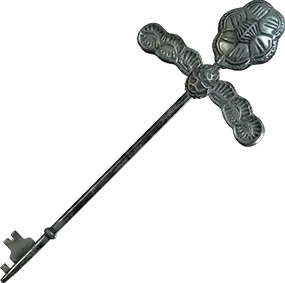 Silver Key Silver Key | 6 · House Beneviento Doll Workshop (House Beneviento B1): the doll on the workbench holds 5 items. Remove its right arm and examine the shoulder. | Opens the Doll Workshop door to the Medicine Room. You have no weapons in the house: it is all puzzles until the Baby. |
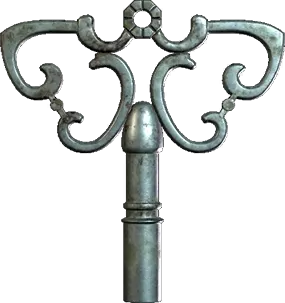 Winding Key Winding Key | 6 · House Beneviento The left knee joint of the Doll Workshop doll: examine the left leg. | Winds the bride-and-groom music box in the Storage Room (the door on the left before the elevator). Order the 5 cylinders until the scratch forms one line. Shortest moves, slots counted left to right from the starting state: cylinder 2 → slot 1, cylinder 4 → slot 2, cylinder 3 → slot 5, cylinder 4 → slot 3. Wind it again: Tweezers. |
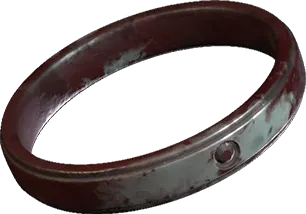 Blood Covered Ring Blood Covered Ring | 6 · House Beneviento On the left hand of the Doll Workshop doll: examine the hand to remove it. | Wash it in the sink on the north side of the Medicine Room: it becomes the Wedding Ring. |
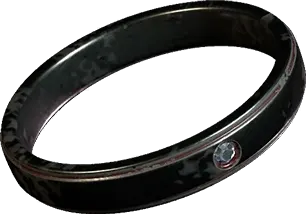 Wedding Ring Wedding Ring | 6 · House Beneviento From washing the Blood Covered Ring in the Medicine Room. | The inside of the band is engraved 052911 (May 29, 2011): it is the padlock code on the Doll Workshop door to the Main Corridor. It is Mia's ring. The challenge "Anniversary Present" asks you to hold 52,911 Lei. |
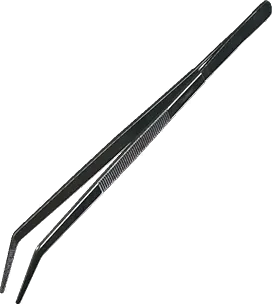 Tweezers Tweezers | 6 · House Beneviento Storage Room (House Beneviento B1): inside the music box, once solved with the Winding Key. | Pull the Film out of the Doll Workshop doll's mouth. |
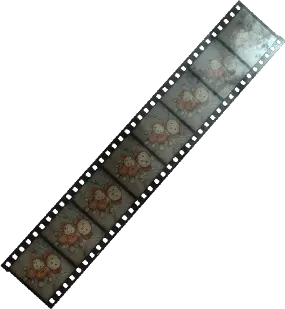 Film Film | 6 · House Beneviento The Doll Workshop doll's mouth (with the Tweezers). | Put it on the projector in the Study (the white door by the elevator) and order the 5 frames left to right: plush toy → Village of Shadows book → baby Rose → music box → wedding ring on a hand. The door to the Secret Room opens. The hint is the note "Our Happy Family" on the Study desk (not saved to the Journal): each line describes one of the frames. |
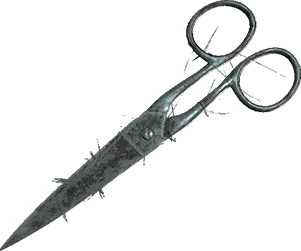 Scissors Scissors | 6 · House Beneviento Secret Room (House Beneviento B1): in the hands of the doll standing in the NE corner. | Cut 2 sets of bandages: over the hole in the Secret Room wall (→ Connecting Corridor) and round the Doll Workshop doll's chest (→ Brass Medallion). |
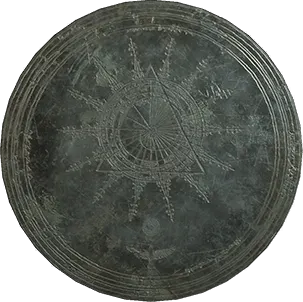 Brass Medallion Brass Medallion | 6 · House Beneviento The Doll Workshop doll's chest: cut the bandages with the Scissors and examine it again. | It bears a geometric symbol: opens the Doll Workshop door to the Old Well. |
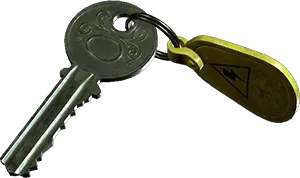 Breaker Box Key Breaker Box Key | 6 · House Beneviento Old Well (House Beneviento B1): in the water at the bottom of the well. | Opens the breaker box next to the elevator in the Elevator Hall (B1): the Relief of a Child is inside. |
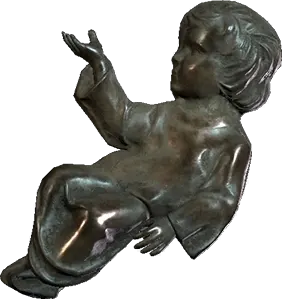 Relief of a Child Relief of a Child | 6 · House Beneviento Inside the breaker box in the Elevator Hall (B1). | Fits the door with a depression in the Connecting Corridor: the Back Corridor opens. |
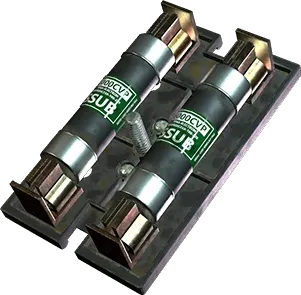 Fuse Fuse | 6 · House Beneviento Bedroom (House Beneviento B1): inside the breaker box in the south corner, past the Relief of a Child door. | Put it in the Elevator Hall box: it powers the elevator. The Baby chase ends when its doors close. |
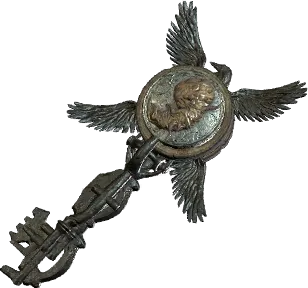 Four-Winged Unborn Key Four-Winged Unborn Key | 6 · House Beneviento Foyer (House Beneviento 1F): Donna's remains leave an object; examining it converts the Four-Winged Key. | Opens the Altar door to East Old Town. |
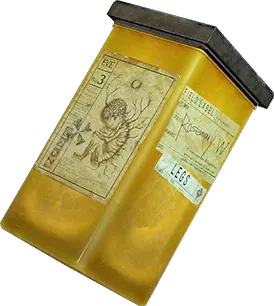 Legs Flask Legs Flask | 6 · House Beneviento Foyer (House Beneviento 1F): on a pedestal that appears by the front doors after Donna. | Flask 2 of 4 for the Altar pedestal. Sun-and-moon crest, labelled "legs". |
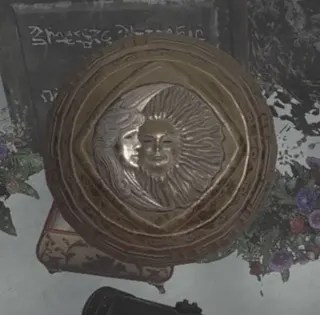 Sun and Moon Ball Sun and Moon Ball | 6 · House Beneviento South Garden (House Beneviento entry), on the way back from the house: jewellery box on a small grave in the SE corner, on the far side of the big tree with the yellow birdcage. Reach it through the arbour tunnel behind the garden shack. | Optional. "The House on a Hill" labyrinth, in the NE corner of the Gardener's House main room (turn right as you enter): Onyx Skull (15,000 Lei). You can solve it any time until you enter the Factory. |
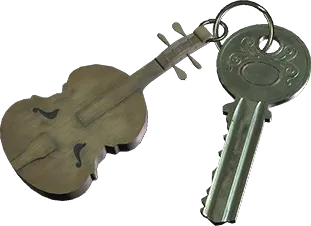 Luthier's Key Luthier's Key | 6 · House Beneviento Gardener's House (House Beneviento entry), on the way back from the house: small cabinet in the NE corner of the bedroom (the typewriter room, where the Gardener's Diary is). | Optional. Opens the Luthier's House (West Old Town, chapter 7). Inside, a padlocked closet, code 270917: Maestro's Collection (Steel Hræsvelgr and F2 Rifle - High-Capacity Mag.). The hint is the Note on the Luthier's House: the key is kept by Josef Simon, Beneviento's gardener. |
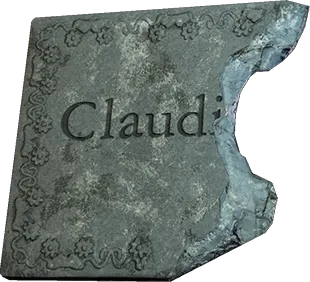 Broken Slab Broken Slab | 7 · The Village (3rd visit) · Beneviento's Treasure Graveyard (Village): the crypt on the west side, left of the castle gate. As you approach, 2 Moroaică appear: one crawls out of the snow and the other breaks the crypt open. Kill them and take the slab. | Optional. It reads "Claudia": place it on the central grave at Beneviento's Grave to complete "Claudia Beneviento" and get Berengario's Chalice (18,000 Lei). Going back to the grave spawns an axe-wielding Uriaș Drac that drops the Giant Crystal Axe (30,000 Lei). **Missable:** head to the graveyard as soon as you get back from House Beneviento. The crypt closes later (Game8: before Moreau) and one guide warns the event may not trigger if you wait. |
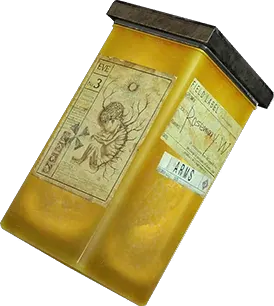 Arms Flask Arms Flask | 8 · Moreau's Reservoir Moreau's Underground Study (Reservoir B1): picked up automatically as you squeeze through the gap at the top of the stairs on the west side, during the cutscene with Moreau. | Flask 3 of 4 for the Altar pedestal. Mermaid crest, labelled "arms". |
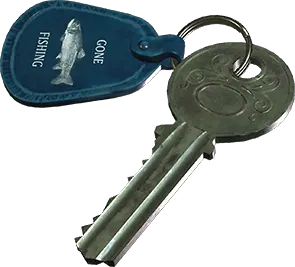 Boat Key Boat Key | 8 · Moreau's Reservoir Underground Cavern (Reservoir B1): hanging on the wall inside the shack on the east side of the main chamber. From the boat, go back into the mine, up the stairs on the left, break the wooden beam marked with yellow tape with the Knife and climb down the ladder to the shack. | Starts the motorboat at the East Jetty to cross to the West Jetty. Hint: the file The Reservoir and Giant Fish ("leave the boat key in the shack in the mine"). |
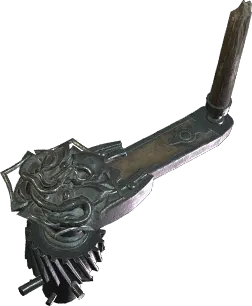 Crank Crank | 8 · Moreau's Reservoir North Windmill (Reservoir): on the cog mechanism in the middle of the main platform (the second windmill). You can't miss it. | The key to the whole village backtrack. 5 mechanisms:
- Both windmills (North and South): power to the Gatehouse; its lever opens the sluice gate and drains the reservoir (story).
- East side of the Windmill Yard → Moreau's Laboratory (Mermaid Ball; in the West Building, the M1851 Wolfsbane).
- West corner of East Old Town → Farmer's House Yard (Yellow Quartz, 2 Poultry) and the rooftop with the Pigeon Blood Ruby.
- Wooden platform by the river on Lone Road → lowers the drawbridge to the motorboat: North and South Riverbank (Riverbank Treasure House, Finest Fish, Riverbank Cave Camp).
- West side of the North Riverbank → lowers the second bridge, back to the castle path (Craftsman's House and its well). Hint: the file Changing the Cranks ("the other crank is over at Windmill Two"). |
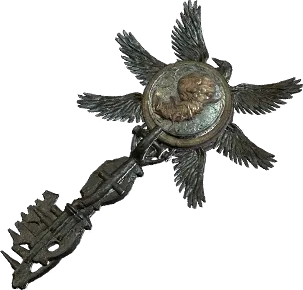 Six-Winged Unborn Key Six-Winged Unborn Key | 8 · Moreau's Reservoir Moreau's Underground Study (Reservoir B1): after Mutated Moreau, examine the winged object on the table on the east side; the Four-Winged Unborn Key converts. | Opens the Southern Mouth in the Reservoir (→ Mining Cavern) and the Graveyard door to the Stronghold's Path (chapters 9 and 10). The same gate leads to Otto's Mill (left at the yellow "Good Luck" sign): Cannibal's Plunder. |
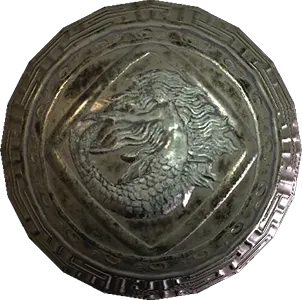 Mermaid Ball Mermaid Ball | 9 · The Village (4th visit) · The River Moreau's Laboratory (Reservoir entry): use the Crank on the mechanical door off the Windmill Yard, follow the path up, go right at the fork, smash the crate (Sniper Rifle Ammo), cross the bridge and turn left: small wooden shrine in the NE corner. | Optional. "The Water Wheel" labyrinth, in the shed behind the Windmill Shack (SE corner of the Windmill Yard): Chartreuse Skull (20,000 Lei). Available as soon as you leave the Reservoir with the Crank, until you enter the Factory. |
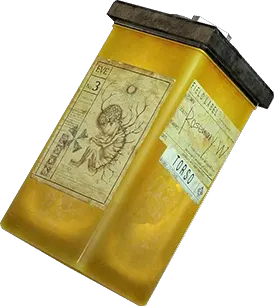 Torso Flask Torso Flask | 10 · The Stronghold · Otto's Mill Workshop (Stronghold B1): on the workbench in the NW corner of the main room, after the fight with Uriaș (next to a TV). | The last flask. With all 4 (Head, Legs, Arms and Torso) in the Altar pedestal, the Giant's Chalice forms. Horse-and-horseshoe crest, labelled "torso"; entrusted to Heisenberg. |
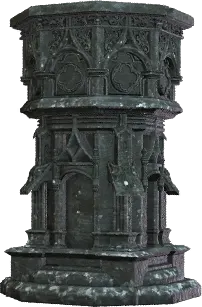 Giant's Chalice Giant's Chalice | 10 · The Stronghold · Otto's Mill Altar (Village), at the end of chapter 10: insert the 4 flasks (Head, Legs, Arms and Torso) into the central pedestal. | A stone chalice with room for 4 flasks. You place it at the ceremony site (story; trophy "Temporary Measures"). Miranda's Diary calls it the "Megamycete regulator". Ernest's Diary says it bears the same symbol as the cave murals: Umbrella's. |
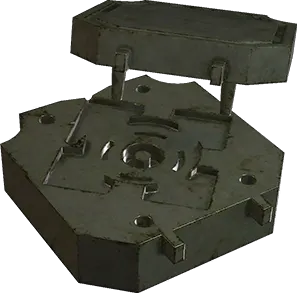 Relief Mold Relief Mold | 11 · Heisenberg's Factory Examination Room (Factory MB4): large case in the eastern room, past the Foundry. Taking it wakes the dormant Soldat on the chair. | Cast it in the machine on the east side of the Foundry (MB4): Relief of a Horse. All 4 Factory molds (Relief, Cog, Key and Ball) are cast in the same machine. |
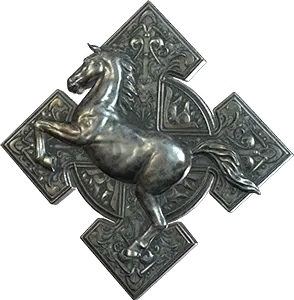 Relief of a Horse Relief of a Horse | 11 · Heisenberg's Factory Foundry (Factory MB4), from casting the Relief Mold. | Fit it in the depression in the Foundry's south wall, right of the machine: the secret entrance to the Private Passageway opens. |
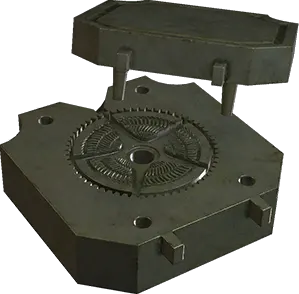 Cog Mold Cog Mold | 11 · Heisenberg's Factory MB4 Storage (Factory MB4): large case on the bench on the north side (the room with the file Development Note 1 and the Factory Map (Lower Levels)). | Cast it in the Foundry: Large Cog. On the way back to the Foundry through the Experiment Passage, the southernmost dormant Soldat Eins wakes up. |
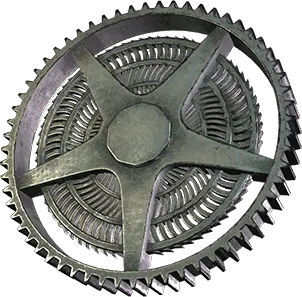 Large Cog Large Cog | 11 · Heisenberg's Factory Foundry (Factory MB4), from casting the Cog Mold. | Put it in the Backup Generator Room (B4): the power comes back. |
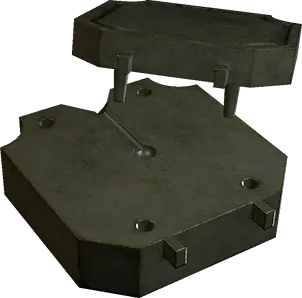 Ball Mold Ball Mold | 11 · Heisenberg's Factory B2 Storage (Factory B2): large case on the east side. Just after the Grinder Shaft, push the cart and crawl through the ventilation duct. | Optional. Cast it in the Foundry: Iron Horse Ball. **Missable** with the Factory. |
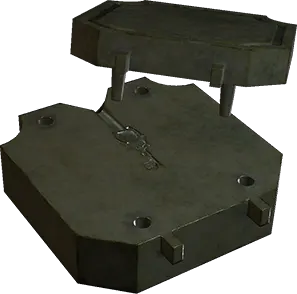 Key Mold Key Mold | 11 · Heisenberg's Factory B1 Storage (Factory B1): large case on the west side. After the fan that sucks you in, ride the elevator up. | Cast it in the Foundry: Heisenberg's Key. Taking it spawns a Soldat Eins in the Foundry and another in the Materials Room, and the Foundry goes dark again. |
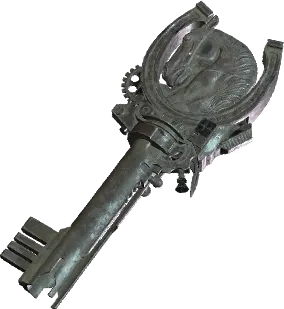 Heisenberg's Key Heisenberg's Key | 11 · Heisenberg's Factory Foundry (Factory MB4), from casting the Key Mold. | Opens 2 doors: the Private Passageway door to Heisenberg's Quarters and the B1 Walkway door to the B1 Passage (the Power Room and Sturm side). |
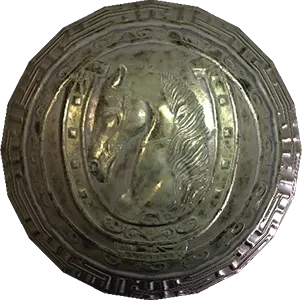 Iron Horse Ball Iron Horse Ball | 11 · Heisenberg's Factory Foundry (Factory MB4), from casting the Ball Mold. | Optional. "The Iron Tower" labyrinth, on the north side of the B4 Vacant Room, opposite the Duke's elevator: Bister Skull (30,000 Lei). **Missable:** solve it before the Heisenberg fight. |
 Cell Key Cell Key | SoR1 · Castle Dimitrescu · The three masks Treatment Room (Castle B1): on a hook in the SE corner of the SE room. | Opens Cell 3. |
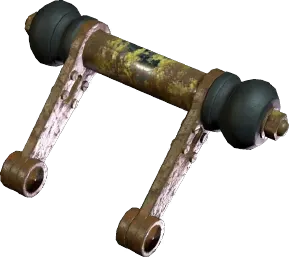 Switch Handle Switch Handle | SoR1 · Castle Dimitrescu · The three masks Maintenance Storage (Castle B1): on the old switch mechanism in the NE room (the locked room near the Cells). | Fit it on the mechanism in the SW corner of the Cells: it opens the gate to the rest of the cells. |
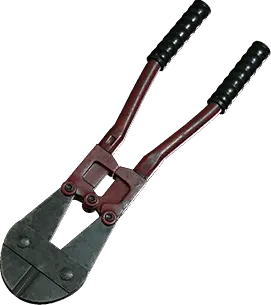 Bolt Cutters (Shadows of Rose) Bolt Cutters (Shadows of Rose) | SoR1 · Castle Dimitrescu · The three masks Kitchen (Castle 1F): wooden box in the corner of the NE passage, next to the locked door to the Back Storage. | Cut the chain on the Dining Room doors: the way to the Courtyard. Afterwards "Michael" leaves ammo in the Dining Room. |
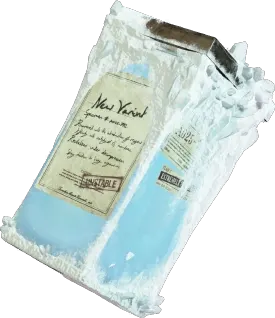 RW-Variant Flask 1 RW-Variant Flask 1 | SoR1 · Castle Dimitrescu · The three masks Workshop (castle roof): small metal shelves on the east side. The file On Mutamycete Disruption is on the workbench. | Gives Rose the power to destroy Sclerotia: breaking one makes the liquid void (the black goo) tied to it retreat. |
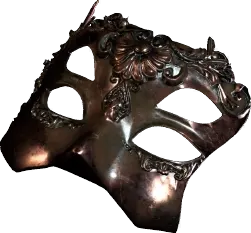 Bronze Mask Bronze Mask | SoR1 · Castle Dimitrescu · The three masks Courtyard (Castle 1F): on the statue in the middle, protected by a Sclerotia (use the power). | Mask 1 of 3 for the Main Hall statues (with the Silver Mask and Gold Mask): all 3 open the crystal. Afterwards "Michael" leaves a First Aid Med in the Dining Room. |
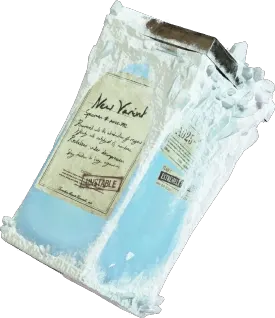 RW-Variant Flask 2 RW-Variant Flask 2 | SoR1 · Castle Dimitrescu · The three masks Armory (Castle 2F): table in the NW corner. | New power: freezes mould creatures in place for a moment, and it spreads to others close by (explained by the file On Movement Disruption). Taking it makes a Sprig of White Sage appear in the Drawing Room. |
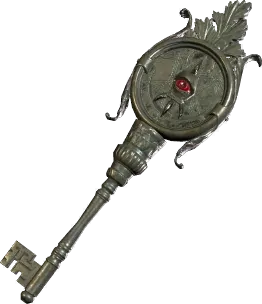 Monocular Key Monocular Key | SoR1 · Castle Dimitrescu · The three masks Dressing Room (Castle 2F): desk on the north side, with the file On Movement Disruption. | Opens 2 things: the case in the Salon (1F) with the Compensator (Shadows of Rose) for the LEMI (Shadows of Rose), and the Courtyard door to the Southern Stairwell. |
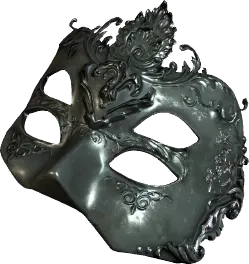 Silver Mask Silver Mask | SoR1 · Castle Dimitrescu · The three masks Isolated Passage (Castle B1): on the statue at the east end. | Mask 2 of 3 for the Main Hall statues. |
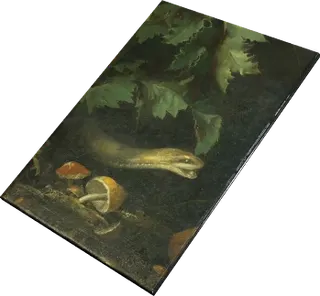 Snake Painting Snake Painting | SoR1 · Castle Dimitrescu · The three masks Guest Bathroom (Castle 2F): table on the east side. | A painting for the Gallery puzzle (2F): each prey goes opposite its hunter. Solution: Wolf opposite Sheep, Snake opposite Frog, Spider opposite Butterfly (the wolf and the butterfly are already hung). Reward: the Triocular Key. |
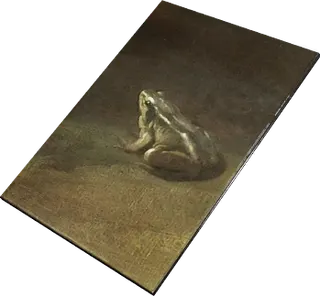 Frog Painting Frog Painting | SoR1 · Castle Dimitrescu · The three masks Gallery (Castle 2F): inside the 3rd frame on the west side. | Hang it opposite the Snake Painting. |
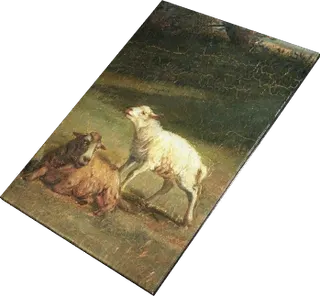 Sheep Painting Sheep Painting | SoR1 · Castle Dimitrescu · The three masks Gallery (Castle 2F): inside the 2nd frame on the west side. | Hang it opposite the wolf already on the wall. |
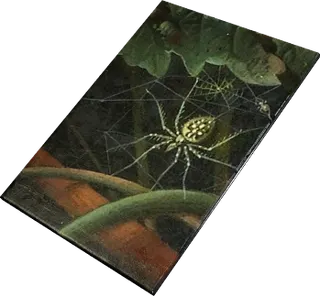 Spider Painting Spider Painting | SoR1 · Castle Dimitrescu · The three masks Gallery (Castle 2F): inside the 3rd frame on the east side. | Hang it opposite the butterfly already on the wall. |
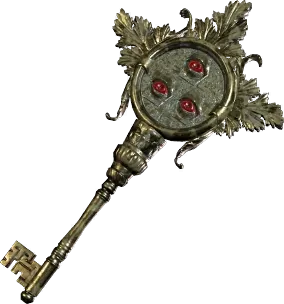 Triocular Key Triocular Key | SoR1 · Castle Dimitrescu · The three masks Gallery (Castle 2F): small chest behind the metal bars on the south side; it opens when you solve the painting puzzle. | Opens the cage in the Dining Room (the M1897 (Shadows of Rose)) and the Northern Stairwell door to the Opera Hall. The file Shotgun Shells Should Help mentions the shotgun in the dining room. |
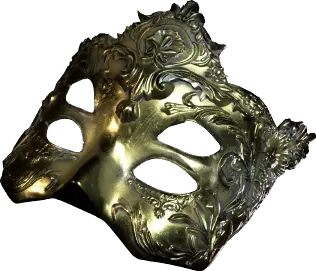 Gold Mask Gold Mask | SoR1 · Castle Dimitrescu · The three masks Opera Hall (Castle 1F): statue in the NW corner; destroy every Sclerotia in the room to reach it. | Mask 3 of 3: with all 3 in the Main Hall the crystal opens and you leave the castle. **Save before placing it** if you are going for the "Craftsmaster" trophy: there is no scrap outside the castle. Craft all 4 items and reload. |
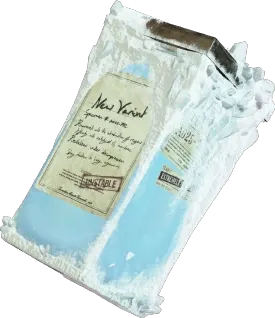 RW-Variant Flask 3 RW-Variant Flask 3 | SoR1 · Castle Dimitrescu · The three masks Execution Yard: on the wall in the NW corner of the NW passage (Game8 says "Michael" gives it to you during the executioner fight). | More uses of the power before Rose saturates. |
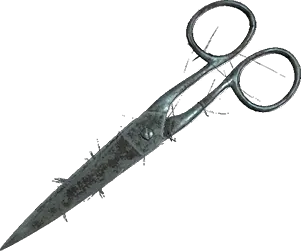 Scissors (Shadows of Rose) Scissors (Shadows of Rose) | SoR2 · House Beneviento · The Winters' memory Study (House Beneviento B1): locked cupboard in the west corner, padlock 024466. Clues: the locker in the north corner, the back of the picture on the bookcase and the floor behind the desk in the east corner. | Open the "naughty monkey" plush on the Workshop table: the Relief of a Child (Shadows of Rose) is inside. |
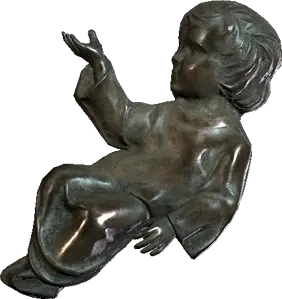 Relief of a Child (Shadows of Rose) Relief of a Child (Shadows of Rose) | SoR2 · House Beneviento · The Winters' memory Inside the monkey plush, in the Workshop (House Beneviento B1). | Opens the Main Corridor door to the Storage Room. Taking it makes the Doll (Pose 1) appear on the Workshop desk, along with the display holding the Breaker Box Key (Shadows of Rose). |
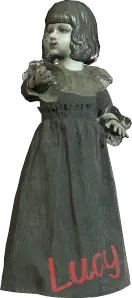 Doll (Pose 1) Doll (Pose 1) | SoR2 · House Beneviento · The Winters' memory Workshop (House Beneviento B1): desk on the east side, after the Relief of a Child (Shadows of Rose). | The "Lucy" doll. Used in all 3 displays: Medicine Room (Jimmy's Room Key), Storage Room (Black-haired Doll) and Workshop (Breaker Box Key (Shadows of Rose)). |
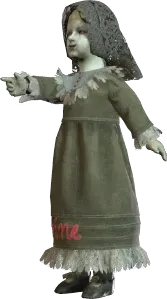 Doll (Pose 2) Doll (Pose 2) | SoR2 · House Beneviento · The Winters' memory Storage Room (House Beneviento B1): on the doll display in the middle. | The "Catherine" doll. Used in all 3 displays. |
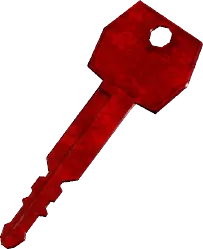 Jimmy's Room Key Jimmy's Room Key | SoR2 · House Beneviento · The Winters' memory Medicine Room (House Beneviento B1): display drawer. Put the Doll (Pose 1) on "Lucy" and the Doll (Pose 2) on "Catherine". | Opens the Workshop door to the Old Well ("Jimmy's Room"). |
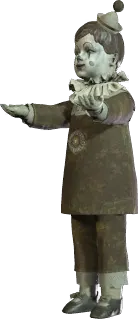 Doll (Pose 3) Doll (Pose 3) | SoR2 · House Beneviento · The Winters' memory Old Well (House Beneviento B1): at the bottom of the well; destroy the Sclerotia first. | Used in the Storage Room and Workshop displays. |
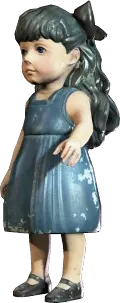 Black-haired Doll Black-haired Doll | SoR2 · House Beneviento · The Winters' memory Storage Room (House Beneviento B1): display drawer. Put Pose 1 on the platform at the top of the ladder, Pose 2 bottom right and Pose 3 on the left. | A black-haired doll, more cheaply made than the others. It goes on the unlabelled base of the Workshop display: it is the dark-haired girl watching while the blonde doll burns (Rose, the bullied girl from the Little Girl's Diary; Lucy and Catherine are her classmates). |
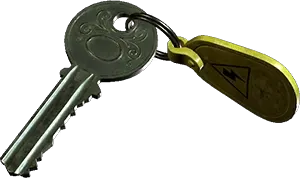 Breaker Box Key (Shadows of Rose) Breaker Box Key (Shadows of Rose) | SoR2 · House Beneviento · The Winters' memory Workshop (House Beneviento B1): display drawer. Pose 1 on "Lucy", Pose 2 bottom right (seen from the back), Pose 3 in the middle (from the back) and the Black-haired Doll bottom right (seen from the front). | Opens the breaker box in the Elevator Hall (B1): the Fuse Map is inside. Its description says it was "in the ashes of the blonde doll". |
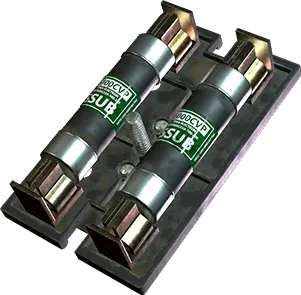 Fuse (Shadows of Rose) Fuse (Shadows of Rose) | SoR2 · House Beneviento · The Winters' memory Bedroom (House Beneviento B1): fuse panel in the south corner. | Reactivates the Elevator Hall elevator. |
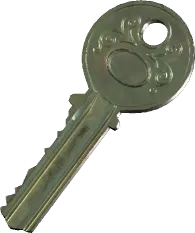 Drawer Key Drawer Key | SoR2 · House Beneviento · The Winters' memory Home (the recreated Winters house): behind the photo of baby Rose on the study wall. | Opens the sideboard drawer in Ethan's study, where Mia left the special letter. Hints: the files Rose's Half Birthday ("the key is behind my favourite photo") and To-do List ("Rose's other present in study"). |
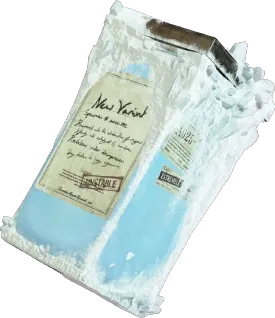 RW-Variant Flask 4 RW-Variant Flask 4 | SoR2 · House Beneviento · The Winters' memory Living Room (House Beneviento 1F): table in the middle (Game8 says "Michael" gives it to you before the Eveline fight). | More uses of Rose's power for the final stretch. |
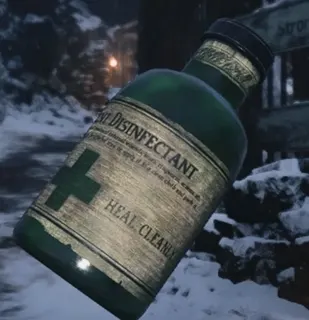 First Aid Med 800
 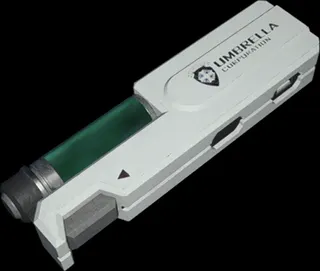 Med Injector
 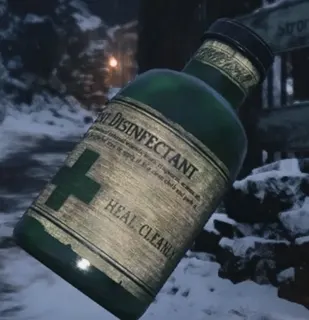 First Aid Med (Shadows of Rose)
 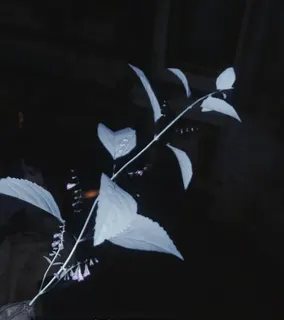 Sprig of White Sage
 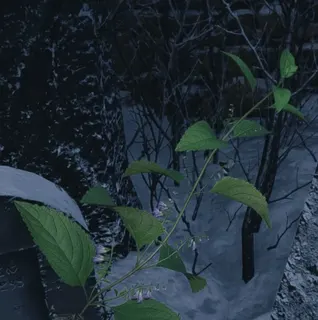 Herb
Herb 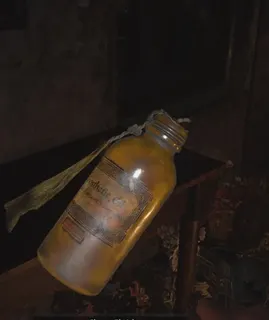 Chem Fluid
 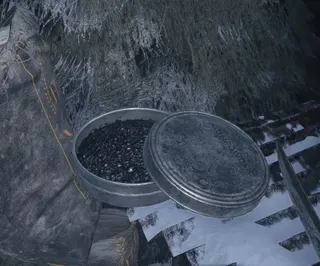 Gunpowder
 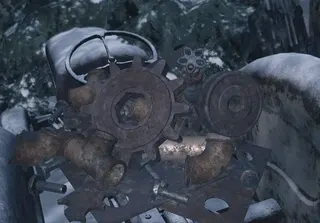 Rusted Scrap
 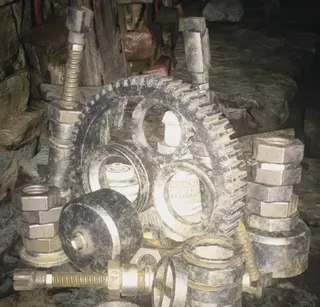 Metal Scrap
 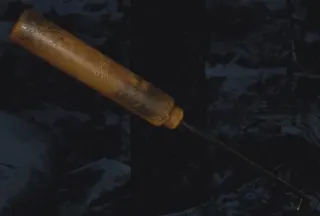 Lockpick 1,000
 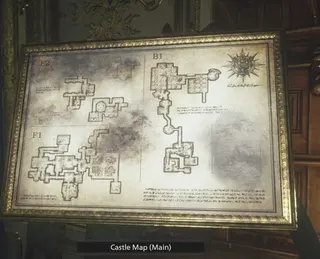 Castle Map (Main)
 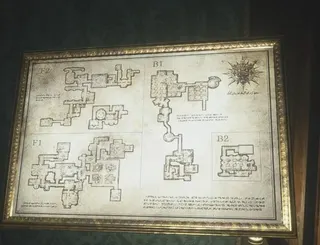 Castle Map (Annex)
 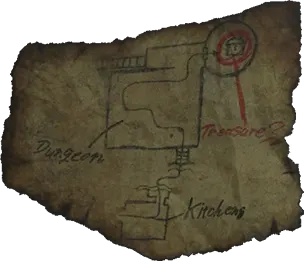 Treasure Map
 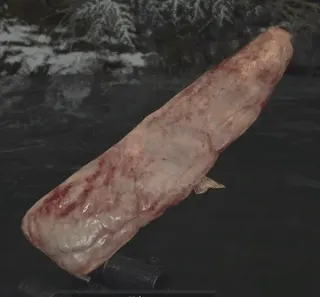 Fish 800
  Poultry 600
 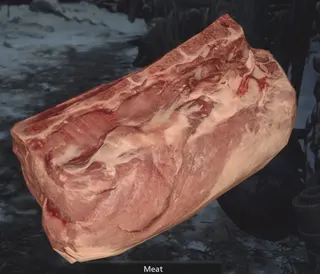 Meat 1,200
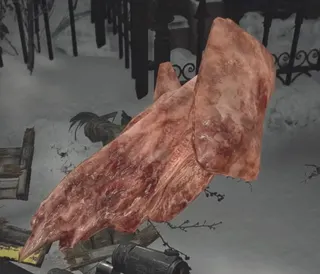
 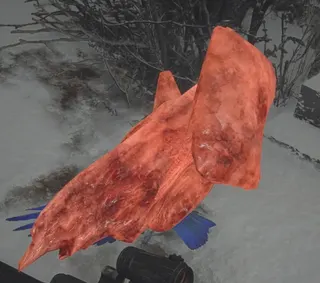 Juicy Game 7,200
 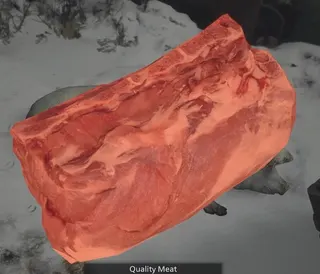 Quality Meat 8,800
  Photo of a Strange Bird
  Photo of a Rare Animal
  Finest Fish 6,500
  Photo of a Phantom Fish
 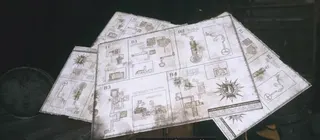 Factory Map (Upper Levels)
 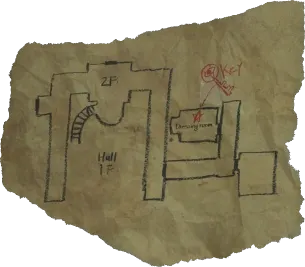 Hand-drawn Map
 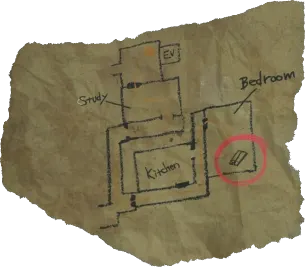 Fuse Map
  Handgun Ammo 15
 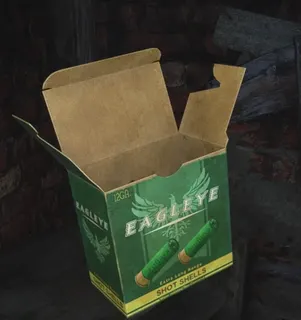 Shotgun Ammo 200
 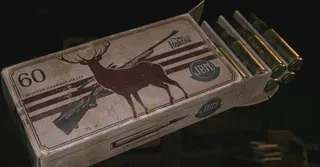 Sniper Rifle Ammo 200
 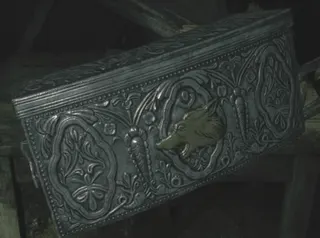 Magnum Ammo 700
 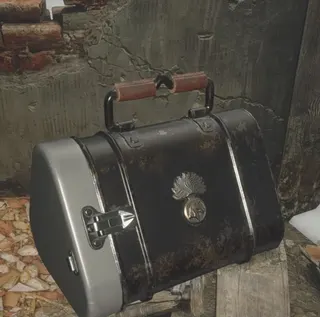 Explosive Rounds 250
  Flashbang 250
  Rifle Ammo 7
  Rocket Pistol Ammo 200
  Handgun Ammo (Shadows of Rose)
 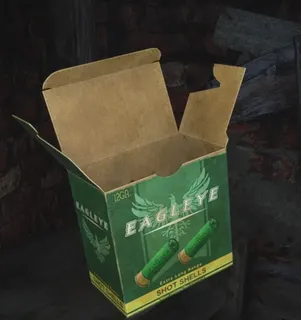 Shotgun Ammo (Shadows of Rose)