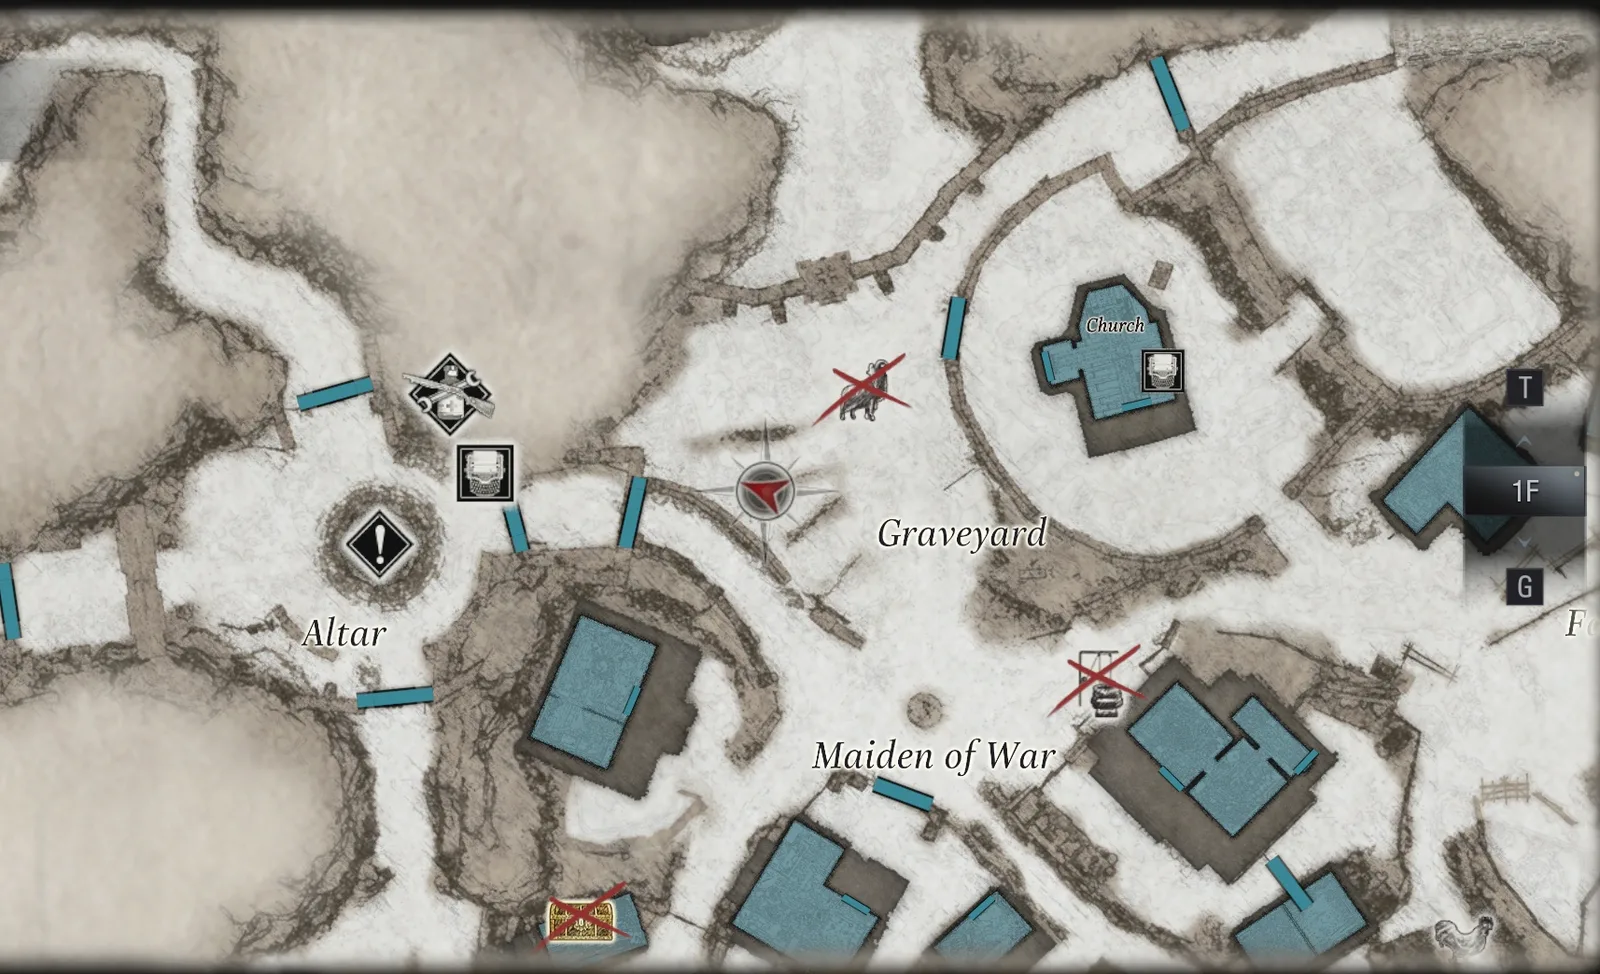
The last chapter opens with Chris Redfield: after the Scrapheap cutscene, his squad moves into the village, now overrun by Lycans, to destroy the Megamycete, the giant fungus beneath it. As Chris there is no shop and no item case: you carry a fixed kit with plenty of ammo and a Target Locator that calls in artillery. You fight your way down to the Maiden of War, bring down the mould construct with three artillery strikes, beat Uriaș Străjer in the caverns and reach Miranda’s lab. Then you are back in control of Ethan at the Altar: the last Duke visit, the Lone Road and the final fight against Mother Miranda at the Ceremony Site.
Chapter order: forest (Chris) → sniper cutscene (Mapmatician) → down into the village (7 Lycans, a fork: abandoned house on the left, burning path on the right) → Luiza’s Yard crate → gate → 2 Vârcolac → Workshop Yard crate → blocked path: the house by the well → West Old Town (Lycan waves, a large Lycan) → Maiden of War: the mould construct, Target Locator ×3 → the crater → Uriaș Străjer → Megamycete (The Root of the Matter, Goat of Warding #20) → Miranda’s Laboratory (files 42–47) → Ethan: the Altar (last Duke) → Lone Road (4 Moroaică) → Ceremony Site: Mother Miranda → credits.
Before you start: as Chris there is no shop and no access to Ethan’s case: his kit is fixed and ammo is plentiful (1,500 rifle rounds, 11 Hand Grenades, 3 Flash Grenades and 6 Med Injectors across the mission). Fire the Dragoon freely. Chris heals with the Med Injector (full heal). What matters is not getting hit while you charge the Target Locator. For Ethan, the last Duke comes after Chris’s mission, at the Altar: sell everything there and buy for Miranda. From the start of this part there are no more wells and no free village: if you are missing an area for Mapmatician, you have to load a save from before the factory. Two things are missable in this chapter: Goat of Warding #20 (you never return to the Megamycete chamber) and the 6 files in Miranda’s Laboratory, which you must read before you open the barred door at the back of the room.
Chris: the kit and the forest
Chris’s kit. He starts with the Dragoon (assault rifle: power 350, capacity 30, reload 2.9, no upgrades), the USM-AI (handgun: power 270, capacity 17, reload 2.5), the Karambit Knife, the Target Locator, Hand Grenade ×5, Handgun Ammo 3 × 30, Rifle Ammo 3 × 100 and one Med Injector. Guard (L) works as it does for Ethan: while guarding you cannot be grabbed, so you can run past the first Lycan groups with guard held.
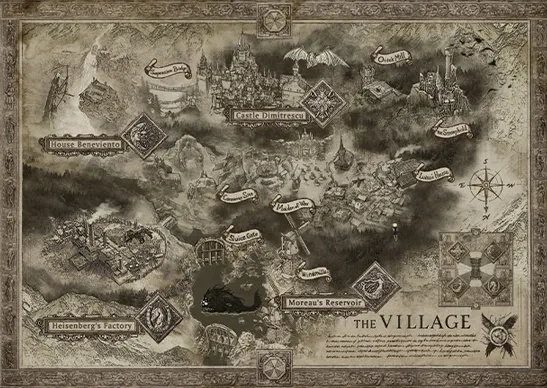
Forest. Join your squad and follow the linear path to a cutscene with the sniper overlooking the village. If you have revealed the whole village map (Moreau’s Laboratory, the river with the Riverbank Treasure House, and Otto’s Mill included; treasures are not needed), challenge Mapmatician (5,000 CP) pops right after it.
Down into the village
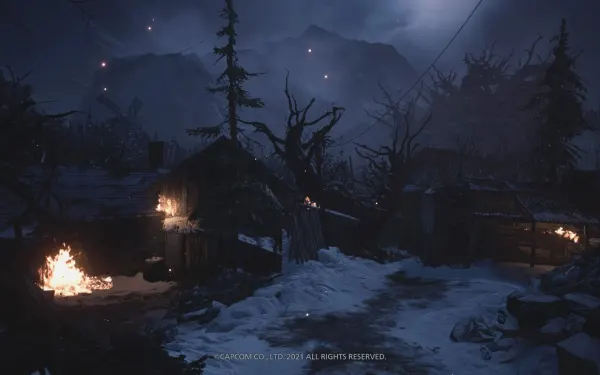
The first Lycans. 7 Lycans come out as you descend; one attacks from the right-hand end of the path. Watch out for archers with flaming arrows on the rooftops: they hurt you before you notice, so don’t stay put in one spot. Slide through the cracked double gate into the village centre. Direct route: drop through the collapsed fence, turn right, go through the house with the white side door and exit left. Use Hand Grenades on the groups on the road.
The fork. Going down the steps, the path splits (GameWith):
- First, the abandoned house on the left: it has supplies and a Lycan inside, which you can slip past without killing.
- Then, the burning path on the right: it forces a fight with several Lycans, but leads to more supplies. Worth it.
Supply crates always sit next to green smoke flares. Take them in this order:
- Luiza’s Yard (in front of Luiza’s house): Flash Grenade ×2, Handgun Ammo ×30 and Rifle Ammo ×200. Then go through the gate.
- Workshop Yard (the Jack Handle yard): Rifle Ammo ×300, Handgun Ammo ×60, Med Injector ×1 and Hand Grenade ×1.
- Further down, Leonardo’s Front Yard and Eugen’s Yard, by the Maiden of War (see “The mould construct”).
The two Vârcolac. Past the gate, heading for the Fallow Plot, mould vines spring up and 2 Vârcolac attack. A Flash Grenade stops their sprint; then Dragoon point-blank and a Hand Grenade while they are stunned.
The blocked path. After the Workshop Yard crate the path is cut off: go through the house next to the well and kill the Lycans on the other side. One more possible crate: Game8 places another crate to your right, by the blocked path (where the Jack Handle truck used to be), with Flash Grenade ×2, Handgun Ammo ×30 and Rifle Ammo ×200, the same contents as the Luiza’s Yard one. Evil Resource does not list it and this chapter’s totals do not count it; if you see it by a green flare, take it.
West Old Town. 5 Lycans at the West Old Town Farmer’s Shed and its yard (2 inside the shed). Then, on the way to the Maiden of War, about 23 more Lycans arrive with an armoured large Lycan: a Hand Grenade strips its armour; then bursts to the head. There are Lycans on the rooftops and archers: drop them with short Dragoon bursts before they shoot.
The mould construct (Maiden of War)
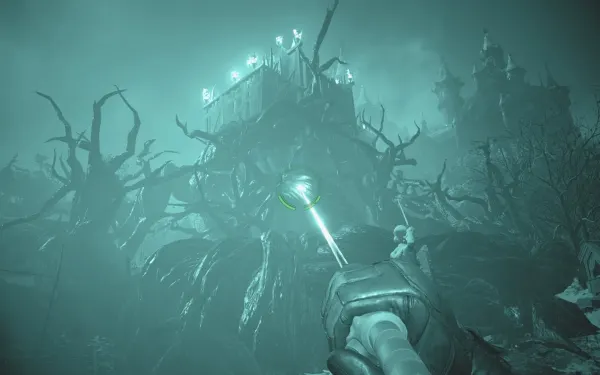
Behind the white statue stands the giant mould construct. As you approach, Chris pulls out the Target Locator:
- Hold the laser on the construct until the gauge fills and the shells land.
- If you are hit, the gauge resets. You can start charging away from the target and only aim at it at the end.
- The artillery (Lobo, from Chris’s squad) needs about a minute to reload between strikes. Every strike kills all the enemies around it.
- Meanwhile Lycans and large Lycans keep spawning until the construct falls.
The two crates in this square each have an explosive barrel next to them:
- Leonardo’s Front Yard (the house right of the Maiden of War): Rifle Ammo ×200, Handgun Ammo ×60, Med Injector ×1 and Hand Grenade ×1.
- Eugen’s Yard (behind the red-chimney house): Rifle Ammo ×200, Handgun Ammo ×60, Med Injector ×1, Hand Grenade ×1 and Flash Grenade ×1.
- Grab the Leonardo’s Front Yard and Eugen’s Yard crates first.
- Mark the construct as soon as you can.
- Safe spot: the ladder behind the red-chimney house (the house to the left). Halfway up the ladder enemies cannot reach you; climb to the roof to aim.
- Survive the wave: use the explosive barrels by the crates and Hand Grenades on the groups.
- When the radio says the artillery is ready, mark it again. The third strike brings the construct down and blows a hole in the ground, across from the wayside shrine that is still standing.
The caverns: Uriaș Străjer and the Megamycete
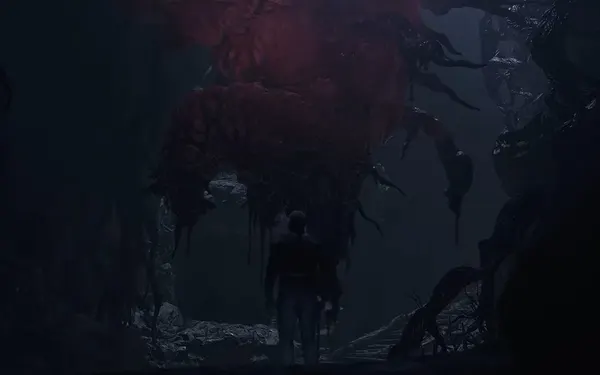
The crater. Drop into the hole: the last supply crate is by the toppled crates: Handgun Ammo ×60, Med Injector ×2, Hand Grenade ×3 and Rifle Ammo ×300 (Game8 says 200). Take the 2 Med Injectors before moving on.
Uriaș Străjer. Follow the cavern: Uriaș’s older brother waits in a smaller cavern. See “Boss — Uriaș Străjer” below.
The Megamycete. After the boss, the wall behind him opens. Deeper in lies the Megamycete cavern: a cutscene where Chris plants a charge. Challenge The Root of the Matter. After the cutscene look right: a white pool with mould stalagmites and a woman statue in the middle. At her feet, in a dark corner behind some spikes, is Goat of Warding #20, the last one: shoot it. With all 20, challenge Heretic (16,000 CP). You never come back to this chamber. By the pool, some stairs lead down to Miranda’s Laboratory.
Miranda’s Laboratory: the last files
Chris says “This must be Miranda’s Lab”. The last 6 files are here, and they are lost if you don’t read them before opening the barred door at the back: breaking its padlock triggers the cutscenes and you cannot go back for them. Without them there is no Bookworm.
- As you walk in, on the left table, straight ahead from the entrance, 4 books: Moreau’s Medical Report (42), Dimitrescu’s Medical Report (43), Heisenberg’s Medical Report (44) and Donna’s Medical Report (45).
- On the white table with the microscope: Spencer’s Letter (46).
- On the big centre table, between 3 photos: Miranda’s Diary (47).
- Only then go to the barred door at the back and shoot its padlock: cutscenes, and you are back in control of Ethan.
With all 47 files, challenge Bookworm (14,000 CP).
Ethan: the Altar and the last Duke
The Duke drives Ethan to the Altar. He is now parked in the north-west corner, and there are new supplies:
- On the large weapons crate to the south-west: First Aid Med, Handgun Ammo ×30 and Shotgun Ammo ×10.
- On the ground to the south-west, Explosive Rounds ×3; on the low south-west wall, Sniper Rifle Ammo ×5.
- On the south-east wall, Magnum Ammo ×2.
The last Duke. This is your last chance to buy, sell and upgrade.
- New in stock: the V61 Custom - Long Barrel (56,000; sells for 28,000), which according to Evil Resource only appears on this visit (Game8 has it in the factory already). It is only useful if you already bought the V61 Custom; otherwise ignore it. The V61 Custom - Drum Magazine (70,000) is NG+ per Evil Resource.
- Sell everything: the Giant Crystal Mace (60,000), the Crystal Heisenberg (70,000), the Complex Mechanical Heart (45,000), the Cigar and any treasures you have left. Leftover Lei carries into NG+.
- Buy: First Aid Meds until you are full (the price rises with each purchase), rifle and shotgun ammo, and Mines or Pipe Bombs. Spend the rest on F2 Rifle power first (it is the gun that hurts Miranda most, see below), then on the SYG-12 (or W870 TAC).
- Save at the typewriter. If you die to Miranda, the Game Over screen also opens the shop.
Lone Road. Leave the Altar through the west gate, the one the torches marked in chapter 10: it opens onto the Lone Road, which leads to the Ceremony Site. Mould vines are everywhere and 4 Moroaică drop out of them: pistol to the head or run. The path ends at the Ceremony Site’s wall of black roots: touching it starts the final fight, so finish all your shopping first.
Boss — Uriaș Străjer
The cavern below the village, much smaller than Uriaș’s. Uriaș’s older brother carries a mace, has an armoured face and shoulders and a tentacle growth on his back. He has 75,000 HP. His front takes ×0.8 and the parasite on his back ×2.0 from the Dragoon and the USM-AI. He does not throw pillars or summon Lycans.
Attacks: a jumping mace slam (he crouches first: run around the edge), mace swings and a circular sweep that is hard to dodge.
- Do not waste ammo on his front. Wait for him to jump down to your level and circle round him.
- Wait for the radio call that the artillery is ready and start marking right after one of his big attacks, so he cannot interrupt you. Every strike takes a huge chunk of health and staggers him. If you cannot aim at his back, aim at his torso.
- Between strikes, circle behind him and shoot the tentacles on his back (the back of his left shoulder). The more you hit there, the fewer strikes you need: on Standard it is usually 3 or 4, sometimes 2.
- Flash Grenades stun him. If you cannot dodge the mace slam, guard.
- Stay close to his left knee (your right): the mace often misses there. Keep firing the Dragoon and run around the room when he winds up the jump.
- Reward: Giant Crystal Mace (60,000). Sell it as Ethan at the Altar.
You can beat him without the Target Locator, but it costs hundreds more rounds; do not. On Village of Shadows, pick up every Med Injector before you drop in. For Knives Out the locator is not allowed on him: knife his left leg and arm (10 to 15 minutes on Casual).
Boss — Mother Miranda
The Ceremony Site. She has 30,000 HP (Fandom says 50,000; memory reads say 30,000). She has no weak point and no head-shot bonus: head, arms, torso and legs all take the same, so aim for the body. What changes is each weapon type’s multiplier on its power (game data):
| Weapon | Damage factor |
|---|---|
| Knife | ×4.0 |
| F2 Rifle | ×1.6 |
| Handguns | ×1.4 |
| Shotguns | ×1.0 |
| Magnum | ×0.8 |
| Explosives (anywhere) | ×2.0 |
Her wings and spider legs barely take damage (×0.16 to ×0.32): don’t shoot them. Lead with the F2 Rifle (at the highest power you can afford at the last Duke), the GM 79’s Explosive Rounds and Pipe Bombs. The shotgun (SYG-12) works point-blank and to break the darkness. The magnum has the lowest multiplier (×0.8), but each M1851 Wolfsbane shot still hits almost as hard as an F2 Rifle shot: don’t hold it back. Game8 recommends the SYG-12, V61 Custom, GM 79 and F2 Rifle. Spend everything: there is nothing after this. Ammo pickups appear on the arena floor during the fight: grab them between phases.
- Base form: she glides at you with mould spikes and raises spikes from the ground at range. When she sweeps her arms, a mould wave comes: sidestep it. When she raises black pillars and a central orb sprays fire, hide behind a pillar: she is invulnerable while it lasts.
- Spider form (at 26,000 HP): long-reach leg stabs. She climbs the statue or the ledge and leaps onto you: sprint away or guard. The F2 Rifle at range works well here.
- Winged form (at 22,000 HP): a flying charge: run sideways and shoot as she recovers. She summons 1 large or 3 small orbs that turn yellow and fire: shoot them first, or take cover and guard.
- Darkness: the arena goes dark (only the candles) and she flanks you. Listen for her laugh and hit her when she appears. A GM 79 Flashbang cancels the darkness; a Mine or Pipe Bomb in her path, or a well-timed shotgun blast, also work. If everything turns grey, walk sideways and she will miss.
- The giant fireball (at 18,000 HP): she summons it high above. Get her below 15,000 HP to cancel it.
- After that she switches forms at will. Tell: she turns grey just before a change.
- Finale (at 800 HP): she pins Ethan with mould and a big orb appears above her. Shoot the orb and keep shooting her.
- Cutscenes and credits. Save the Completed Story save the game offers: NG+ loads from it.
Challenges on finishing: Great Dad (any difficulty) and Best Dad Ever (Standard or higher, 9,000 CP). On Casual it is the same fight but you take less damage. On Village of Shadows it is the same fight, but your damage is fixed at ×0.20 (about 2.5 times the shots of Standard’s start): bring plenty of healing (the Duke stocks 99, and the Game Over screen opens the shop).
Don’t leave without: Goat of Warding #20 by the Megamycete statue · the 6 files in Miranda’s Laboratory (42 to 47, for Bookworm), read before opening the barred door at the back · the Giant Crystal Mace (sell it at the Altar) · the new Altar supplies · an upgraded F2 Rifle and a case full of healing before you touch the root wall · the Completed Story save after the credits.