One checkbox per piece, grouped by type and in play order, with the exact spot. What you tick here shows as ticked in each chapter.
Missables: don’t leave without them
Crystal Fragment #3 — Until you place the four masks on the Hall of the Four door: after Mutated Dimitrescu the castle closes for good.
Crimson Glass — Until you place the four masks on the Hall of the Four door: after Mutated Dimitrescu the castle closes for good.
Crystal Fragment #4 — Until you place the four masks on the Hall of the Four door: after Mutated Dimitrescu the castle closes for good.
Crystal Fragment #5 — Until you place the four masks on the Hall of the Four door: after Mutated Dimitrescu the castle closes for good.
Crystal Fragment #6 — Until you place the four masks on the Hall of the Four door: after Mutated Dimitrescu the castle closes for good.
Ingrid's Necklace — Until you place the four masks on the Hall of the Four door: after Mutated Dimitrescu the castle closes for good.
Crystal Torso #1 — Until you place the four masks on the Hall of the Four door: after Mutated Dimitrescu the castle closes for good.
Wooden Angel Statue — Until you place the four masks on the Hall of the Four door: after Mutated Dimitrescu the castle closes for good.
Crystal Fragment #7 — Until you place the four masks on the Hall of the Four door: after Mutated Dimitrescu the castle closes for good.
Lady's Lipstick — Until you place the four masks on the Hall of the Four door: after Mutated Dimitrescu the castle closes for good.
Silver Ring — Until you place the four masks on the Hall of the Four door: after Mutated Dimitrescu the castle closes for good.
Crystal Fragment #8 — Until you place the four masks on the Hall of the Four door: after Mutated Dimitrescu the castle closes for good.
Crystal Torso #2 — Until you place the four masks on the Hall of the Four door: after Mutated Dimitrescu the castle closes for good.
Crystal Fragment #9 — Until you place the four masks on the Hall of the Four door: after Mutated Dimitrescu the castle closes for good.
Crimson Skull — Until you place the four masks on the Hall of the Four door: after Mutated Dimitrescu the castle closes for good.
Crystal Torso #3 — Until you place the four masks on the Hall of the Four door: after Mutated Dimitrescu the castle closes for good.
Crystal Fragment #10 — Until you place the four masks on the Hall of the Four door: after Mutated Dimitrescu the castle closes for good.
Azure Eye — Until you place the four masks on the Hall of the Four door: after Mutated Dimitrescu the castle closes for good.
Crystal Fragment #11 — Until you place the four masks on the Hall of the Four door: after Mutated Dimitrescu the castle closes for good.
Angie — You never come back to the house: pick her up before you leave.
Giant Crystal Axe #1 — It only appears if you carry the Broken Slab: no slab, no giant and no axe.
Berengario's Chalice — Take the Broken Slab as soon as you are back from House Beneviento: the crypt closes later (Game8: before Moreau) and the event may not trigger if you wait.
Crystal Fragment #12 — Until you ride the Windmill Elevator up after Moreau: the lift never works again and the reservoir is closed.
Perfect Crystal Skull #2 — Until you ride the Windmill Elevator up after Moreau: the lift never works again and the reservoir is closed.
Large Crystal #4 — No way back to this cave once you move on to the tent.
Crystal Fragment #13 — Until you ride the Windmill Elevator up after Moreau: the lift never works again and the reservoir is closed.
Silver Angel Statue — Until you ride the Windmill Elevator up after Moreau: the lift never works again and the reservoir is closed.
Vivianite #3 — Take it on the way: once you climb out through the Graveyard crypt there is no confirmed way back into the Stronghold.
Perfect Crystal Skull #3 — Take it on the way: once you climb out through the Graveyard crypt there is no confirmed way back into the Stronghold.
Crystal Fragment #15 — Take it on the way: once you climb out through the Graveyard crypt there is no confirmed way back into the Stronghold.
Crystal Fragment #16 — Take it on the way: once you climb out through the Graveyard crypt there is no confirmed way back into the Stronghold.
Crystal Fragment #17 — Take it on the way: once you climb out through the Graveyard crypt there is no confirmed way back into the Stronghold.
Crystal Fragment #18 — Take it on the way: once you climb out through the Graveyard crypt there is no confirmed way back into the Stronghold.
Large Crystal #5 — Take it on the way: once you climb out through the Graveyard crypt there is no confirmed way back into the Stronghold.
Vivianite #4 — Take it on the way: once you climb out through the Graveyard crypt there is no confirmed way back into the Stronghold.
Yellow Quartz #3 — Take it on the way: once you climb out through the Graveyard crypt there is no confirmed way back into the Stronghold.
Guglielmo's Plate — Take it on the way: once you climb out through the Graveyard crypt there is no confirmed way back into the Stronghold.
Yellow Quartz #4 — Until you use Heisenberg's Key on the B1 door next to the Duke's elevator: it locks you into the Sturm fight with no way back.
Crystal Mechanical Heart #1 — Until you use Heisenberg's Key on the B1 door next to the Duke's elevator: it locks you into the Sturm fight with no way back.
Large Crystal #6 — Until you use Heisenberg's Key on the B1 door next to the Duke's elevator: it locks you into the Sturm fight with no way back.
Mechanical Part (Cylinder) — Until you use Heisenberg's Key on the B1 door next to the Duke's elevator: it locks you into the Sturm fight with no way back.
Crystal Mechanical Heart #2 — Until you use Heisenberg's Key on the B1 door next to the Duke's elevator: it locks you into the Sturm fight with no way back.
Crystal Mechanical Heart #3 — Until you use Heisenberg's Key on the B1 door next to the Duke's elevator: it locks you into the Sturm fight with no way back.
Crystal Mechanical Heart #4 — Until you use Heisenberg's Key on the B1 door next to the Duke's elevator: it locks you into the Sturm fight with no way back.
Crystal Mechanical Heart #5 — Until you use Heisenberg's Key on the B1 door next to the Duke's elevator: it locks you into the Sturm fight with no way back.
Crystal Mechanical Heart #6 — Until you use Heisenberg's Key on the B1 door next to the Duke's elevator: it locks you into the Sturm fight with no way back.
Yellow Quartz #5 — Until you use Heisenberg's Key on the B1 door next to the Duke's elevator: it locks you into the Sturm fight with no way back.
Large Crystal Mechanical Heart #1 — Until you use Heisenberg's Key on the B1 door next to the Duke's elevator: it locks you into the Sturm fight with no way back.
Yellow Quartz #6 — Until you use Heisenberg's Key on the B1 door next to the Duke's elevator: it locks you into the Sturm fight with no way back.
Crystal Mechanical Heart #7 — Until you use Heisenberg's Key on the B1 door next to the Duke's elevator: it locks you into the Sturm fight with no way back.
Large Crystal Mechanical Heart #2 — Until you use Heisenberg's Key on the B1 door next to the Duke's elevator: it locks you into the Sturm fight with no way back.
Crystal Fragment #19 — Until you use Heisenberg's Key on the B1 door next to the Duke's elevator: it locks you into the Sturm fight with no way back.
Large Crystal #7 — Until you use Heisenberg's Key on the B1 door next to the Duke's elevator: it locks you into the Sturm fight with no way back.
Large Crystal #8 — Until you use Heisenberg's Key on the B1 door next to the Duke's elevator: it locks you into the Sturm fight with no way back.
Large Crystal #9 — Until you use Heisenberg's Key on the B1 door next to the Duke's elevator: it locks you into the Sturm fight with no way back.
Vivianite #5 — Until you use Heisenberg's Key on the B1 door next to the Duke's elevator: it locks you into the Sturm fight with no way back.
Yellow Quartz #7 — Until you use Heisenberg's Key on the B1 door next to the Duke's elevator: it locks you into the Sturm fight with no way back.
Large Crystal Mechanical Heart #3 — Until you use Heisenberg's Key on the B1 door next to the Duke's elevator: it locks you into the Sturm fight with no way back.
Large Crystal Mechanical Heart #4 — Until you use Heisenberg's Key on the B1 door next to the Duke's elevator: it locks you into the Sturm fight with no way back.
Yellow Quartz #8 — Until you use Heisenberg's Key on the B1 door next to the Duke's elevator: it locks you into the Sturm fight with no way back.
Yellow Quartz #9 — Until you use Heisenberg's Key on the B1 door next to the Duke's elevator: it locks you into the Sturm fight with no way back.
Crystal Mechanical Heart #8 — Until you use Heisenberg's Key on the B1 door next to the Duke's elevator: it locks you into the Sturm fight with no way back.
Crystal Mechanical Heart #9 — Until you use Heisenberg's Key on the B1 door next to the Duke's elevator: it locks you into the Sturm fight with no way back.
Mechanical Part (Shaft) — Until you use Heisenberg's Key on the B1 door next to the Duke's elevator: it locks you into the Sturm fight with no way back.
Perfect Crystal Mechanical Heart #1 — Until you use Heisenberg's Key on the B1 door next to the Duke's elevator: it locks you into the Sturm fight with no way back.
Perfect Crystal Mechanical Heart #2 — Until you use Heisenberg's Key on the B1 door next to the Duke's elevator: it locks you into the Sturm fight with no way back.
Bister Skull — Until you use Heisenberg's Key on the B1 door next to the Duke's elevator: it locks you into the Sturm fight with no way back.
Cigar — This pass only: after Sturm the factory runs one way to Heisenberg.
Beneviento's Treasure — The crypt closes later (Game8: before Moreau) and the event may not trigger unless you go right after House Beneviento.
Treasure Under the Stronghold — Take it on the way: once you climb out through the Graveyard crypt there is no confirmed way back into the Stronghold.
Goat of Warding #5 — Until you place the four masks on the Hall of the Four door: after Mutated Dimitrescu the castle closes for good. Heretic progress is saved to your profile: if you miss it, you can break it on another run.
Goat of Warding #6 — Until you place the four masks on the Hall of the Four door: after Mutated Dimitrescu the castle closes for good. Heretic progress is saved to your profile: if you miss it, you can break it on another run.
Goat of Warding #11 — Get it before you enter the house. Heretic progress is saved to your profile: if you miss it, you can break it on another run.
Goat of Warding #12 — Until you ride the Windmill Elevator up after Moreau: the lift never works again and the reservoir is closed. Heretic progress is saved to your profile: if you miss it, you can break it on another run.
Goat of Warding #13 — Until you ride the Windmill Elevator up after Moreau: the lift never works again and the reservoir is closed. Heretic progress is saved to your profile: if you miss it, you can break it on another run.
Goat of Warding #14 — Until you ride the Windmill Elevator up after Moreau: the lift never works again and the reservoir is closed. Heretic progress is saved to your profile: if you miss it, you can break it on another run.
Goat of Warding #16 — Take it on the way: once you climb out through the Graveyard crypt there is no confirmed way back into the Stronghold. Heretic progress is saved to your profile: if you miss it, you can break it on another run.
Goat of Warding #17 — Until you use Heisenberg's Key on the B1 door next to the Duke's elevator: it locks you into the Sturm fight with no way back. Heretic progress is saved to your profile: if you miss it, you can break it on another run.
Goat of Warding #18 — Second chance: it is still there when you ride up in the vehicle after reading Chris's Computer; shoot it from the vehicle. Heretic progress is saved to your profile: if you miss it, you can break it on another run.
Goat of Warding #19 — This pass only: after Sturm the factory runs one way to Heisenberg. Heretic progress is saved to your profile: if you miss it, you can break it on another run.
Goat of Warding #20 — Before moving on to Miranda's lab: you never come back to this chamber. Heretic progress is saved to your profile: if you miss it, you can break it on another run.
Labyrinth 1: The Castle — Until you place the four masks on the Hall of the Four door: after Mutated Dimitrescu the castle closes for good.
Labyrinth 4: The Iron Tower — Until you use Heisenberg's Key on the B1 door next to the Duke's elevator: it locks you into the Sturm fight with no way back.
Fish ×3 — You never come back to this cave (Chit Hot): kill them on the way.
Fish ×4 — No way back to this cave once you move on to the tent.
Poultry ×3 — Until you ride the Windmill Elevator up after Moreau: the lift never works again and the reservoir is closed.
Fish ×4 — Until you ride the Windmill Elevator up after Moreau: the lift never works again and the reservoir is closed.
Birdcage #1 — Until you place the four masks on the Hall of the Four door: after Mutated Dimitrescu the castle closes for good.
Birdcage #9 — Until you use Heisenberg's Key on the B1 door next to the Duke's elevator: it locks you into the Sturm fight with no way back.
Birdcage #10 — Until you use Heisenberg's Key on the B1 door next to the Duke's elevator: it locks you into the Sturm fight with no way back.
Outhouse #10 — Until you ride the Windmill Elevator up after Moreau: the lift never works again and the reservoir is closed.
Window #1 — Until you place the four masks on the Hall of the Four door: after Mutated Dimitrescu the castle closes for good.
Window #2 — Until you place the four masks on the Hall of the Four door: after Mutated Dimitrescu the castle closes for good.
Window #3 — Until you place the four masks on the Hall of the Four door: after Mutated Dimitrescu the castle closes for good.
Window #4 — Until you place the four masks on the Hall of the Four door: after Mutated Dimitrescu the castle closes for good.
Window #5 — Until you place the four masks on the Hall of the Four door: after Mutated Dimitrescu the castle closes for good.
Window #6 — Until you place the four masks on the Hall of the Four door: after Mutated Dimitrescu the castle closes for good.
Window #7 — Until you place the four masks on the Hall of the Four door: after Mutated Dimitrescu the castle closes for good.
Window #8 — Until you place the four masks on the Hall of the Four door: after Mutated Dimitrescu the castle closes for good.
Window #9 — Until you place the four masks on the Hall of the Four door: after Mutated Dimitrescu the castle closes for good.
Window #10 — Until you place the four masks on the Hall of the Four door: after Mutated Dimitrescu the castle closes for good.
Window #11 — Until you place the four masks on the Hall of the Four door: after Mutated Dimitrescu the castle closes for good.
Window #12 — Until you place the four masks on the Hall of the Four door: after Mutated Dimitrescu the castle closes for good.
Window #13 — Until you place the four masks on the Hall of the Four door: after Mutated Dimitrescu the castle closes for good.
Window #14 — Until you place the four masks on the Hall of the Four door: after Mutated Dimitrescu the castle closes for good.
Window #15 — Until you place the four masks on the Hall of the Four door: after Mutated Dimitrescu the castle closes for good.
Window #16 — Until you place the four masks on the Hall of the Four door: after Mutated Dimitrescu the castle closes for good.
Window #17 — Until you place the four masks on the Hall of the Four door: after Mutated Dimitrescu the castle closes for good.
Window #18 — Until you place the four masks on the Hall of the Four door: after Mutated Dimitrescu the castle closes for good.
Treasures
105/105
Reward: Sold to the Duke; 5 combine into pieces worth more (“Treasure Hunter” challenge).
One checkbox per fixed pickup on Standard; some crystals and skulls drop from enemies at random. Perfect Crystal Mechanical Heart #2 depends on the second Soldat Panzer spawning (B4 Passage or B3 Maintenance Passage, only one of the two); Evil Resource lists 106 because it counts both corridors.
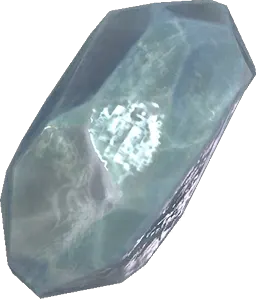 Crystal Fragment ×19
 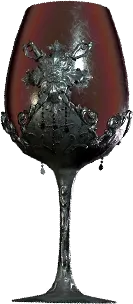 Crimson Glass
 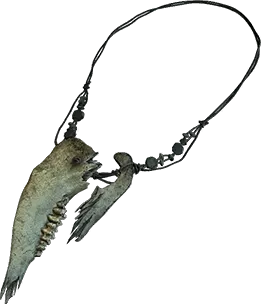 Ingrid's Necklace
 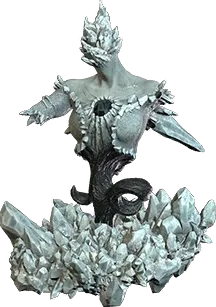 Crystal Torso ×3
 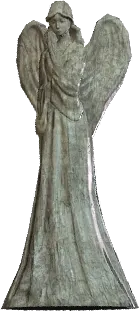 Wooden Angel Statue
 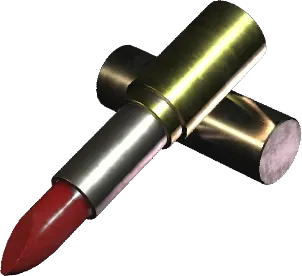 Lady's Lipstick
 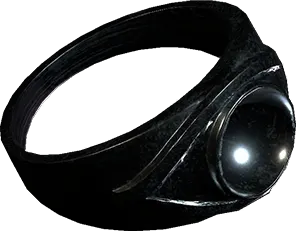 Silver Ring
 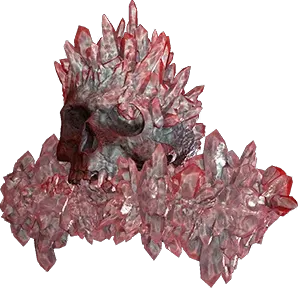 Crimson Skull
 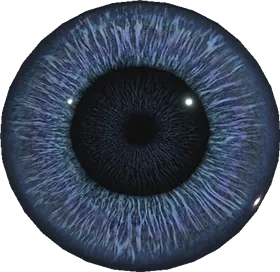 Azure Eye
 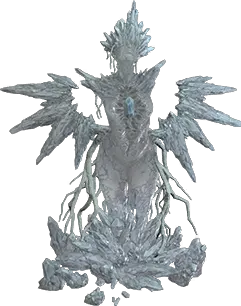 Crystal Dimitrescu
 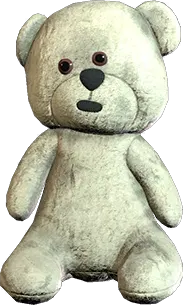 Teddy Bear
 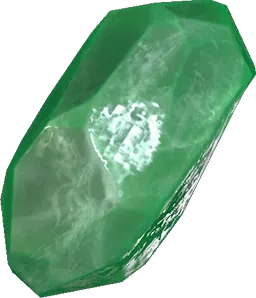 Vivianite ×5
 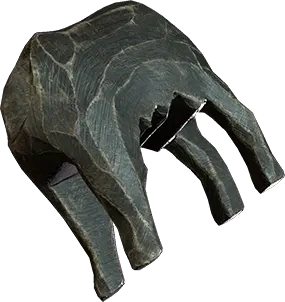 Wooden Animal (Body)
 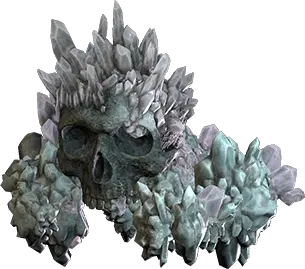 Perfect Crystal Skull ×3
 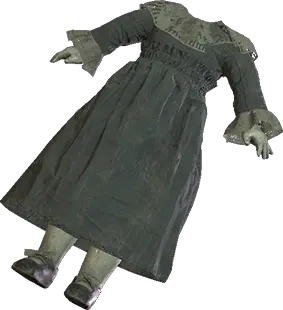 Madalina (Body)
 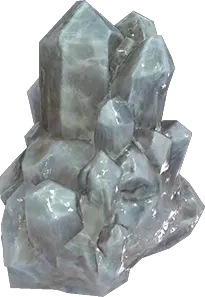 Large Crystal ×9
 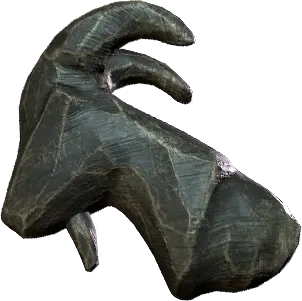 Wooden Animal (Head)
 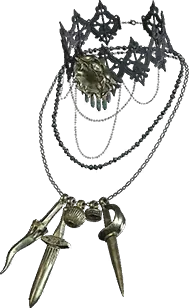 Necklace with Two Holes
 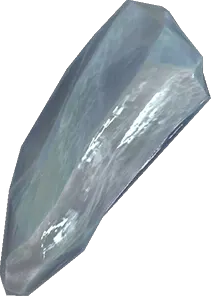 Necklace Stone
 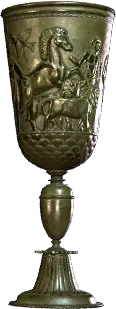 Cesare's Goblet
 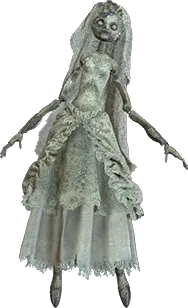 Angie
Angie 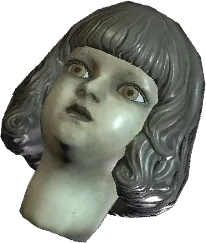 Madalina (Head)
 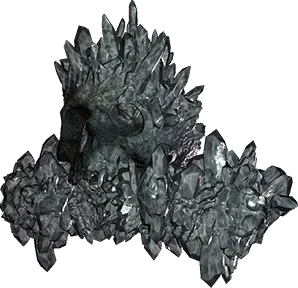 Onyx Skull
 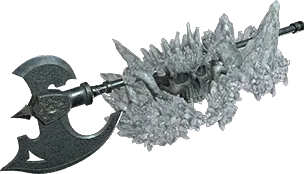 Giant Crystal Axe ×2
 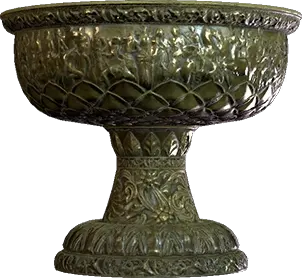 Berengario's Chalice
 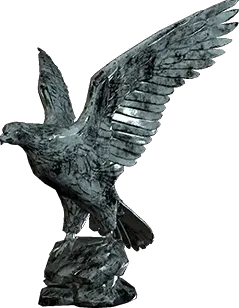 Steel Hræsvelgr
 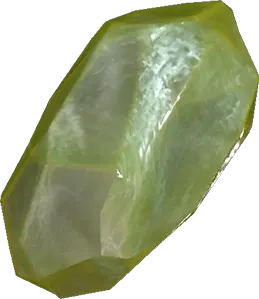 Yellow Quartz ×9
 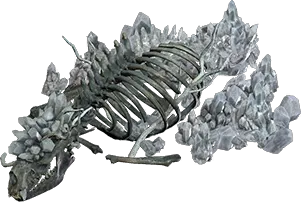 Crystal Beast ×2
 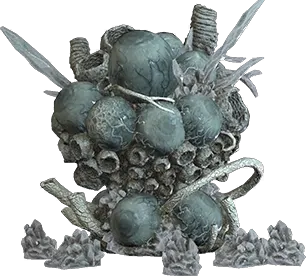 Crystal Moreau
 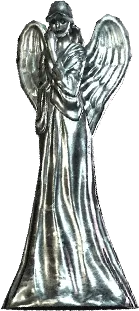 Silver Angel Statue
 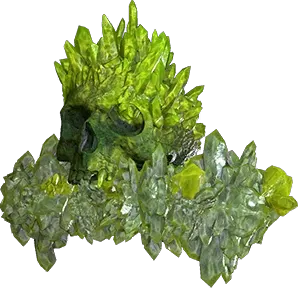 Chartreuse Skull
 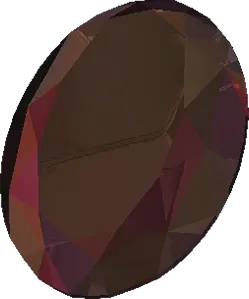 Pigeon Blood Ruby
 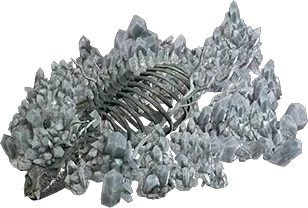 Crystal Ancient Beast
 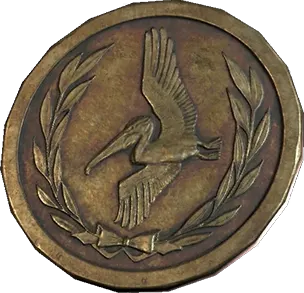 Antique Coin
 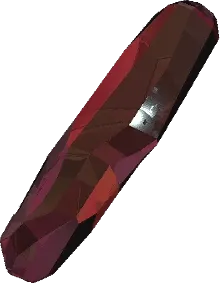 Large Pigeon Blood Ruby
 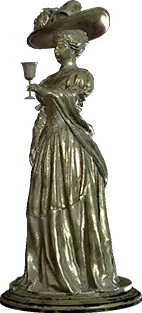 Golden Lady Statue
 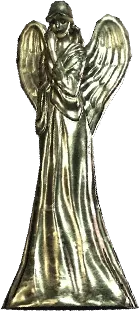 Father Nichola's Angel
 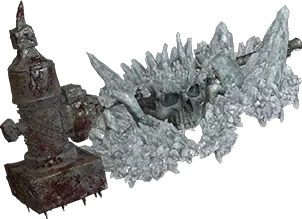 Crystal Hammer
 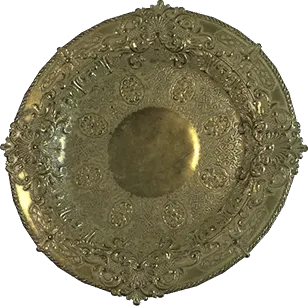 Guglielmo's Plate
 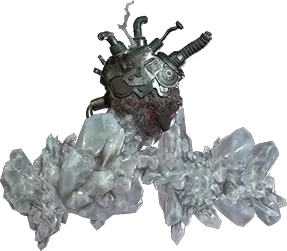 Crystal Mechanical Heart ×9
 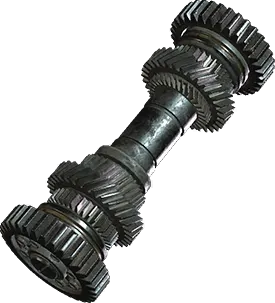 Mechanical Part (Cylinder)
 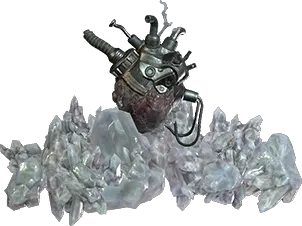 Large Crystal Mechanical Heart ×4
 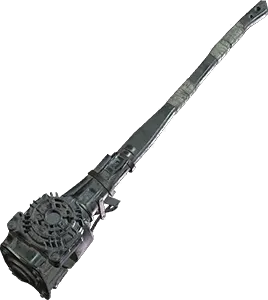 Mechanical Part (Shaft)
 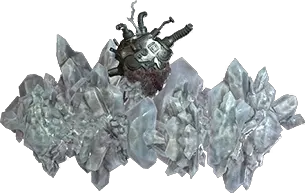 Perfect Crystal Mechanical Heart ×2
 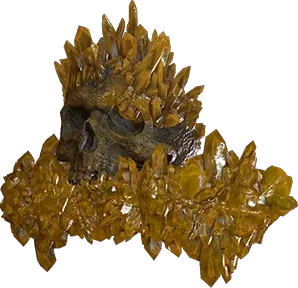 Bister Skull
 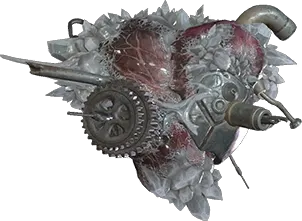 Complex Mechanical Heart
 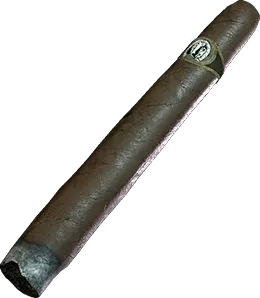 Cigar
Cigar 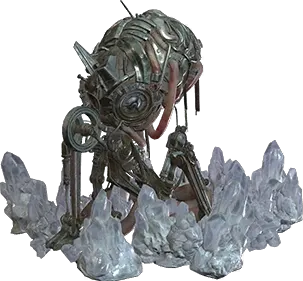 Crystal Heisenberg
 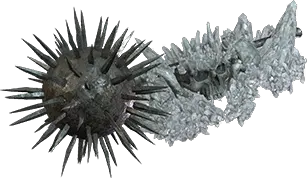 Giant Crystal Mace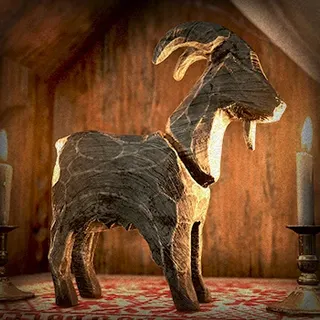
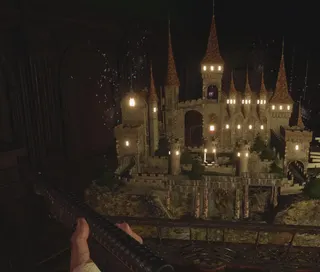 Labyrinth 1: The Castle
 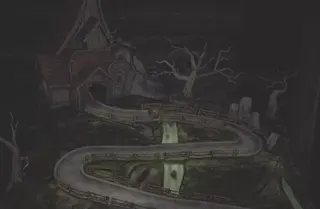 Labyrinth 2: The House on a Hill
 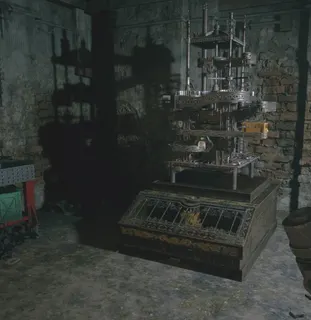 Labyrinth 4: The Iron Tower