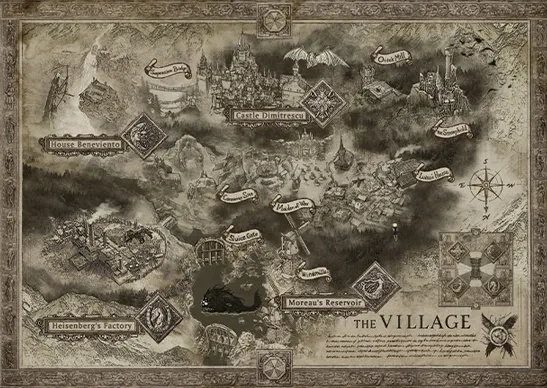
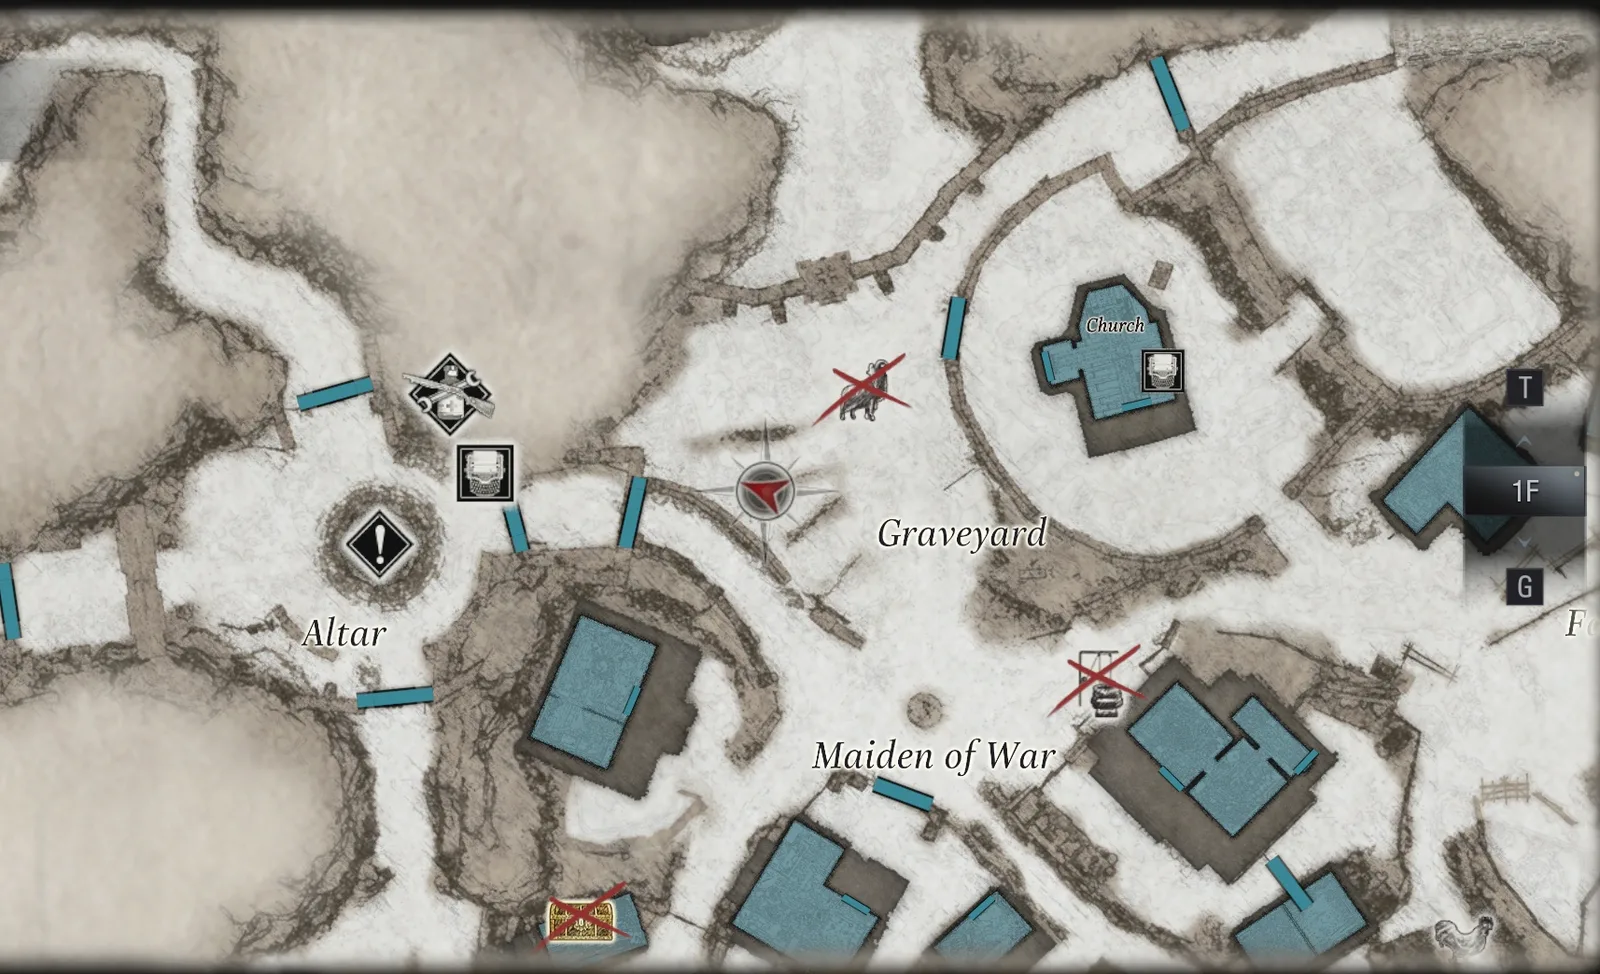
You play Ethan, leaving the Altar through the north gate with the Four-Winged Key, bound for the house of Donna Beneviento, the second of the four lords. It is the most unusual chapter in the game: inside the house you have no weapons and no items, just puzzles built around a Mia doll, a chase you cannot shoot your way out of and a game of hide-and-seek with the doll Angie. When you leave you get your gear back and the road home has changed: Moroaică in the gardens, a new shotgun, the second labyrinth and the luthier’s key for chapter 7.
Chapter order: Potter’s Field → Garden Path → Beneviento’s Grave (red door: Family Photo) → elevator → porch (Goat of Warding #11) → foyer → elevator to the basement → Doll Workshop (you lose all your gear) → the Mia doll (Silver Key, Blood Covered Ring, Winding Key) → Medicine Room (code 052911) → Storage Room (music box: Tweezers) → Study (projector: Scissors) → medallion door → Old Well (Breaker Box Key) → Baby (three encounters, Relief of a Child, Fuse) → elevator → Donna and Angie (hide-and-seek) → Legs Flask → way back: South Garden (W870 TAC, Sun and Moon Ball) → North Garden (Madalina (Head), outhouse 9) → Gardener’s House (Luthier’s Key, labyrinth: Onyx Skull) → Potter’s Field → Altar.
Before you start: when you enter the Doll Workshop all your weapons and all your items are taken, and you can’t heal inside: the damage the dolls deal in the Angie fight doesn’t come back. According to PowerPyx, the game heals you automatically during House Beneviento (one of four free heals in the story: on entering the castle, here, and before and after the Heisenberg fight). The source doesn’t say at which exact moment, so don’t spend a First Aid Med just before the house; what does matter is not reaching Angie on low health. This counts for the Don’t Trust That Snake Oil challenge (finish the story with four or fewer recovery items). There is no need for ammo in the house, but there is for the way out: the South Garden and the Potter’s Field fill with 12 Moroaică on the way back. You get your gear back at the end.
At the Altar, before you leave: save at the typewriter next to the Duke and buy Shotgun Ammo and F2 Rifle rounds if you are short: one F2 head shot drops a Moroaică on Standard. Keep 10 slots (5×2) free for the W870 TAC; if nothing fits any more, buy an Extra Baggage. The shop doesn’t change until you come back: the new stock (W870 TAC - Improved Gunstock, the Explosive Rounds and Flashbangs recipes) arrives in chapter 7.
Missables and points of no return: nothing inside the house can be picked up later: the Angie treasure is taken on the spot or lost. Goat of Warding #11 is on the porch: take it before going in, while you still have your weapons (every guide marks it at that point). The W870 TAC isn’t lost if you leave it in the hut (you pass through the South Garden again in chapter 7), but if you never pick it up, the Duke only sells it from the Factory on, for 68,000.
Difficulty: key items, treasures and puzzles (codes, cylinders, film, discs) are the same on every difficulty. On Casual enemies go down sooner and deal less damage. On Hardcore they hit harder and are more aggressive. On Village of Shadows they also take far more punishment and move and attack faster: don’t count on one-shotting the Moroaică, and don’t let them corner you. The Moroaică count is the same on every difficulty, but Village of Shadows adds 2 Lycans on the suspension bridge on the way back.
Going in: Potter’s Field, Garden Path and Beneviento’s Grave
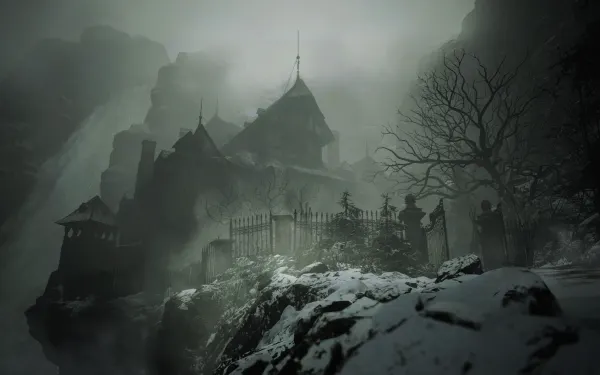
North gate and suspension bridge. From the Altar you cross a ravine full of hanging dolls. There are no enemies anywhere on the way in. On the suspension bridge, if you didn’t shoot Goat of Warding #10 in chapter 5, look to your left: it sits on the other bridge, the one you can’t cross.
Potter’s Field and Garden Path. On the way in there are no enemies and nothing to pick up: the path closes behind you and a Mia apparition leads you on. Everything in these areas is picked up on the way back.
Beneviento’s Grave. The big headstone is missing a piece with a name, “Claudia”: that is the Broken Slab you will find in chapter 7, and it opens Beneviento’s treasure. Behind it is a red door with a mail slot and the plaque “Give up your memories”. Post the Family Photo you have carried since the prologue through the slot. Ride the elevator up and follow the Entrance Path to the house.
Porch: Goat of Warding #11
Before going in, follow the porch to the left and down a small set of stairs toward the waterfall overlook. The goat is just outside the fence. Shoot it. Take it now, while you still have your weapons: they are taken from you inside.
Ground floor and the elevator to the basement
Foyer → living room → the door at the back of the room, on the right, next to a chair → the hallway to the left, the door just left of a doll → elevator down. The foyer shows red on the map, but there is nothing to take until the end (Angie and the Legs Flask).
Doll Workshop: you lose your gear
In the B1 Main Corridor go left, right and left again, and through the wooden double doors of the Doll Workshop. Try to take the Legs Flask sitting on the Angie doll: the lights go out, the flask vanishes along with all your weapons and items, and the corpse on the table becomes a Mia mannequin. (The flask turns up again at the end, on a pedestal in the foyer.) Typewriter on the desk in the south-west corner: save here, because the tensest stretch of the game is next.
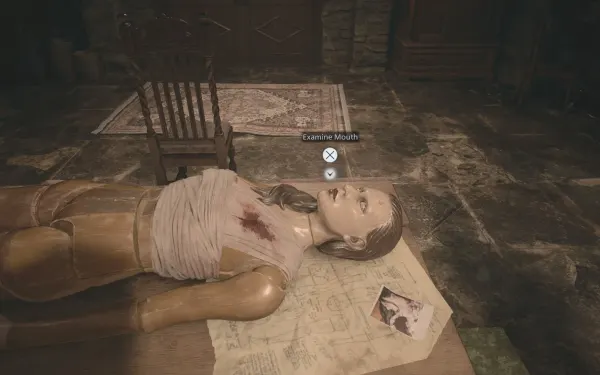
The Mia doll. Examine each part and note the two symbols:
- Right arm → right shoulder: pull the arm off and examine the shoulder: Silver Key. The arm socket shows a symbol of three closed eyes. Note it.
- Left hand: Blood Covered Ring.
- Left leg (knee): Winding Key.
- Left eye: turn it: a bird (a raven) in flight appears. Note it too.
- Mouth: a strip of film sticks out. You need the Tweezers.
- Bandaged chest: you need the Scissors. The Brass Medallion is inside.
One guide swaps the sides (left shoulder, right leg): if a part doesn’t respond, examine the one on the other side. What opens what: Silver Key → Medicine Room; Blood Covered Ring → the padlock code; Winding Key → music box; Tweezers → the doll’s mouth; Scissors → the crawlspace bandages and the doll’s chest; Brass Medallion → the disc door.
Step 1 — Medicine Room (code 052911)
The Silver Key opens the door to the Medicine Room. Turn on the sink tap (north side) and use the Blood Covered Ring on the water: Ethan washes it and you get the Wedding Ring. Examine it in the inventory: the Winters’ wedding date is engraved inside. Code: 05-29-11 (052911). Enter it on the padlock that appeared on the door you came into the Doll Workshop through. Remember there is a locker you can hide in in the Medicine Room: you will use it against the Baby.
Step 2 — Storage Room: the music box
Go back down the corridor: a door on the left (before the elevator) is now ajar, the Storage Room. On a workbench there is a bride-and-groom music box and a note from Mia about the music box at home. Use the Winding Key on it and order the 5 cylinders so the marks form one continuous scratch from end to end. Quickest moves from the starting state, counting positions left to right:
- The cylinder in position 2 → position 1.
- The one in position 4 → position 2.
- The one in position 3 → position 5.
- The one in position 4 → position 3.
Wind it again: the tune plays and the prize comes out, the Tweezers. Go back to the doll and use them on the mouth: Film.
Step 3 — Study: the projector
The Study is the white door by the elevator. Put the Film in the projector and order the 5 strips. The clue is Mia’s note on the desk (“Our Happy Family”), which describes each object (Rose’s best friend, her favourite fairy tale, the most important thing in the world, grandma’s wedding gift, the proof of Ethan’s everlasting love), though not in the solution’s order. Correct order, left to right:
- The plush toy (the red monkey).
- The storybook (“Village of Shadows”).
- Rose (the baby).
- The music box.
- The wedding ring on a hand.
The film plays, the screen drops and a bookcase slides open to the Secret Room. There, a doll in the north-east corner holds the Scissors. Crouch and cut the bloody bandages covering the crawlspace. In the next corridor a telephone rings: answer it. Carry on through the door with the silver cross to the Medicine Room and the Doll Workshop, and use the Scissors on the doll’s chest: Brass Medallion.
Step 4 — The medallion door and the Old Well
At the end of the stone hallway off the Doll Workshop is a door with 3 discs. Put the Brass Medallion in the empty slot (top right) and turn the other two to the doll’s symbols:
- Bottom disc: the three closed eyes (from its starting position, press left twice).
- Top-left disc: the bird from the doll’s eye (press right once). Every guide describes it differently; compare it with what you saw in the eye.
Dark stairs lead down to the Old Well, the well from the film. Climb down the ladder: the Breaker Box Key is in the water at the bottom, in a doll’s hand, next to a broken cradle. Back in the Doll Workshop, the Mia doll is gone and a blood trail leads out of the room. The Baby chase begins: save first at the Doll Workshop typewriter if you like.
Boss — Baby
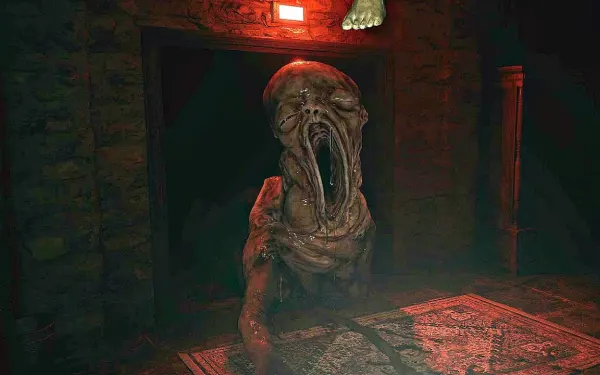
The giant foetus is a hallucination: it swallows you in one bite and it is instant death. It can’t be damaged and you have no weapons anyway. It turns poorly and is clumsy in corridors, but its lunge is fast. Listen to it: it sounds happy while chasing you and upset when it has lost you. Don’t let it see you get into a hiding place. There are three encounters on the way to the elevator:
- Encounter 1 (with the Breaker Box Key). It appears at the end of the Doll Workshop corridor, past the Storage Room door. Wait behind the Doll Workshop table until it comes in and go round the table on the opposite side, or hide in the Medicine Room locker until it leaves. Reach the breaker box next to the elevator (Elevator Hall B1) and use the key: Relief of a Child. Carry it through the Study and the secret passage to the door with the mother relief (between the Study and the Medicine Room). If you are too quick, it may be waiting at the crawlspace exit: wait a moment. Placing the relief makes it vanish.
- Encounter 2 (the Fuse). Go through the mother’s door, downstairs, across the kitchen and into the bedroom: the Fuse is in the breaker box in the south corner. The lights go out and come back. As you leave the kitchen, the Baby appears at the top of the stairs: run back to the bedroom and get under the bed (or into the closet). When it comes in and turns away or moves round the bed, crawl out the front and run. Bookcases now block the shortcut by the mother’s door: take the long way through the Doll Workshop and the Medicine Room to the elevator. It vanishes when you reach the Medicine Room.
- Encounter 3 (the elevator). Put the Fuse in the elevator box: the Baby comes round the corner. For breathing room, lead it round the couches and the projector table in the Study, then run to the elevator, which opens by itself if you stand in front of it. Press the button inside at once: in the cutscene, the Baby misses you by inches.
- Reward: none; the elevator takes you up to the ground floor, where the hide-and-seek with Angie begins.
Boss — Donna Beneviento and Angie
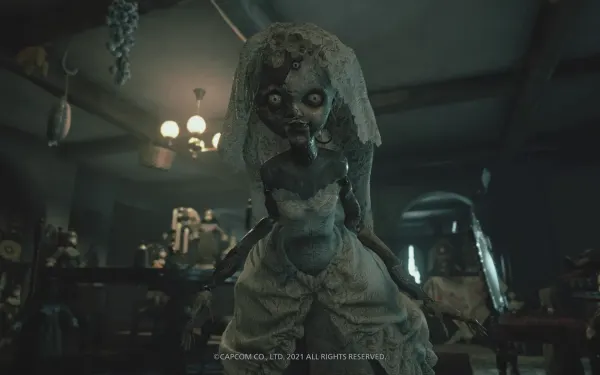
Donna never fights: she speaks through her doll. This is hide-and-seek across the ground floor and the upper floor, with no weapons. You have to find Angie 3 times and stab her with the Scissors. Angie is the only doll in a white dress, sitting on the floor with her head slumped; the others are standing. If you take too long or retrace your steps, the dolls start laughing and shaking, then attack you in an unavoidable cutscene that takes a big chunk of health (and you can’t heal). After the attack, Angie moves to a new spot.
- First time (always the same): go to the upper floor, to the guest room: the door to the right of the upstairs windows. Angie sits at the far end, by the chest of drawers, left of the bed.
- Second and third time (random, always on the ground floor and never the same spot twice). Follow the blood smears on the walls and her voice. Possible spots:
- the kitchen corner by the window;
- left of the couch in the living room, or by the big couch;
- the dining room, by the couches or in the back corner next to the cabinet;
- the corner directly left of the entrance, by the blocked door;
- the hallway, by the half-open door;
- the far end of the hall, in front of the elevator, often on a rug: the most common spot for the third time.
- If she’s in none of these, check the foyer.
- If you’re going for the challenge: Hide and Seek Master asks you to finish in under 1:40 (10,000 CP). Go straight to the guest room, then follow the blood smears without retracing your steps.
- Reward: the Got No Strings challenge, the Angie treasure (28,000), the Four-Winged Unborn Key and the Legs Flask.
After the fight (missable). A key piece comes out of Donna’s remains by the front door: examine it and the Four-Winged Key becomes the Four-Winged Unborn Key. Pick up the Angie treasure (28,000) from the floor beside it: you never come back to the house. The Legs Flask appears on a pedestal by the front door. You get all your gear back: reload before you step outside, because Moroaică are waiting.
The way back: South Garden (W870 TAC and Sun and Moon Ball)
The dolls along the road are now hanging bodies and a fallen tree cuts the road at Beneviento’s Grave: you have to detour through the South Garden. Here 4 Moroaică drop from the sky or rise from the ground as you explore the east side; 2 more appear when you search the ruined house and 1 more as you leave by the north-east path. They mostly drop Lei and materials (Rusted Scrap, Chem Fluid, Gunpowder) and sometimes a Crystal Skull (900).
- Dilapidated House (the hut): the W870 TAC is on the metal shelves in front of the east window. Lockpick on the south-west window sill and a wooden crate in the south-west. Trick: slide the barricade over the door and blast the Moroaică that pile up with your new shotgun. If it doesn’t fit in your case, sell something at the Altar and come back for it.
- Wooden crates on the west path and in the small shelter to the east.
- Gravestone corner (south-east): walk round the big tree with the yellow cage. The jewelry box on the small grave holds the Sun and Moon Ball (a labyrinth ball). The hanging birdcage in the tree holds 2,000 Lei: shoot it down.
- For chapter 7: when you come back from the Altar a goat appears here: kill it for 2 Meat.
W870 TAC. A pump shotgun with a wide spread: 760 power (the M1897 reaches 800 maxed), 4 shells, reload 2.7, rate of fire 1.6, 10 slots. Level 2 upgrades: power 840 (16,000), capacity 6 (11,000), reload 2.5 (8,000). From here it is your main shotgun: stop putting money into the M1897 and sell it once the W870 has its first power upgrade.
North Garden
The gate on the side of the Garden Path, uphill.
- Well in the middle (Well Wheel): Madalina (Head) (2,000). Combine it with the Body from chapter 5: Miss Madalina (20,000).
- A wooden crate to the west.
- Outhouse 9 (north-west, left of the house). On its inside wall is the Photo of a Strange Bird: it points at the blue bird in the graveyard (the chapter 5 Juicy Game).
Gardener’s House: the Luthier’s Key and the labyrinth
Typewriter on the bedside table: save. Gardener’s Diary (file 26) on the small metal shelves in the south-west of the bedroom: it talks about Donna, Angie and the yellow flowers on Miss Claudia’s grave. Luthier’s Key on the small cabinet in the north-east of the bedroom (it opens the Luthier’s House in the village, chapter 7). Explosive Rounds ×1 on the floor by the bedroom door.
“The House on a Hill” labyrinth (north-east corner of the main room, on your right as you enter). Insert the Sun and Moon Ball. It is simpler than the castle one: one path, no branches and no holes. You only fail if the ball flies off the edge on a turn. You tilt the model with the left stick.
- The ball runs down zig-zag slopes, right to left and back again, to the goal at the bottom.
- Keep the model tilted back, against the slope, so the ball creeps down, especially going into each turn. If it picks up speed, it flies off.
- Some turns have fences that raise up: time the ball to reach the turn while the fence is up, and the fence stops it.
- The goal is the glowing hole at the bottom. If the ball falls, the labyrinth starts over: retries are unlimited and cost nothing.
Prize: Onyx Skull (15,000). If it’s your first labyrinth, the Get the Ball Rolling challenge. If you skip it, you can come back until you enter the Factory.
Potter’s Field (on the way back)
Now 5 Moroaică drop from the trees or rise from the ground. A head shot with the F2 Rifle kills them even unupgraded (on Standard); up close, the W870 to the head. Shoot a flour sack to blind them with the cloud. Explosives do less damage than usual to them: save them. Don’t let them surround you: back off toward the Garden Path and take them one at a time.
- Upper-left (north) offshoot: Large Crystal (3,000) on the gravestone, a flour sack and a wooden crate.
- Main clearing: 3 hanging birdcages in the west, south and east trees (they hold Lei; the amount isn’t documented) and Vivianite (5,000) on the east gravestone.
Suspension bridge and Altar
On Standard there are no enemies on the bridge (on Village of Shadows, 2 Lycans on the east ledges). If you still need Goat of Warding #10, it’s now on your right. Chapter 7 starts at the Altar: place the Legs Flask on the pedestal, save and sell. Head straight to the graveyard before using the south gate, so you don’t lose the Broken Slab.
Don’t leave without: Goat of Warding #11 on the porch (before going in) · the Angie treasure (no return to the house) · the Four-Winged Unborn Key and the Legs Flask · the W870 TAC and the Lockpick in the hut · the Sun and Moon Ball and the Onyx Skull · the 2,000 Lei in the South Garden birdcage · the Madalina (Head) from the well (combine Miss Madalina) · outhouse 9 with the Photo of a Strange Bird · the Gardener’s Diary and the Luthier’s Key · the Large Crystal, the Vivianite and the 3 birdcages in the Potter’s Field. When you come back from the Altar (ch. 7) a goat appears in the South Garden: 2 Meat. Remember the Anniversary Present challenge: hold exactly 52,911 Lei, the date on the ring.