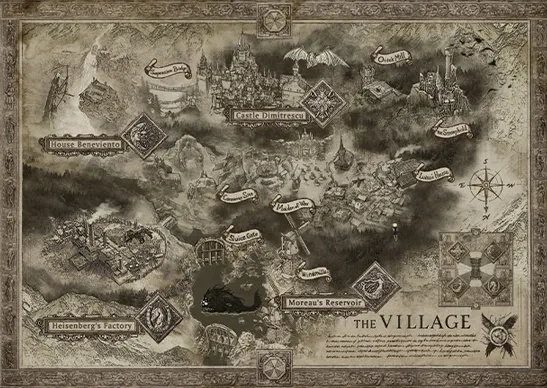
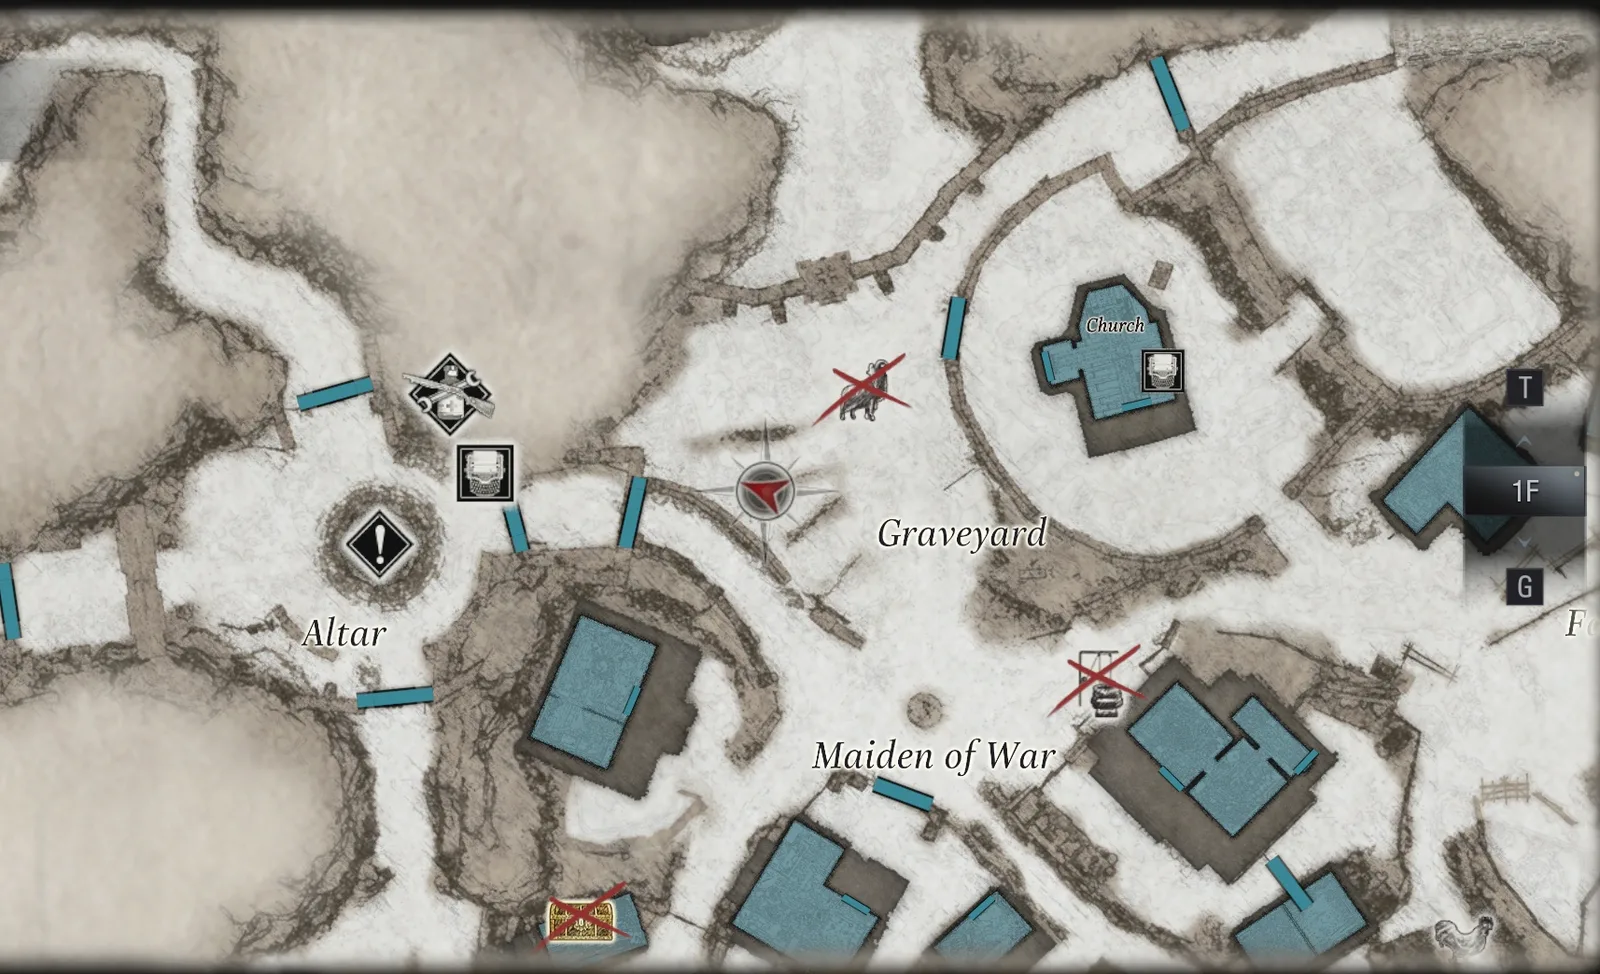
You play Ethan, who takes the Four-Winged Unborn Key through the Altar’s south gate into the domain of Salvatore Moreau, the third of the four lords. First you cross East Old Town, where a giant wolf prowls and the GM 79 grenade launcher waits; then you ride a windmill down into mines under the reservoir, recover the Arms Flask, get a boat and run into Chris Redfield. Moreau turns into a giant fish and stalks you while you cross the drowned houses and get both windmills turning with the Crank to drain the reservoir. At the end you face him on dry ground and leave with the Six-Winged Unborn Key.
Chapter order: Altar south gate → East Old Town (Vârcolac, Vasile’s Final Testament) → Water Mill (GM 79) → the stream and its goo walls → Windmill Yard (2 pigs) → Windmill Shack (typewriter) → elevator → Mining Cavern → Moreau’s Underground Study (Arms Flask) → Underground Cavern (Boat Key, ambush) → East Jetty → boat → Water Cavern (fish, missable) → West Jetty (Chris) → the chase → Gatehouse (the Duke) → Back Yard (outhouse 10, chickens) → Gatehouse (cooking: Three-Flavored Mititei) → South Windmill (Goat of Warding #12, the crank snaps) → the drowned houses (Goat of Warding #13, switches, crane) → North Windmill (Crank) → zipline → South Windmill → sluice gate puzzle → Flooded House Yard (M1911 - High-Capacity Mag.) → Mutated Moreau → Moreau’s Underground Study (Six-Winged Unborn Key) → Submerged Bank (Goat of Warding #14, Silver Angel Statue) → elevator up.
Before you start: do chapter 7 first: once you go through the south gate the Broken Slab is at risk, and on your return the Fallow Plot will have the Vârcolac Alfa in it. Keep 10 free slots for the GM 79. Bring the upgraded W870 TAC, the F2 Rifle (you need it for Goat of Warding #13 and for a wooden support the Knife can’t reach) and 2 or 3 Mines: they do triple damage to Moreau. If you own the Recipe: Explosive Rounds, hold on to Gunpowder, Metal Scrap and Herbs. Don’t sell ingredients: at the Gatehouse you cook the Three-Flavored Mititei. Save in the Windmill Shack before going down and in the Gatehouse before the sluice gate. You can skip the Vârcolac: the GM 79 can be grabbed while it has lost track of you.
Missables and points of no return: everything inside the reservoir is lost when you ride the Windmill Yard elevator back up at the end: the fish in the Water Cavern and the Submerged Bank, the Gatehouse chickens, goats #12, #13 and #14, outhouse 10, the Water Cavern’s Large Crystal and the Silver Angel Statue. The Water Cavern is lost even sooner: you can’t get back to it once you carry on upstream. The Water Mill’s GM 79, on the other hand, is still there in chapter 9 if you walk past it today.
Difficulty: the puzzles (coloured switches, sluice gate) are the same on every difficulty. On Village of Shadows there is a second Vârcolac in the south-east of East Old Town, by the barn (and it drops another Crystal Beast). Moreau and the Vârcolac last much longer on Hardcore and Village of Shadows, where your damage is fixed at ×0.20: bring every Mine you can.
South gate and East Old Town
Use the Four-Winged Unborn Key on the Altar’s winged south gate. As you near the centre of East Old Town (the district of the chapter 2 ambush), a cutscene: a Vârcolac, a giant wolf, knocks you into a house, the East Old Town Stable. On Village of Shadows there is a second Vârcolac by the East Old Town barn (and a second Crystal Beast).
East Old Town Stable. Behind you, on a corpse: Vasile’s Final Testament (file 27), which sends you to the water mill. Shotgun Ammo ×4 on the chest of drawers, an Herb on the table in the alcove and a wooden crate by the door. There’s an explosive barrel by the door and a ladder to the roof. You’re safe in here: the Vârcolac doesn’t fit through doors. The fight (or how to avoid it) is under “Boss — Vârcolac”, below.
Water Mill: the GM 79 (the “Waterwheel Weapon” marked treasure)
The mill by the stream. The door takes the Iron Insignia Key (the one from the castle piano). Inside:
- GM 79 propped on the table opposite the door: a single-shot grenade launcher with no upgrades and no part slots. It fires Explosive Rounds (1,200 power; its blasts don’t hurt you) or Flashbang. Switch rounds with ZL + A (aim + action). In New Game+, if you already own it, the spot holds 20,000 Lei instead.
- Explosive Rounds ×2 in the wooden crate in the south-east.
- Lockpick on the north-east window sill.
If you don’t want to fight, run for the mill while the Vârcolac has lost you.
The rest of East Old Town. 2 Lycans wait in the barn (the radio barn from chapter 2). There’s another explosive barrel near the Water Mill and wooden crates by the Farmer’s House (front and back) and the Stable. West of the south-west house you’ll see a mechanical gate: it needs the Crank and leads to the East Old Town Farmer’s House Yard (Yellow Quartz, Pigeon Blood Ruby and 2 chickens). That’s chapter 9.
The stream and the Windmill Yard
Follow the stream. Green goo walls block the way: break them with the Knife to save ammo. Behind the second one is a yellow ladder: climb it and drop into the yard.
Windmill Yard. 2 pigs = 4 Meat: one F2 Rifle round per pig. The shed in the south-east corner holds the labyrinth “The Water Wheel”: you don’t have its ball yet (the Mermaid Ball is in Moreau’s Laboratory, chapter 9). The yard’s mechanical gate also needs the Crank.
Windmill Shack. Typewriter on the south-east table. Save. On a barrel in the north corner: the Photo of a Rare Animal (it points to the white pig in the Fallow Plot Shed Yard, the Quality Meat). Take the stairs down to the Windmill Elevator and pull the handle to descend.
Mining Cavern and Moreau’s Underground Study
Mining Cavern (B1). At the bottom there’s a locked gate. Follow the rail tunnel to the left. Look up: a Crystal Fragment (2,000) is embedded in the beam above the entrance to the south-west passage. Shoot it (it counts for Geologist). Handgun Ammo ×10 on a barrel on the north-west upper platform (reached from the Northern Mouth).
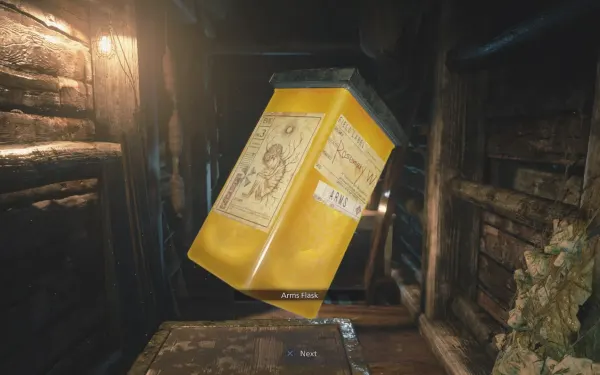
Moreau’s Underground Study. Follow the TV static up the west stairs and squeeze through the gap. Cutscene with Moreau watching TV: you get the Arms Flask automatically. A goo wall seals the way out: break it, squeeze back through and head back along the tunnel. The gate at the bottom has now been torn open: it leads to the jetty, but you need the boat key first.
The wooden stairs and the plank. Climb the wooden stairs (there’s Handgun Ammo on the right). Hit the yellow-taped wood to drop a plank that bridges the gap, cross it and climb down the ladder.
Underground Cavern: the Boat Key
As you walk in, 2 Lycans: one with a torch on the ledge up top and one eating by the big tree. Herb mid-cave, a flour sack on the north jetty and Handgun Ammo ×10 in the small boat in the north-west, plus barrels.
Tactic for the first pair: shoot the flour sack on the north jetty when the Lycan below walks near it: the cloud blinds them and the shotgun finishes them point-blank. Drop the torch-bearer off its ledge from below with the F2 Rifle or M1911 bursts to the head before it leaps down.
In the shack on the east side, the Boat Key hangs on the wall. Taking it triggers an ambush by 4 Lycans and 1 armored large Lycan. You have three ways out:
- Barricade the shack door and slip out the back.
- Wait for them to bunch up and throw a Pipe Bomb (or fire a GM 79 Explosive Round). Explosives hit a Lycan for ×2 anywhere on the body.
- Run back to the ladder you came down: they don’t follow.
Strip the large Lycan’s helmet first with a Pipe Bomb or a Mine. Without it, three W870 TAC blasts to the head drop it (it has about 4,000 HP). A Flashbang does nothing to it while the helmet is on. It drops a Perfect Crystal Skull (10,000).
East Jetty and the boat
When you come back with the key, 2 Lycans attack you on the jetty. Fight with your back to the cabin door so they can’t surround you: a W870 TAC blast to the head staggers each one and the next finishes it. Don’t spend explosives here: they drop nothing special. In the small cabin, on the table: The Reservoir and Giant Fish (file 28). Check it before you board. A chest sits on a boat you can’t reach: it’s the Silver Angel Statue, for after the boss.
By boat. Use the Boat Key and drive through the two tunnels. A giant fish breaches beside you. Debris blocks the sunken village, so dock in the next cave.
Water Cavern (missable)
A side cave on the right of the path up the stream, before the tent. In the southern pool swim 2 large fish = 4 Fish (PowerPyx counts 3). The water is murky: look for the bubbles. High on the west wall is a Large Crystal (3,000): shoot it (Geologist). You can’t come back to this cave.
West Jetty: Chris and the chase
Go behind the green tarp. Cutscene with Chris Redfield and the Hound Wolf Squad. Moreau interrupts, floods the exit and turns into a giant fish.
The chase. Run along the broken wharf while Moreau smashes the platforms, leap to the rocks and drop down.
Gatehouse: the Duke and the kitchen
The sluice gate console has no power. Read the instructions poster and note the coloured paper by the console: it’s the solution to the later puzzle. The Duke is in the south room, with a typewriter on the metal shelves. Save: there’s no other one before the boss.
Shop. The priority is the W870 TAC at power level 3 (27,000) before Moreau. Sell the large Lycan’s Perfect Crystal Skull (10,000) and the Crystal Beast (20,000) if you killed the Vârcolac. If you didn’t buy it at the Altar, the M1911 - Improved Grip (12,000; only less recoil, low priority) is still on sale. With the materials you carry, craft Explosive Rounds and Mines, not Pipe Bombs: Metal Scrap goes further in those two here.
Kitchen: the Three-Flavored Mititei. The Duke’s Kitchen works at any of his stops, not just the Altar. Before you cook, step out to the Back Yard for the chickens (next section) and come back. Following this guide’s plan (only the Herbed Fish in chapter 5, the Tochitura in chapter 7) you arrive with about 3 Fish + the Water Cavern’s 4 = 7 Fish; 1 Poultry + the Back Yard’s 3 = 4 Poultry; and 1 Meat + the 4 from the Windmill Yard pigs = 5 Meat. Cook the Three-Flavored Mititei (Fish ×4 + Poultry ×2 + Meat ×3: more max health, permanent). That leaves 3 Fish, 2 Poultry and 2 Meat, and the Submerged Bank gives you 4 more Fish before you leave. If in chapter 5 you also cooked the Bird and Beast Pilaf and haven’t made the Tochitura yet, you still have enough for the Mititei: the Tochitura waits for chapter 9’s chickens.
Gatehouse Back Yard
Leaving the Duke’s room, turn right round the back of the building:
- Outhouse 10 (the last one), with Chem Fluid inside. If you opened the other 9 in this playthrough, the When You Gotta Go… challenge completes.
- Changing the Cranks (file 29) inside the wrecked blue truck (east side): the old crank is about to break and the spare is in the other windmill.
- In the wooden shack on the east side, a small chest with a Crystal Fragment (2,000). Rusted Scrap on top of a barrel by the metal fence.
- Chickens: 3 Poultry (Evil Resource; PowerPyx counts 2). Missable. Poultry is the scarcest ingredient in the game: leave none behind.
South Windmill
The first windmill, next to the Gatehouse. On the top platform: Handgun Ammo ×5 on some boxes (south-west). Goat of Warding #12: by the log pile on the west side of the outside deck; break it (Knife or a shot) before you go in. Turn the old crank already on the gear: it snaps. Go into the windmill and climb down the ladder to the flooded village.
The drowned houses (Moreau hunting you)
The rules: the submerged walkways (painted red) are where Moreau rams you and swallows you. Cross right after he has passed, or when he swims off to the right. On long floating walkways, wait on a side platform or the barrel platform, let him pass, then run.
- At the end of the first roof there’s a yellow-taped support: hit it to drop a plank. Other yellow wedges come later. One is out of the Knife’s reach and must be shot (up and to the right from the end of a long walkway). If you’re going for Knives Out, this shot doesn’t break the challenge. As you cross the south-east roofs, check the north-west corner of the South East House roof: Handgun Ammo ×10.
- Enter the shack, break the barrel at the back, climb the stairs and push the first mine cart into the water. Drop down and pull the maggot-covered switch next to you: it raises a second cart to the top of the stairs. The Scrap Platform has a wooden barrel (south-east).
- Goat of Warding #13: from the building with the carts (the switch platform), face back the way you came and look left, toward the broken windmill. The goat sits on top of a pole of debris sticking out of the water in the northern distance (visible from the north corner of the Central Walkway). Snipe it with the F2 Rifle. Missable. The Central Walkway has another barrel, on the small platform in the south-west between the floating walkways.
- Coloured switches (PowerPyx and Game8 agree). Each switch raises its colour’s sunken walkway for a few seconds.
- First pull the BLUE and ORANGE switches you reach on the way and cross to the Control Platform shack. In a wooden crate on the shack’s table: Magnum Ammo ×1 (save it for chapter 9’s M1851 Wolfsbane).
- All three colours are inside the shack. Pull them quickly in this order: GREEN → BLUE → ORANGE. The “green” one (as PowerPyx and Game8 call it) is the third colour, the one you haven’t used yet: Evil Resource and GameRant call it white, and it’s next to the table in the shack.
- Run out, pull the ORANGE switch you pass on the way and sprint across all three raised sections to the end.
- The long walkway (Game8): run across the first bridge, step briefly onto the second so Moreau dives past, go to the platform with the barrel to dodge him again, then run to the end before he comes back.
- Push the next mine cart in to get back to the central building, then push the second cart (the one the maggot switch raised) down. The bridge is complete.
- Break the barrel and the goo wall, go through the house and climb the ladder to the Crane Platform (barrel at the entrance, south-east). Pull the (yellow) lever: a crane lifts a wrecked boat out of the water. Drop onto it. Moreau rams it right away: break the goo fast and get off toward the windmill.
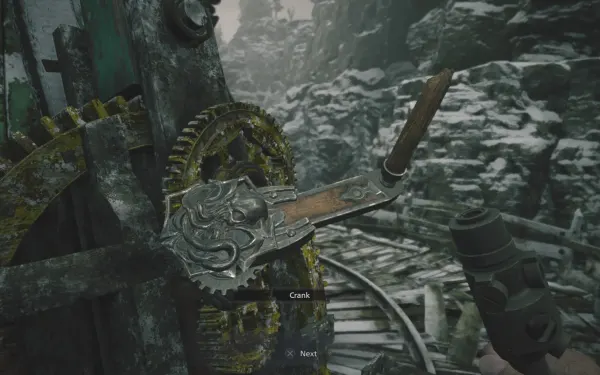
North Windmill: the Crank
Follow the yellow line to the ladder. Break or shoot its padlock and climb. On the platform, on the gear: the Crank. There’s a barrel in the south-west. Examine the broken ladder on the far side first, then use the Crank on the gears: the blades turn and form a ladder. Climb to the top and ride the zipline back to the first windmill. Moreau leaps at you mid-ride.
South Windmill, again. Use the Crank on the yellow gears: the sluice gate gets power.
Gatehouse: the sluice gate puzzle
The coloured paper is rotated 90°. Turn it until the black square sits middle-right, as on the console (it’s the antenna), and copy the colours. The solution, row by row, top to bottom and left to right:
- Top: blue, white, orange.
- Middle: white, orange, black.
- Bottom: orange, blue, blue.
Pull the lever: the reservoir drains. Save first if you haven’t. Take the lower door, right of the console. Moreau crawls off to the right of the mill: follow him.
Flooded House Yard
A barrel to the north. In the house: Moreau’s Diary 1 (file 30) in the drawer of the small desk and the M1911 - High-Capacity Mag. in the case on the table (+8 rounds in the M1911’s magazine). Fit it now. Moreau shows up as you approach the south-east corner of the drowned houses (see “Boss — Mutated Moreau” below).
After Moreau: Underground Study and Submerged Bank
Moreau’s Underground Study. Take the path north into the mine tunnel (Southern Mouth, 2 barrels). In the study: Moreau’s Diary 2 (file 31) on the stool in front of the TV. Examine the winged object on the east table: the Four-Winged Unborn Key becomes the Six-Winged Unborn Key. Cutscene with Heisenberg. Open the nearby gate with the new key.
Submerged Bank (missable). Before you ride the elevator up, go back to the jetty where you took the boat: it’s dry now.
- Walk through the wrecked windmill: in a barrel, Flashbang ×2 (for the GM 79).
- Step out and turn left: Goat of Warding #14 on the trash and debris pile in the west corner.
- In the north-east pool, 2 large fish = 4 Fish.
- In the rowing boat by the pool, a chest: Silver Angel Statue (10,000).
Elevator up. Ride the Windmill Elevator up. It won’t work again: you’ve left the reservoir for good. Up top you’re in the Windmill Yard with the Crank: the yard’s mechanical gate leads to Moreau’s Laboratory (M1851 Wolfsbane and Mermaid Ball). That’s where chapter 9 starts.
Boss — Vârcolac
A giant wolf that patrols East Old Town. It has about 7,000 HP according to the game data. It takes ×2 from almost every weapon anywhere on its body and ×2.4 from explosives. It’s weak to shotgun blasts and explosives. As a rough guide at Standard’s starting rank, each full blast from an unupgraded W870 TAC takes about 760 off it, each Explosive Round about 1,440 and each Mine or Pipe Bomb about 1,800.
- When it sees you or you shoot it, it charges to grab you. The grab can be guarded (L) without damage.
- It doesn’t fit into houses: it claws at doors and windows, gets stuck and loses interest. That’s its vulnerable moment.
- If you stand right at the doorway, it grabs you and throws you out into the street. It can also climb onto roofs.
- Inside the Stable, lay Mines outside the door and outside the window on the opposite wall.
- Climb the ladder to the roof, shoot it with the F2 Rifle to draw its attention and go back down: it climbs roofs too.
- When it squeezes into the doorway or the window, it steps on the Mines. Finish it with the W870 TAC to the face from a couple of steps back (its reach is long), or with the explosive barrel by the door if it’s standing next to it.
- Alternative: don’t fight. Wait until it loses you, run to the Water Mill for the GM 79 and follow the stream.
- Reward: Crystal Beast (20,000).
Boss — Mutated Moreau
Moreau as a giant fish, in the now-drained drowned houses. You start in the south-west area. Around you are several roofed shelters, marked in yellow, and 4 supply points:
- South-west (start): Chem Fluid and Rusted Scrap on a table; barrel.
- West: Rusted Scrap and Shotgun Ammo ×5; barrel.
- North: Mine and First Aid Med on a cabinet, Handgun Ammo ×30, a barrel and an explosive barrel.
- East: Gunpowder, Metal Scrap and Shotgun Ammo ×12; a barrel and an explosive barrel.
One guide mentions a second Mine at the east spot. With 1 Metal Scrap and 1 Rusted Scrap from the floor you can craft another Mine (or a Pipe Bomb from Gunpowder and Metal Scrap) mid-fight.
Weak point: the human Moreau sticking out of the fish’s mouth, from the front only. He has 26,000 HP according to the game data. The human torso takes ×2 from the rifle, ×1.6 from the shotgun and ×1.2 from the handgun; the fish body, between ×0.6 and ×1. Mines do ×3 to him and other explosives ×2. As a rough guide at Standard’s starting rank: an unupgraded W870 TAC blast to the torso takes about 600 off, an Explosive Round about 1,200 and a Mine about 2,250. The game data backs Game8 and PowerPyx: the human torso takes roughly double what the fish body does. Even so, the best time to punish it is when he slumps and leaves it exposed: shoot the mouth, and unload when he goes down.
His attacks:
- Acid spit: he rears back and shows the human “tongue”. A GM 79 shot interrupts it; otherwise run, since he stands still while spitting.
- Charge straight at you.
- Swipe up close that knocks you down.
- Bloating: he swells up, ignores all damage and, once he reaches you, sprays more acid. Run or break line of sight.
- Acid rain: he climbs onto a roof and spews acid into the sky. He does it when he drops below 20,000 HP and again below 8,000. The rain leaves goo walls across the lanes.
- Open from range with the W870 TAC or the GM 79 into the mouth. Shots fired before the fight properly starts count too.
- Shoot the explosive barrels (north and east) when he passes next to them.
- Lay Mines in his path. A good combo: a Mine, then an Explosive Round straight into the exposed part. Explosive Rounds also stun him.
- When he slumps onto his side, empty the shotgun or handgun into the human body, but from a little way off: he swipes as he gets up. Shots to the torso during the recovery after a swipe count as hits on the fish: don’t waste them there.
- When he climbs onto a roof, get under a yellow shelter at once. Afterwards, clear the goo walls on your escape lanes with the Knife or a couple of rounds.
- Repeat until he crystallizes and crumbles.
- Reward: Crystal Moreau (40,000, automatic) and the Fish Out of Water challenge. The Sashimi challenge asks you to kill him in under 1:00 (25,000 CP): it takes a lot of firepower, so it’s easier on a playthrough with upgraded weapons.
Knife only (Knives Out): hit his face again and again and take shelter during the rain; by then he’s nearly dead. On Village of Shadows he lasts much longer (your damage is ×0.20), but his attacks are easy to dodge and the GM 79 still works.
Don’t leave without: the GM 79 · the 4 Fish in the Water Cavern and the 4 in the Submerged Bank · the Gatehouse’s 3 Poultry · the Three-Flavored Mititei cooked · Goats of Warding #12–#14 (South Windmill log pile, the Central Walkway pole, the Submerged Bank debris) · outhouse 10 · files 27–31 · the M1911 - High-Capacity Mag. · the Water Cavern’s Large Crystal and the mine beam’s Crystal Fragment · the Silver Angel Statue · the Photo of a Rare Animal. Everything in the reservoir is lost once you ride the elevator up.