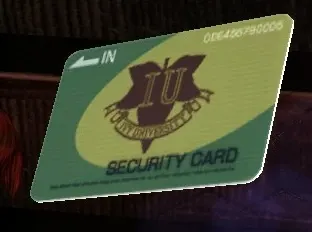
 Campus Keycard Campus Keycard | L1 · Ivy Campus · Subway · Tall Oaks · Gun Shop 1-2 Campus, staff offices: on the shelves in the back room (the red-lit corner), after the alarm hold-out. It is the room after the one with the two openable desks. | Opens the security gate of the campus courtyard (the one with the metal detector). Going through sets off an alarm that draws a horde: do not fight, get to the street, turn right and vault the barricades to the police car at the far end. The zombie next to it wakes as you take it: approach from the left and step left, or be ready to counter. In co-op, one of you shoots the zombies while the other holds the door. The tables by that gate hold a Green Herb and a Red Herb. |
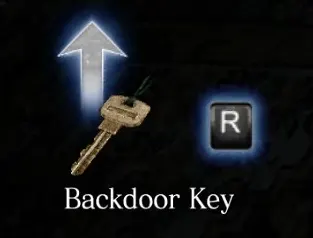 Backdoor Key Backdoor Key | L1 · Ivy Campus · Subway · Tall Oaks · Gun Shop 1-4 The Town, the family house (after the bar and the alleys): on the bodies of the family sitting on the living-room couch, facing the TV news. | Opens the back door of that house. Right behind it, on the dead riot policeman, is the Shotgun: each player picks up their own. One body on the couch revives, and so does the man lying by the locked door. If you skip the Shotgun here, it turns up again in 1-5 Gun Shop, on the shelves by the entrance. |
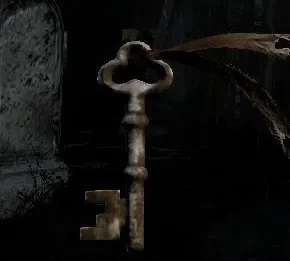 Cemetery Key Cemetery Key | L2 · Cemetery & Cathedral 2-2 Forest Cemetery: it sits in the hut at the top of the slope, but a Zombie Dog grabs it and runs down into the cemetery. It is the red dot on the map: kill the dog to take the key. | Opens the gate by the hut, on the way to the cathedral. Both of you open it together. Packs of dogs roam while you chase it: equip the Shotgun and quick-shot the escorts. Past the gate the hedge maze splits: Leon's route has a Green Herb in a corner by a locked door; Helena's has a Red Herb in a concrete coffin with a lid. The paths merge before the cathedral. |
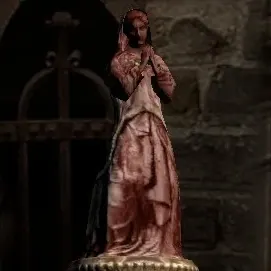 Madonna of Happiness Madonna of Happiness | L2 · Cemetery & Cathedral 2-3 Cathedral: on the pedestal to the right of the altar in the main hall. Examine the altar first. | Red piece. With the Madonna of Charity it goes on the red pedestals at the two ends of the 2nd-floor balcony, one player at each. Opens a door on the ground floor, on the right. To reach the 2nd floor, boost Helena up the broken ladder on the left: she kicks down a ladder by the entrance. In the nave: a Green Herb on the right-hand pews and a First Aid Spray on the middle ones. |
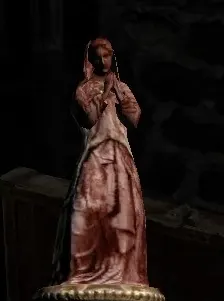 Madonna of Charity Madonna of Charity | L2 · Cemetery & Cathedral 2-3 Cathedral: in a chest in the storeroom on the 2nd floor (on the left, towards the exit). | Red piece: the partner of the Madonna of Happiness on the red pedestals of the 2nd-floor balcony. The far side of that walkway has a Green Herb and a barrel. |
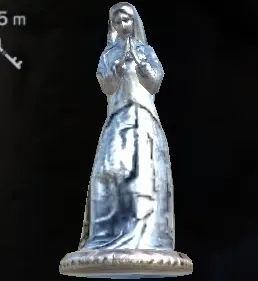 Madonna of Sorrow Madonna of Sorrow | L2 · Cemetery & Cathedral 2-3 Cathedral, upstairs: on the pedestal of the room where you meet up with your partner, after the last laser-mirror room. | Blue piece. With the Madonna of Grief it goes on the blue pedestals at the edge of the 3rd-floor balcony: it opens a secret stairway behind the altar dais. Mirror rooms: each player aims their laser sight at a plate until it glows. In the last one the plate shows in the ceiling mirror; you can also aim at it directly. |
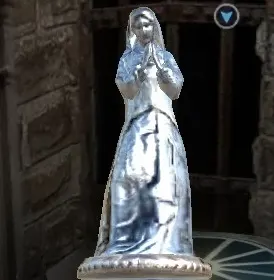 Madonna of Grief Madonna of Grief | L2 · Cemetery & Cathedral 2-3 Cathedral, upstairs: on a pedestal behind bars, next to the corpse holding the Semi-Auto Sniper Rifle. | Blue piece: the partner of the Madonna of Sorrow on the blue pedestals. Placing both opens the way behind the altar and brings on the Lepotitsa. To drop the bars, ring all 5 bells: 3 big ones and 2 small ones on the weathercocks of the towers. Out the right-hand door, turn left: 3 (2 big and the small one on the vane); out the left-hand door, look across: 2 (1 big and the small one). The small ones need the rifle zoom. In co-op, take one balcony each. Loot the 2 barrels across the walkway before you place the pieces. |
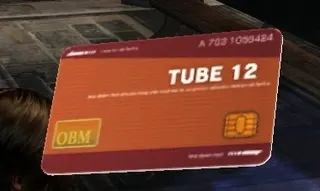 Underground Keycard Underground Keycard | L2 · Cemetery & Cathedral 2-3 Cathedral: next to the Lepotitsa's corpse, once you kill it behind the altar. | Opens the security door at the bottom of the cathedral's secret exit, towards 2-4 Underground Lab. That passage has a chest with 4,000 SP (King (Silver)) on the right, before the double doors you both open together. Kill the Lepotitsa before it infects Jenny and Megan for the I Prefer Them Alive achievement; if you save them, a pew by the altar holds a Green Herb and a Red Herb. |
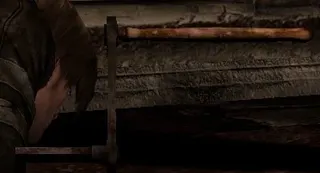 Old Crank Old Crank | L3 · The Catacombs 3-2 Catacombs, Leon's side of the long split (the blue-gem gate): the next gate's panel has no crank. One of the zombies (or armoured zombies) that attack when you reach the panel drops it. | Fit it on the crank-less panel near the spinning blades: it opens Helena's gate. She then opens Leon's last gate. The split: Helena turns the cranks that open Leon's gates (twice, with zombies and a Bloodshot) and can shoot Leon's attackers from her side. Leon snipes the zombie turning the spear-trap crank. At the end of her route Helena finds 2 coffins: the left one holds 5,000 SP, the right one a snake. Leon can walk back down that path afterwards. |
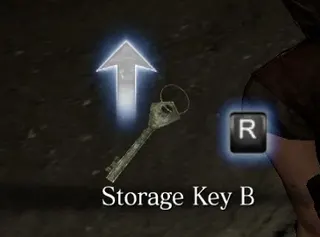 Storage Key B Storage Key B | L4 · The Plane, the Market and the Train 4-3 Market: facing the triple-lock door, go right, round the corner and down the alley past the ladder, to the dead body at the end. | One of the 3 keys for the large door at the far end of the market (with Storage Key C and Storage Key A). Walking up to the door spawns the first Rasklapanje, and every key you pick up spawns another. The butcher shop on the way has 3 crates. |
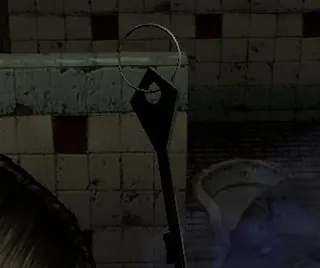 Storage Key C Storage Key C | L4 · The Plane, the Market and the Train 4-3 Market: on the floor of the toilet block in the middle of the market. Climb the ladder in the Storage Key B alley and throw Helena across the gap: she unlocks a door below. Then kick in the red toilet door together. | Second key for the triple-lock door. Through the door Helena opens: right, up the ladder, a 5,000 SP case at the far-left end of the roof; in split-screen only one of you gets it. Back down, a Green Herb across the street by the red light. Taking the key spawns a Rasklapanje. |
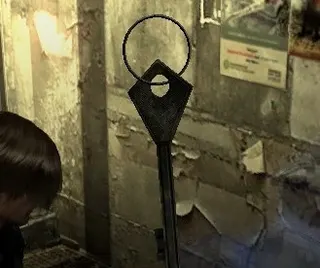 Storage Key A Storage Key A | L4 · The Plane, the Market and the Train 4-3 Market: in the fishmonger storage behind the electrified gate on the fish-store square. The lever that cuts the power is in the small room to its left, behind the counter. Kick the door in together: the key is on the body. | Third key: with A, B and C you open the large door at the far end of the market. It takes a while to unlock; then kick it in together. Take it last: it is the closest to the door and every key gives a checkpoint, so you get one right before the unlock. The back room of the fish store holds a Red Herb and a 2,000 SP case. |
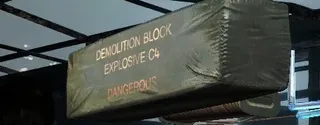 Marco's C4 Explosive Marco's C4 Explosive | C3 · Lanshiang: Poisawan, the Stilt Houses and the Medical Center 3-3 Poisawan Inner Area: after Iluzija, Marco mutates into a Gnezdo; his explosives are left where it falls once you kill it. | Blows open the locked gates in the room where Marco dies. After the scene you head downstairs. Against the Gnezdo: scatter the swarm with the shotgun to expose the queen and empty the gun into her from mid range; only killing the queen ends it. There are 5 crates around. |
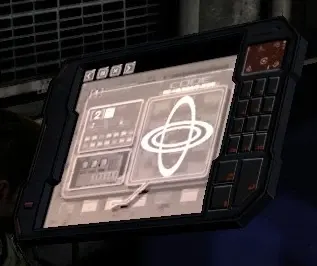 Passcode A Passcode A | C4 · The Aircraft Carrier: Hangars, Bridge and the VTOL - Chris Chapter 4 (4-3 Aircraft Carrier - Forward Hangar): next to the dead Neo-Umbrella J'avo near the door panel.
- Ada Chapter 4 (4-1 Aircraft Carrier - Forward Hangar): carried by the J'avo that shows up near the door once you check the panel. Stealth-kill him. | With Passcode B and Passcode C it opens the Forward Hangar security door. In Chris Chapter 4, interact with the panel 3 times. It is the same door in both campaigns: Ada copies the codes and leaves them for Chris, which is why they lie next to corpses in Chris Chapter 4. In Ada Chapter 4 only Ada can take them (Agent cannot pick up key items), and a Rasklapanje shows up after Passcode A. |
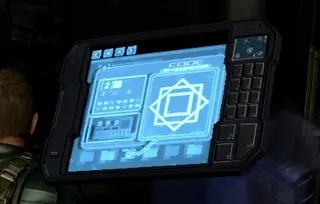 Passcode B Passcode B | C4 · The Aircraft Carrier: Hangars, Bridge and the VTOL - Chris Chapter 4: through the flooded walkway, left, the room on the left, 2nd chamber (the cell). As you open the door, a Rasklapanje drags Chris inside and Piers stays outside.
- Ada Chapter 4: in the rooms that look like a small medical lab. A yellow-eyed J'avo drops it and a Rasklapanje crawls in through the vent and takes it: track it with the objective marker and kill it. | Second code for the Forward Hangar security door. The Chris Chapter 4 split: Chris fights inside the cell (the shotgun works best) and Piers shoots through the bars. The code lies on the floor by the table on the left, in a corner of the room: it is a pickup, so you do not have to kill the Rasklapanje for it to drop. The Rasklapanje comes back after about 2 minutes, so grab the code and leave. |
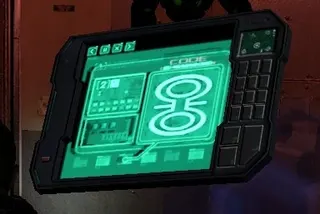 Passcode C Passcode C | C4 · The Aircraft Carrier: Hangars, Bridge and the VTOL - Chris Chapter 4: past the blue vending machines, down to the flooded walkway: 2nd chamber on the right, with a crate. The 1st one on the left has 40mm Acid Rounds but spawns another Rasklapanje.
- Ada Chapter 4: in a crew bunk room on the lower level (the red-lit one); kill the guard. | Third code for the security door. With all 3, go back to the panel. In Ada Chapter 4, 6 J'avo come out of the doors before the crew quarters; afterwards the north rooms and the south rooms each hold an Incendiary Grenade. Guides take the 3 codes in different orders: any order works. |
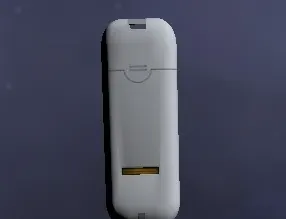 FOS Memory Device B FOS Memory Device B | J2 · The Edonian mountains: the snowy path, the avalanche and the cave 2-1 Mountain Path: south-east of the start; jump a gap and it is by a tree on the slope, with a crate and a barrel. | One of the 3 FOS Memory Devices Sherry loses when the helicopter goes down (the Chinook from chapter 1). With all 3 the first section of Jake Chapter 2 ends. Once you climb the first ladder, a mini-map at the top right marks all 3 with red dots. Guides disagree on which letter sits at which dot: follow the mini-map. The snow does not affect the J'avo snipers: move from cover to cover. |
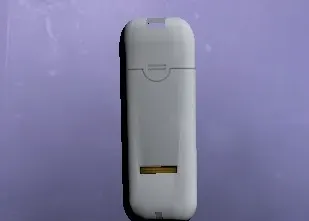 FOS Memory Device A FOS Memory Device A | J2 · The Edonian mountains: the snowy path, the avalanche and the cave 2-1 Mountain Path, timber yard: on the ground by the crane (the backhoe), next to a barrel. The emblem is in the cab of that same machine. | Second of the 3 devices. The yard has J'avo on snowmobiles: kill a rider and you can drive the snowmobile to the next device. |
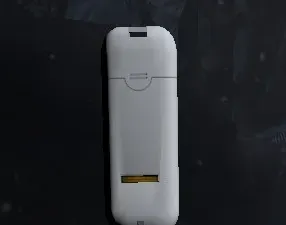 FOS Memory Device C FOS Memory Device C | J2 · The Edonian mountains: the snowy path, the avalanche and the cave 2-1 Mountain Path, north-west: on the rock by the small hut (climb it from the right). The corpse turns into Mesets as soon as you take it. | Third device: all 3 give the "Recovered all the lost data" medal and the chapter moves on. Inside the hut: a box with 4,000 SP (King (Silver)) and 2 Flash Grenades. A Flash Grenade kills Mesets outright. The hut has only 1-2 ways in: a good spot to hold off the Mesets. |
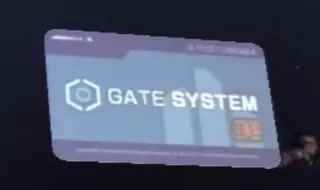 Mine Keycard Mine Keycard | J2 · The Edonian mountains: the snowy path, the avalanche and the cave 2-3 Cave, the big open-top ice cave with the Ustanak patrolling the centre: on the body on the far side. | Opens the security door of the ice cave. Behind it are 4 heavy wheel doors in a row with the Ustanak right behind you: turn, open and repeat without stopping. Split the jobs: Jake plants a Remote Bomb far away (there are 4 Remote Bombs on the right side of the area) and detonates it to draw the Ustanak; Sherry goes up the broken ladder (Jake boosts her) and takes the card. Do not walk on the ice at the start. |
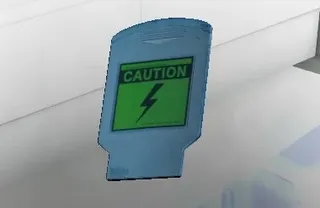 Switchboard Key Switchboard Key | J3 · The Neo-Umbrella Facility: the Cells, the ID Medals and the Tank 3-1 Research Facility - Detention Center, Jake's route: dropped by the last J'avo you kill in your cell at the start of the chapter. Jake is unarmed: charged punches and ground finishers. | Use it on the switchboard box on the wall: it cuts the power and Jake and Sherry get out of their cells. Long split: Jake stays unarmed through the machinery room and reaches the camera booth (cameras 1 and 3 have guns) to cover Sherry; she sneaks past patrols on a route with no items at all. Jake enters the code at terminal 2, Sherry at terminals 3 and 4. |
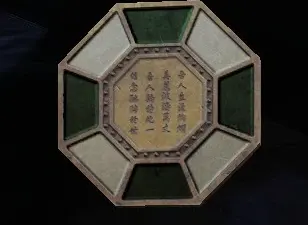 ID Medal ID Medal | J3 · The Neo-Umbrella Facility: the Cells, the ID Medals and the Tank 3-2 Research Facility - Living Quarters: 16 in all. 8 preset: back shelves of the library (upstairs), under the left table of the smoking lounge (blow it up with a Remote Bomb: the gold jar in that same room always holds one), the desk by the bed in the bedroom, the piano (play it), above the study fireplace, the small fountain, behind the cart blocking the door in the pool room, and the tunnel under the statue at the bottom of the pool. The other 8 drop from J'avo and Strelats in the waves. | They go into the statue in the main hall: 3 open the first wing; 10 open the way to the comms room (the minimum to finish the chapter); 16 raise the north gate: Bear Commander, 2 crates and a chest with 2,000 + 300 + 300 SP. Take the enemy drops before the preset medals: once you have enough, the game may stop spawning medal carriers. All 16 give the "Found all ID medals" medal. One guide says the Bear Commander comes anyway at the end of the chapter without all 16; unconfirmed. |
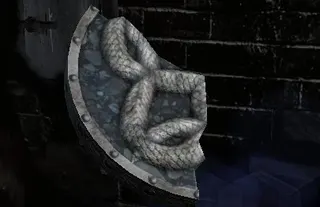 Simmons Family Crest Piece A Simmons Family Crest Piece A | A2 · The Forest Cemetery, the Simmons Crypts, Deborah and the Underground Lab 2-1 Forest Cemetery: go down the passage the moved gravestone opens and follow it to the dead end: a chest with a gold padlock. Shoot the padlock. | One of the 3 pieces of the crest on the Simmons crypt door in the cemetery. Inserting it opens another crypt with the puzzles for pieces B and C (examine the door 2-3 times if you cannot see it). It is a trap: the room locks and 3 zombies attack. Agent cannot pick up key items or solve puzzles: in the whole crypt Ada does everything and Agent fights. |
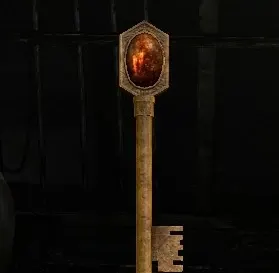 Amber Key Amber Key | A2 · The Forest Cemetery, the Simmons Crypts, Deborah and the Underground Lab 2-1, crypt: in the 3-storey body-bag chamber, go upstairs, shoot the lock holding up the bridge and cross it: the green-lit chest. | Opens the green-lit door below: the gallows room. The gallows room has the Sniper Rifle, by the lever. Endless ammo: shoot the padlocks of the hanging bodies and they drop ammo; they are replaced over and over (Item Drop Increase helps). |
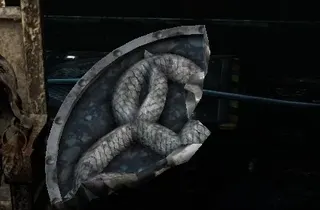 Simmons Family Crest Piece B Simmons Family Crest Piece B | A2 · The Forest Cemetery, the Simmons Crypts, Deborah and the Underground Lab 2-1, gallows room: as you enter, the chest (purple light) drops down a hole. To open the trapdoor, slide the lever along its track to the right (twice) until it sits under the closest body, then shoot that body's clasp: the corpse's weight holds the lever down. Drop in and open the chest. | Second piece of the crypt crest. Leaving starts the electric-chair circuit: push the 2 chairs onto their metal plates and knock the zombie that drops in onto the 3rd plate (shoot or punch it while it stands on it; walking over it does not count). The door opens. |
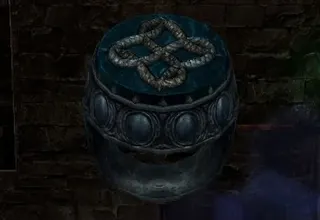 Simmons Family Ring Simmons Family Ring | A2 · The Forest Cemetery, the Simmons Crypts, Deborah and the Underground Lab 2-1, crypt: back in the body-bag chamber, pull the (now powered) lever: the gate opens and 3 armoured zombies drop in. That room's floor is a trapdoor: pin them to the far wall with Crossbow bolts (normal arrows) so you can cross to the purple chest. | Place it on the plaque on the far wall of the gallows room: it opens the purple door. Story Intersection: during the Deborah fight (Ada Chapter 2, 2-2 Altar Corridor = Leon Chapter 2, 2-7) Ada hands it to Leon, and in Leon Chapter 3 (3-1 Altar Corridor) Leon uses it on the serpent door. Medals: "Acquired Simmons' ring" and "Gave Simmons' ring to Leon". In Leon Chapter 3, after using the ring, hold out against the waves until the door unlocks itself: the crank by the door fires bursts of flame across the bridge the zombies come over. |
 Skull's Red Eye Skull's Red Eye | A2 · The Forest Cemetery, the Simmons Crypts, Deborah and the Underground Lab 2-1, second crypt: examining the skull makes 2 hooded zombies run off. The one with the eye takes the left route (zipline, traps, spinning blade). Kill it; you can shoot it from inside the tunnel. | Completes the skull by the sealed door, together with the Skull's Gold Tooth. The blades kill in one hit: when you land next to one, crawl-sprint forward and round the corner. The vent holds 2 acid-spitting zombies and a Whopper: stop in the tunnel after the left-right bend and let the blade deal with the Whopper. This route has more ammo: do it first if you are short. |
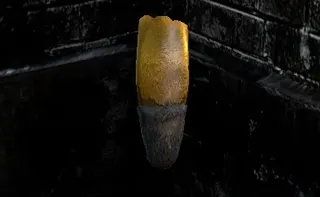 Skull's Gold Tooth Skull's Gold Tooth | A2 · The Forest Cemetery, the Simmons Crypts, Deborah and the Underground Lab 2-1, second crypt: the other hooded zombie goes up the ladder. There are 3 zombie rooms (the 1st with a dynamite zombie; the 2nd and 3rd with a Shrieker each). The tooth carrier is in the 3rd. | The other skull piece: with both, the sealed door opens. Kill the Shriekers fast with the shotgun. In the 3rd room, shoot the bloated orange-chested zombie: it deflates and knocks the others down. The two routes can be done in either order. |
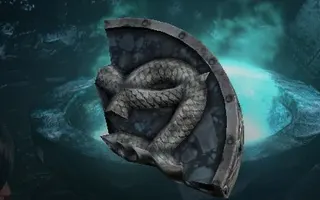 Simmons Family Crest Piece C Simmons Family Crest Piece C | A2 · The Forest Cemetery, the Simmons Crypts, Deborah and the Underground Lab 2-1, second crypt: in the chest behind the door the completed skull (eye and tooth) opens. | Third piece: with A, B and C you open the Simmons crypt door in the cemetery. Grapple out and take the ladder back up. Once the crypt is open and you drop down the hole, turn round and look up: the emblem is in the ceiling corner. |
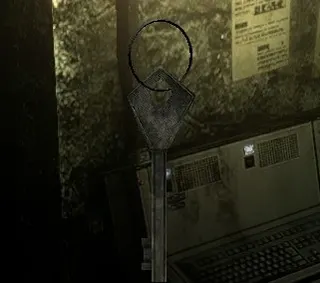 Laboratory Key Laboratory Key | A2 · The Forest Cemetery, the Simmons Crypts, Deborah and the Underground Lab 2-3 Underground Lab, the cell block with the half-open gates and several Whoppers: on the ground next to the dead lab tech in the middle room (by the north wall). | Opens the metal gate at the far end of the fenced area; then grapple up. The half-open gates do not hold the Whoppers back: stun them through the calves, then shotgun the head; Arrows (Pipebomb) help a lot. Next comes another Whopper with double health, and a Napad bursts through a door: its room has 4,000 SP. |
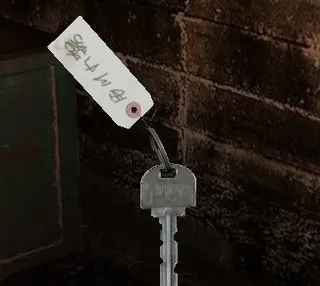 Back Street Key Back Street Key | A3 · Lanshiang: the Night Market, the Ubistvo, the Bus, the Train and the Stilt Houses 3-2 Shopping District, the courtyard full of zombies (about 8): next to a dead body on the far side. A zombie wakes when you take it. | Opens the door at the end of the courtyard street. When you use it, the Ubistvo steals it: knock it to its knees 3 times and melee it each time (round 1) to get it back. Clear the courtyard before taking it and have Incendiary Grenades ready: grabbing zombies keep dropping in during the fight. The courtyard has a 2,000 SP box in the corner and a Green Herb. In Ada's campaign the Ubistvo's chainsaw kills in one hit: dive sideways and hit it from range (Sniper Rifle, Arrows (Pipebomb)). |
 Green Herb
  Red Herb
  Herb (G+G)
 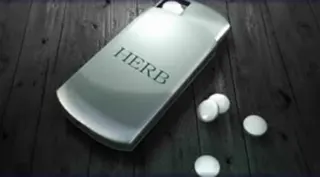 Health Tablet
 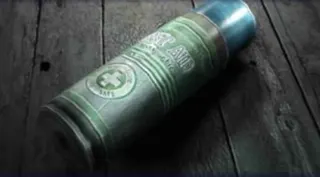 First Aid Spray
 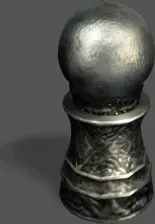 Pawn
Pawn 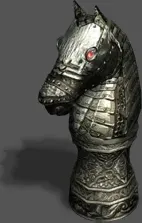 Knight
 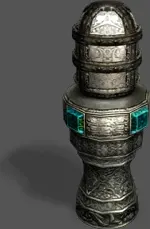 Bishop
 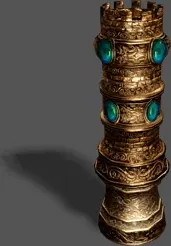 Rook (Bronze)
 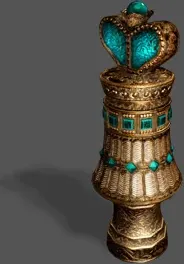 Queen (Bronze)
 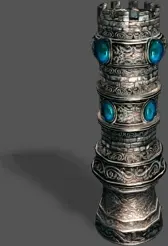 Rook (Silver)
 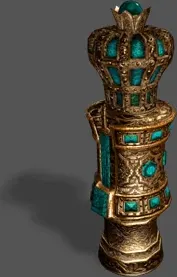 King (Bronze)
 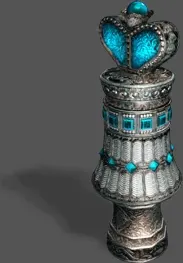 Queen (Silver)
 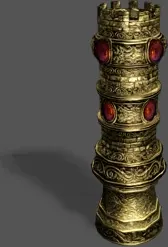 Rook (Gold)
 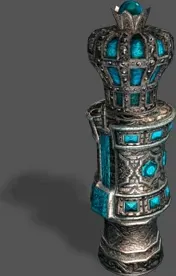 King (Silver)
 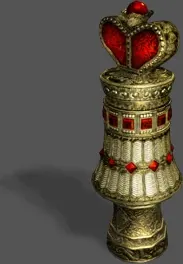 Queen (Gold)
 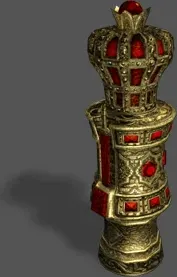 King (Gold)
 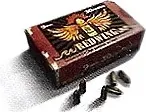 9mm Ammo
 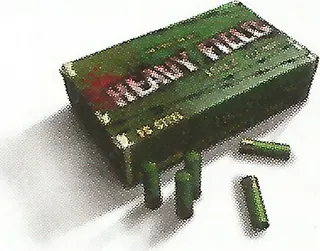 12-Gauge Shells
 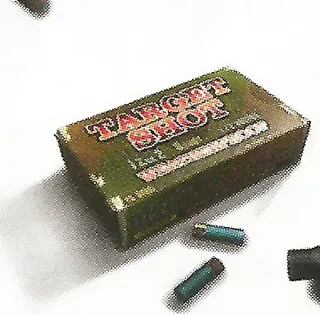 10-Gauge Shells
 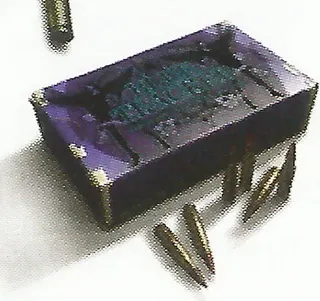 5.56mm NATO Ammo
 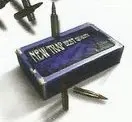 7.62mm NATO Ammo
 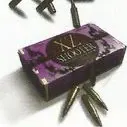 12.7mm Ammo
 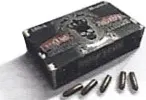 .50 Action Express Magnum Ammo
 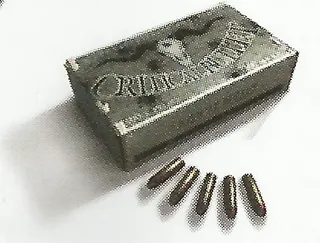 .500 S&W Magnum Ammo
  40mm Explosive Rounds
 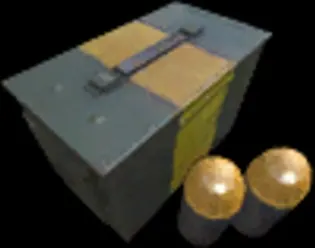 40mm Acid Rounds
  40mm Nitrogen Rounds
  Arrows (Normal)
  Arrows (Pipebomb)