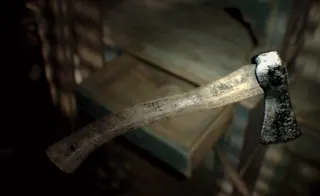
- Damage
- 100 swing / 150 heavy swing (aim + attack)
- Slots
- 1
- Ammo
- none
Verdict Mandatory in the prologue: nothing to decide.
Every weapon with where to get it, its stats, its upgrades and whether it is worth the slot.
Verdict Mandatory in the prologue: nothing to decide.
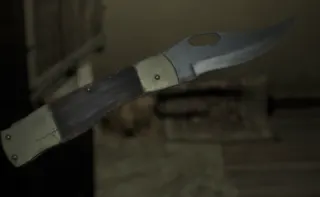
The deputy hands it to you through the window at the SW end of the Main Corridor (Main House 1F), after you search the Laundry Room. You need it to cut the tape on the shutter switch in Garage Entry.
Verdict Crate-opener and bug-swatter: never fight Molded with it.
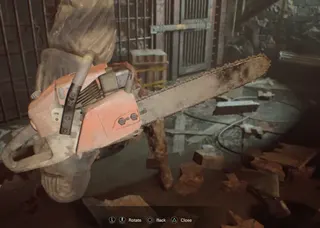
Verdict The one weapon built for Morgue Jack: grab it the moment the mesh opens.
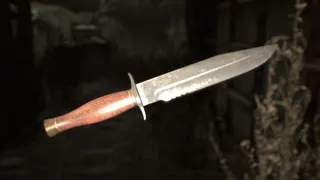
Wrecked Ship 2F, Main Corridor: stuck in the upside-down table opposite the elevator (you are playing Mia). Madhouse: 1F, Recreation Room (Corrosive door), on the table-tennis table. It goes to Ethan's Item Box with the rest of Mia's gear.
Verdict Replaces the Knife in ch07-ch08 for its reach; its damage with Ethan is unconfirmed.
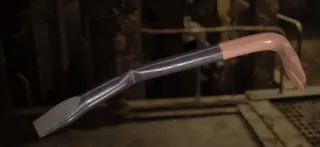
Verdict Scripted weapon for the Mia fight (700 HP); it disappears afterwards.
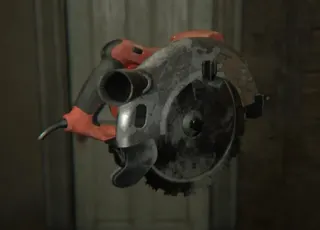
Finish the game in under 4 hours on any difficulty (Easy is fine). It appears in the Item Box of every save; if you discard it, it goes back to the box.
Verdict The best weapon in the game: do the under-4-hours run before Madhouse.
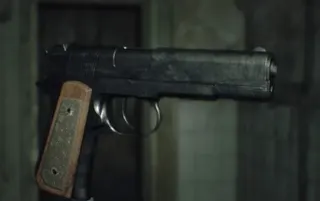
First time: Guest House 3F, Store Room A, on the table (the room off the corridor up to the attic). It is taken away when the prologue ends. Second time: combine the Broken Handgun with a Repair Kit. On Easy and Normal the Broken Handgun is on the bed in Zoe's trailer (Yard, ch03); on Madhouse, in Old House (West) 2F, Potting Room, table in the NE corner.
Verdict Best standard handgun per bullet (+20% over the G17): worth a Repair Kit, since there are two.
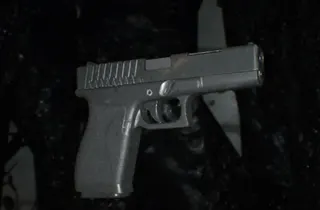
Main House 1F, Garage: on the floor next to the deputy's body, during the first Jack fight. If you do not take it during the fight, it moves in front of the ladder and you must pick it up to progress.
Verdict Your workhorse from ch02 to the end on Normal: the most practical gun against regular Molded.
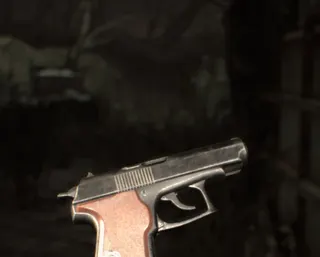
Easy and Normal: Wrecked Ship 1F, Maintenance Room, in the desk drawer the dead man is reaching for; it holds only 2 rounds. Madhouse: 3F, Sick Bay, desk SE. It goes to Ethan's Item Box with the rest of Mia's gear.
Verdict Mia's sidearm; for Ethan it is a G17 with one round less: leave it in the box.
Verdict Not your choice: shoot Eveline's mouth and face when the tendrils move aside.
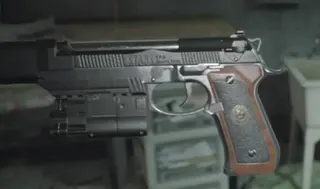
Finish the game once on any difficulty. It appears in the Item Box of every save, including saves in progress. The campaign's first Item Box is in the Laundry Room (ch02).
Verdict On any new run it replaces the G17 and the M19 as your main gun.
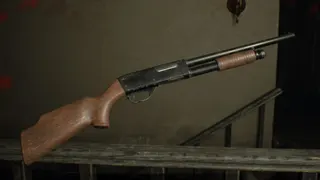
Main House 1F, Display Room (south of the Main Hall), in the statue's arms. Taking it locks the room until you put back something of the same weight: the Broken Shotgun (Main House 2F, Grandma's Room, propped against the boxes by the door; needs the Scorpion Key) or, later, the Model Shotgun. It comes empty. Madhouse: the Model Shotgun is in the Processing Area Dissection Room, and the Scorpion Key costs 3 Antique Coins in a Main Hall birdcage.
Verdict Your answer to close Molded and to Jack in ch02-ch05; swap it for the M21 once you have it.
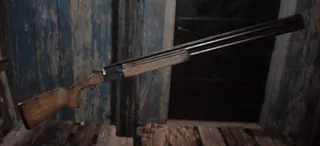
Combine the Broken Shotgun with a Repair Kit. Two routes: - Keep both shotguns (recommended): in ch02, leave the Broken Shotgun in the Display Room statue to take the M37. In ch04, get the Model Shotgun (Main House Attic, metal shelves in the SE corner; reached from the 2F Kid's Room with the Snake Key and the red button under the lampshade), swap it into the statue for the Broken Shotgun and repair that. - Repair it right away in ch03 with the first Repair Kit (under the Main House porch): you lose the M37 until you have the Model Shotgun. Madhouse: the Model Shotgun is in the Processing Area Dissection Room from ch02.
Verdict The best shotgun: 11% more damage per shot, more reach and more knockback. Worth the Repair Kit.
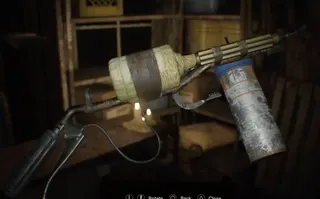
Combine two Old House parts: the Burner Grip (1F, Back Porch, in the trash bin opposite the doors from the Gallery) and the Burner Nozzle (1F, Water Station, on the table opposite the door). Same spots on every difficulty.
Verdict Carry it through the Old House and the Greenhouse (ch03), then leave it in the box after Marguerite.
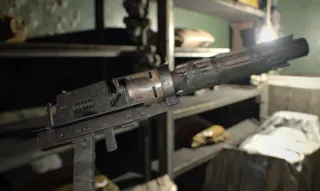
Easy and Normal: Main House 1F, Supplies (the crow door in the Drawing Room; needs the Crow Key from the Old House), on the white tarpaulin opposite the door. Madhouse: in Zoe's trailer (Yard), on the bench opposite the door. If you never pick it up, it turns up in the Swamp Mine Office (ch07).
Verdict Pick it up (it is free) and spend the rounds on Fat Molded and Crawler groups, not on Marguerite.
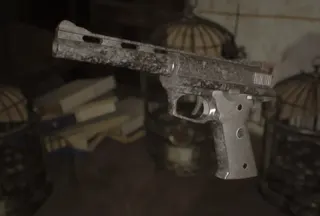
Verdict Worth the 9 coins on Normal (there are enough for all three cages): save it for Mutated Jack's eyes, the Fat Molded and Eveline.
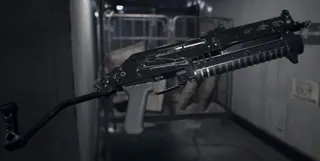
Wrecked Ship 4F, Captain's Cabin: locker in the SE corner, with 1 Remote Bomb. Needs the Captain's Cabin Locker Key (Wrecked Ship 2F, Bunk Room, south half behind a Corrosive door). Mia starts the Old Videotape with another P19, but that one does not carry over.
Verdict The best weapon for ch07: +100% against Fat Molded and +25% against Crawlers.
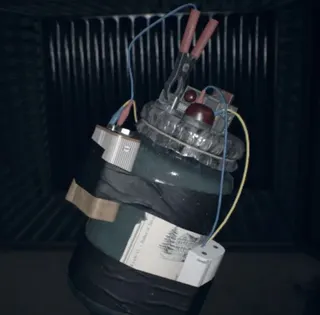
First found in the Old Videotape (8 on Normal, they do not carry over). The present-day Wrecked Ship has 15 more (2 of them in a Cargo Bay wall panel, S2, opened with Corrosive) and the Salt Mines 4: Crossroads 2, South Cavern 1 and Spiralling Cavern 1.
Verdict Hoard the present-day ones: they go to Ethan's box and pay off most in the Salt Mines.
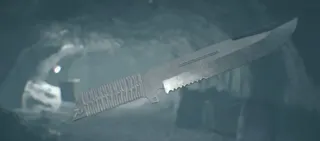
Chris's starting inventory on every difficulty.
Verdict For finishing, breaking crates and Little Crawlers; on Professional it is all you start with.
Easy and Normal: starting inventory. Professional: Mine Cart Yard, Departure Yard, on the barrel in the NW corner (past the laser traps only the Night Vision Device shows).
Verdict The RAMROD gun: save them for white Molded, the Mama Mold and Lucas.
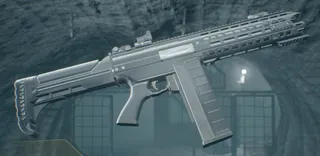
Easy and Normal: starting inventory. Professional: Mine Cart Yard, Ventilation Room, metal shelves in the NE corner.
Verdict Your main gun in Not a Hero: a semi-auto shotgun with 12 shells.

3 in the starting inventory, the rest spread through the mines: 12 in total on Normal (Easy 14, Professional 15).
Verdict For groups, and to stun the Mama Mold while you turn the crank.
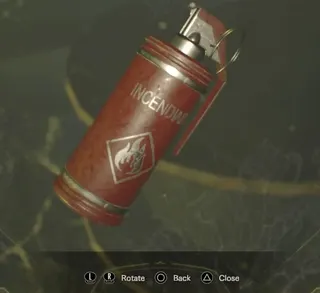
Spread through the mines: 8 on Normal (Easy 8, Professional 11).
Verdict The hardest-hitting grenade: save it for Lucas.
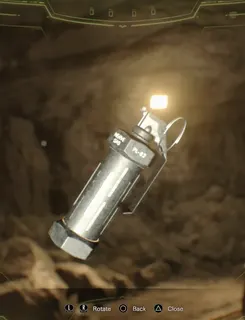
Spread through the mines: 6 on every difficulty.
Verdict Little damage, but it stuns and kills Little Crawlers: use it to make room.

Joe fights with his fists from the start.
Verdict Your main weapon: strong combo to the head and a stomp on whatever drops.
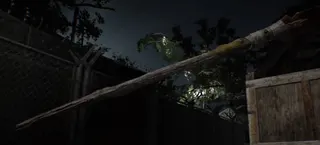
Scrap Metal + Tree Branch. There are also 18 placed on Normal (9 on Joe Must Die); the first is stuck in the crate stack in the W corner of the Camp, at the Base.
Verdict Essential: it is the only thing that kills alligators. Have one ready before you go into the water.
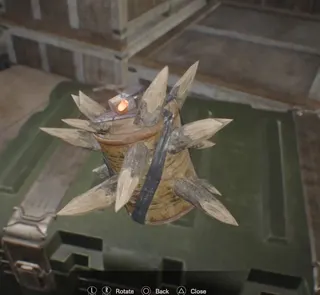
Chem Fluid + Tree Branch. One is placed in Quarantine Area 2, Stilted Cabin 1.
Verdict Chem Fluid is worth more as a First Aid Med: craft bombs only from spares.

Joe Must Die only: 28 placed through the episode.
Verdict A tool, not a weapon: use it to set off traps from afar and to lure enemies.
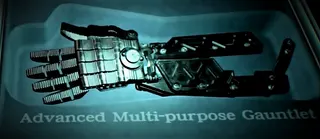
Baker Estate, Swamp, Forest Path: in the weapons case in the clearing on the west side (the crashed BSAA dinghies). It is the story weapon of the final stretch.
Verdict The only thing that hurts the Swamp Man in the final fight: charged punches to the head.
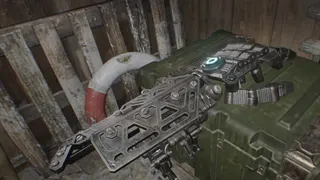
Finish End of Zoe on Normal or Joe Must Die. It is in the Item Box from the start of the next run.
Verdict A gauntlet from minute one of your next run; in the Extreme Challenges it speeds up the timer.
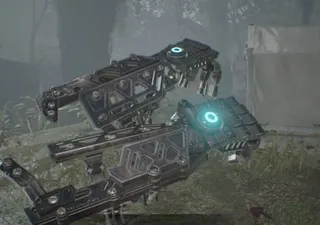
Finish End of Zoe on Joe Must Die. It arrives in the Item Box with 50 Cassette Tapes.
Verdict The Joe Must Die prize: two chargeable gauntlets.
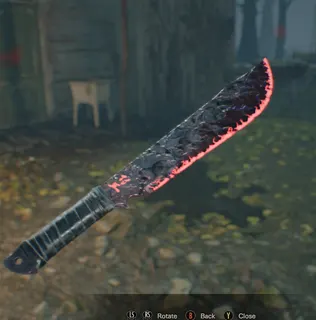
Clear every Normal Extreme Challenge. It appears in the Item Box.
Verdict Replay weapon that heals you with every hit.
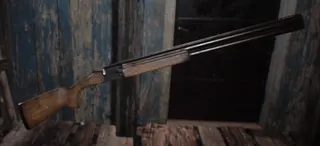
Finish End of Zoe on any difficulty (Easy or higher). It appears in the Item Box: on Normal with 2 shells loaded and 5 more in the box (7 in total); on Joe Must Die with 2 loaded and 1 more in the Paddle Boat 1F air duct.
Verdict With so few shells it is a lifeline for Twin Blades and emergencies, not a main weapon.
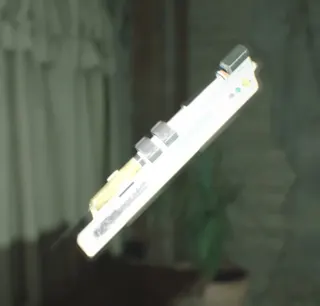
+100 max health each, for the whole run: 1000 → 1100 → 1200 → 1300 → 1400 with all four. It also heals you when used. It does not count as healing for the “Walk it Off” challenge.
4 on every difficulty: - Main House 1F, Drawing Room: behind a fireplace stone (the large one on the right). You must have carried the fireplace Treasure Photo (Processing Area, Meat Storage, metal shelves NW). From the end of ch02. - Zoe's trailer (Yard), birdcage on the bench opposite the door: 3 Antique Coins (ch03). If you leave it closed, it reappears in the Swamp Mine Office (ch07). - Testing Area 1F, Fertilizer Room (the tripwire room): locker in the NW corner (ch04). - Salt Mine B3, Cultivation Room: on the floor by the bathtubs (ch07). · 3 Antique Coins (the birdcage one only)
Take them all; the birdcage one is the best buy in the trailer: 3 coins before the Greenhouse.
Card →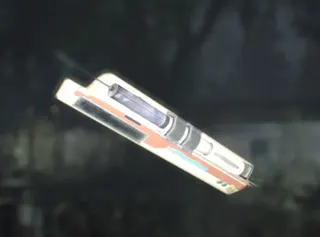
Faster reloads with every weapon, for the whole run: reload speed x1.0 → x1.2 → x1.4. With both, each reload takes about 71% of its base time. Stacks with the Reload Coin.
2 on every difficulty: - Zoe's trailer (Yard), birdcage on the bench opposite the door: 5 Antique Coins (ch03). If you leave it closed, it reappears in the Swamp Mine Office (ch07). - Yard, Courtyard: silver chest in the half-hidden SW corner; opened by the Toy Axe shadow puzzle (ch04). · 5 Antique Coins (the birdcage one only)
Buy it on your first trailer visit, along with the Steroids: you feel it with the M21 Shotgun and the Grenade Launcher.
Card →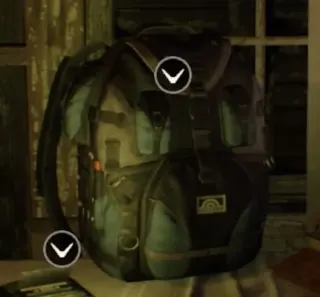
+4 slots each (one more row). The grid starts at 3 x 4 = 12 slots, with the top row holding the D-pad weapons, and can reach 24. Whether the backpack Mia picks up also enlarges Ethan's inventory is unconfirmed. All three earn the “In the Bag” award.
3, in the same spots on every difficulty: - Old House 1F, Old Shack (the safe room left off the Gallery walkway): desk opposite the door, by the tape recorder (ch03). - Main House 2F, Storage (the closet off the Master Bedroom; Snake Key door): on top of the luggage rack opposite the door (ch04). - Wrecked Ship 1F, Recreation Room (Corrosive door): bench next to the door; Mia picks it up (ch06).
Essential: the first one arrives just as the Burner (2 slots) comes into play.
Card →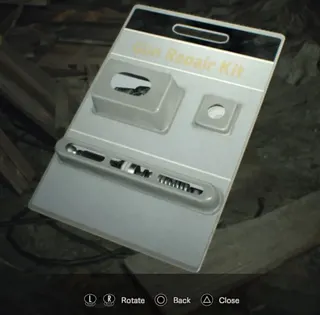
Turns the Broken Handgun into the M19 Handgun and the Broken Shotgun into the M21 Shotgun. Nothing else uses it.
2 on every difficulty: - Yard, Courtyard: in the crawlspace under the Main House porch; peel back the corrugated iron sheet between the two sets of steps and break the box (ch03). Madhouse: under the boarded-up window in the half-hidden SE area. - Testing Area 2F, Supply Room: examine the dummy head with the hat on top of the cages (NE corner) while carrying the dummy-head Treasure Photo (Main House 2F, Storage, on the stool NE) (ch04).
There are enough for both: the first on the Broken Handgun (ch03), the second on the Broken Shotgun (ch04), once you get it back from the statue with the Model Shotgun.
Card →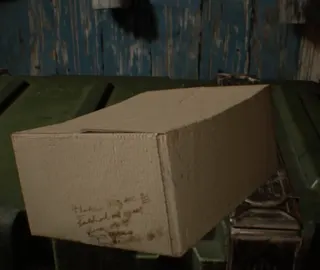
Opened from the inventory, once, and the contents go into the inventory: - Recovery Set: 2 Herb, 1 First Aid Med, 1 Strong First Aid Med. - Handgun Set: Gunpowder, Handgun Ammo and Enhanced Handgun Ammo. - Shotgun Set: Shotgun Shells and First Aid Med. - Action Set: 44 MAG Ammo, Flame Rounds, Solid Fuel, Gunpowder, Herb and Lock Pick. - Chem Fluid Set: Psychostimulants, Chem Fluid and First Aid Med. - Burner Set: Solid Fuel and Burner Fuel. Except for the Recovery Set, quantities are unconfirmed. Whether they come back in a new save is unknown too: treat them as single-use.
6 boxes in the Item Box from the campaign's first one: Main House 1F, Laundry Room (ch02). Bundled with the Switch 2 Gold Edition.
Open the Recovery Set and Handgun Set early (for the Jack fights); keep the Action Set and Burner Set closed until you own the 44 MAG, the Grenade Launcher and the Burner.
Card →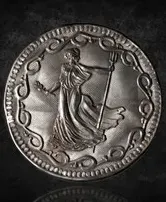
+6% damage while carried (some sources say +8%). Stacks with the Universal Coin and the Assault Coin. It raises HP damage only, not knockdown damage. Also works in Not a Hero.
Item Box, from the Main House Laundry Room (ch02). If you discard it, it returns to the box.
Carry it from ch02 if you have a slot: the Normal ceiling is +8% with the Universal Coin.
Card →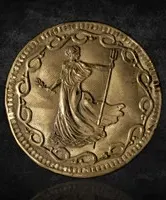
Slightly reduces the damage you take (amount unconfirmed). Also works in Not a Hero.
Item Box, from the Main House Laundry Room (ch02). If you discard it, it returns to the box.
On a first run, with the Universal Coin, it is your only passive defense until you own the defense books.
Card →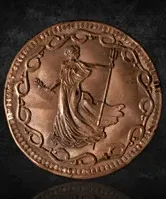
More knockback: raises stun, limb and head-pop damage (amount unconfirmed). Also works in Not a Hero.
Item Box, from the Main House Laundry Room (ch02). If you discard it, it returns to the box.
A luxury: carry it only when you have slots to spare.
Card →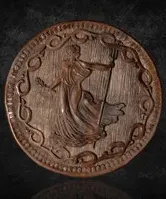
A bit of everything: +2% damage, slightly more defense and knockback (those two amounts unconfirmed). Also works in Not a Hero.
Item Box, from the Main House Laundry Room (ch02). If you discard it, it returns to the box.
The best pick if you have a single free slot in ch02: attack, defense and knockback in one.
Card →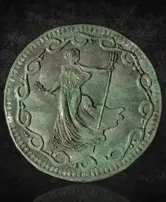
Faster reloads (amount unconfirmed). Stacks with the Stabilizers. Also works in Not a Hero.
Item Box, from the Main House Laundry Room (ch02). If you discard it, it returns to the box.
Lowest priority: the two Stabilizers already do this job.
Card →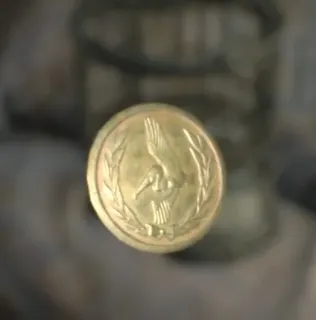
+15% damage while carried. With the Attack Coin and the Universal Coin, +23%.
Madhouse only: Main House 1F, Main Hall, birdcage on the arm of the sofa (the left one facing the courtyard door). Only the Fandom wiki says the Main Hall cages later move to the Swamp Mine Office (chapter 7); Evil Resource only places them here: it is unconfirmed, so do not count on that second chance. · 8 Antique Coins
The best damage per coin on Madhouse.
Card →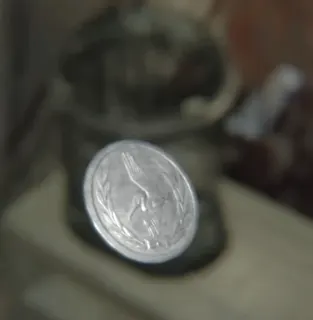
Stronger version of the Defense Coin (amount unconfirmed).
Madhouse only: Main House 1F, Main Hall, birdcage on the small wooden unit (the middle one). The Fandom wiki says it later moves to the Swamp Mine Office (chapter 7); no other source confirms it. · 7 Antique Coins
Madhouse has 33 coins for 35 coins' worth of cages: skip this one or the Stabilizer.
Card →
While carried, guarding cuts damage to 1/8 instead of 1/4. With The Essence of Defense as well, blocked hits do no damage.
Finish the campaign on Normal (or Madhouse). It appears in the Item Box of every save.
Essential for Madhouse, which is why your first run should be on Normal rather than Easy.
Card →
Same effect as The Secrets of Defense: guarding at 1/8. With both, blocked hits do no damage.
Destroy all 20 Mr. Everywhere (the count carries across runs). It appears in the Item Box.
Get it before Madhouse: with both books, blocking cancels the damage.
Card →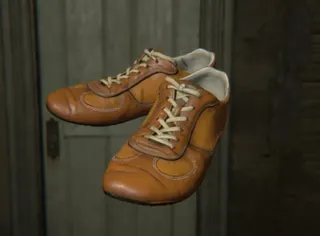
Faster walking, crouch-walking included. Running is unchanged.
Destroy all 20 Mr. Everywhere. They appear in the Item Box.
A replay comfort; only if you have a slot to spare.
Card →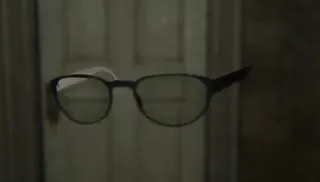
Permanent Psychostimulants effect while carried: nearby items and Mr. Everywhere get an on-screen marker. They cannot be discarded: they go back to the box. In Ethan Must Die they also show whether a crate is trapped.
Finish the campaign in under 4 hours, on any difficulty (the same condition as the Circular Saw).
Very useful on a collectibles run or on Madhouse, where items sit in other places.
Card →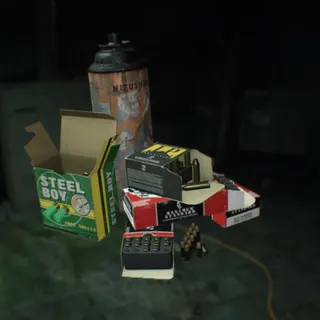
While carried, no weapon uses ammo (Enhanced Handgun Ammo and Grenade Launcher rounds included), except the Remote Bombs. You no longer need to carry ammo. Nightmare has its own version (10,000,000 points; crafting it multiplies your score by 0.01).
Finish the campaign on Madhouse. It appears in the Item Box; if you discard it, it comes back.
The final prize: with the Albert-01R and unlimited Enhanced Handgun Ammo, every shot hits for 600.
Card →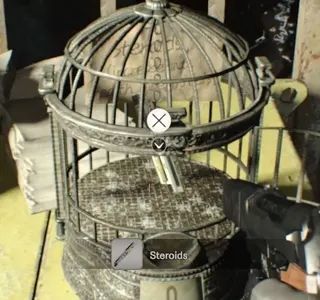
More max health for Chris for the episode (amount unconfirmed).
Easy and Normal: birdcage on the SW platform of the Central Cavern (3 Antique Coins) and a barrel in the SW corner of the Dead End (Mining Work Area). Professional: the birdcage only, for 4 coins. · 3 Antique Coins (4 on Professional)
A must-buy on Easy and Normal: 10 coins cover both Steroids and Stabilizer.
Card →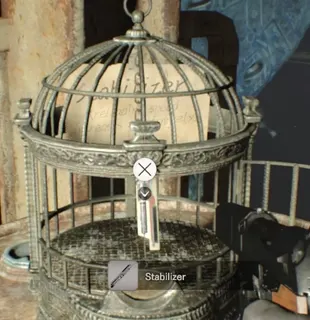
Faster reloads for Chris for the episode (amount unconfirmed).
Easy and Normal: birdcage on the SW platform of the Central Cavern (5 Antique Coins) and Storage Area, Store Room West (small round container on the floor). Professional: the Store Room West one only. · 5 Antique Coins (the birdcage one only)
Buy it with the coins left after the Steroids: the Thor's Hammer - AW Model-02 reloads 12 shells.
Card →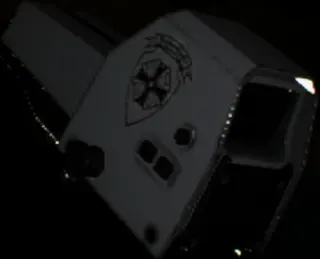
Much more damage and more accuracy for the Thor's Hammer - AW Model-02 (2100 → 2940 per shot on Professional).
Professional only: birdcage on the SW platform of the Central Cavern. Not a permanent unlock: you collect the coins again on every Professional run. · 6 Antique Coins
The right buy on Professional: Steroids (4) + Sight C (6) = all 10 coins.
Card →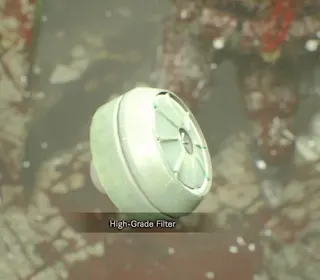
Fits onto the helmet by itself: you breathe without losing oxygen in mold-spore areas (most of the Storage Area). In Lucas's phase 2 your oxygen drops even with it.
Mining Work Area, Cell: from your beheaded teammate's head, after Lucas's trap.
Mandatory: without it you cannot cross the Storage Area.
Card →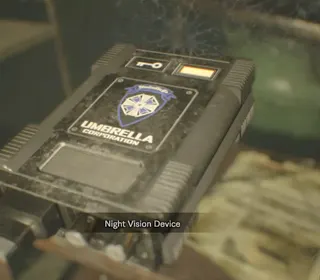
Switches on by itself in the dark. Shows the infrared beams of the Mine Cart Yard laser traps and opens the north door of Section (E2). Taking it activates new gun turrets in the Storage Area.
Storage Area, Backup Power Room: small metal shelves in the NE corner.
Mandatory; once you take it, expect turrets on the way back.
Card →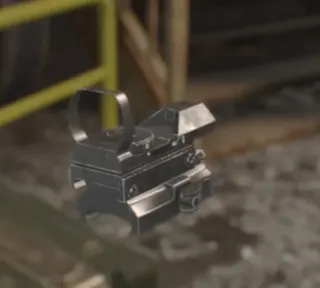
Much more damage at the cost of accuracy: 3000 → 3600 per shot on Normal.
Finish Not a Hero on Normal. It appears in the episode's Item Box.
Fit it on any replay: the shotgun is used up close, where accuracy matters less.
Card →
Infinite bullets, shells and RAMRODs. Grenades are not covered.
Finish Not a Hero on Professional. It appears in the episode's Item Box.
Turns the RAMRODs into free ammo.
Card →Like the Walking Shoes: faster walking, crouch-walking included; running is unchanged.
Collect all 10 Not a Hero Antique Coins and finish the episode (sources disagree on whether a specific difficulty is needed).
A comfort for replaying the episode.
Card →Wider deflect window.
Finish Not a Hero in under 1 hour, on any difficulty.
Get it before Professional, where the deflect window is narrower.
Card →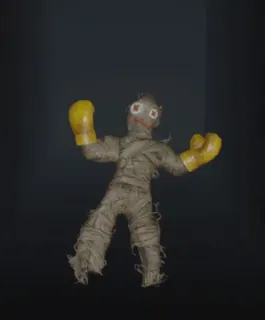
+1% damage each while carried in the inventory. Stacks with the Champion Effigy. At the church Joe loses his whole inventory, effigies included, and only gets it back at the Courtyard Item Box: the AMG-78 stretch and the Old House are played without the bonus.
9 fixed on Normal (8 on Joe Must Die: the Church Path one is Normal only), plus any that drop at random from wooden crates.
Collect them all: with 20 slots there is room, and the bonus adds up.
Card →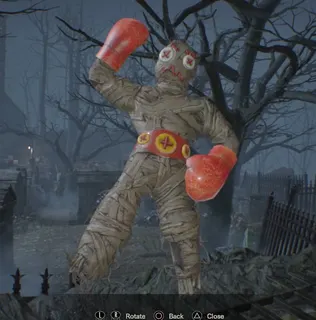
+5% damage each while carried. Stacks with the Boxer Effigy.
4 fixed on Normal, plus any that drop at random from wooden crates.
Worth five Boxers: leave none behind.
Card →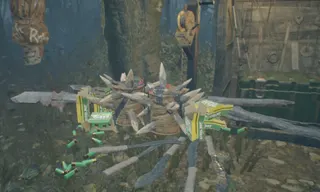
Infinite ammo for the M21 Shotgun (End of Zoe) and infinite Throwing Knife, Stake Bomb and Throwing Spear. End of Zoe has no Infinite Ammo.
Clear every Joe Must Die Extreme+ Challenge.
The episode's last prize; only for those squeezing it dry.
Card →