Skip to content
RE Guide RE7
ES
Pick your current chapter ›

Enemies

Every common enemy: where it appears, where to hit it and how to handle it.

Campaign · Molded

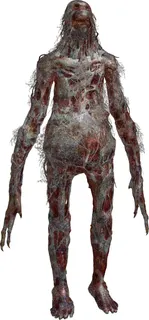
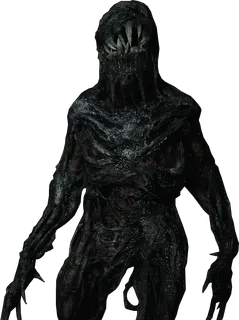
Molded

Chapters 2–7 (and the Banned Footage minigames)

Weak point The head (+200%); limbs take −40%

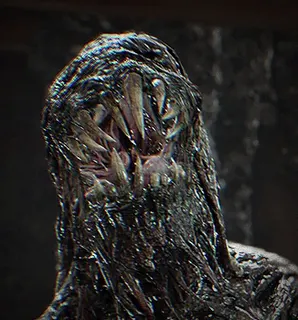
Handgun to the head and back-pedal between shots: the first one makes it reel, then it closes in. A full point-blank shotgun blast to the head kills it, and the 44 MAG takes off the head or any limb in one shot. Block (L) instead of trading hits: you can walk through Molded rooms blocking to save ammo. Never sprint next to one: sprinting nearby, aiming at it for a long time or making it flinch up close triggers a counterattack, and the sprint counter can't be dodged. Dodge its overhead swing by crouching and strafing towards the attacking arm; its arm extension leads into a grab and bite unless you sidestep or crouch. With a Remote Bomb equipped, let it grab you and press ZR: the bomb goes in its mouth and it dies instantly ("That's a Spicy Meat-a-ball" achievement). Finishing an enemy with the knife gives "Things Got Personal".

Drops: Nothing known: no source lists enemy drops; all campaign loot is placed in the world.
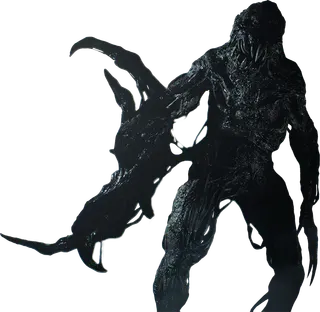
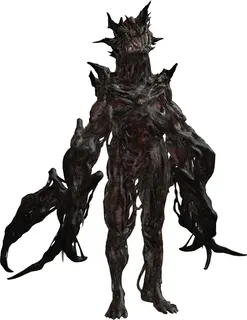
Blade Molded

From chapter 2 (Processing Area); on Madhouse, from the Old House

Weak point The head, but the blade arm shields it; head and limbs have triple HP

A Molded whose right arm is a mass of stretching blades that covers its head. It takes a few more headshots than a normal Molded; one shotgun blast to the face usually does it, sometimes two. It has every Molded move except the grab, and its heavy slash can sever Ethan's leg: always block. Legless, it crawls and slashes nonstop: finish it from range.

Drops: Nothing known: no source lists enemy drops; all campaign loot is placed in the world.
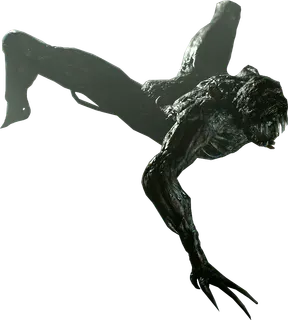
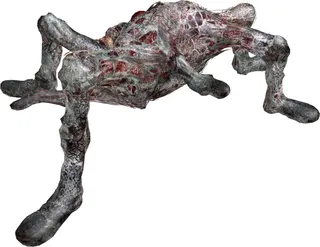
Crawler Molded

Chapters 4–7 (on Madhouse, from chapter 2)

Weak point The head (+50%): a full shotgun blast or a 44 MAG shot to the head kills it

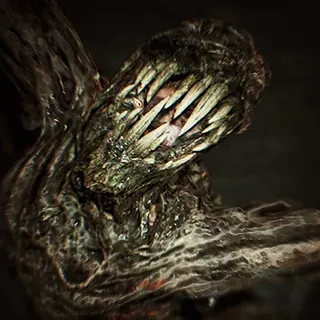
A smaller Molded on all fours: it leaps long distances and runs along walls. Crouch (right stick) to line up headshots: 2–3 handgun shots do it on Normal. Its close swipe is fast and easy to block, but don't block its mid-range lunge: it hits twice and the second always lands, so shoot it instead. From a wall it can pounce and dig its claws in. Up close, use the shotgun.

Drops: Nothing known: no source lists enemy drops; all campaign loot is placed in the world.

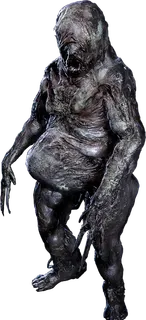
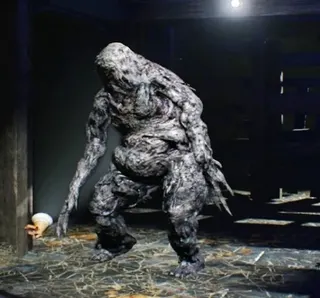
Fat Molded

Chapters 4, 6 and 7

Weak point The head: −50%, but with its own small HP pool. The legs, to slow it down

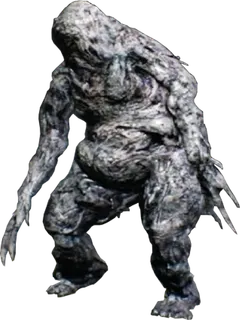
Huge, slow and very tough. Don't shoot it while it stands idle: it answers with a vomit. Up close, a short vomit (step right) or a grab (block). At mid or long range, a horizontal vomit (crouch) or a vertical one (step right). If you sprint away it charges faster than you run: shoot its legs or block. Its vomit also stuns other Molded. It explodes on death: step away or block. If it grabs you while a Remote Bomb is equipped, press ZR and it dies instantly.

Drops: Nothing known: no source lists enemy drops; all campaign loot is placed in the world.
Campaign · insects and spiders

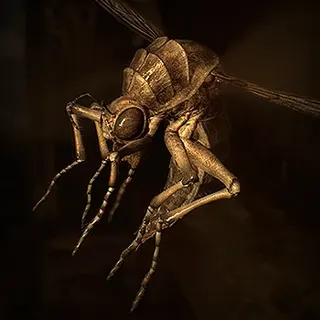
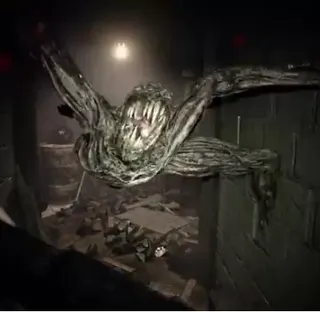
Flying Bug

Chapter 3 (Old House)

Weak point Anything: 150 HP. Melee +200%; handguns and shotguns +100%

The big flying insect. It is passive, slow and does little damage. Wait until it hovers still, which means it is about to attack, and hit it then. Finishing one with the knife is the easy way to the "Things Got Personal" achievement. In Marguerite's pit they can't hit you if you keep toggling crouch and stand (right stick).

Drops: Nothing.

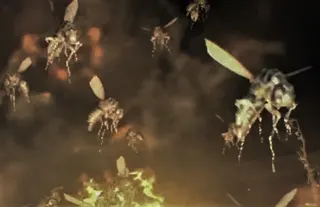
Bug Swarm

Chapter 3 (Old House and Greenhouse)

Weak point The Burner's flame (+150% on contact); bullets, the 44 MAG and melee do −50%

It surrounds you, drains health nonstop and blocks your view. Nests and Marguerite release it: kill the source, not the swarm. Burn it with the Burner, the best weapon against it, or use the Grenade Launcher's blast (only the splash hurts it). The shotgun does −20%.

Drops: Nothing.

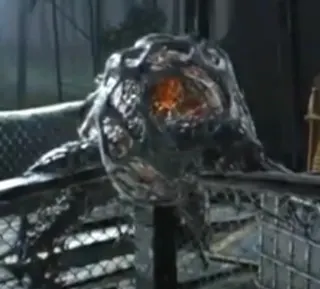
Insect nest

Chapter 3 (Old House and Greenhouse)

Weak point Explosions and fire: one Grenade Launcher round destroys it; melee +200%

Nests are armoured and keep releasing swarms until destroyed. Light it with the Burner for a few seconds, step back while the flames eat the armour, re-ignite it, then finish it with a close shotgun blast. The hives Marguerite lays in the Greenhouse are smaller and weaker; interrupt her before she finishes them.

Drops: Nothing.

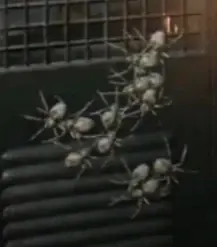
Spider

Chapter 3 (Old House)

Weak point The knife (the ZL + ZR stab outranges them) or the Burner

Tarantula-sized albino spiders covering doors and cabinets. They only attack when you get close, for minor damage. Kill every one to open what they cover. With ZL + ZR the knife does a longer stab and they can't reach you. Clearing a door with the knife gives the "Slash Slash, Slashity Slash!" achievement: the first chance is the Living Room door after the Stone Statuette.

Drops: Whatever is in the cabinet they cover.

Not a Hero

Molded (Not a Hero)

Not a Hero (the whole mine)

Weak point The head: one handgun shot staggers it for the punch

Handgun to the head → punch (press the prompt) → stomp when it is down: it saves ammo. Deflect (L right before the hit) to stun it and open the punch. Against groups, hold a corridor or the entrance steps so they can't surround you; switch to the shotgun after 4–6 kills.

Fat Molded (Not a Hero)

Not a Hero (Shield Machine, wave 3)

Weak point The head: one RAMROD to the head kills it on Normal and Professional

Two of them crash through the barricade in the middle of the Shield Machine as the third and last wave of the gauntlet, once wave 2 is over. Stun them with a Neuro-stun Grenade, then unload the shotgun (Thor's Hammer - AW Model-02) or put a RAMROD in the head. Their vomit can be blocked and their charge can be deflected (L right before the hit). Interior 2F, up the stairs, has RAMROD ×4 and shotgun ammo to restock mid-fight.

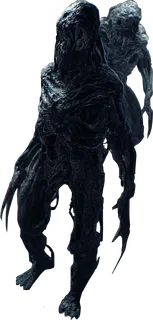
Fat Headless Molded

Not a Hero (Storage Area → Shield Machine)

Weak point Any weapon: 1000 HP; one shotgun shell or one RAMROD kills it

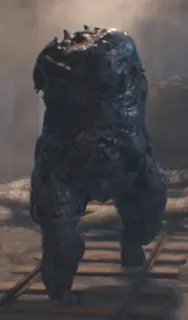
No head and no arms: it runs at you and explodes, for weak damage. It is slow and makes a noise as it comes. Shoot it with the handgun before it closes in, or with the shotgun from range and back off; you can also deflect the explosion.

Fumer

Not a Hero (Storage Area → Research Facility)

Weak point Only the RAMROD: one hit kills it; normal bullets do nothing

The white Molded. Normal weapons don't hurt it; a single RAMROD (Anti-Regen Ammo, switched in with ZL + X), ideally to the chest, kills it. Explosions or a hit after a block stun it. It gives off spores that drain your oxygen. Avoid it until you have RAMRODs; in the spore tunnels, running past it stays a good idea. A Neuro-stun Grenade also gets it off you. In the Shield Machine waves, keep a RAMROD loaded for the one in each wave.

Little Crawler

Not a Hero (Storage Area Sewage and the Mama Mold)

Weak point Any weapon: knife, handgun or shotgun; a grenade for groups

A small seven-legged spawn with a single red eye. Its only attack is a leap: block it or sidestep. It explodes afterwards, hit or miss. If you aim at it, it hops back. Neuro-stun Grenades kill them.

Gun Turret

Not a Hero (Storage Area and Research Facility)

Weak point Nothing known: avoid it by crouching

Automated guns. Crouch (right stick) to pass under their line of fire. Back off and let them shred the Molded chasing you. The one in Research Facility Corridor 1 only switches on after you restore power in the Power Room; the one in the Back Corridor is out of ammo by the time you get there.

End of Zoe

Molded (End of Zoe)

End of Zoe (from Joe's house to the Baker estate)

Weak point The head (+100%); a Throwing Spear to the head kills it

Strong combo → stomp, or a stealth kill from behind if it hasn't seen you (move crouched). Repeated blows stun it and open an instant finisher. A shotgun blast to the head is fatal. "Swamp Warfare" achievement: 5 stealth kills; the Base Camp has 2 in the tents that are easy to catch unaware.

Twin Blade Molded

End of Zoe (Paddle Boat → Forest Clearing)

Weak point Fists; no head bonus, and the shotgun does +100%

Blades on both arms and spines on its head: tougher and hits harder, with the same moves as a Molded. Block and counter: it falls to a few punches (a strong punch does 1200 to it on Normal). Break one of its legs and it turns very aggressive and attacks in a series: finish it fast.

Fat Molded (End of Zoe)

End of Zoe (Cemetery and Old House)

Weak point The head; a charged left punch from the AMG-78 drops it fast

Punches don't make it leak acid, and it recovers faster than in the campaign. Circle it while you punch: it loops into its short vomit, which a sidestep dodges (you need room). Knocked to its knees it counters with a scratch and a vomit: get behind it. Block its ranged vomit and back off as soon as it goes down, because it explodes. It can't be stealth-killed.

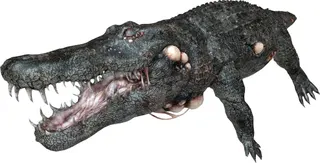
Alligator

End of Zoe (the Base river and the Quarantine Areas)

Weak point Only the Throwing Spear kills it (1000 damage per spear)

Joe can't handle them hand to hand and they can't be stealth-killed: only Throwing Spears (Tree Branch + Scrap Metal) kill them. Watch for ripples in the water, sneak past when you can and have a Throwing Spear readied before you step into water. In Quarantine Area 1 a stuffed alligator toy surfaces as a decoy, and the real one is right behind it. Spears that miss can be picked up again.

Report an issue

Show diagnostics

Environment


Console errors


Failed requests