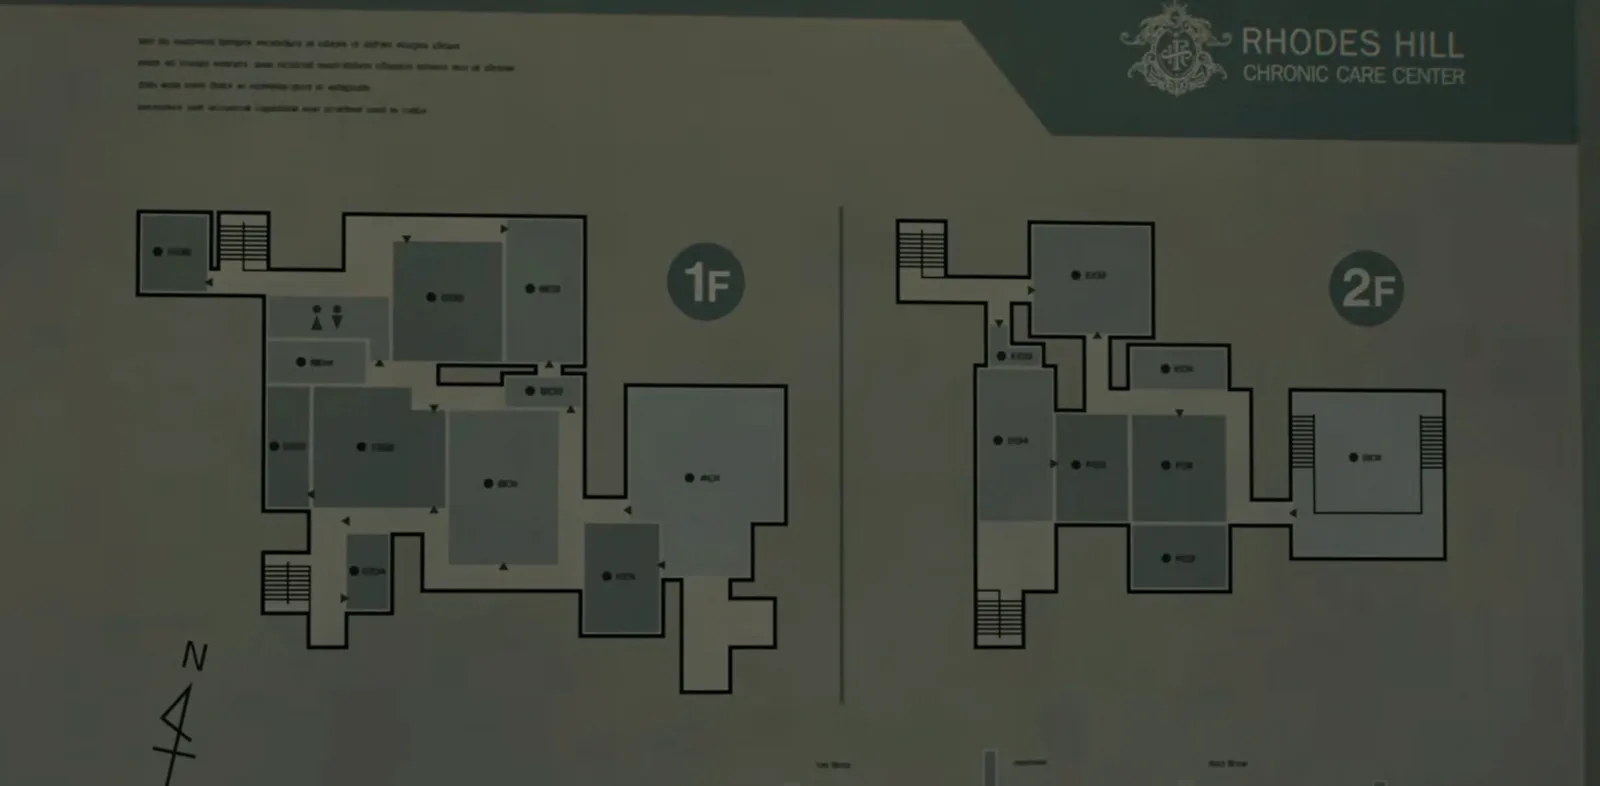
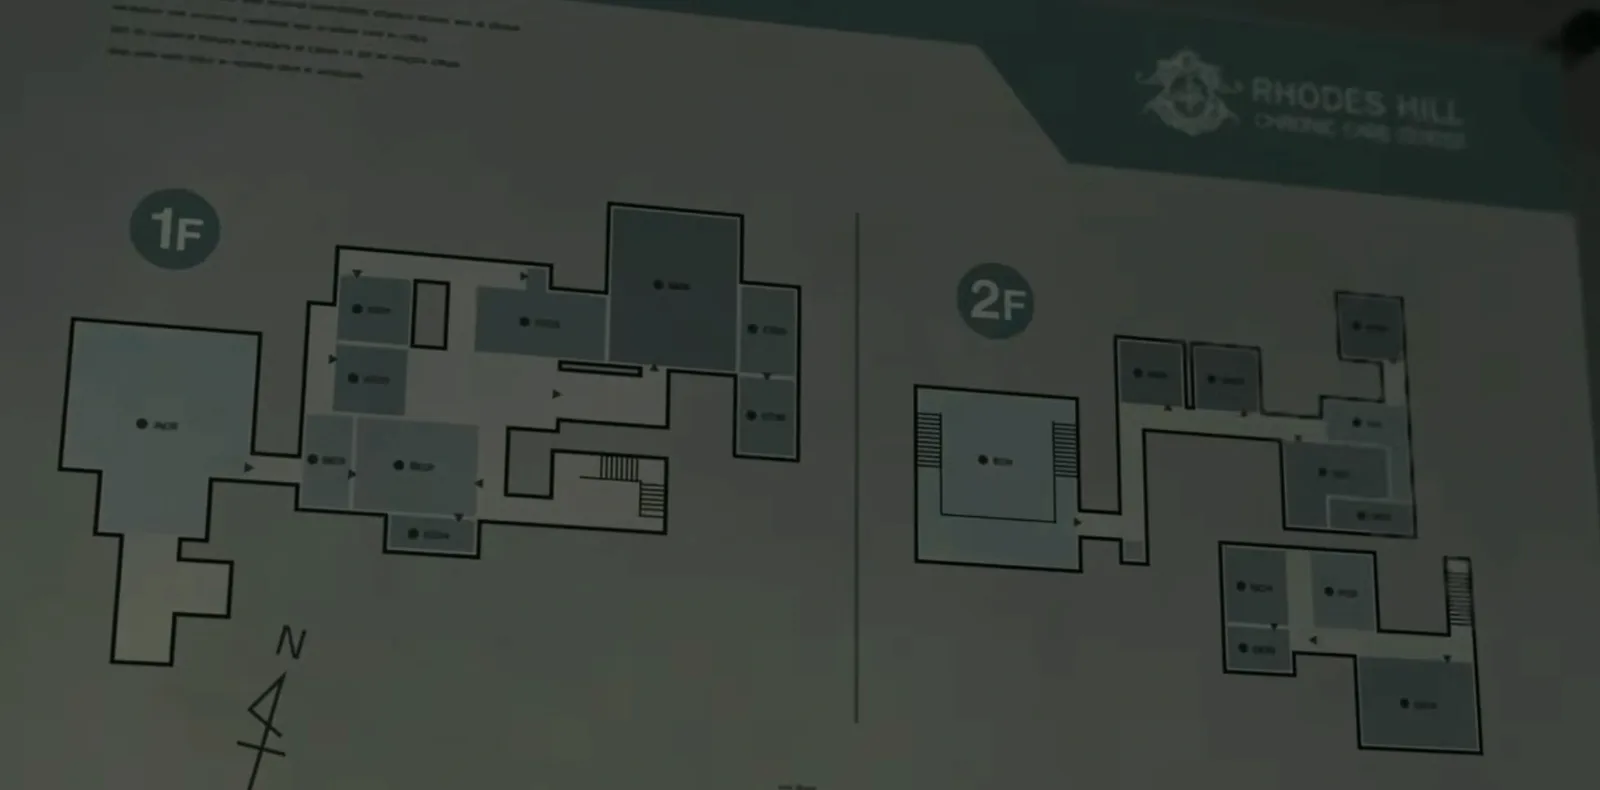
You play Grace Ashcroft for the whole chapter. You step out of the basement lift with Emily in your arms and the Star Quartz in your pocket: with all three Quartzes you open the Central Hall door to the courtyard. Before that you get one last free lap of the Care Center (the Parlor, the Pantry, leftover blood and Mr. Raccoons, and two Final Puzzle steps). In the courtyard the pilot, Harry, stays with Emily and sends you for the helicopter key: the VIP Suite in the house next door descends like an elevator into an underground lab (the Research Facility), where Victor triggers the self-destruct. There is no boss: the test is the escape through 18 patients, Blister Heads and a blood-flooded staircase, with the wall-mounted Disposal Tanks as your weapon.
Chapter order: Elevator Corridor → last lap of the Care Center (Parlor, Kitchen and Pantry, Restroom, the Severed Hand at the Blood Lab) → Central Hall: the 3-Quartz door → Courtyard (Antique Coin #22) → Helipad (Harry) → Entrance Hall (file #42) → VIP Suite: Hourglass and Double Helix Model → elevator (no return) → Reception (save) → Collection & Testing → Development and Private Lab: Helicopter Key, Mr. Raccoon #9 → Control Room: self-destruct → Collection & Testing: 18 patients and the Disposal Tanks → Emergency Evacuation Route → Collection & Testing East (Blister Heads, Marie’s Doll) → Exit Stairs → Exit Passage → Maintenance Stairway (the blood staircase) → Electrical Room → Emergency Exit → Yard → Entrance Hall → Helipad (helicopter).
Before you start:
- No boss. The danger is the lab escape, and there your weapon is the wall-mounted Disposal Tanks, not your ammo. Keep 1 Requiem round (or a Hemolytic Injector) for the Blister Head in the Exit Passage and heal before you leave the Reception.
- Emily. While you carry her you can’t fight: set her down on the Guard Office sofa to roam freely and pick her up before the Quartz door.
- Shop. Last chance at the Parlor: 17 coins buy all 4 lockers (19 on Insanity). See “Parlor: last purchase”.
- Point of no return. The VIP Suite elevator closes the Care Center and the courtyard for good. Before it: spend your coins, open the Pantry if you have its key (or if Leon opened it), break any Mr. Raccoons you’re missing (the Raccoon Roundup Map marks them), pick up leftover blood and read any pending files. The Hourglass is optional and takes a slot: store it in the Item Box.
- Saving. The chapter’s only typewriter is in the Reception. On Standard (Classic) and Insanity there is 1 Ink Ribbon on the Private Lab trolley (plus the Pantry one and 2 Ink Ribbon Tins in the Parlor, if you didn’t take them).
- Final Puzzle. If you did the chapter 5 wait and grinder, this chapter holds the Severed Hand analysis, the 8 Restroom flushes (before you go out to the courtyard) and Marie’s Doll during the escape.
Last lap of the Care Center
You step out of the basement lift carrying Emily. Take her to the Guard Office sofa and set her down: with your hands free you can roam the building. What the VIP Suite closes off: the Parlor, the Pantry, any of Grace’s Mr. Raccoon #2-#5 you’re missing, leftover blood and files. The easiest order: Blood Lab (East Wing) → Parlor → West Wing (Kitchen, Pantry, Restroom) → Guard Office (Emily) → Central Hall.
Leftover blood. The collector holds 100 (150 with the Override Manual): craft between pools.
- Restroom (West Wing): 100 in the bathtub of the far cubicle, guarded by the Zombie Cleaner (north-east corner) unless Leon killed her; Green Herb on the sink (north-east).
- Kitchen: 60 in the bucket on the west side and 100 from the Chef’s remains, if he’s already dead.
- Pantry: 2×50 in the buckets on the east side.
- Medication Room and any pool you left in chapter 3.
Blood Lab: the Severed Hand
If you have the Severed Hand, analyze it at the Blood Lab’s laser microscope (or the 2F Office): press the central black cube, then the two at the far ends (Game8); if it doesn’t trigger, select the three nodes in the middle from left to right (TheGamer). The “Let’s play.” screen appears with the code GGC-AAG-AUA-ACG-UGU-CAU. A note taped to the Blood Lab microscope reads “G = 150000000”: a Final Puzzle clue (G = Sun, its distance in km). For the Final Puzzle, Game8 has you do this analysis before the Restroom flushes.
Parlor: last purchase
The 4 coin lockers are on the west side, in this order:
| Locker | Standard (Modern/Classic) | Insanity |
|---|---|---|
| 1 | Hip Pouch (3) | Hip Pouch (3) |
| 2 | Stabilizer (4) | Handgun Ammo ×30 (5) |
| 3 | Steroids (4) | R.I.P. Knife (5) |
| 4 | Override Manual (6) | Override Manual (6) |
| Total | 17 coins | 19 coins |
Coins you can still get in the room if you didn’t in chapter 3:
- The roulette (all modes): shoot numbers 7, 15 or 29 and spin the wheel; if the ball lands on one of them, a coin appears on the table. It only works once.
- On Modern and Classic: the edge of the roulette table, the edge of the bar (north) and the breakable object on the bar (north-east).
If you’re still one short, there’s Antique Coin #22 in the courtyard: you can come back and buy before you enter the VIP Suite. Green Herb on the north-west shelf and, on Classic and Insanity, 2 Ink Ribbon Tins on the round table in the south-east. On Insanity, the corpse in the north-west corner rises as a Zombie Doctor while you explore.
Kitchen and Pantry
Kitchen. 60 blood in the west bucket. If the Chef is already dead (you killed him in chapter 3 or Leon did in chapter 4), his remains leave 100 more (it isn’t confirmed they stay there if Leon killed him).
Pantry. If Grace or Leon opened it, Grace can loot it now (Game8). If the Chef is still alive and you don’t have the key, the Pantry stays shut: see “Boss — Chef” in chapter 3. Inside:
- Stakeout Takeout Charm on the cardboard box on the north-east shelves: while you carry it, Grace’s knife gains power and durability.
- 12.7x55mm Ammo ×1 in the small silver case in the north-east corner.
- Infected Blood 2×50 in the buckets on the east side.
- Scrap on the east shelves.
- Ink Ribbon on the west shelves (Standard (Classic) and Insanity).
Restroom: blood and 8 flushes
The Restroom is in the West Wing, past the Kitchen (you enter from the West Corridor). If the Zombie Cleaner is still alive in the north-east corner, stagger and inject her, or finish her on the floor. Take the Green Herb from the sink and the 100 blood in the far cubicle’s bathtub.
Final Puzzle: open the second stall (the middle one) and flush the toilet 8 times in a row. There’s no sound cue to confirm anything: count out loud. The clue is the “8” written in blood beside a toilet in one of the photos in the Investigation Report, the game’s first file. Do it before you go out to the courtyard.
Central Hall: the Quartz door
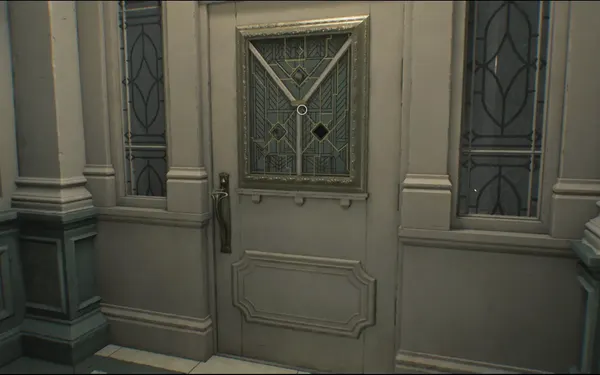
Pick Emily up from the Guard Office sofa; carrying her, place the Sun Quartz, Moon Quartz and Star Quartz in the door behind the reception desk. It opens onto the courtyard: the It’s Been a Long Night Challenge (200 CP).
Courtyard
Go down the round double staircase and turn around: Antique Coin #22 on one of the white chairs between the two staircases, in the south-west corner of the lower courtyard. It is the last coin (it’s in the same spot on Insanity); if you were one short for the Parlor, you can still go back. Makeshift Knife in the fountain water and a Green Herb on the north edge of the fountain. Signs point to the Chapel (east, gate locked) and the Helipad (west).
Helipad
Cutscene with the pilot, Harry Reed: Emily stays with him in the helicopter, and Grace has to fetch the ignition key from the house next door. From here on your hands are free.
Entrance Hall and Hallway
Visitor Record (#42) on the drinks cabinet by the door: it mentions a visitor called “Z”. The Hallway’s east room has an Item Box: leave the Hourglass there once you have it.
VIP Suite: the Double Helix Model
Note Regarding Research Results (#43) on the desk (west side). On the same desk, the Hourglass: examine it, remove the screw on each side to free the glass, flip it, let the sand run and tilt it to read “U = 380,000” (the Earth-Moon distance in km: U = Moon, a Final Puzzle clue). It doesn’t fit the plinth and has no other use: store it in the Item Box.
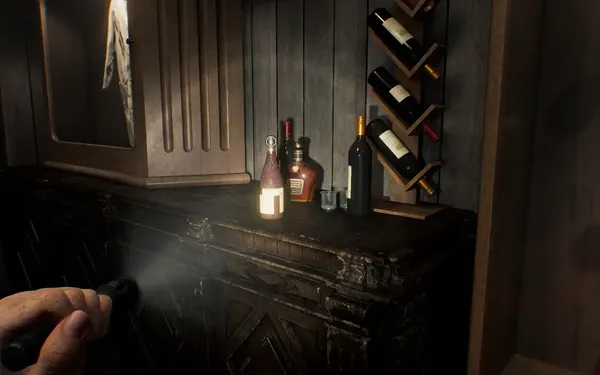
On the south cabinet, next to the display case, is the wine bottle: examine it, zoom in and rotate the crooked label until it lines up. The bottle splits in two → Double Helix Model (the label reads “Chateau Dimitrescu”, a nod to Village). Examine the plinth in the centre: it opens to show a helix with a gap.
Point of no return: once you insert the model, the whole room descends like an elevator and there is no way back to the Care Center or the courtyard; from here the path is linear until Raccoon City. Before that, go through “Last lap of the Care Center”, the Parlor and Antique Coin #22.
Insert the Double Helix Model.
Reception (safe room: typewriter + Item Box)
Spencer’s Research II (#44) on the desk next to the typewriter. Save.
Stairwell and Collection & Testing (first visit)
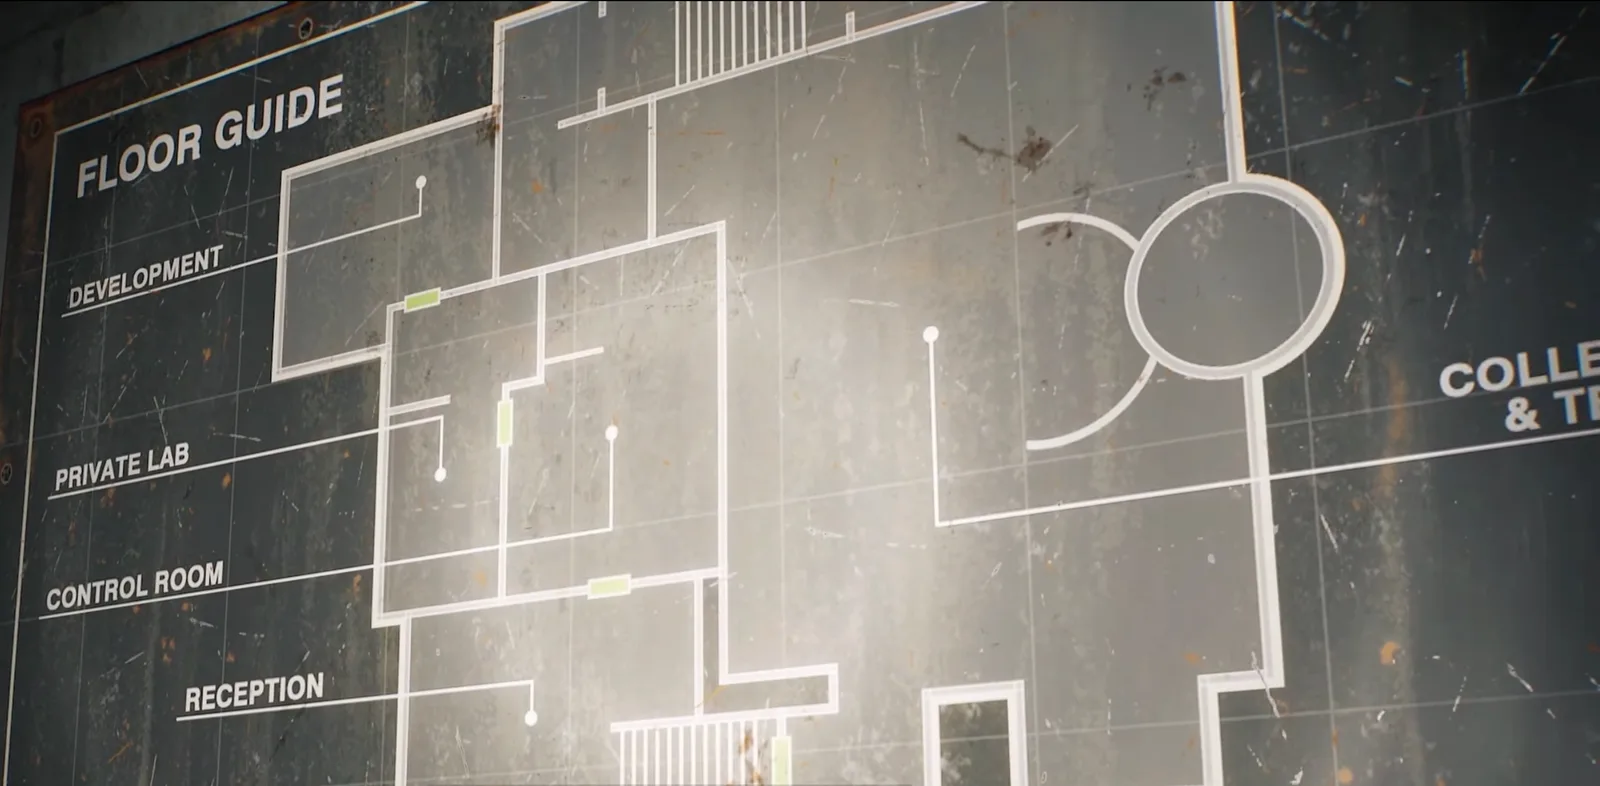
Downstairs, a giant sphere of blood fills the middle of the room, with specimens in cryotubes around the walls. Note where the wall-mounted Disposal Tanks are: the first is on your right as you walk in and there are more along the walls; you’ll need them on the way back. Med Injector in the drawer of the metal desk in the north-west corner (back left). Subject 170 Record (#45) on the blue gurney by the emergency exit (east side): Marie, Subject 170, was given blood from 115 infected. On the wall by the Emergency Evacuation Route door, the Research Facility Floor Guide map: it shows the escape route.
Development and Private Lab
Follow the “Development” sign and take the stairs on the left. Grace Ashcroft Blood Analysis Report (#46) on the computer desk (east side of the northern room): it ends with “C = 4.2 ly” (Alpha Centauri: C = Star, a Final Puzzle clue). On Standard (Classic) and Insanity, an Ink Ribbon on the metal trolley beside it. Mr. Raccoon #9 on the desk on the west side of the southern room. Helicopter Key by the keyboard of the main computer, on the monitor desk (south-east corner). Take everything before you use the computer: on the colour-screen monitor, choose “Authorize” to unlock the door.
Control Room
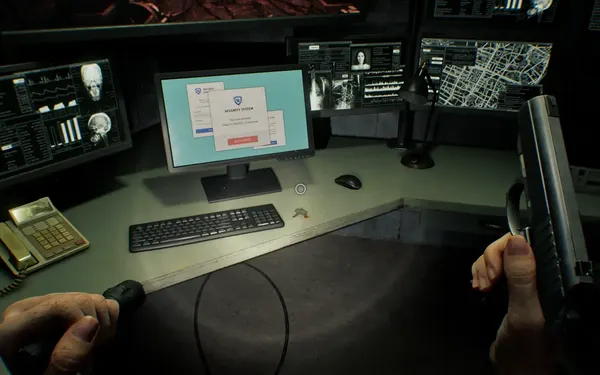
Cutscene: Victor Gideon calls Zeno, confirms Grace is “the key” and triggers the self-destruct. There is no on-screen timer, so there’s no need to rush. The elevator is gone; a door from the Control Room leads back to the Reception: save.
Escape: Collection & Testing (the Disposal Tanks)
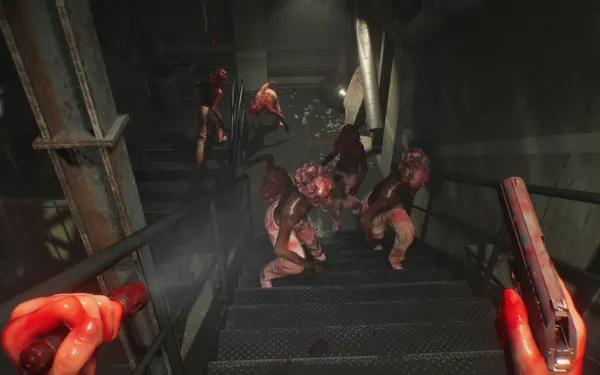
As you come down, 18 Zombie Patients burst out of the cryotubes. Don’t spend your ammo: the wall-mounted Disposal Tanks are your weapon.
- Turn right as soon as you walk in: that’s where the wall tanks start. If you can, use the second one first and keep the nearest in reserve for when it runs dry (Game8); if they crowd you, grab the first without hesitating (QuestDuo).
- Aim (ZL) and hold ZR to spray purple hemolytic gas. An infected convulses and bursts after 3-5 seconds of spray; bunch several up before you spray so one continuous blast covers them.
- When the tank runs dry, don’t wait for it to recharge: grab the next one on the wall (spot them on your first visit). If they surround you, back off and swap tanks.
- Work from tank to tank toward the emergency exit, now open, by the file #45 gurney (the Research Facility Floor Guide marks it).
You don’t have to kill all 18: clear a lane. Any that die without the gas get back up as Blister Heads. You can sprint past without spraying, but they grab.
Emergency Evacuation Route and Collection & Testing East (Marie’s Doll)
The emergency exit corridor leads into another large lab. The blood sphere cracks open and 6 Blister Heads mutate in front of you; the ceiling crushes most of them, and one more waits near the south stairs. Don’t fight: head up and turn left toward the staircase at the back, without stopping over the bodies (they get up if you linger).
Final Puzzle: Marie’s Doll. If you met the Processing wait, the grinder with no kills of your own and the 8 flushes (plus the Severed Hand analysis, if you followed Game8), Marie’s Doll lies at the base of the stairs on your left, half-submerged in blood, just before Grace breaks into her panicked run. Take it. As soon as you can, store it in the Item Box and leave it there for the rest of the run: it carries over to the next playthrough (PC Gamer suggests carrying it until the end instead; that works too). If it isn’t there, reload the separate Processing save from chapter 5.
Exit Stairs and Exit Passage
Climb the Exit Stairs, the stairs up out of Collection & Testing East. In the Exit Passage there is 1 Blister Head at the south end (on Insanity, another at the north end): a Requiem round before it charges, or stagger and inject; if you have neither, run. At the dead-end corridor, with blood streaming in from the right, a corpse gets up: go right and squeeze between the big pipe and the lockers; that shakes it off.
Maintenance Stairway (the blood staircase)
You come out at the foot of a long staircase flooded with blood running down toward you. Climb straight up and keep to the LEFT: near the top something rolls and crashes down the right side and hurts you.
Electrical Room, Emergency Exit and Yard
The ladder at the top brings you up into the Electrical Room; carry on through the Emergency Exit and you’re back on the surface in the Yard, near the Helipad.
Yard. 4 Zombie Patients wander here. Green Herb in the north-east corner, by the Entrance Hall window. Run past them (shoot legs if they block you) and climb through the Entrance Hall window; 5 more zombies appear as you climb through. Head out to the helicopter. Cutscene: zombies smash the windshield, Harry is grabbed and Grace ends up in the co-pilot seat. The helicopter crashes into the cemetery; Harry dies and Emily is badly hurt. The game switches to Leon (chapter 7).
The full Final Puzzle
Clues: G = 150000000 (Sun), U = 380,000 (Moon), C = 4.2 ly (Star) and “just ignore A” (found in Raccoon City).
This playthrough:
- The 15-minute Processing wait and the grinder with no kills of your own (chapter 5; the drain message must read “a ton of blood flowed out”).
- Analyse the Severed Hand at the Blood Lab (Game8 requires it; TheGamer and PC Gamer skip it on the first run, and a Game8 commenter says it isn’t needed: do it anyway, it costs nothing).
- The 8 flushes of the Restroom’s middle toilet.
- Marie’s Doll in Collection & Testing East, stored in Grace’s Item Box.
- Finish the game.
Next playthrough (any difficulty):
- Play until you leave the basement with Emily (chapter 5) and pick up the Severed Hand in front of the elevator.
- Leave Emily on the Guard Office sofa and re-analyse the hand at the Blood Lab up to the “Let’s play.” screen: that re-enables the Lead Researcher’s Office box.
- Take Marie’s Doll out of the Item Box into your inventory (it doesn’t work if it stays in the box).
- Pick Emily up and carry her in your arms to the Lead Researcher’s Office box (2F, East Wing).
- Enter the 12-symbol code: Sun, Sun, Star, Sun, Moon, Star, Sun, Moon, Sun, Moon, Star, Moon (the Severed Hand sequence with the A’s dropped).
If everything is right you hear a baby laughing and “Let the sweet pair hear the voice” appears. Reward: just the 20,000 CP.
Another route (VGC): it doesn’t wait for the basement. On the next playthrough, as soon as you have the ID Wristband (Level 3) in chapter 3, open Emily’s cell in the Medication Room, move the doll into your inventory and carry Emily to the Lead Researcher’s Office box; per VGC the Severed Hand isn’t needed. If this route doesn’t work, use the one above.
Difficulty
- Casual: health refills to yellow on its own; this chapter’s pickups are the same.
- Standard (Classic): the only typewriter is the Reception one; there’s an Ink Ribbon on the Private Lab trolley, one in the Pantry, and 2 Ink Ribbon Tins in the Parlor.
- Insanity: different Parlor lockers (19 coins: see the table). A second Blister Head at the north end of the Exit Passage. Insanity coins in the West Wing, if you’re short: the one in the scales in the Kitchen’s north-east corner, the one the Zombie Cleaner drops and the one in the toilet of the Restroom’s middle cubicle. On the Kitchen’s east counter, opposite the Service Hallway door, there’s an Empty Injector on Insanity only.
Don’t leave without:
- spending your coins in the Parlor (plus Antique Coin #22 on the courtyard chair);
- the Pantry, if Grace or Leon opened it (Stakeout Takeout Charm and 12.7x55mm Ammo);
- the Restroom, Kitchen and Pantry blood, already turned into something useful;
- any Care Center Mr. Raccoons you’re missing and Mr. Raccoon #9 (Private Lab);
- files #42 and #43 (lost with the VIP Suite elevator) and #44-#46 (before you leave the lab; #46 before you authorize the computer);
- the Helicopter Key;
- for the Final Puzzle: the Severed Hand analysed, the 8 Restroom flushes before you go out to the courtyard and Marie’s Doll during the escape, stored in the Item Box.