Mr. Raccoon #7 — Until you ride the elevator up at the end of the Basement (ch05): there is no way back.
Mr. Raccoon #8 — Until you ride the elevator up at the end of the Basement (ch05): there is no way back.
Mr. Raccoon #9 — Until you escape in the helicopter (end of ch06).
Mr. Raccoon #10 — Until Leon jumps off the roof to follow Grace (ch07).
Mr. Raccoon #11 — Until you set the Detonator on the gate next to Central Camp (end of ch09).
Mr. Raccoon #12 — Until you set the Detonator on the gate next to Central Camp (end of ch09).
Mr. Raccoon #13 — Until you set the Detonator on the gate next to Central Camp (end of ch09).
Mr. Raccoon #14 — Until you set the Detonator on the gate next to Central Camp (end of ch09).
Mr. Raccoon #15 — Until you set the Detonator on the gate next to Central Camp (end of ch09).
Mr. Raccoon #16 — Until you set the Detonator on the gate next to Central Camp (end of ch09).
Mr. Raccoon #17 — Until you set the Detonator on the gate next to Central Camp (end of ch09).
Mr. Raccoon #18 — Until you set the Detonator on the gate next to Central Camp (end of ch09).
Mr. Raccoon #19 — Until you set the Detonator on the gate next to Central Camp (end of ch09).
Mr. Raccoon #20 — Get it in ch10: nobody confirms you can walk back to this street in ch12. The hard limit is the hole in the floor of the ruined Orphanage (ch12).
Mr. Raccoon #21 — In ch10, or in ch12 after the Tyrant chase while you are still inside the R.P.D. The hard limit is the hole in the floor of the ruined Orphanage (ch12).
Mr. Raccoon #22 — In ch10, or in ch12 after the Tyrant chase while you are still inside the R.P.D. The hard limit is the hole in the floor of the ruined Orphanage (ch12).
Mr. Raccoon #23 — Before you walk down the Side Street toward the Orphanage (Super Tyrant): nobody confirms you can come back after the boss. Hard limit: the hole in the floor of the ruined Orphanage (ch12).
Mr. Raccoon #24 — Until the fight with The Commander (ch13): Leon never comes back to these rooms (inferred from the route).
Mr. Raccoon #25 — Until you use the central console in the Archives (ch14).
Antique Coin #1 — As soon as you move the cart: the noise brings The Girl, who knocks it against the other wall, and no guide says it can be pushed back (unconfirmed).
Antique Coin #2 — Until you activate the elevator lectern in the VIP Suite (ch06): after that the Care Center is sealed for good.
Antique Coin #3 — Until you activate the elevator lectern in the VIP Suite (ch06): after that the Care Center is sealed for good.
Antique Coin #4 — Until you activate the elevator lectern in the VIP Suite (ch06): after that the Care Center is sealed for good.
Antique Coin #5 — Until you activate the elevator lectern in the VIP Suite (ch06): after that the Care Center is sealed for good.
Antique Coin #6 — Until you activate the elevator lectern in the VIP Suite (ch06): after that the Care Center is sealed for good.
Antique Coin #7 — Until you activate the elevator lectern in the VIP Suite (ch06): after that the Care Center is sealed for good.
Antique Coin #8 — Until you activate the elevator lectern in the VIP Suite (ch06): after that the Care Center is sealed for good.
Antique Coin #9 — Until you activate the elevator lectern in the VIP Suite (ch06): after that the Care Center is sealed for good.
Antique Coin #10 — Until you activate the elevator lectern in the VIP Suite (ch06): after that the Care Center is sealed for good.
Antique Coin #11 — Until you activate the elevator lectern in the VIP Suite (ch06): after that the Care Center is sealed for good.
Antique Coin #12 — Until you activate the elevator lectern in the VIP Suite (ch06): after that the Care Center is sealed for good.
Antique Coin #13 — Until you activate the elevator lectern in the VIP Suite (ch06): after that the Care Center is sealed for good.
Antique Coin #14 — Until you activate the elevator lectern in the VIP Suite (ch06): after that the Care Center is sealed for good.
Antique Coin #15 — Until you activate the elevator lectern in the VIP Suite (ch06): after that the Care Center is sealed for good.
Antique Coin #16 — Until you activate the elevator lectern in the VIP Suite (ch06): after that the Care Center is sealed for good.
Antique Coin #17 — Until you activate the elevator lectern in the VIP Suite (ch06): after that the Care Center is sealed for good.
Antique Coin #18 — Until you activate the elevator lectern in the VIP Suite (ch06): after that the Care Center is sealed for good.
Antique Coin #19 — Until you activate the elevator lectern in the VIP Suite (ch06): after that the Care Center is sealed for good.
Antique Coin #20 — Until you activate the elevator lectern in the VIP Suite (ch06): after that the Care Center is sealed for good.
Antique Coin #21 — Until you activate the elevator lectern in the VIP Suite (ch06): after that the Care Center is sealed for good.
Antique Coin #22 — Until you activate the elevator lectern in the VIP Suite (ch06): after that the Care Center is sealed for good.
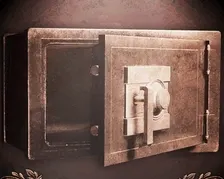
Safe #1 (Bar & Lounge) — Until you activate the elevator lectern in the VIP Suite (ch06): after that the Care Center is sealed for good.
Safe #2 (Examination Room) — Until you activate the elevator lectern in the VIP Suite (ch06): after that the Care Center is sealed for good.
Safe #3 (Basement) — Until you ride the elevator up at the end of the Basement (ch05): there is no way back.
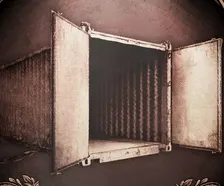
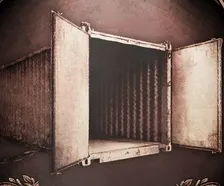
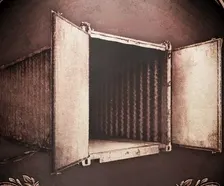
BSAA Container 02 — Until you set the Detonator on the gate next to Central Camp (end of ch09).
BSAA Container 04 — Until you set the Detonator on the gate next to Central Camp (end of ch09).
BSAA Container 03 — Until you set the Detonator on the gate next to Central Camp (end of ch09).
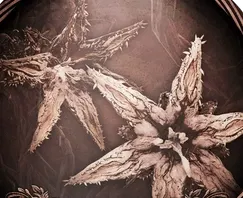
Plant 43 Seedling #2 — Until you leave the cave for the ARK Service Entrance (Plant 43 boss).
Plant 43 Seedling #3 — Until you leave the cave for the ARK Service Entrance (Plant 43 boss).
Plant 43 Seedling #4 — Until you leave the cave for the ARK Service Entrance (Plant 43 boss).
Plant 43 Seedling #5 — Until you leave the cave for the ARK Service Entrance (Plant 43 boss).
Plant 43 Seedling #6 — Until you leave the cave for the ARK Service Entrance (Plant 43 boss).
Plant 43 Seedling #7 — Until you leave the cave for the ARK Service Entrance (Plant 43 boss).
Plant 43 Seedling #8 — Until you leave the cave for the ARK Service Entrance (Plant 43 boss).
Plant 43 Seedling #9 — Until you leave the cave for the ARK Service Entrance (Plant 43 boss).
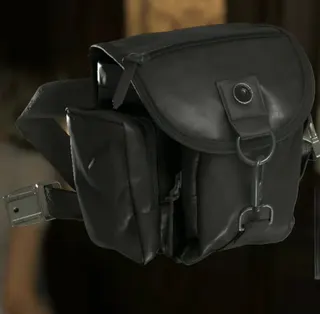
Hip Pouch #1 — Until you activate the elevator lectern in the VIP Suite (ch06): after that the Care Center is sealed for good.
Hip Pouch #2 — Until you activate the elevator lectern in the VIP Suite (ch06): after that the Care Center is sealed for good.
Hip Pouch #3 — Until you ride the elevator up at the end of the Basement (ch05): there is no way back.
Hip Pouch #4 — Until you use the central console in the Archives (ch14).
Stakeout Takeout Charm — Until you activate the elevator lectern in the VIP Suite (ch06): after that the Care Center is sealed for good.
Eye Spy Charm — Last chance: before you carry Emily to the cabinet in the Security Manager's Office. The Chunk leaves after the Victor scene in the Lead Researcher's Office and comes back when you open Emily's cell.
Connoisseur Charm — Leon's section only (ch04). Finish it before you climb the West Wing north-west stairs to 3F; the secret elevator in Victor's Office closes it for good.
BSAA Emblem Charm — Until you set the Detonator on the gate next to Central Camp (end of ch09).
Power Shades Charm — In ch10, or in ch12 after the Tyrant chase while you are still inside the R.P.D. Leaving through the NE hole of the Main Hall probably closes it (unconfirmed); the hard limit is the hole in the floor of the ruined Orphanage (ch12).
S.T.A.R.S. Emblem Charm — In ch10, or in ch12 after the Tyrant chase while you are still inside the R.P.D. Leaving through the NE hole of the Main Hall probably closes it (unconfirmed); the hard limit is the hole in the floor of the ruined Orphanage (ch12).
Cute Bear Charm — Before you walk down the Side Street toward the Orphanage (Super Tyrant): nobody confirms you can come back after the boss. Hard limit: the hole in the floor of the ruined Orphanage (ch12).
Warped Closet #1 (Attic Stairway) — Leon's section only (ch04). Finish it before you climb the West Wing north-west stairs to 3F; the secret elevator in Victor's Office closes it for good.
Warped Closet #2 (Gallery Corridor) — Leon's section only (ch04). Finish it before you climb the West Wing north-west stairs to 3F; the secret elevator in Victor's Office closes it for good.
Warped Closet #3 (Records Room) — Leon's section only (ch04). Finish it before you climb the West Wing north-west stairs to 3F; the secret elevator in Victor's Office closes it for good.
Warped Closet #4 (Pantry) — Leon's section only (ch04). Finish it before you climb the West Wing north-west stairs to 3F; the secret elevator in Victor's Office closes it for good.
Warped Closet #5 (Filing Storeroom) — Leon's section only (ch04). Finish it before you climb the West Wing north-west stairs to 3F; the secret elevator in Victor's Office closes it for good.
Locked Drawer #1 (East Wing Lobby) — Until you activate the elevator lectern in the VIP Suite (ch06): after that the Care Center is sealed for good.
Locked Drawer #2 (West Corridor) — Until you activate the elevator lectern in the VIP Suite (ch06): after that the Care Center is sealed for good.
Locked Drawer #3 (Gallery Corridor) — Until you activate the elevator lectern in the VIP Suite (ch06): after that the Care Center is sealed for good.
Locked Locker #4 (Bunkroom) — Until you ride the elevator up at the end of the Basement (ch05): there is no way back.
Tracking Module #14 (Common) — Before you walk down the Side Street toward the Orphanage (Super Tyrant): nobody confirms you can come back after the boss. Hard limit: the hole in the floor of the ruined Orphanage (ch12).

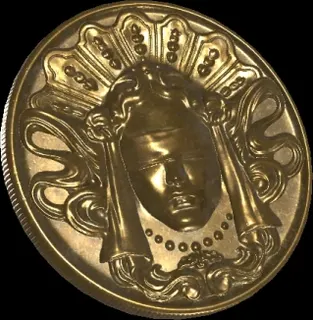
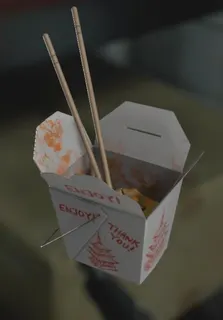 Stakeout Takeout Charm
 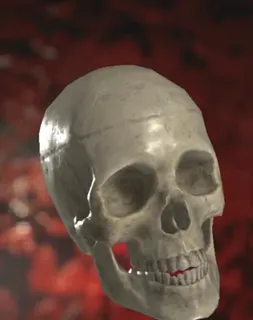 Eye Spy Charm
  Connoisseur Charm
  BSAA Emblem Charm
 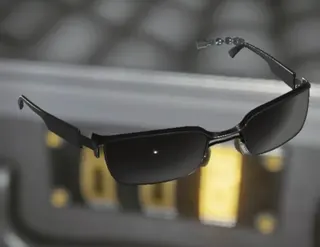 Power Shades Charm
 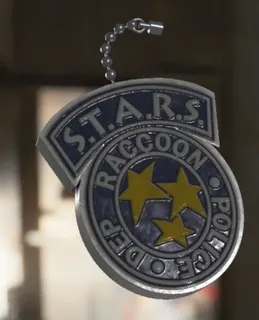 S.T.A.R.S. Emblem Charm
  Cute Bear Charm