Chapter order: Dump (The Final Mission; Leon boosts you into the vent) → Dump Maintenance Room → Dump Control Room (no power) → East Stairway → Lab Entrance (typewriter, Item Box) → Sterilization Chamber (safe #4) → Bioweapon Repository 02 (shortcut) → Chemical Storage (Override Key (Dump Control Room)) → Dump Control Room: free Leon and take the Magnetic Key → Cleanroom (Animus Orb) → Lobby → Monitor Control Room (file #70, Bottle of Acid recipe, safe #5) → Anteroom → Bioweapon Repository 05 (Hip Pouch #4, files #71 and #72) → Operations Room (typewriter, Mr. Raccoon #25, Noblesse Orb) → Bioweapon Repository 05 Walkway → Anteroom (2 Lickers smash the windows) → Lobby: both orbs → Archives (file #73) → central console → chapter 15.
Prepare: Grace doesn’t have the Requiem in ARK (“And no, you don’t get to borrow the Requiem again”, IGN): your weapons are your handguns, knives and whatever you craft. The new enemy is the Licker β2: it’s blind and hunts by sound. Move crouched (right stick click), don’t step on the clumps of broken glass and debris on the floor (they make noise; the game warns you the first time) and throw Empty Bottles to draw them off. Three tools against them: the Bottle of Acid (Empty Bottle + 80 Infected Blood; the recipe is mid-chapter) kills a Licker in one hit on every difficulty; the Hemolytic Injector (Scrap + 60 blood) kills one instantly if you reach it from behind, and the other Lickers don’t react to the body bursting; and the Molotov Cocktail (Empty Bottle + 60 blood) one-shots the grey ARK Zombies. With a handgun, a Licker takes 4-5 headshots (Game8), but the noise draws the others. Save your bottles for acid: don’t craft more Molotovs until you have the recipe (IGN). On Standard (Classic) and Insanity every save costs an Ink Ribbon; here you find 2 of them and 4 Ink Ribbon Tins (each tin + 40 blood = 1 ribbon). On Insanity, PowerPyx recommends bringing Freya’s Needle (Special Content).
Walkthrough
You play Grace Ashcroft for the whole chapter. Switch 2 controls: ZL aim, ZR fire, right stick click to crouch, A to interact. Everything in this chapter (safes, files, Mr. Raccoon, Hip Pouch) is lost once you use the Archives central console, the end of the chapter: finish it all first. Safes open by turning the dial: follow the on-screen Left and Right prompts and enter all three turns before pulling the handle, or the dial resets.
Dump (B4/B5). The trophy The Final Mission (200 CP, automatic) pops on arrival. Walk through the trash and goop, examine the crane claw blocking a door (Leon’s exit) and go right: Leon boosts you into a high vent. Crawl, kick out the panel and drop down; there’s no way back.
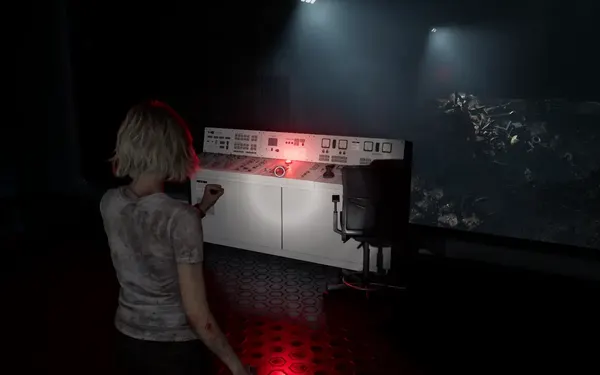
Dump Maintenance Access, Dump Maintenance Room and Dump Control Room (B4). A dark room and stairs up to the control room. The terminal with the red light is locked: it needs an Override Key. Note the wall panel by the doorway: another key is sealed there (the Magnetic Key) and comes free once the power is back.
East Stairway (B4 → B2). Plastic Crate in the alcove at the top of the stairs (Evil Resource places it on B3). Empty Bottles start turning up again from here.
Lab Entrance (B2). Not a safe room, but it has the essentials:
- Item Box on the west side and a typewriter on the west bench. On Standard (Classic) and Insanity there’s an Ink Ribbon on the same bench.
- Blood Collector on the bench, only if you never picked it up in the Care Center.
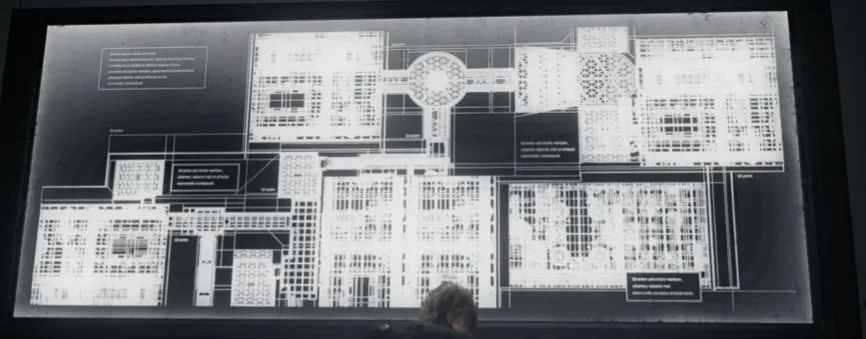
- The monitor past the typewriter is a map of the restricted area.
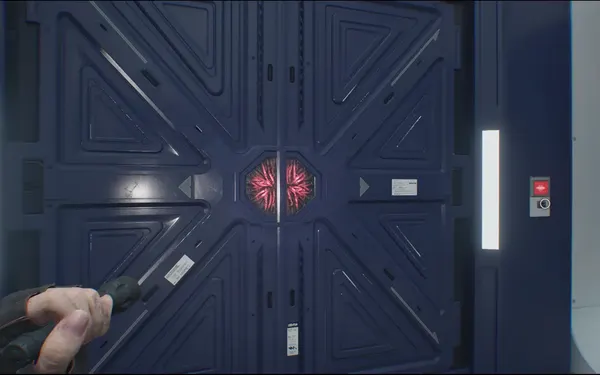
- The big double door to the Lobby needs the Magnetic Key. The only way on is the green door on the right (East Connecting Corridor → Sterilization Chamber).
Save and sort your inventory: IGN carries healing, spare Hemolytic Injectors, Empty Bottles and a Molotov or two.
Sterilization Chamber (B2). A Licker slams into the glass to scare you. In the entry room (south) there’s an Empty Bottle on the bench on the south side. In the main room 1 Licker β2 patrols a triangle: just left of the decontamination area → down to the safe in the corner → a few steps back into decontamination. Another Licker is visible in the hallway beyond. There are 2 glass clumps on the floor: go around them. Pickups:
- Green Herb on the desk east of the central column.
- Empty Bottle on the bench in the NE corner, next to the safe.
- Makeshift Knife on the bench in the NW corner.
- Empty Bottle on the electrocardiograph trolley by the exam tables (SW).
- The body on the SW exam table is an ARK Zombie: it gets up while you explore. A Molotov kills it in one hit; you can also inject it.
Safe #4 (Sterilization Chamber): in the NE corner of the main room, on the window ledge straight ahead as you enter. Code on Casual and Standard: Right 10, Left 90, Right 20. On Insanity: Left 80, Right 50, Left 0. The file with the code comes later (Bioweapon Repository 05), but you can open it now. Inside: a Molotov Cocktail, Handgun Ammo ×15 and a Med Injector. Wait for the Licker to be at the far end of its route before working the dial.
Bioweapon Repository 02 (B2). Big tubes with dormant zombies.
- Right as you enter, on the left, at the end of the hall, unlock the door: it’s a shortcut to the East Connecting Corridor and the Lab Entrance. You no longer need to cross the Sterilization Chamber again.
- 1 Licker β2 on the ceiling: stay crouched and it won’t notice you (IGN).
- The pods in the SW hold 4 ARK Zombies (3 on Insanity): break the glass and they come out. Don’t shoot near them.
- The blue door at the north end leads to the Cleanroom (Magnetic Key, later). Turn right down the small hallway: Chemical Storage.
Chemical Storage (B2). 2 ARK Zombies: one standing with its back to you, another in an alcove to the left, so injecting the first gets you spotted by the second. IGN’s combo: first take the Bottle of Acid from the table just left of the entrance (the south side of the bench). Then wait for the Bioweapon Repository 02 ceiling Licker to be over the door, throw an Empty Bottle at the back-turned zombie, duck, let the Licker and zombies bunch up and throw acid into the middle, onto the Licker. Pickups:
- Bottle of Acid on the southern bench in the middle (the table just left as you enter) and another Bottle of Acid on the northern bench of the same table.
- Handgun Ammo ×8 on the bench on the south side.
- Infected Blood ×20 on the floor in the NW corner.
- Ink Ribbon Tin (Standard (Classic) and Insanity) on the bench on the east side.
- Override Key (Dump Control Room): the glowing green slot in the control panel on the east side, at the end of the room.
Taking the key cuts the power: 1 ARK Zombie bursts out of the SE pod in Bioweapon Repository 02 and 1 Licker β2 appears in the East Stairway.
Back to the Dump Control Room. Take the Bioweapon Repository 02 shortcut → Lab Entrance → East Stairway. The Licker drops from the stairwell ceiling and hears you from far away if you run: go down slowly, crouched and hugging the inner edge. PowerPyx throws acid at it. In the Dump Control Room, insert the Override Key in the terminal: the crane lifts and Leon is free. The wall panel now has power: take the Magnetic Key (north side, by the doorway). It opens two doors: Lab Entrance → Lobby and Bioweapon Repository 02 → Cleanroom.
Cleanroom (B2). Come here first, through the blue door in Bioweapon Repository 02 (Game8: it saves backtracking). If you didn’t kill the Repository 02 Licker, it patrols past the shortcut door; a gap on the left lets you cut around the pods (IGN). Inside:
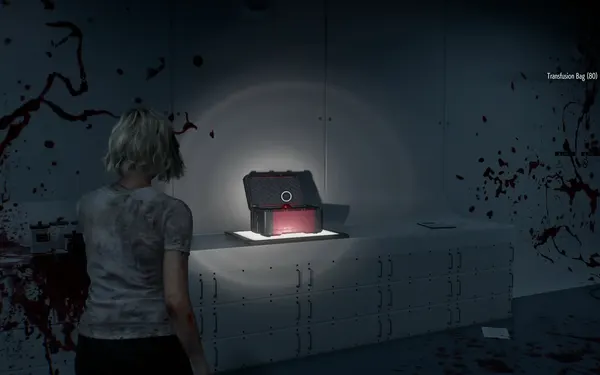
- Transfusion Bag (80 blood) on the exam bed in the NW corner. Spend blood before picking it up if you’re near the cap.
- Ink Ribbon Tin (Standard (Classic) and Insanity) on the small trolley in the NW.
- Molotov Cocktail on the exam bed with the body, SE corner: that ARK Zombie gets up.
- Animus Orb (crimson) in the black-and-red case on the north side, against the back wall.
Taking the Animus Orb makes 3 ARK Zombies break out of their pods and come in (on Insanity, 2 more also appear in Bioweapon Repository 02). IGN Molotovs them as they bunch up in the doorway; with the door shut, the Lickers outside can’t hear gunfire. You can also run back to the Lab Entrance, the one with the typewriter (PowerPyx).
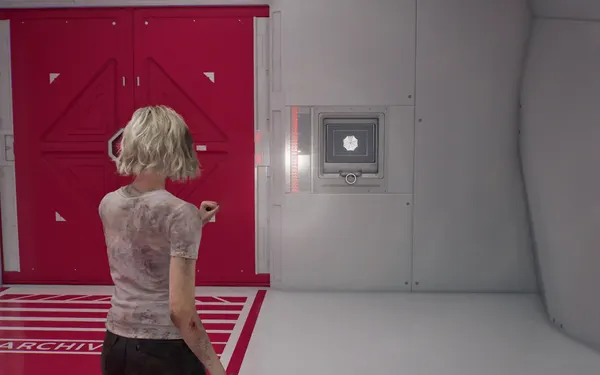
Lobby (B2). Take the shortcut back to the Lab Entrance and open the big double door with the Magnetic Key. The Lobby has a red-painted floor. At the far end is the orb door to the Archives: a panel with two slots. Place the Animus Orb. Ink Ribbon Tin (Standard (Classic) and Insanity) on the SE seat.
Monitor Control Room (B2). The first green door on the left in the Lobby. No enemies (on Insanity, 1 ARK Zombie).
- Empty Bottle on the desk in the middle, as you enter.
- Access Log: 51st Assembly Minutes (file #70): computer screen on the east side (on the right).
- Crafting Recipes – Bottle of Acid/Various: small case on the south side, left of the safe. It unlocks the Bottle of Acid (Empty Bottle + 80 blood) and a recipe that turns 5 Antique Coins into Scrap (IGN; only useful with spare coins). Craft acid now: PowerPyx carries at least 2 before leaving through the Operations Room.
Safe #5 (Monitor Control Room): on the counter on the south side. Code on Casual and Standard: Left 50, Right 60, Left 80; on Insanity: Right 20, Left 0, Right 70. (Four guides that opened it give the first code; Evil Resource’s transcript of the file reads Right 50, Left 60, Right 80: if the dial won’t open, try that.) Inside: a Bottle of Acid, an Empty Bottle and a Med Injector. It’s the last safe in the game: if the other 4 are open, No Safe is Safe (500 CP) pops.
West Connecting Corridor and Anteroom (B2). Go back to the Lobby and take the door on the left, heading west: the West Connecting Corridor leads to the Anteroom, which overlooks Bioweapon Repository 05. Take the stairs down on the left. (On Insanity, coming back with the Noblesse Orb there’s 1 more Licker in this corridor.)
Bioweapon Repository 05 (B3). “The last big challenge Grace will face” (IGN): 4 Licker β2s and 2 ARK Zombies roam the room, and there are zombies hidden in some of the Umbrella storage containers. Closed containers open with the lit white panel: the noise draws Lickers, so step away if one comes. Patrols per IGN: near the entrance, two Lickers circle two closed pods (one in an L shape, one along the back wall) with a zombie between them: throw a bottle to pull the Lickers onto the zombie and acid them all together. In the back half there are 2 more Lickers (one by the stairs) and a zombie that wanders out from the far corner. Containers:
- At the bottom of the entry stairs, in the first corner on the right (before you step into the big room): Green Herb and the file Sterilization Chamber Safe (#71), in a container with the Umbrella logo, on a crate. On Insanity an ARK Zombie wanders nearby.
- Closed SE container, the first one on the left as you enter the room: Hip Pouch #4 (+2 slots, the last one) and an Empty Bottle. On Insanity a zombie is inside.
- Closed SW container: Handgun Ammo ×8.
- Open west container: 1 Scrap; on Standard (Classic) and Insanity, an Ink Ribbon Tin.
- Closed middle container: Makeshift Knife and Infected Blood ×40, with 1 ARK Zombie inside (the gasping one; it should face away: inject it or Molotov it). On Insanity there’s no zombie.
- Open east container, under the walkway: 1 Scrap and the file Monitor Control Room Safe (#72) (PowerPyx: the rightmost open container in the middle row).
- NW container: 1 Scrap.
- Closed NE container: Transfusion Bag (80) and a Plastic Crate, with 1 ARK Zombie inside (no zombie on Insanity).
If you’re short on supplies and skipped the safes, now is the time to go back (IGN). Leave by the stairs at the north end, up to the Operations Room.
Operations Room (B2). An alarm sounds as you enter. There’s a typewriter on the bench in the middle (on Standard (Classic) and Insanity, an Ink Ribbon on the trolley east of it). Pickups:
- Mr. Raccoon #25, the last one: to the right of the main control-panel screen, south side. With all 25, You Little Rascal! (2,000 CP) pops and Advanced Tuning unlocks (the ★ tier for Leon’s weapon parts; Game8 puts it in the Special Content menu, IGN implies it already works this run, unconfirmed).
- Noblesse Orb (white) in the black-and-red case on the west side, next to the Mr. Raccoon.
- ARK Lab Unit 01-02 Floor Plan (map) on the computer on the south side.
- Med Injector on the small trolley on the north side.
- Infected Blood ×40 on the floor in the NE corner.
- Empty Bottle on the ledge of the open window in the SW corner: climb the cabinet to reach it. That window is the exit.
Save before you leave.
Bioweapon Repository 05 Walkway (B2). Climb out of the window onto the walkway. Taking the Noblesse Orb spawns 2 Licker β2s here: one moves up and down the right side, the other walks an L near the bridge down to the SE (IGN). PowerPyx acids the nearest one, then the other, or avoids it. Breaking a crate draws them. Pickups: Plastic Crate on the west side; Plastic Crate with 1 Scrap in the SW corner; Plastic Crate with an Empty Bottle in the NE corner; Bottle of Acid on the east side of the pile of containers blocking the walkway to the NE, past the Operations Room doorway. Drop from the south end to the Bioweapon Repository 05 floor (the landing is silent) and climb the stairs back to the Anteroom.
Anteroom ambush. With the Noblesse Orb, 2 Licker β2s smash through the windows from the catwalk, even if you killed the pair upstairs. They patrol tightly around the central furniture. Options: acid the first one (the splash draws and hurts the second) and shoot the other (PowerPyx); a bottle to bunch them up, then a Molotov or acid; or keep to the right-hand Licker’s left and slip out (IGN).
Lobby → Archives (B2). Place the Noblesse Orb next to the Animus Orb: the door opens. In the Archives:
- Access Log: First Assembly Minutes (file #73): console on the east wall (right), the last monitor. Read it before touching the big central console: it’s the last file you can miss.
- Central console (centre, north side): Grace finds a disc and remembers her mother’s secret. This ends the chapter: you switch to Leon.
Difficulty differences. The safe codes change on Insanity (above). Casual places items as Standard (Modern) does according to IGN (not confirmed room by room), and health regenerates up to yellow. Standard (Classic) only adds the ribbons and tins listed above. Insanity changes these enemies: 3 zombies in the Repository 02 pods instead of 4 and 2 more after the Animus Orb; 1 zombie in the Monitor Control Room; 1 Licker in the West Connecting Corridor after the Noblesse Orb; in Repository 05, one zombie near the entrance and another inside the Hip Pouch container (the middle and NE ones hold none).
Don’t leave without: safes #4 (Sterilization Chamber) and #5 (Monitor Control Room), Hip Pouch #4 (Bioweapon Repository 05, SE container), Mr. Raccoon #25 (Operations Room) and files #70 (Monitor Control Room), #71 and #72 (Repository 05 containers) and #73 (Archives east console). Everything is lost once you use the Archives central console. Files and Mr. Raccoons count across saves; for the safes (No Safe is Safe) nobody reports cross-save counting: open them all in the same run.