| 1-2 | 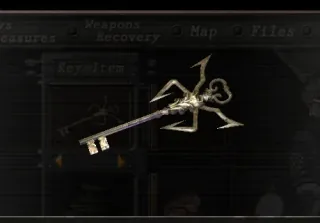 Insignia Key Insignia Key | Open jewellery box on the cabinet on the south side of the village chief's bedroom (2F) | Opens the Los Iluminados door of the town hall in the village square (start of 1-3) |
| 1-2 | 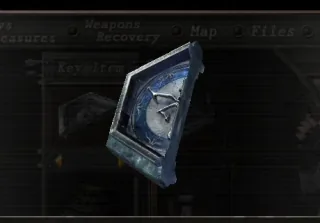 Emblem (left half) Emblem (left half) | Large chest in the north-east corner of the valley's upper area | Combines with the right half → Hexagonal Emblem |
| 1-2 | 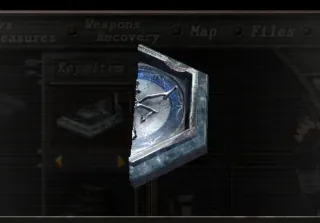 Emblem (right half) Emblem (right half) | Large chest on the roof of valley building 2 | Combines with the left half → Hexagonal Emblem |
| 1-2 | 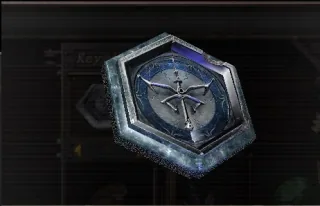 Hexagonal Emblem Hexagonal Emblem | By combining both halves | Opens the blue double doors in the valley |
| 2-1 | 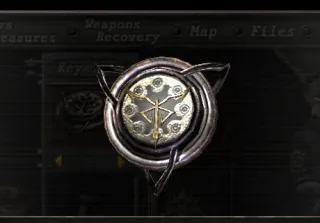 Round Insignia Round Insignia | At the end of the cave passage behind the waterfall | Opens the church door where Ashley is held |
| 2-3 | 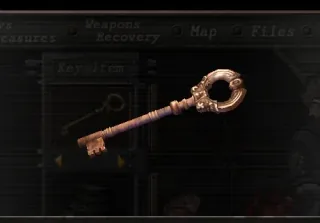 Camp Key Camp Key | Dropped by one of the Bella sisters (left route after the cabin) | Opens the door at the centre of the camp towards the exit |
| 2-3 | 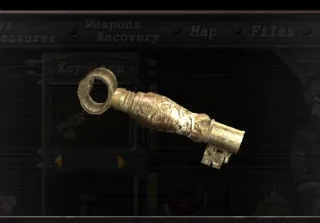 Old Key Old Key | Floor of the eastern wooden hut in the middle of the gorge (right route) | Opens the gate at the far end of the gorge, towards the outskirts |
| 2-3 | 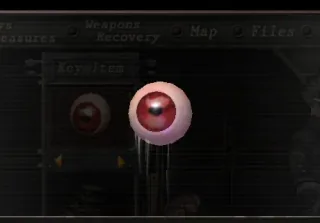 False Eye False Eye | Dropped by Bitores Mendez when he dies | Retina scanner on the central gate of the outskirts: opens the way out of the village to the castle |
| 3-1 | 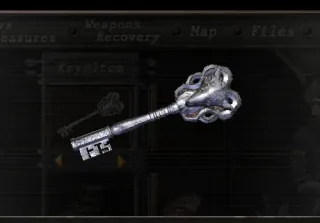 Castle Gate Key Castle Gate Key | Chest in the north-west corner of the outer bailey storeroom | Opens the outer bailey door to the Audience Hall |
| 3-1 | 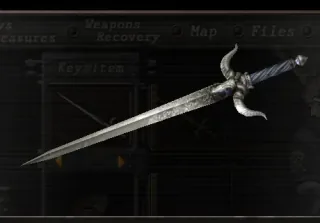 Platinum Sword Platinum Sword | Embedded in the north-west wall of the barracks 1F | Swap it with the Golden Sword on the 2F to open the door |
| 3-1 | 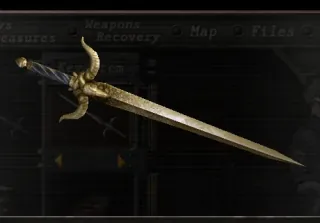 Golden Sword Golden Sword | Embedded in the north-west wall of the barracks 2F | Swap it with the Platinum Sword on the 1F to open the door |
| 3-1 | 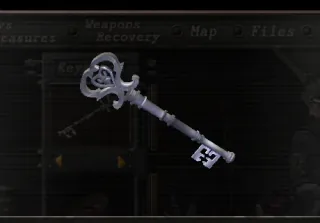 Prison Key Prison Key | On the painting in the south-east alcove of the connecting passage | Opens the prison door (the Garrador) |
| 3-2 | 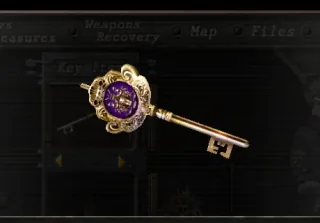 Gallery Key Gallery Key | Carried by the gallery's red-robed Leader Zealot: he flees through the side passage and, if he reaches the foot of the stairs, brings out a Gatling | Opens the door to the portrait room (painting puzzle) in the west gallery |
| 3-2 | 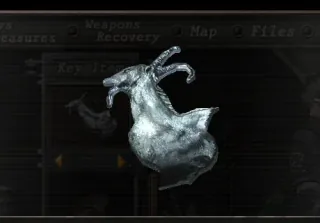 Goat Ornament Goat Ornament | Chest on the central platform of the Drawing Room: press the red security button by one of the doors, then the button in the switch passage, which extends the bridge to the chest | Relief on the Audience Hall door (with the lion and the serpent) |
| 3-2 | 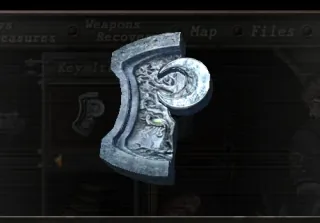 Moonstone (left half) Moonstone (left half) | Fountain in the north-east corner of the maze (3 Colmillos arrive when you take it) | Combines with the right half → Blue Moonstone |
| 3-2 | 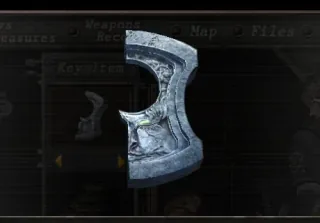 Moonstone (right half) Moonstone (right half) | Fountain in the middle of the maze | Combines with the left half → Blue Moonstone |
| 3-2 | 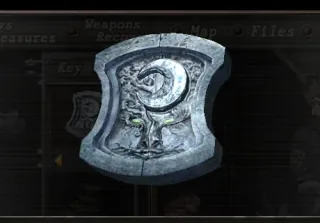 Blue Moonstone Blue Moonstone | By combining both halves | Opens the courtyard overlook door to the courtyard lounge |
| 3-4 | 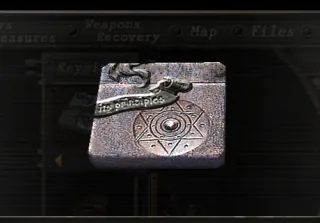 Stone Tablet Stone Tablet | On the fireplace mantel on the east side of the storeroom access | Last piece of the Salazar shield puzzle in storeroom A |
| 3-4 | 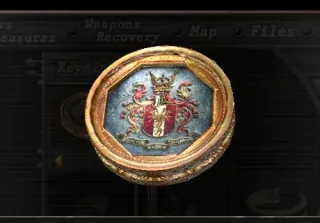 Salazar Family Insignia Salazar Family Insignia | On the suit of armour on the south side of storeroom B | Pedestal in the servants' study: turning it opens the private passageway back to Leon |
| 3-4 | 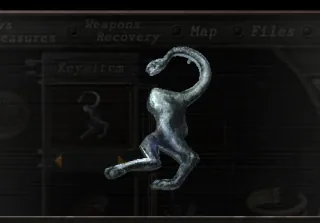 Serpent Ornament Serpent Ornament | Large chest that appears in storeroom B after taking the Salazar Family Insignia (taking the ornament wakes the armours) | Relief on the Audience Hall door |
| 4-1 | 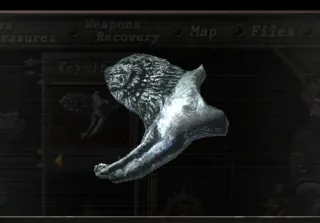 Lion Ornament Lion Ornament | Large chest at the top of the north stairs of the Dragon Hall, after sinking the north dragon statue | Relief on the Audience Hall door: with all three ornaments the antechamber opens |
| 4-1 | 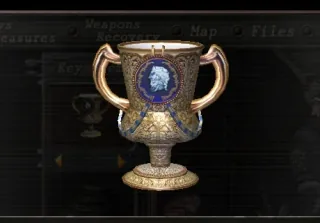 King's Grail King's Grail | Central pedestal of the east wing chamber (6 Armaduras drop in when you take it) | Hands of the king statue in the Main Gallery's statue hallway |
| 4-1 | 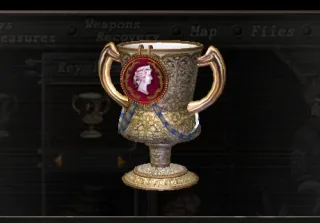 Queen's Grail Queen's Grail | Chest on the north side of the west wing storeroom | Hands of the queen statue in the Main Gallery's statue hallway |
| 4-2 | 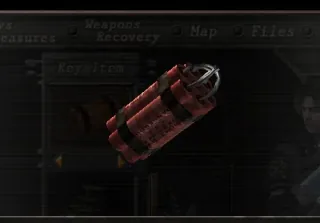 Dynamite Dynamite | Mine cart that appears when you pull the north lever of the mine, after restoring power at the south breaker | Blows up the boulder blocking the door to the furnace |
| 4-3 | 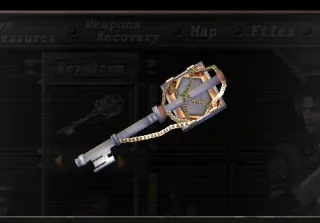 Key to the Mine Key to the Mine | Stone pedestal in the middle of the dwelling's 2F (the one with the two Dr. Salvadors) | Opens the east door of the sand ruins' main chamber, towards the trap room and the sand mine |
| 4-3 | 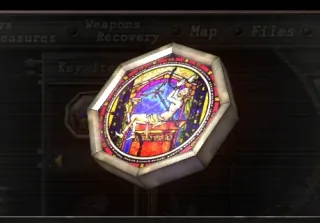 Stone of Sacrifice Stone of Sacrifice | Central pedestal of the sand mine exit chamber | The lion's mouth on the ruins courtyard door: opens the lift to the cathedral |
| 5-1 | 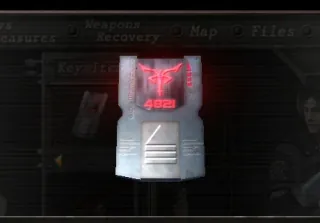 Freezer Card Key Freezer Card Key | Dead body on the east side of the main operating room (wakes the Regenerator on the small operating room's gurney) | Opens the lab freezer; converts into the Waste Disposal Card Key |
| 5-1 | 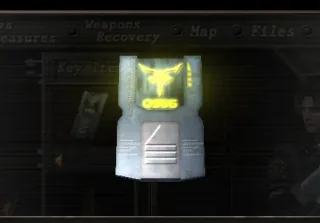 Waste Disposal Card Key Waste Disposal Card Key | Use the Freezer Card Key on the terminal in the freezer's south-east room | Opens the door to the waste disposal area |
| 5-1 | 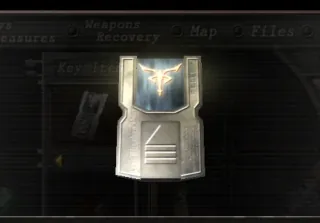 Storage Room Card Key Storage Room Card Key | Dropped by the Iron Maiden in the laboratory control centre | Opens the Storage Room, Ashley's cell off the Storage Area |
| 5-3 | Piece of the Holy Beast, Panther | Automatic on entering the ruins' pillared platform | Mural door at the ruins exit (with the eagle and the serpent) |
| 5-3 | Piece of the Holy Beast, Eagle | Wooden platform on the west side of the tower roof (taking it starts the final fight with Krauser) | Mural door at the ruins exit |
| 5-3 | Piece of the Holy Beast, Serpent | On Krauser's body after defeating him | Mural door: with all three pieces the way to the commando base opens |
| 5-4 | Emergency Lock Card Key | Carried by the soldier that appears in the control room when you press either switch | Reader of the military base's emergency locking device |
| Final | 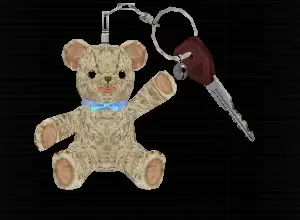 Jet-ski Key Jet-ski Key | Given by Ada after defeating Saddler | Starts the jet-ski in the caves to escape the island |
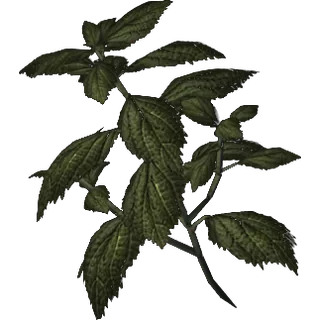 Green Herb
  Green Herb ×2
  Green Herb ×3
 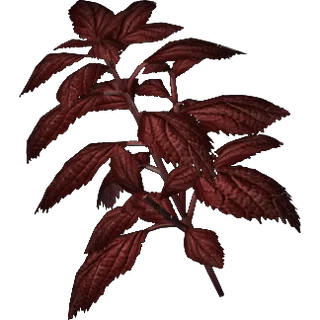 Red Herb
 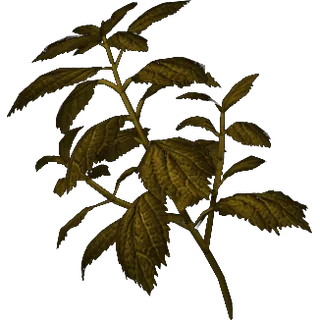 Yellow Herb
  Mixed Herbs (G+R)
  Mixed Herbs (G+Y)
  Mixed Herbs (R+Y)
  Mixed Herbs (G+R+Y) The most valuable healing item: use it, never sell it
  First Aid Spray Costs 5,000pts to buy
 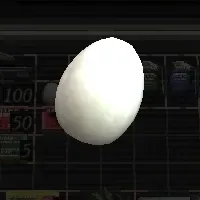 Chicken Egg
  Brown Chicken Egg
 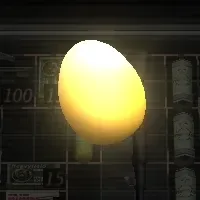 Gold Chicken Egg
 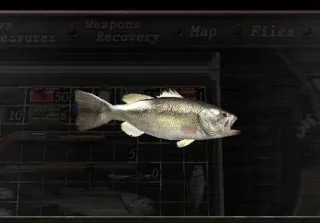 Black Bass
 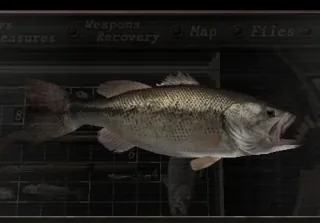 Black Bass (L)