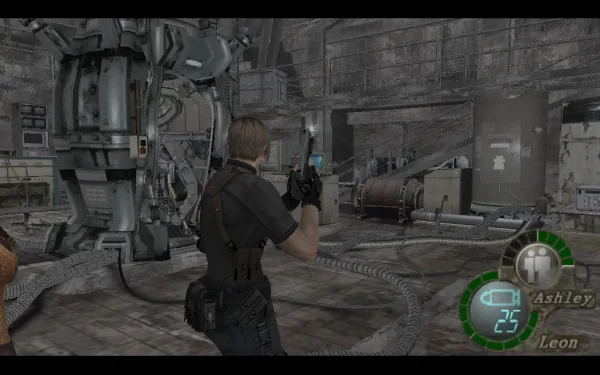
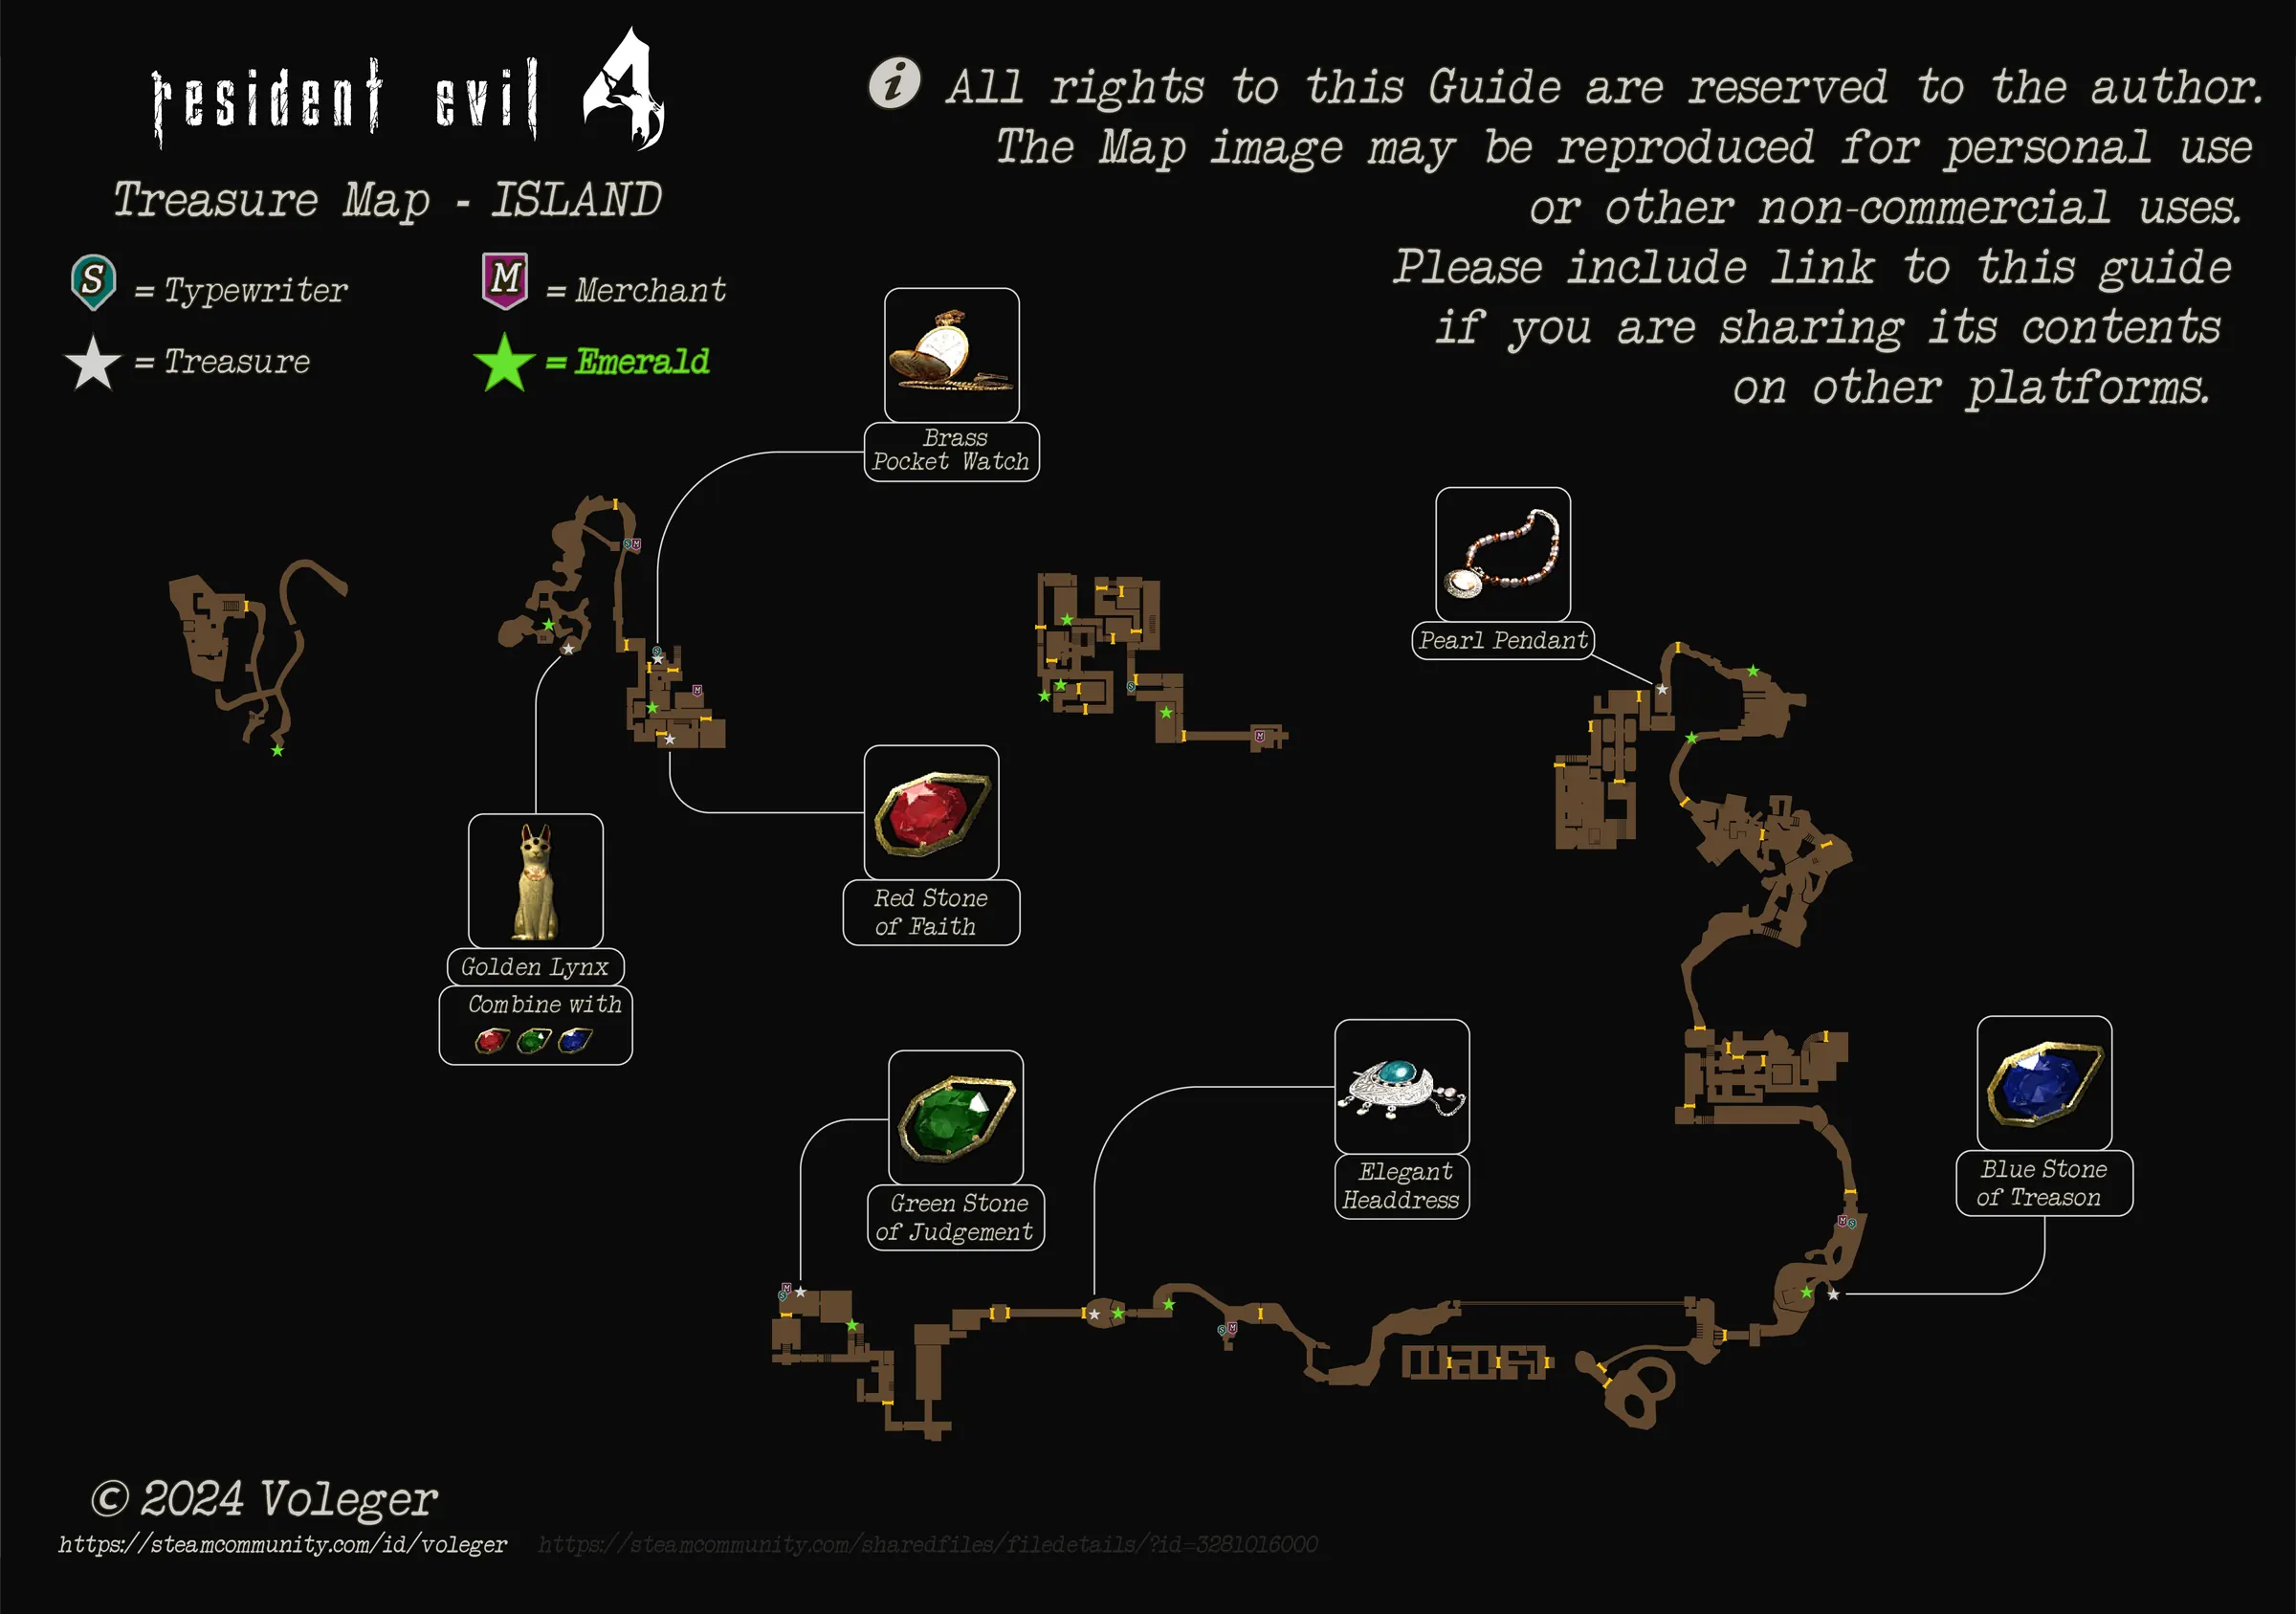
Chapter order: Entrance Path (typewriter, Saddler #3, Mike arrives) → lookout, turrets and paths → Main Gate Access (J.J. #1, zipline) → Pit (5,000pts) → Main Gate (two balcony levers) → Old Ruins (Mike is shot down, Saddler #4, 2 Emeralds) → Underground Chambers (Pearl Pendant, then Ada) → Cell Wing (typewriter, Regenerator) → Security Base (switch rooms, lockdown, Emergency Lock Card Key, J.J. #2) → Ashley’s rescue → Outside Area (Merchant) → Luis’s machine.
BUY: there’s no Merchant until after you rescue Ashley (the Outside Area): arrive in 5-4 with your case ready from the 5-3 campsite. At that Merchant, buy First Aid Sprays if you’re low and sell treasures. Rocket launchers (the normal one and Ada’s Special) take an 8×2 block (16 spaces): keep that space free for the final chapter, or be ready to discard or rearrange when you pick it up.
You play as Leon, alone, on the island. Saddler calls to tell you Krauser was only a diversion, and Ashley is at the far end of the commando base. Mike arrives in his helicopter and covers you while you cross trenches, turrets and two armored gates. Then he’s shot down, Ada finds you and the Plaga tries to take over Leon. Next come a Regenerator in the cells, the Security Base with its emergency lockdown and two Gatling-gun J.J.s, and at last Ashley’s rescue and Luis’s machine, which removes the parasite from you both.
Before you start
- Typewriters (2): the shack by the south door of the Entrance Path, right at the start, and the Cell Wing, after the scene with Ada.
- Merchant (1): only in the Outside Area, after Ashley’s rescue.
- ⚠️ MISSABLE: Pearl Pendant (10,000pts) in the northern chamber of the Underground Chambers. Take it before you cross into the southern chamber, where the scene with Ada starts.
- Security Base: loot everything before touching a switch. Pressing either one starts the lockdown and brings in 16 soldiers.
- Treasures: the Pearl Pendant and 2 Emeralds (3,000pts each) in the Old Ruins.
- Cash: 5,000pts (Pit) + 2 × 15,000pts (J.J.s) + 5,000pts (Regenerator) + 5,000pts (Control Room briefcase) + 2 × 5,000pts (Outside Area barrels). Total: 55,000pts.
- Files (3): “Communication Log: Saddler #3” (Entrance Path), “Communication Log: Saddler #4” (Old Ruins) and “Luis’ Memo 5” (Outside Area). “Our Mission” lies in Connecting Passageway 2, past the machine room: you read it at the start of the final chapter.
- Professional: Mike fires, but doesn’t help you: he only destroys buildings. The base’s items are the same on Normal and Professional.
Entrance Path: typewriter and Mike
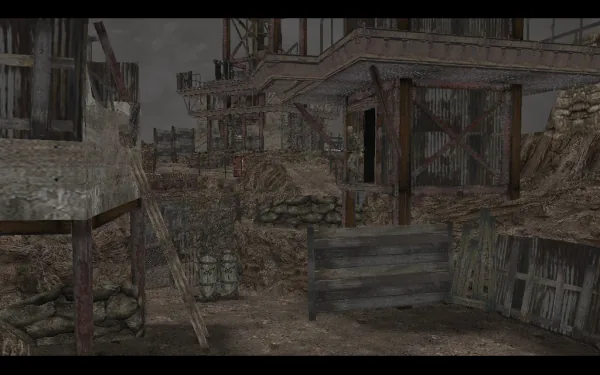
The shack by the south door has a typewriter, with a Green Herb next to it. Save. As you move on, Saddler calls (“Communication Log: Saddler #3”): Krauser was only a diversion.
When you approach the northwest clearing, Mike shows up in his helicopter. From here he supports you across the whole base: let him work (he blows up buildings and rocket troopers) and advance hugging cover.
The first enemies:
- A soldier on a mounted gun on the east structure, and another inside it. Rifle the gunner first.
- 9 soldiers drop into the Lookout as soon as you start exploring the base. Fight from cover and let Mike clear what he can; if they bunch up, a Flash Grenade and the shotgun up close (the Striker is great here).
Entrance Path items: Shotgun Shells ×5 in the small green tent in the middle, and Green Herb + Magnum Ammo ×3 in the barrels in front of and to the right of the wrecked turret. The Lookout has another Green Herb on its west side.
Approach, paths and Turret Building
- Approach: Hand Grenade in the concrete hut at the top of the ladder and Rifle Ammo ×3 in the southeast barrel. Its way through to the Lower Path has a heavy-duty padlock.
- Upper Path: a red barrel in front of the Turret Building. Use it on any group that bunches up there.
- Turret Building: a gunner on the roof; inside, Handgun Ammo ×10 and a Green Herb on the east side.
- Turret Building Outer Path: Flash Grenade in the southeast barrel.
- Lower Path: Yellow Herb in the barrel in the northwest corner.
Watch for soldiers coming out of the tunnels behind you.
Main Gate Access: J.J. and the zipline
J.J. #1 waits at the Main Gate Access, on the switch platform. There’s another soldier below, Shotgun Shells ×5 in the wooden bunker to the north and a red barrel on the north side.
- Go up to the Overlook: there are 2 soldiers. From there, rifle J.J. in the head. It’s the best angle you’ll get.
- Ride the zipline to his platform. Up top there’s a Hand Grenade and J.J.’s 15,000pts.
- Drop one level and unlock the door below. Go back to the ground and through it.
J.J. (the Gatling): the Gatling takes a moment to spin up before each burst: as soon as you hear it, break line of sight behind a wall. Then a flash grenade, and rifle or magnum to the head. He drops 15,000pts.
The Pit: a side area off the Access. Green Herb + TMP Ammo ×25 at the end of the north alcove, a Red Herb in the left tent on the south side and 5,000pts in the right tent.
Main Gate: the two levers
As you enter, the door locks behind you and a turret opens fire. To open the far gate you have to pull two levers, one on each balcony of the switch platforms.
- Ground: the turret gunner drops a First Aid Spray. There’s TMP Ammo ×25 by the central concrete pillar, a Green Herb in the turret building under the south platform and a red barrel to the southwest.
- North platform: climb the ladder on the left. Its gunner drops TMP Ammo ×50, and there are Shotgun Shells ×3 in the barrel behind the turret building.
- South platform: you reach it by going back into the small tunnel you came out of. Its gunner drops Magnum Ammo ×5.
Tactic: go into the tunnel with the ladder and work your way slowly toward the balcony. You can snipe one gunner with the rifle, but Hand Grenades are the best answer to the gun nests. Mike covers you if you wait for him to pass. Pull both levers and the gate opens.
Old Ruins: Mike goes down
Cutscene: a rocket trooper shoots Mike down. Then Saddler calls again (“Communication Log: Saddler #4”).
There are two Emeralds: one at the top of the stone pillar at the head of the western path, and one on top of the stone arch on the north side. Shoot them down.
Underground Chambers: Pearl Pendant and Ada
The Old Ruins Passageway leads down to the Underground Chambers.
⚠️ MISSABLE: the Pearl Pendant (10,000pts) is in the northern chamber, on a shallow stone pedestal behind the ladder. Take it before you cross into the southern chamber.
In the southern chamber, Ada finds you. The Plaga takes over Leon and Ada has to stop him. She wants you to get rid of the parasite first; Leon insists on saving Ashley before that. Carry on to the Cell Wing.
Cell Wing: typewriter and Regenerator
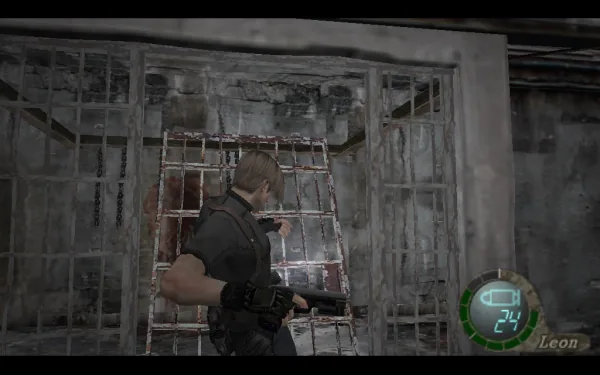
North room: there’s a typewriter on the desk on the north side, a Flash Grenade on the east shelves, Shotgun Shells ×5 in the small wall cupboard to the west and Magnum Ammo ×3 in the chest of drawers to the north. The small northwest side room has a Yellow Herb. Save here.
The cells: Rifle Ammo ×5 in the southwest corner of the northwest cell, and a Red Herb by the collapsed stairs at the south end of the corridor.
Regenerator: it’s in the southeast cell and carries 5,000pts. Thermal scope on the rifle and shoot the glowing parasites. Without the thermal scope you can run past it, but you lose the money.
Security Base: lockdown and Emergency Lock Card Key
The exit door has two locks, each opened by a switch: one in Switch Room 1 and one in Switch Room 2. Pressing either switch makes a soldier take the Emergency Lock Card Key, and the emergency lockdown starts. Loot everything first.
Looting round:
- Ground floor: 5 soldiers and 5 red barrels: use them. Handgun Ammo ×10 in a barrel in the middle, Green Herb + Shotgun Shells ×5 + Incendiary Grenade in the southwest barrels, and a Green Herb in the northwest corner of the east entry.
- Lower Storage Room: Red Herb in the northwest corner and a red barrel in the northeast one.
- Switch Room 2 (ground floor and 2F walkway): 4 soldiers, a Flash Grenade on the central table and a Yellow Herb in the south lockers.
- Switch Room 1 (2F walkway): 2 soldiers and Handgun Ammo ×10 in the east lockers.
- Control Room (3F): 1 soldier, 5,000pts in the silver briefcase on the northwest table and Rifle Ammo ×3 on the north shelves.
- Upper Storage Room (3F): J.J. #2 appears here as you explore (15,000pts). TMP Ammo ×25 in the southwest lockers. Break line of sight from the doorway, wait for the burst to end, then flash + rifle or magnum to the head.
The lockdown, step by step:
- Press the switch in either room. A soldier takes the card and 16 soldiers appear all over the base.
- Fight from a doorway so they can’t surround you, and use any red barrels still standing. The shotgun (Striker) is your best weapon here.
- The soldier carrying the card appears in the Control Room. Kill him and pick up the Emergency Lock Card Key.
- Put the card into the reader of the emergency locking device.
- Press the switch in both rooms. The locks open.
Cross the Connecting Passageway to the Security Wing Exit: 2 soldiers charge you as you enter, and there are Shotgun Shells ×5 in the cage at the south end. The door leads to the Capsule Room.
Capsule Room: Ashley
Rescue cutscene: Ashley is sealed in a capsule, Saddler shows up and Ada buys you time to escape. From here Ashley is back with you.
- Capsule Room Control Room (via the walkway): Red Herb in the northwest corner and Magnum Ammo ×5 on the northeast console.
- Leave by the Capsule Room Exit toward the Outside Area.
Outside Area: Merchant
A Merchant at last, in the middle of the area. 5,000pts in each of the two barrels in the northwest offshoot, a Green Herb in the southeast corner and the file “Luis’ Memo 5” on the rocks to the southwest.
What to buy: First Aid Sprays if you’re low; sell the treasures that no longer combine and finish your upgrades. Keep an 8×2 block free for Ada’s rocket launcher in the final chapter.
Connecting Passageway 1 and Luis’s machine
The northeast section of the passageway holds 2 hammer soldiers and 2 soldiers. Tell Ashley to wait before you go in. Rifle or Red9 the hammer men in the head from range, before they close in: a hammer blow hits very hard. If they get close, shotgun.
Luis’s machine is in the Surgical Extraction Room: Ashley and Leon go through it and it removes your parasites. End of the chapter.
Before Luis’s machine
- Pearl Pendant (northern chamber, before Ada).
- 2 Emeralds from the Old Ruins.
- Pesetas: 5,000 (Pit) + 5,000 (Regenerator) + 5,000 (Control Room briefcase) + 2 × 15,000 (J.J.s) + 2 × 5,000 (Outside Area barrels).
- Files: “Communication Log: Saddler #3”, “Communication Log: Saddler #4” and “Luis’ Memo 5”.
- Saved at the Entrance Path and in the Cell Wing.
- Case with an 8×2 gap free, First Aid Sprays and your magnum loaded for Saddler.