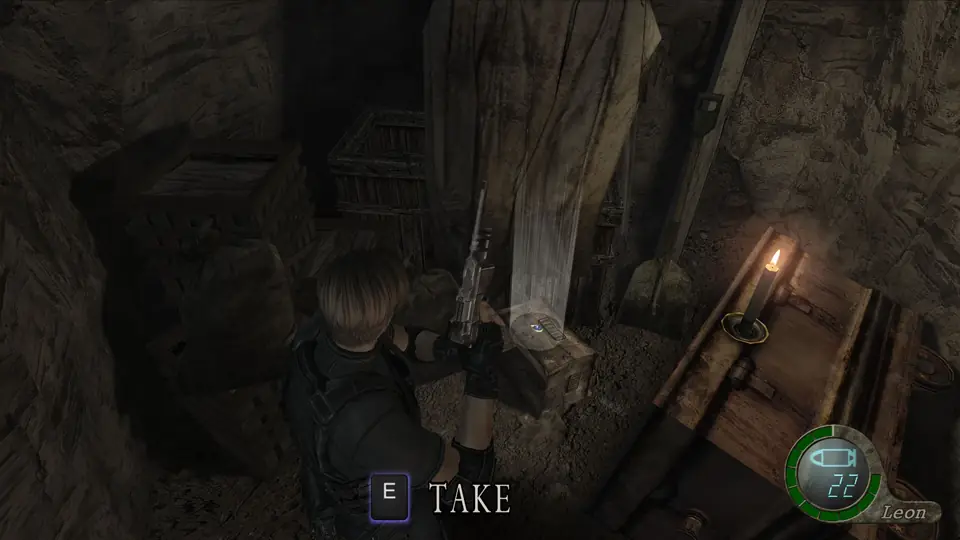
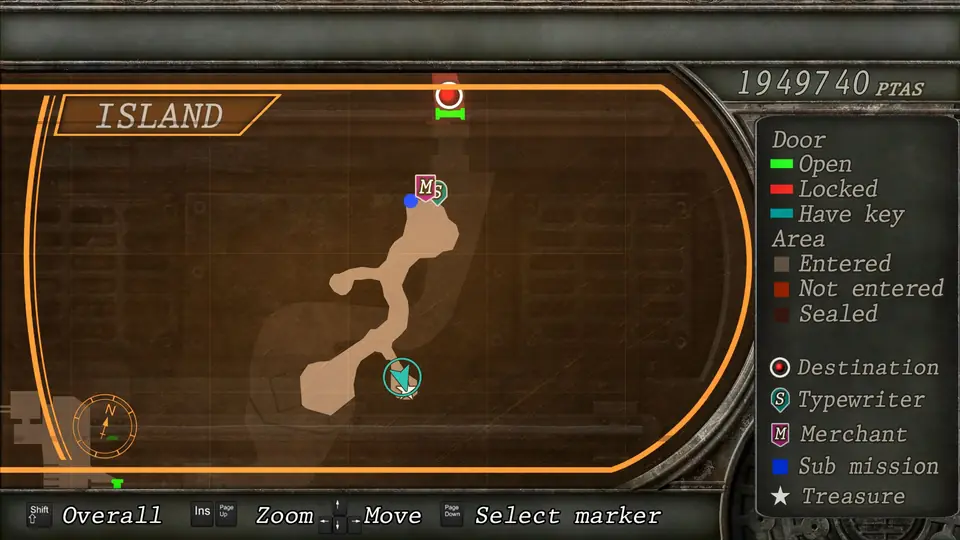
Chapter order: Altar (5,000pts, “Our Plan”) → stairway (Emerald behind the glass) → Ada and Krauser → Boiler Room (crossbow militia), office and storage room → South Fenced Area → platforms: knife duel (QTE) → lasers → throne room (Elegant Headdress, Emerald) → cave: Merchant and typewriter → U-3 in the containers and in its lair → campsite (8 soldiers) → tunnel: Emerald, Blue Stone of Treason, Merchant, last shooting range → Krauser’s ruins (Panther, Eagle, Serpent; 3-minute tower) → mural door.
BUY: at the cave Merchant (before U-3), upgrade the gun you’ll use on it (magnum, TMP or shotgun); Broken Butterfly Firepower level 6 (28.0, 70,000pts) unlocks there. If you’re short on ammo, a Rocket Launcher (30,000pts) leaves U-3 one shot from death. At the campsite the Broken Butterfly exclusive (Firepower 50.0, 150,000pts) finally shows up, along with the game’s last shooting range. Save at both typewriters: the cave one is the last before U-3.
You play as Leon, alone, on the island. Saddler has just taken Ashley at the end of 5-2, and you planted the tracker on her. The chapter starts in the Altar of the maintenance area. First you cross a boiler room full of militia, survive the knife duel with Krauser, get through the laser corridor and ride down from Saddler’s throne to the caves. U-3 waits there, first in three hanging containers and then in its lair. After that come a soldier campsite, a tunnel with the last Merchant and shooting range, and the ruins, where Krauser hunts you with his TMP and, at the end, with his mutated arm on top of a bomb-rigged tower.
Before you start
- Typewriters (2): in the cave Merchant Passageway (the last one before U-3) and in the northern cave of the campsite’s Underground Passage (Merchant and range). The one in the 5-2 Merchant Room, next to the Altar, is still a step away when the chapter starts.
- Merchants (2): the cave, at the bottom of the throne lift (with Broken Butterfly level 6), and the campsite tunnel (with the Broken Butterfly exclusive and the shooting range). After killing U-3 you can go back to the cave one via the lift linking Container Area East and West.
- No typewriter until the campsite: between the cave Merchant Passageway and the campsite tunnel there’s nowhere to save, and the three containers and U-3’s lair lie in between. Save before leaving the Merchant Passageway.
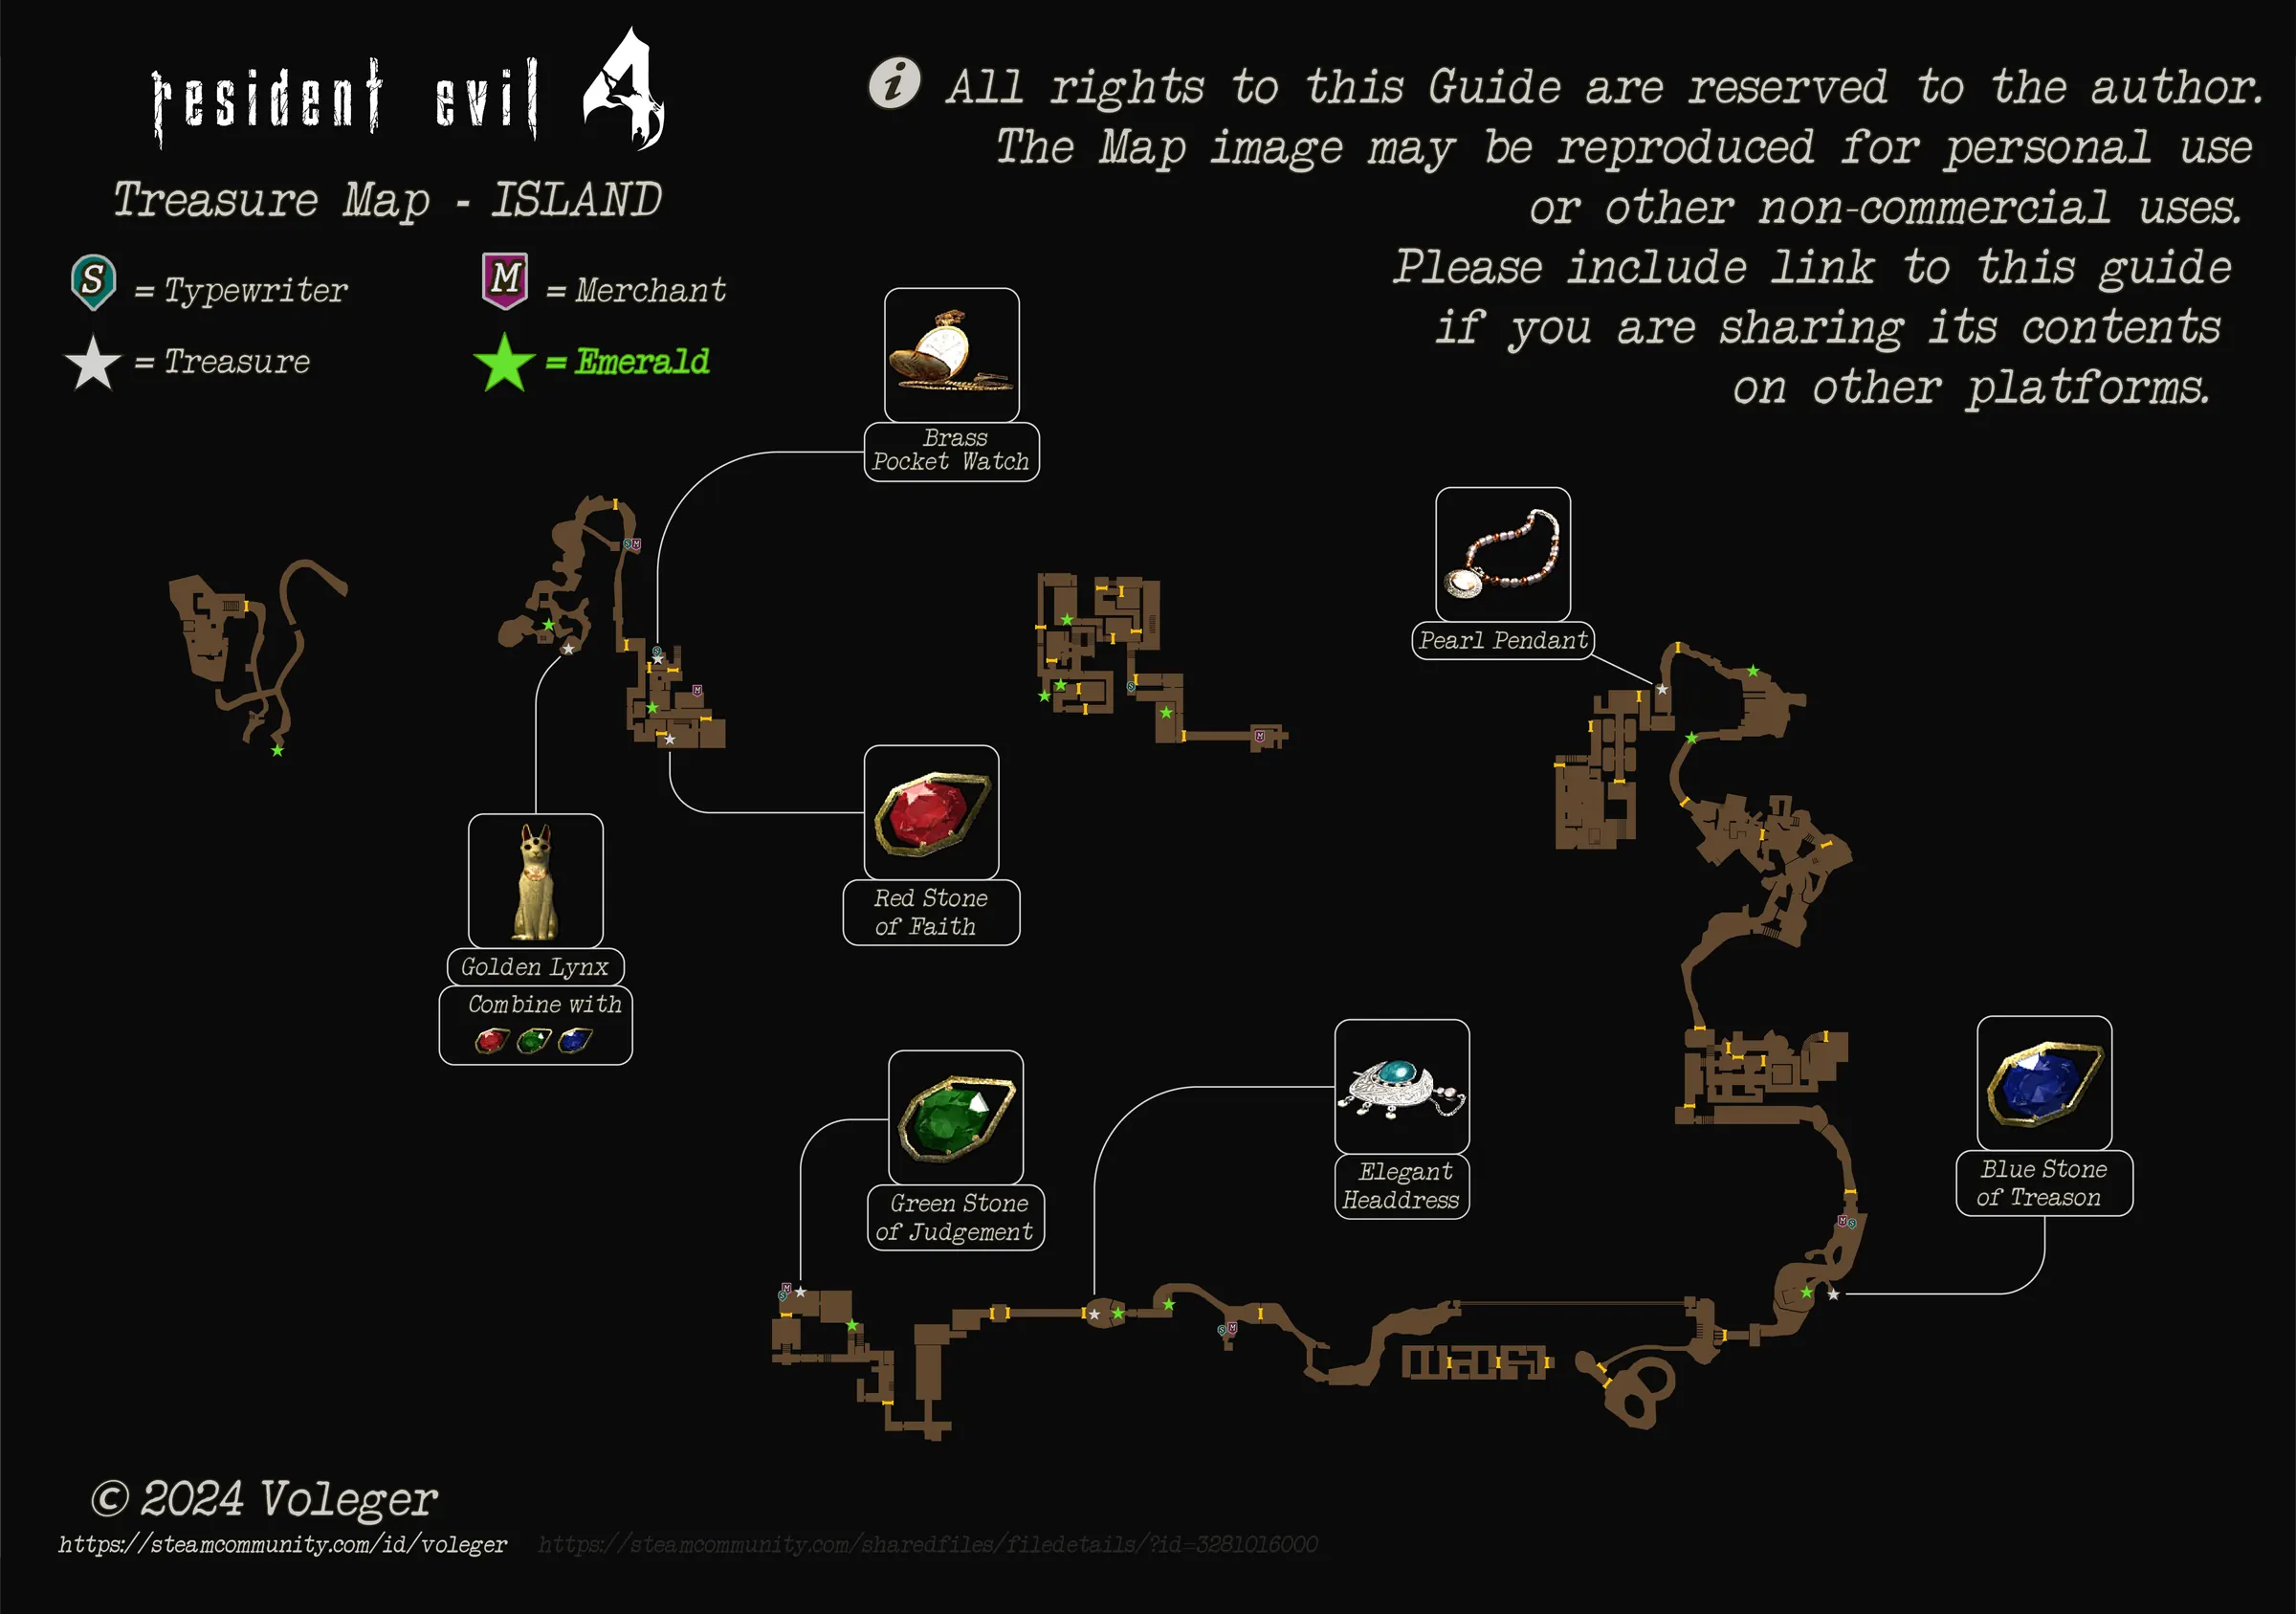
- Chapter treasures: Elegant Headdress (10,000pts) in the throne room, 4 Emeralds (3,000pts each: the stairway glass, the throne, under the cave Merchant’s stairs and the campsite tunnel ceiling) and the Blue Stone of Treason, which completes the Golden Lynx (35,000pts with all three stones).
- Cash: 5,000pts (Altar), 3,000pts (Storage Room), 3,000pts (South Fenced Area), 50,000pts (U-3), 3,000pts (campsite tent) and 5,000pts (tunnel). Total: 69,000pts.
- Files (4): “Our Plan” (Altar), “Communication Log: Saddler #2” (after the duel), “Luis’ Memo 4” (cave Merchant) and “Krauser’s Note” (the campsite Merchant’s table).
- Shooting range: the campsite range adds no new game (Game D opened in 5-1 and pays 50,000pts for its 6 caps), but it’s the last one in the story. If you’re going for the “What Are They Worth?” achievement (24 bottle caps), finish them here.
- Point of no return: the ruins. Once you drop down from the entry path, don’t count on getting back to the campsite Merchant: shop and save before you climb his ladder. The mural door leads straight into 5-4.
- Normal and Professional: the items are the same on both difficulties. On Professional, Krauser’s QTEs change (see his boss section).
Altar and stairway
Altar. You start where 5-2 ended. There’s 5,000pts in gold bars on the floor by the stairs in the southeast corner, and the file “Our Plan” on the small candlestick table at the top of the south stairs. If you left anything in the 5-2 Merchant Room next door (the Green Stone of Judgment in the silver briefcase, 5,000pts in the southeast cabinet), it’s still there: this is your last chance.
Stairway Passage. Leave through the Altar door. There are Shotgun Shells ×3 on the upper east landing and a Green Herb by the lower door in the southeast corner. An Emerald sits behind the glass windows above the stairs: shoot the glass and it drops. A cutscene plays on the way out: Ada and Krauser talk about Saddler and the sample.
Boiler Room, office and storage room
Boiler Room. You come down the stairs to 4 soldiers, some with crossbows. You have two options:
- Fight: from the doorway, kill the crossbowmen first (rifle or shotgun at range), then the rest as they climb up to you.
- Run: sprint for the door on the far side and save your ammo.
Once you explore the Connecting Passageway, 2 more soldiers show up here, and 1 in the Storage Room.
Small Office Room. It’s off one side of the Boiler Room. Inside are 3 soldiers: clear it from the doorway before you go in. Handgun Ammo ×15 is in the locker in the southwest corner.
Storage Room. A Flash Grenade on the piles of boxes and 3,000pts in the northwest corner.
Connecting Passageway and South Fenced Area. The passageway leads to the South Fenced Area: 3,000pts on the ground at its east end. Carry on to Platform 1 and take the lift up to Platform 2.
Knife duel with Krauser (QTE)
The cutscene starts when you reach the middle of the Platform 2 catwalk. It’s a long sequence with a mid checkpoint and instant death on every miss.
- First prompt: when Krauser swings off the pipe.
- Second: when he finishes twirling his knife.
- Third: after the talk.
- Down below, Leon slashes his chest and Krauser gets angry: another prompt comes, then a pause.
- When he pins you to the floor, mash the button and watch the bottom of the screen: the button changes halfway.
It ends when Ada shoots Krauser’s knife. Hands on the controller through the whole cutscene: more people die here than to any boss.
When it’s over, Saddler calls: file “Communication Log: Saddler #2”. Go down the ladder to the North Fenced Area and through Security Access.
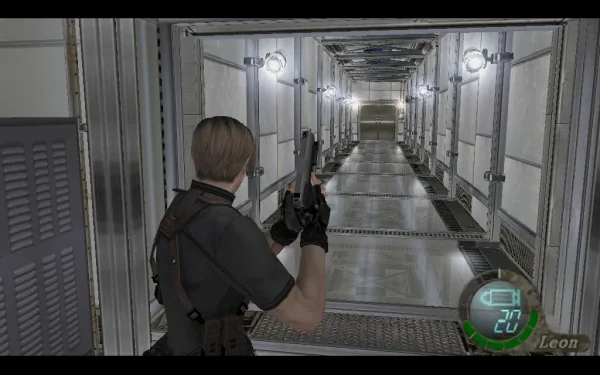
Laser corridor
- The first two traps: move when the bars rise or turn vertical.
- Then come two QTEs in a row as you approach the lasers.
- When you hit the door switch, one last laser grid charges at you from the far side: run toward it and hit the prompt to dodge it.
Throne room
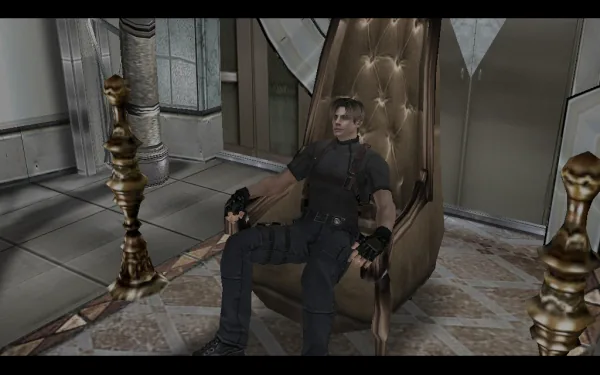
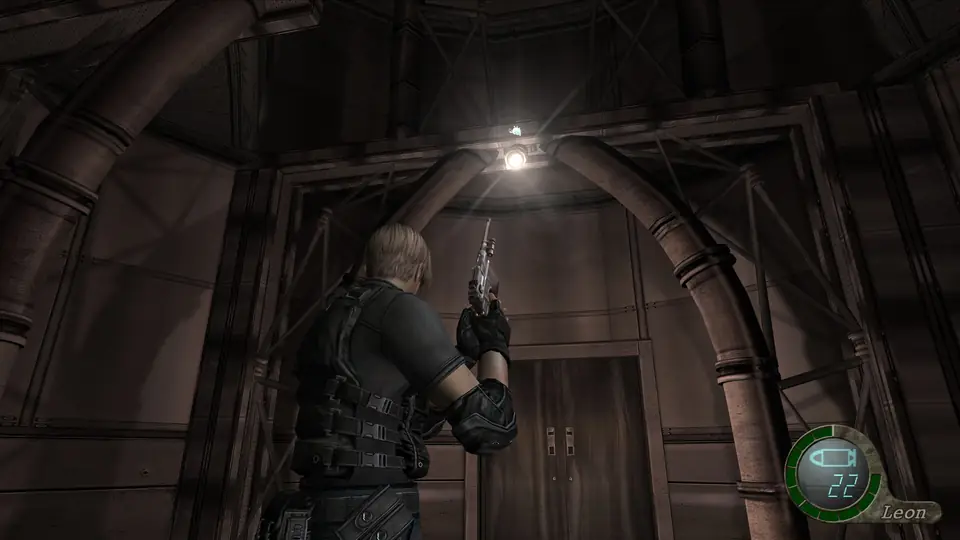
The Elegant Headdress (10,000pts) is set into the archway above you on the west side of the room: shoot it down. An Emerald sits on the throne. Examine the throne again and Leon sits on it (optional scene). The one-person lift down to the caves is behind the chair.
Cave: Merchant and typewriter
Merchant Passageway. A Green Herb and an Emerald lie under the stairs. The Merchant and a typewriter are in the south part, with the file “Luis’ Memo 4” on the boxes next to them. Behind the metal door, Merchant Storage holds a Red Herb.
What to buy: sell your treasures and any ammo you don’t use. Upgrade the gun you’ll fight U-3 with: a magnum for its lair, and a TMP or shotgun to drive it off in the containers. New in stock: Broken Butterfly Firepower level 6 (28.0, 70,000pts); it’s only worth it if you’ll buy the 150,000pts exclusive later. If you’re short on ammo, a Rocket Launcher (30,000pts) leaves U-3 one shot from death. Save here.
Cave Entry. Inside the torn fence to the northeast is a Yellow Herb: grab it before moving on. Leon finds Ashley’s tracker in a puddle, the wall shakes and U-3 bursts through it. Leon jumps onto the containers.
Boss — U-3 “It” (containers)
Here it cannot die, and damage you deal does not carry over to the later fight. Each of the three containers has two emergency switches. Pressing the second one starts a 30-second countdown: the container drops into the pit, and if you’re still inside, you die. Run for the exit as soon as you press it.
How to handle it: when it’s on the floor, TMP or shotgun to the head until it jumps to the rafters. That buys you a few seconds. If you’re low on ammo, just run past it: you need that ammo for the lair. An Incendiary Grenade usually sends it back up. From the rafters it does two things:
- Ceiling grab: if you see drool falling on Leon from above, get ready. Press the action button to dodge. If you miss, shake the stick or it snaps your neck.
- Leg grab on the floor: also dodged with the action button.
Some doors have a green lock: shoot it to open the door.
- Container 1: Green Herb at the west end of the south section and Shotgun Shells ×5 at the northeast of the middle section. The green lock is by the shutter, facing the switch.
- Container 2: Incendiary Grenade in the southwest corner and TMP Ammo ×25 in the northeast one. The green locks are up high on the beams: aim high. U-3 drops down once, scripted.
- Container 3: the first switch is in plain sight. Press it and U-3 drops in front of you and sprouts the pincer. A Hand Grenade or one magnum shot drives it off safely. From now on it also attacks with the pincer, even from the rafters. For the second switch, go through the central passage and turn left at the end of the tunnel. Shoot the green lock, go back to the west end and press the switch. Speedrun trick: a grenade tossed over the gate at the start breaks that lock.
You leave by the lowered crane. You’re safe now: heal and reload before taking another step.
Boss — U-3 “It” (its lair)
A few steps later, in the Cave Passageway, U-3 attacks again, and this time it can die. Grab what’s here first: Green Herb + Shotgun Shells ×10 on the west side of the main (southwest) area, and Handgun Ammo ×10 by the switch for the south gate, in the northeast passage.
Phase 1 — the gates. The metal gates hold it back. When one is in its way, it raises the pincer and braces before cutting through: that’s your tell. Close gates between you with the switches and fire through them with a rifle, TMP or magnum at the head and pincer. There are 2 red barrels, one on the east side of the southwest cave and one in the northeast passage: lure it next to one and shoot it. The Handgun barely scratches it. The shotgun loses value because the pincer has long reach.
Phase 2 — the pincer. After heavy damage, the lower body dies and only the pincer Plaga is left, and it burrows. From underground it strikes 1 to 4 times in a row: dodge them with the action button. Then it surfaces for a few seconds: shoot the orange flesh between the pincers. Don’t get close: its pincer cleave cuts you in half. Always keep your distance.
What to kill it with: a half-upgraded Broken Butterfly drops it with shots to the head and pincer. On Professional it takes about 23 shots from a level-6 Broken Butterfly (without the exclusive). A rocket doesn’t kill it, but leaves it one shot from death with a strong gun. It drops 50,000pts.
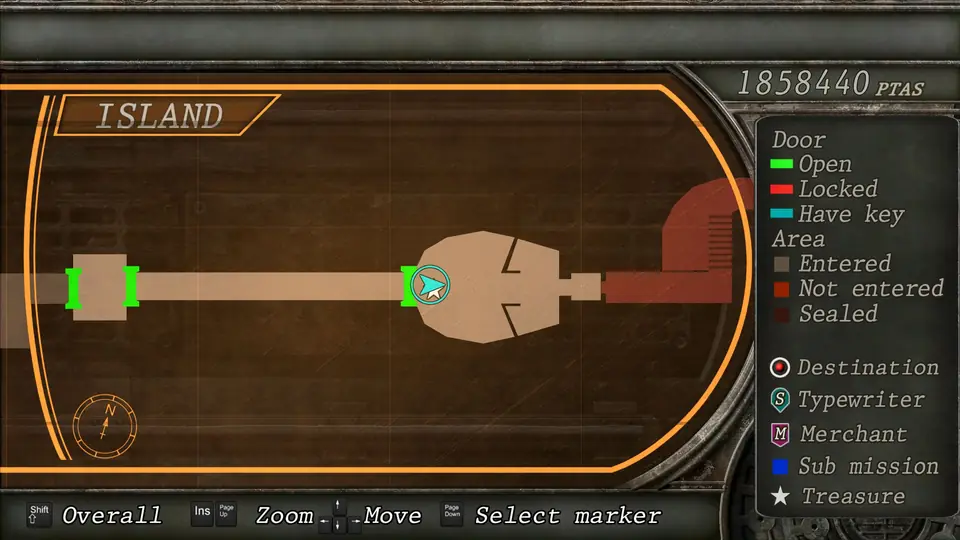
Way out. Head east: Cliff Edge → Cave Tunnel → Container Area East (Green Herb by the stairs leading up). From there a lift crosses to Container Area West (Green Herb by the lift), which opens onto the Cave Entry: use it only if you want to return to the Merchant to sell or save. To move on, take the stairs in the east area up to the Maintenance Building (Hand Grenade in the cabinet by the door) and on to the Campsite Entry.
Campsite
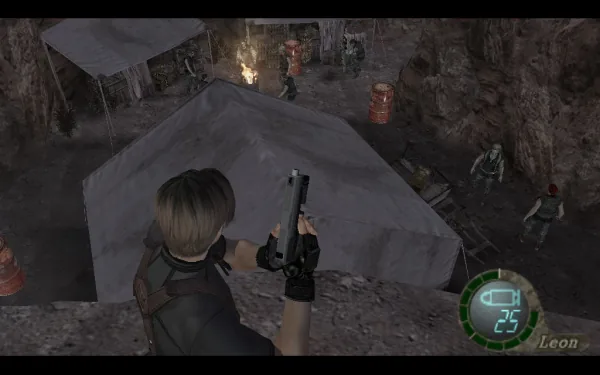
From the entry ledge you see 8 soldiers below. There are 3 red barrels around the edge of the campsite: shoot the one nearest the group before they spot you, then finish the rest from above. Then go down for the items:
- TMP Ammo ×25 in the barrel on the south side, by the entry ladder.
- Yellow Herb against the northeast wall.
- 3,000pts in the crate on the table inside the central tent.
In the central tent a ladder through a manhole leads down to the Underground Passage.
Underground Passage: Stone of Treason, Merchant and range
- Southwest cave (where you come down): an Emerald is set into the ceiling: shoot it.
- Southeast offshoot: the Blue Stone of Treason is at the end. Combine it with the Golden Lynx: with all three stones it’s worth 35,000pts.
- Northwest offshoot: 5,000pts in the small crate on the table at the end.
- Northern cave: Merchant, typewriter, the file “Krauser’s Note” on the table, Handgun Ammo ×10 in the barrel and the shooting range door.
What to buy: the Broken Butterfly exclusive (Firepower 50.0, 150,000pts) finally appears here. Magnum damage matters against Krauser: if you use the Broken Butterfly, now is the time. Sell the complete Golden Lynx if you won’t carry it to the end. Save here: it’s the last save before the ruins.
Shooting range: there’s no new game, but you can replay all four. It’s the last range in the story: if you’re still missing caps for the 24 (“What Are They Worth?”), finish them now.
Climb the northern cave’s ladder → Campsite Exit → Ruins Entry Path (Green Herb in the barrel in the northwest alcove, next to where you drop down) → drop into the ruins.
Ruins: Krauser and the three pieces
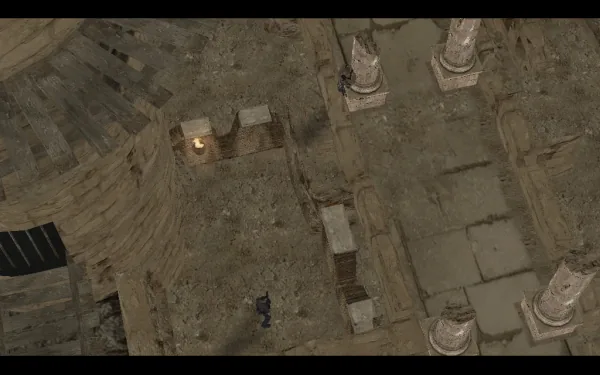
Krauser greets you with a cutscene with no QTE: to open the exit you need three Pieces of the Holy Beast. By his account, one is to the north, one to the east and he carries the third. In practice: the Panther is on the Pillared Platform, the Eagle is at the top of the tower and the Serpent comes off his body. From here on he hunts you across the ruins.
How Krauser fights (before mutating):
- TMP from cover; on Professional he locks on faster. Move from cover to cover.
- Grenades when he can’t see you; he can throw up to four in a row. You can shoot them to detonate them early, and their blasts break walls and pillars.
- Explosive arrows: they stick, beep and explode. Dodge them by moving sideways, never toward him.
- Melee: treat him like a Ganado. Back off when he swings and knife him when he misses. If you aim at him too long, he sidesteps and closes in fast.
- When he throws a Flash Grenade, the encounter is over: he leaves. Stop shooting, because any bullet after that is wasted ammo.
1. South West Building. Right at the start, run for the door while he fires the TMP and go into the building on the left (west). Inside: Green Herb on the west side of the ground floor, Magnum Ammo ×3 in the crate on the northwest table, Flash Grenade upstairs and TMP Ammo ×25 in the upstairs northwest barrel. Climb the ladder to the roof. Roof trick: stand between the hole and the wall, west of the hole, with the ladder across the hole from you. There he can’t reach you: when he leaps at you he falls through the hole and freezes, and you can shoot him without taking damage. When his beret flies off, he’s low on health.
2. West Ruins and Central Path. Go down and through the gate on the left. The West Ruins hold Shotgun Shells ×5. If you see a shadow by the walls, it’s him: hide behind a wall and let him come, or go back to the roof and repeat the trick. If he climbs another building to the north, rifle him from range and watch his arrows. On the Central Path there’s a Green Herb on the stone blocks at the bottom of the west stairs.
3. Central Building. It holds a First Aid Spray + Shotgun Shells ×10 in the barrels in the southeast corner of the ground floor, and a Hand Grenade on the southeast ledge upstairs.
4. Pillared Platform: the Panther. You get the Panther piece automatically when you enter. There’s a Red Herb in the northwest inner corner and Handgun Ammo ×20 in the southwest one. Krauser attacks with grenades, then comes down for you. When he leaves, a statue lowers.
- Puzzle: push the statue from the left and then from behind onto the odd tile between the two brick walls. Two switches open.
- Press the first, go down and around the building (Krauser waits at the corner: hide behind yours and let him come out), and press the second. With both pressed, the gate opens.
5. Past the gate: the Seekers. There are Seekers, spider robots with dynamite: shoot the charge before they get close. Further on there’s a flying drone with a machine gun: shoot it the moment you see it or it riddles you. Turn right, blow up the next two robots and go through.
6. Lower Passages. There’s a Green Herb + TMP Ammo ×25 in the northwest corner of the northeast area, opposite the ladder to the Central Path. Entering the northwest part triggers a short scene: Krauser asks “What do you fight for, Leon?”. Keep your finger on the action button. Afterwards two robots appear: turn around and go into the small building.
7. Tower. There’s a Yellow Herb at the bottom of the stairs on the lowest level. Climb to the roof: on the east wooden platform there’s Magnum Ammo ×3 and a Green Herb, and on the west one, by the small curved wooden bridge, is the Eagle piece. Heal and reload before you take it: picking it up starts the final Krauser fight.
Boss — Jack Krauser (mutated, tower)
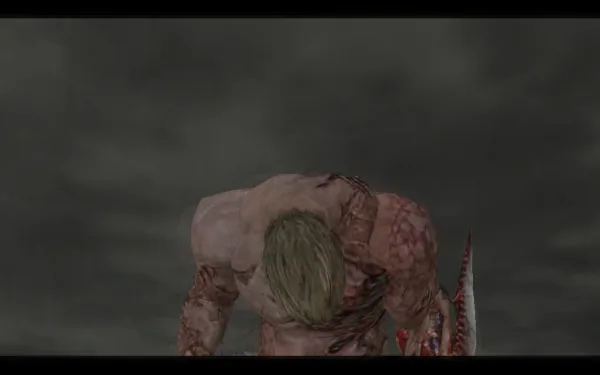
Krauser throws away the TMP and mutates his left arm. A 3-minute countdown starts: if it hits zero, the bombs he planted go off and it’s game over. He drops the Serpent piece when he dies.
The shield. The arm opens into a bulletproof shield that covers him from the knees up. While he runs at you, you can only hit his front foot or knee.
- Magnum or rifle to the leg drops him and exposes his head: finish him there.
- Most efficient combo: magnum to the legs to stagger him, then knife while he’s reeling. Knife slashes deal the equivalent of a fully upgraded Killer7 and save plenty of ammo.
- Risky option: run at him. He has to lower the shield to kick you: knife his knee to drop him, then his head.
- Rifle at range, knife up close. With the Riot Gun, two shots put him on his knees.
Attacks and tells:
- Leg sweep + leaping slam: instant kill on every difficulty. The sweep has no QTE: walk out of it. The prompt appears when he jumps: hit it and Leon rolls away.
- Double roundhouse kick (no QTE) and spinning backslash (with QTE) can knock you off the tower. If you end up hanging from the edge, mash the button or you fall to your death. Don’t fight with your back to the edge.
- Lunging stab and leaping somersault from range: both have QTEs. On Professional the somersault hits almost as hard as an instant kill.
- Double backflip after each attack: in the air he’s immune to everything, grenades included. Don’t waste bullets on it.
Difficulty differences (in all his encounters):
- Knife-slash QTE: 1 input on Easy, up to 2 on Normal and up to 4 on Professional.
- Throat slit: if you turn your back, he grabs you by the throat. Mash the direction to break free. On Professional, another combination follows, and failing it is instant death.
Killing him earns the “The Ties That Bind” achievement. Take the Serpent from his body.
Exit: the mural door
Climb down from the roof the way you came up, but don’t take the long staircase down. Go through the gate by the small wooden bridge to the Ruins Exit (Handgun Ammo ×10 in the middle alcove of the west wall). Set the three pieces in the mural door: the way to the commando base opens and 5-4 begins.
Before you go through the mural door
- Elegant Headdress (throne room).
- 4 Emeralds: stairway glass, throne, under the cave Merchant’s stairs and the campsite tunnel ceiling.
- Blue Stone of Treason set in the Golden Lynx (35,000pts with all three).
- Pesetas: 5,000 (Altar) + 3,000 (Storage Room) + 3,000 (South Fenced Area) + 50,000 (U-3) + 3,000 (tent) + 5,000 (tunnel).
- The three pieces: Panther, Eagle and Serpent.
- 4 files: “Our Plan”, “Communication Log: Saddler #2”, “Luis’ Memo 4” and “Krauser’s Note”.
- Shooting range caps finished: it’s the last range.
- Game saved at the campsite and case ready: there’s no other Merchant until after Ashley’s rescue in 5-4.