Treasures and gems
check everything: if it has slots, keep it
Every piece is also pinned on the interactive map: Interactive map →
Combinable
See location
Ch. 1-1 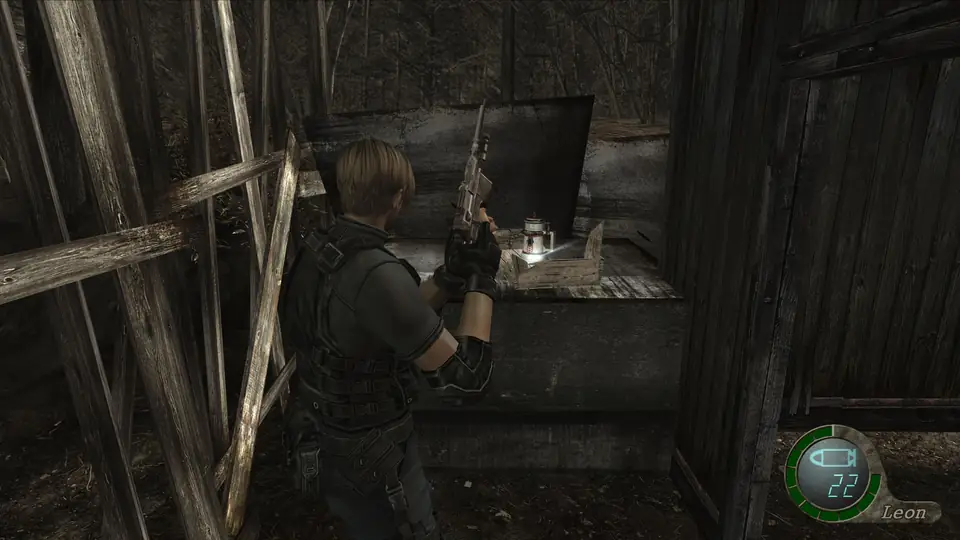
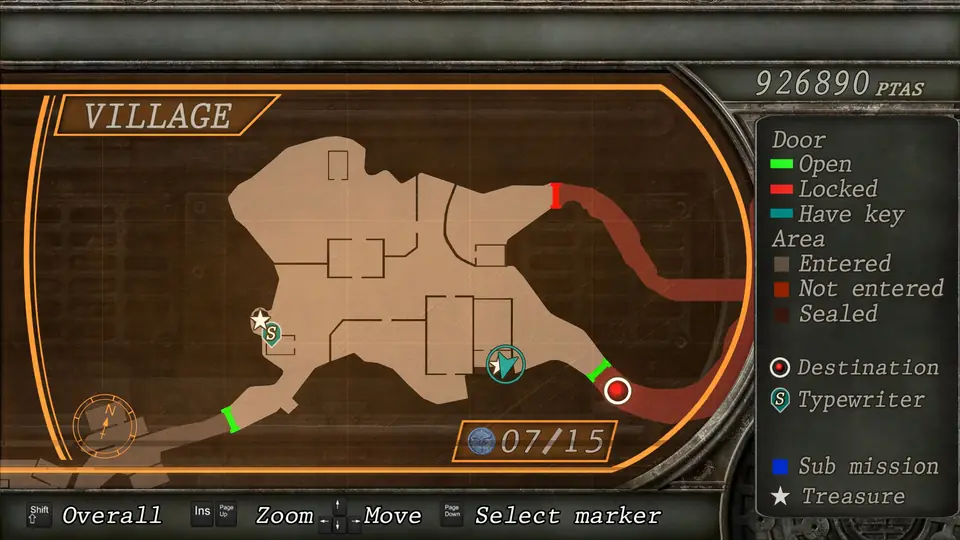
See location
Ch. 1-2 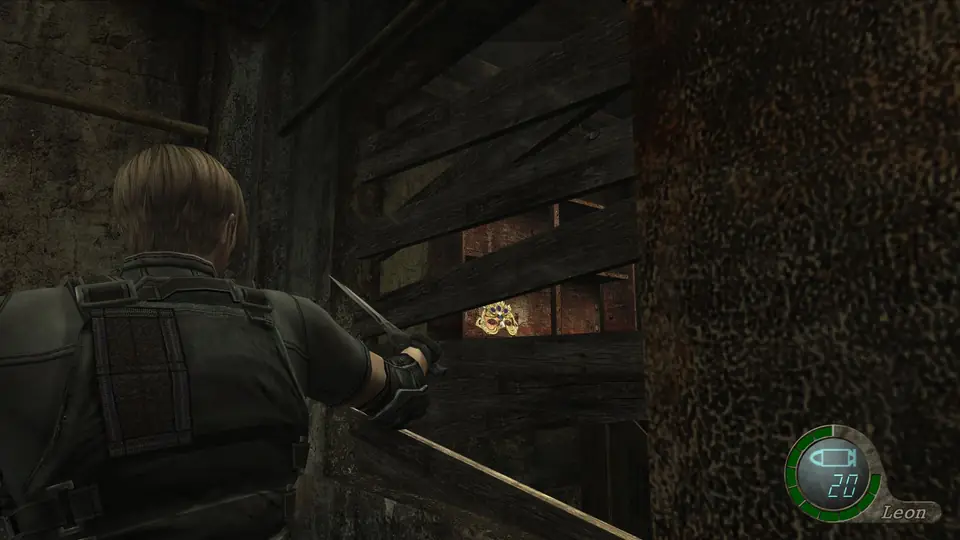
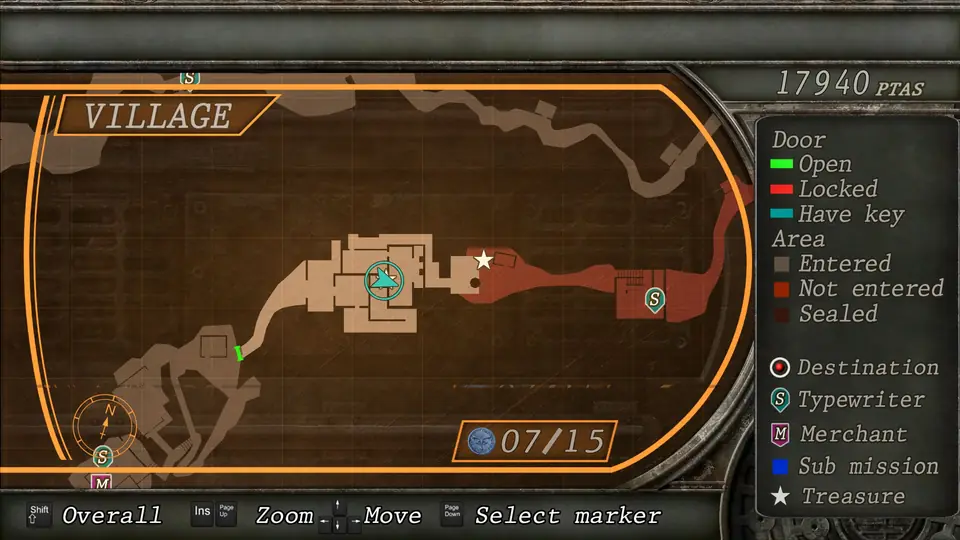
See location
Ch. 3-2 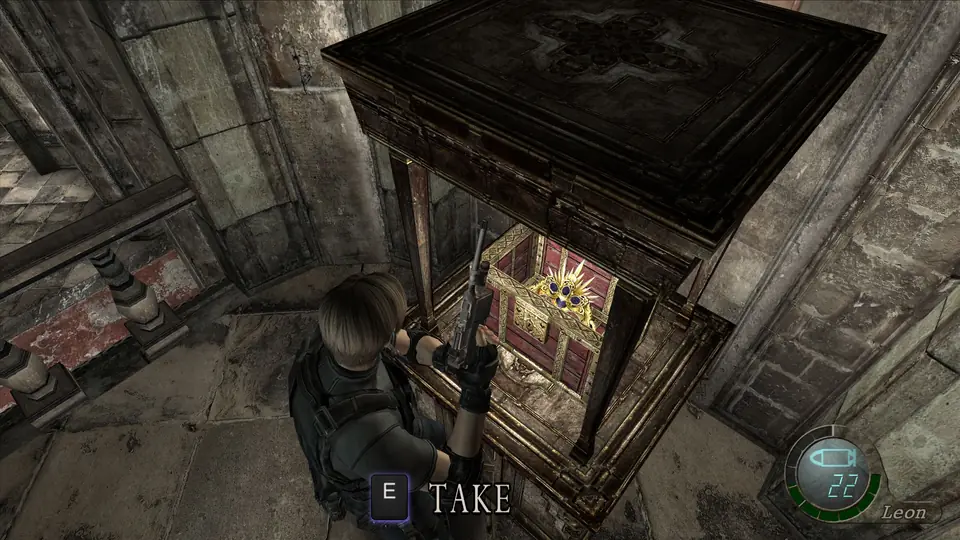
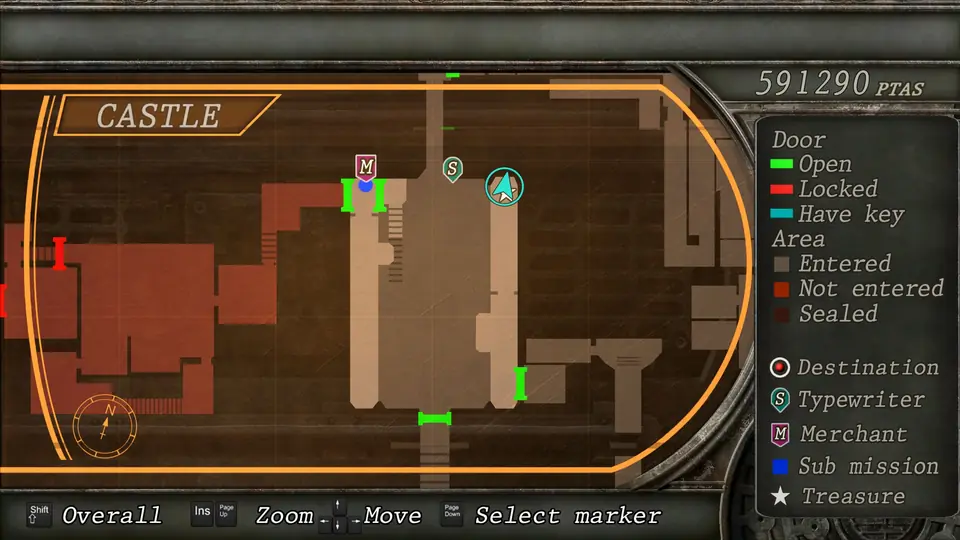
See location
Ch. 3-2 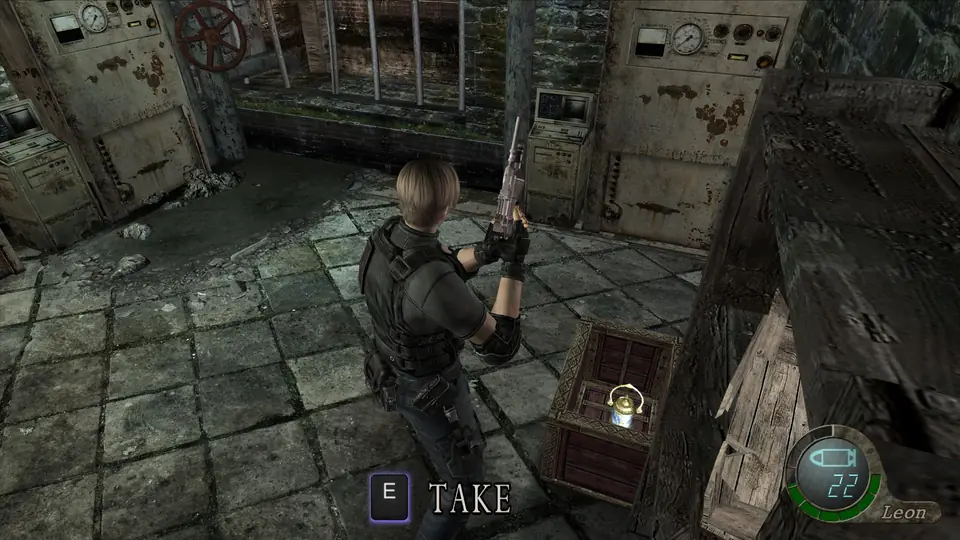
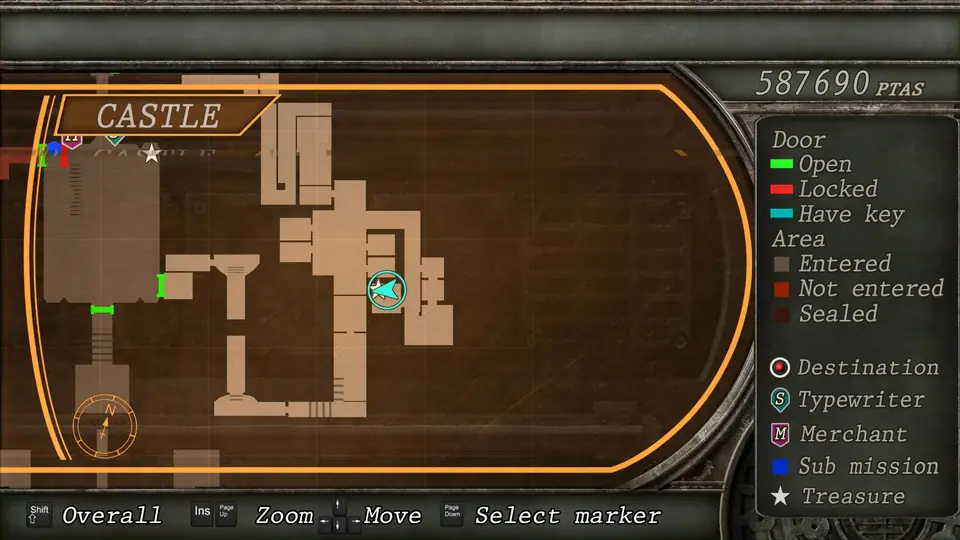
See location
Ch. 4-1 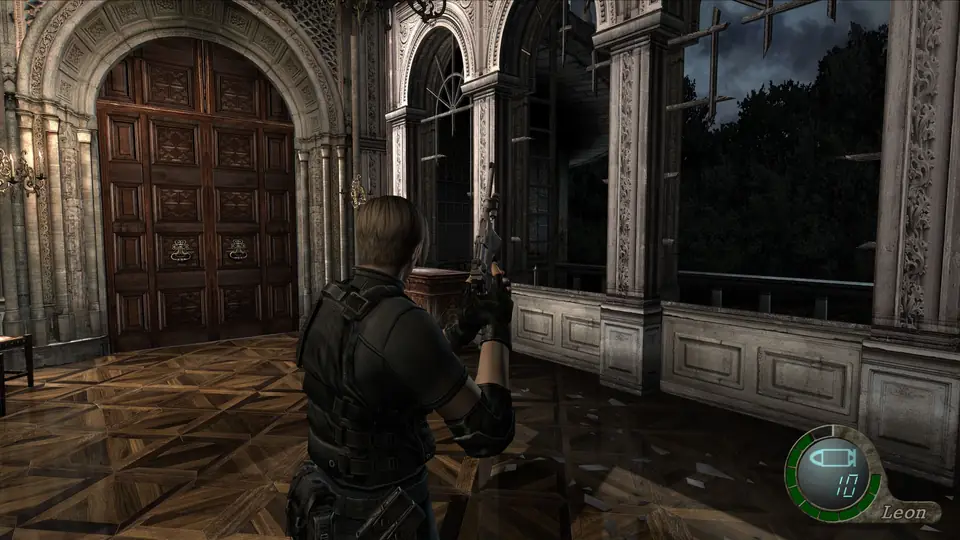
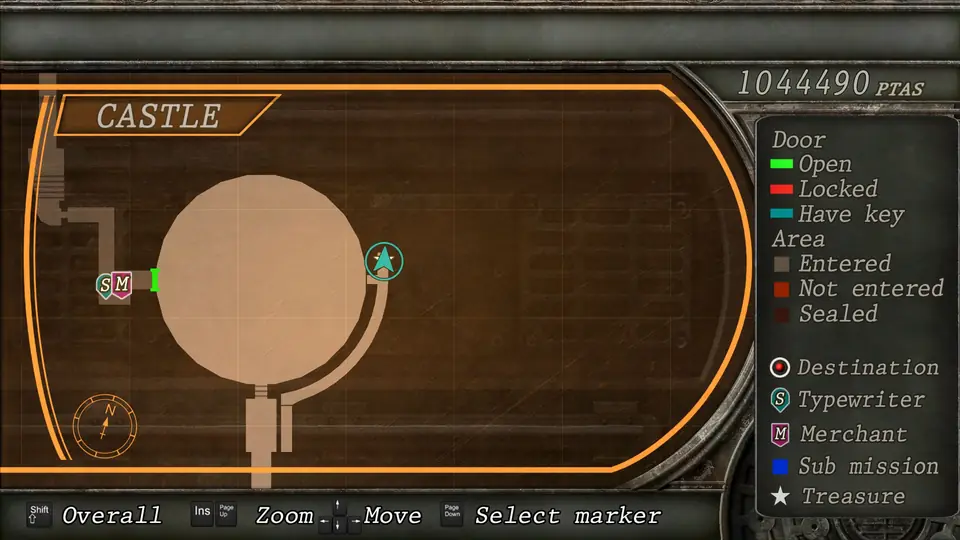
See location
Ch. 4-1 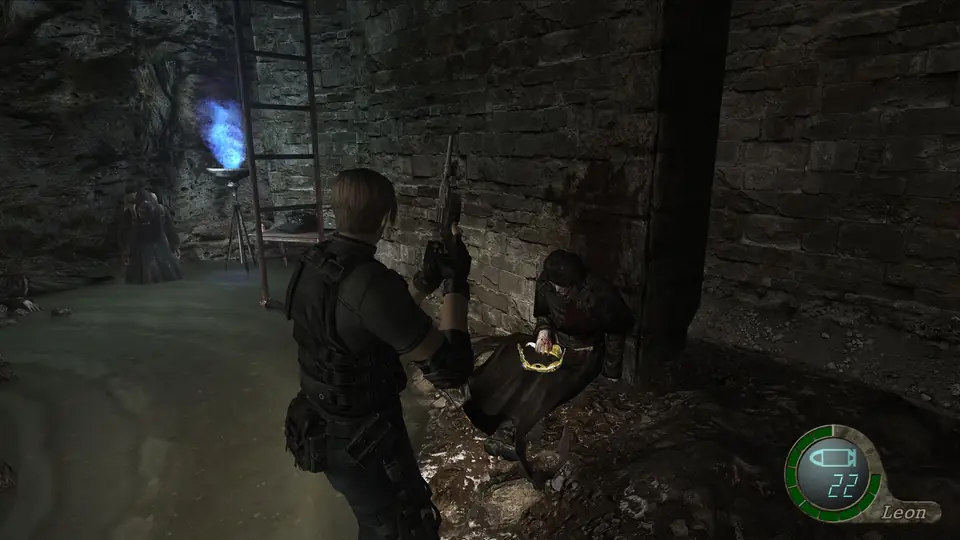
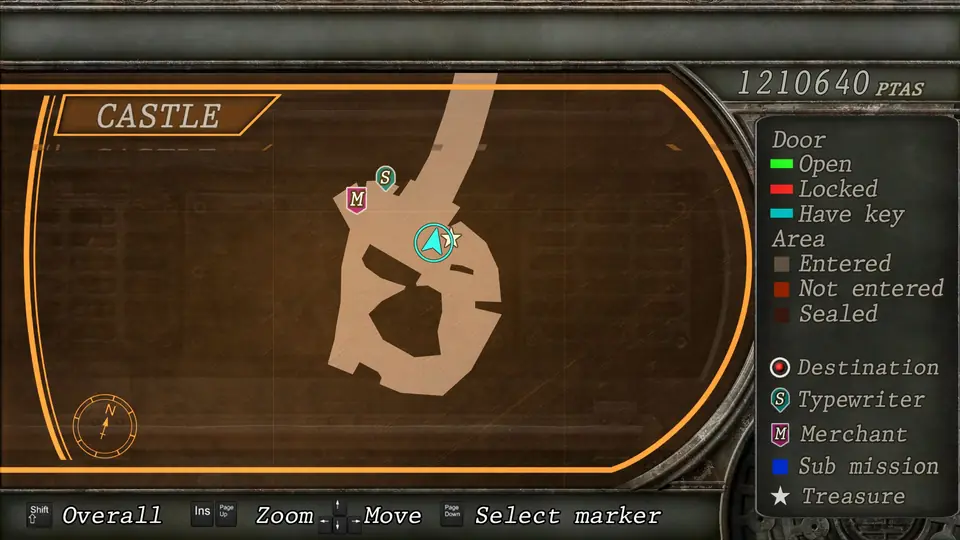
See location
Ch. 5-1 
Piece by piece, by chapter
One checkbox for every treasure and gem in the game, in the order you find them. Whatever you tick here shows as ticked in the chapter and on the map.
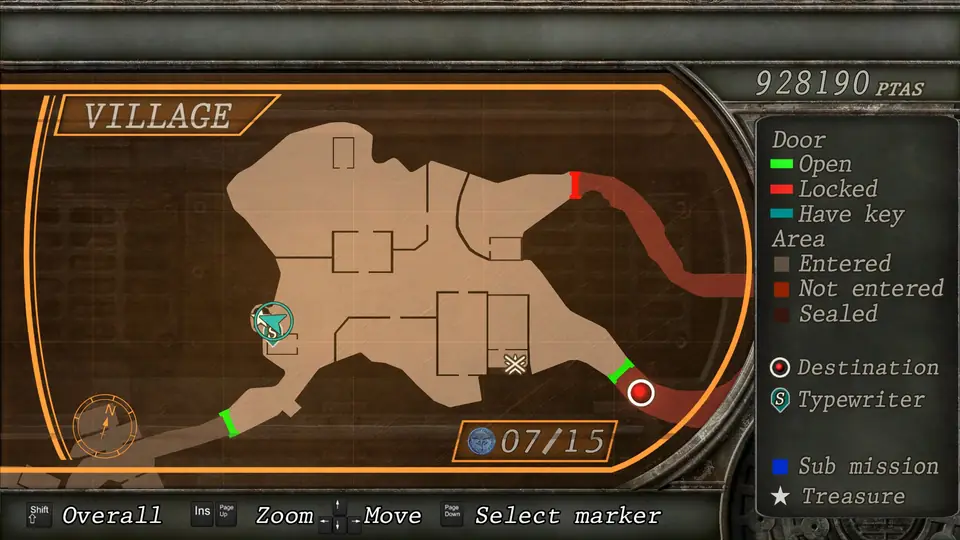
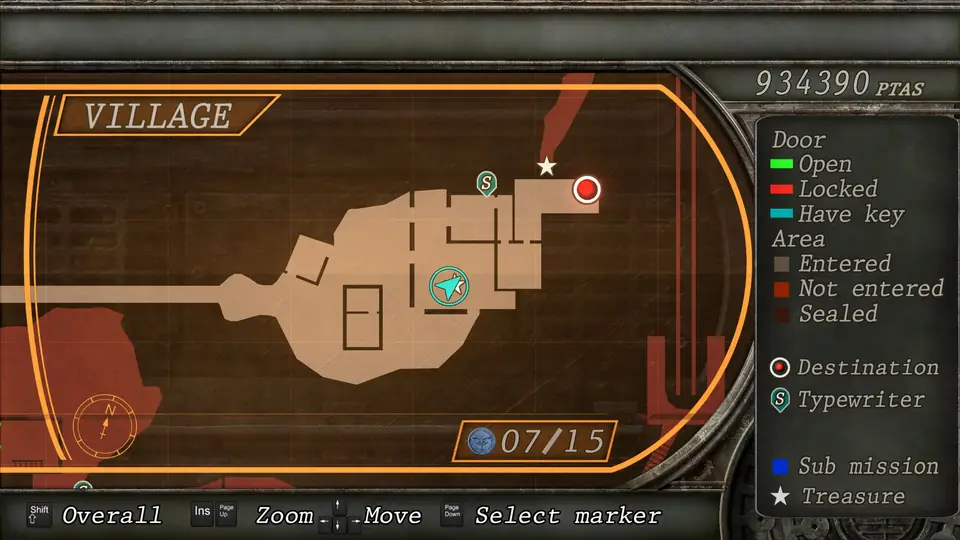
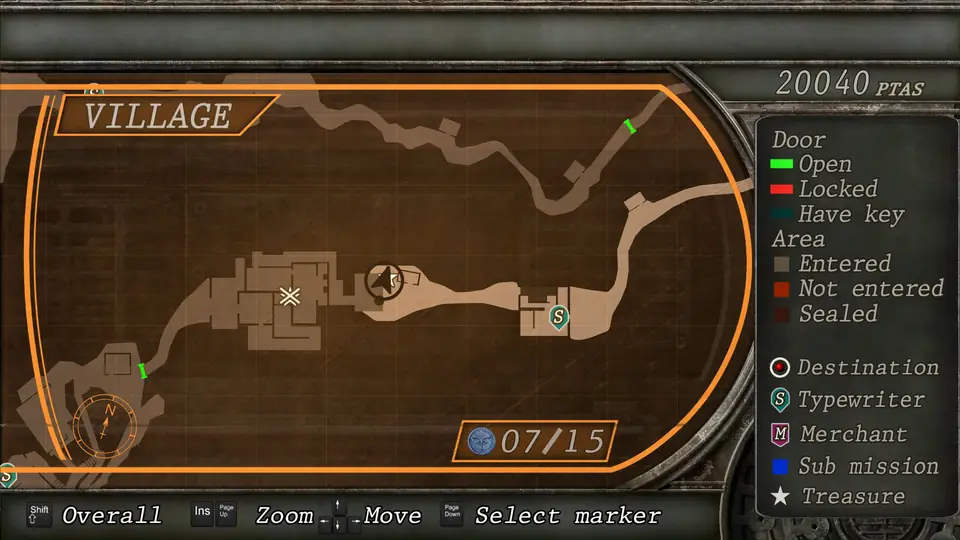
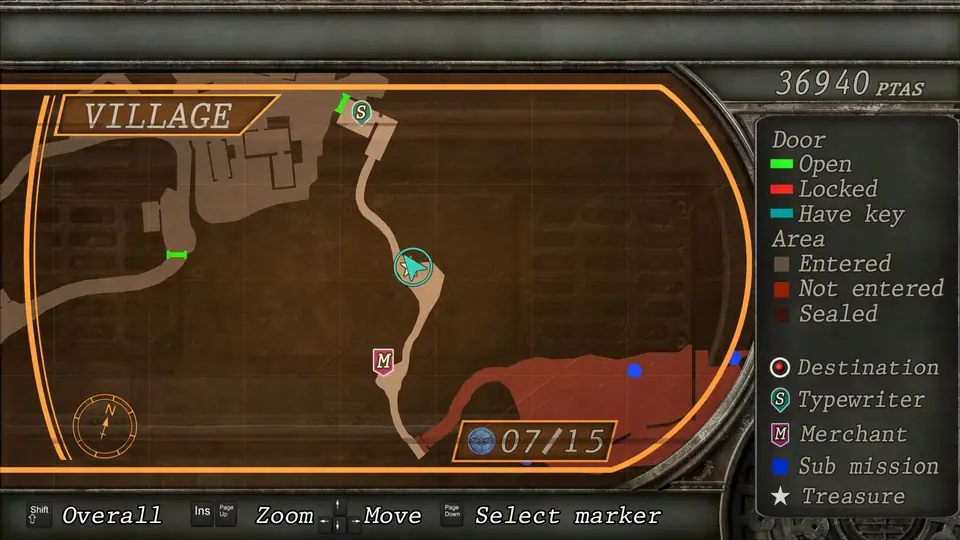
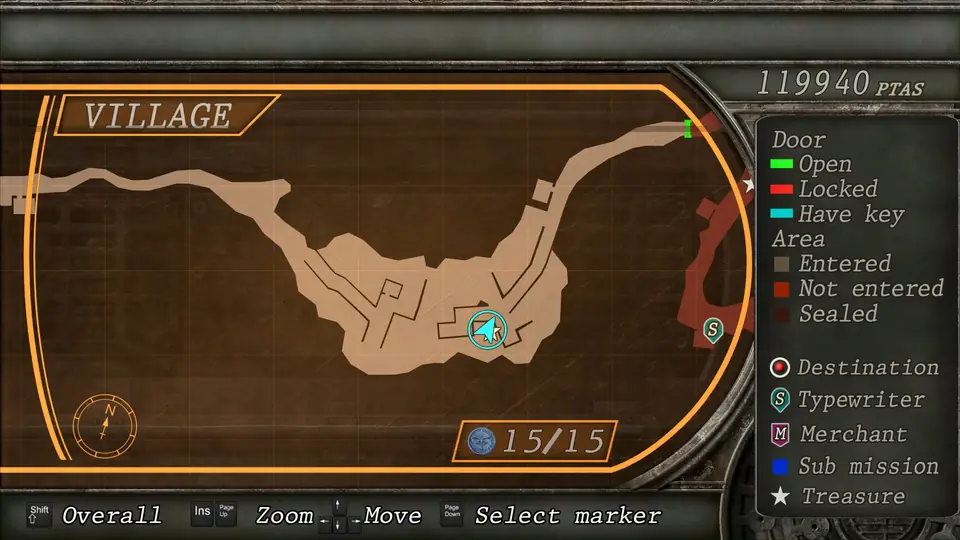
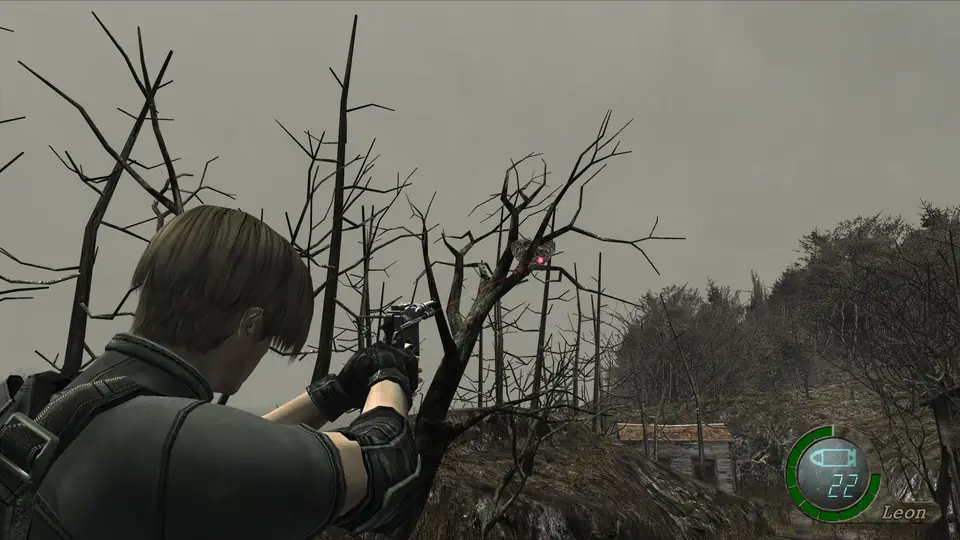
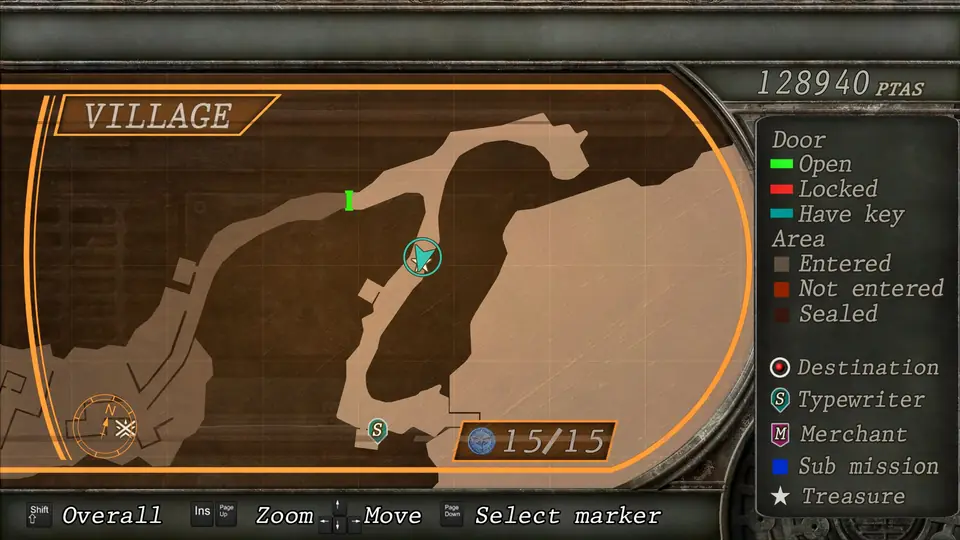
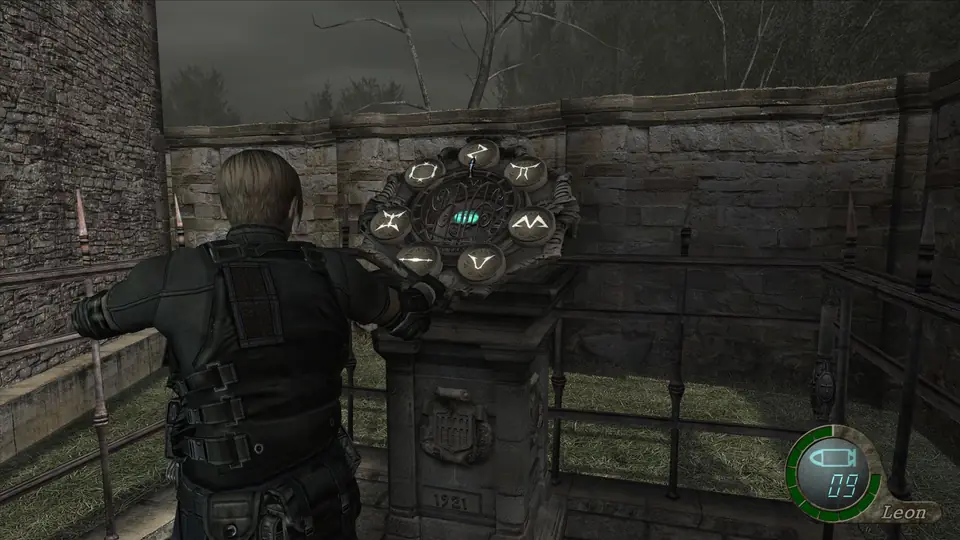
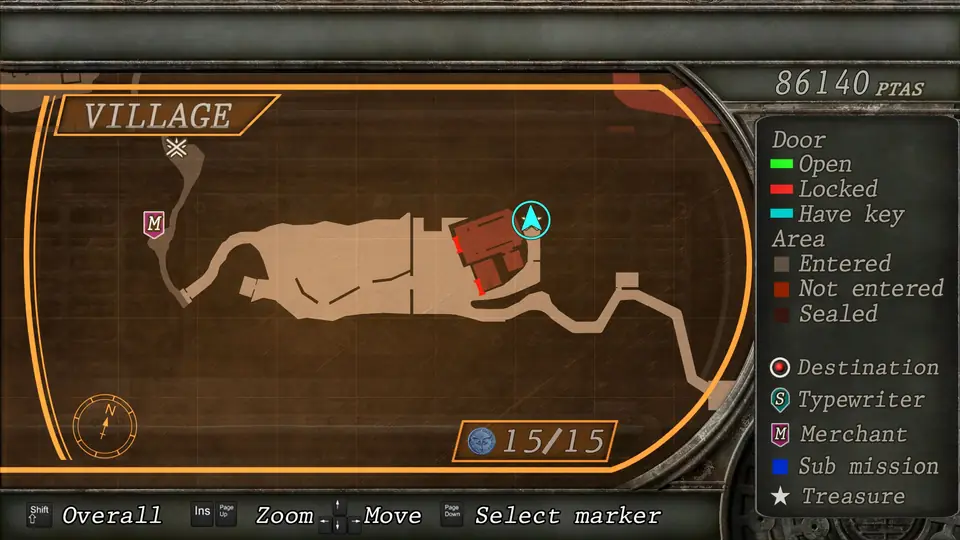
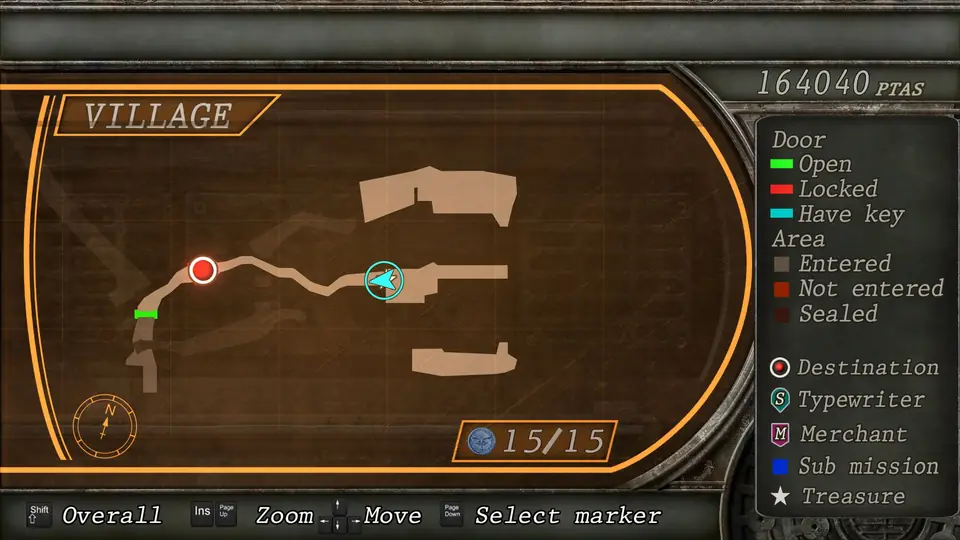
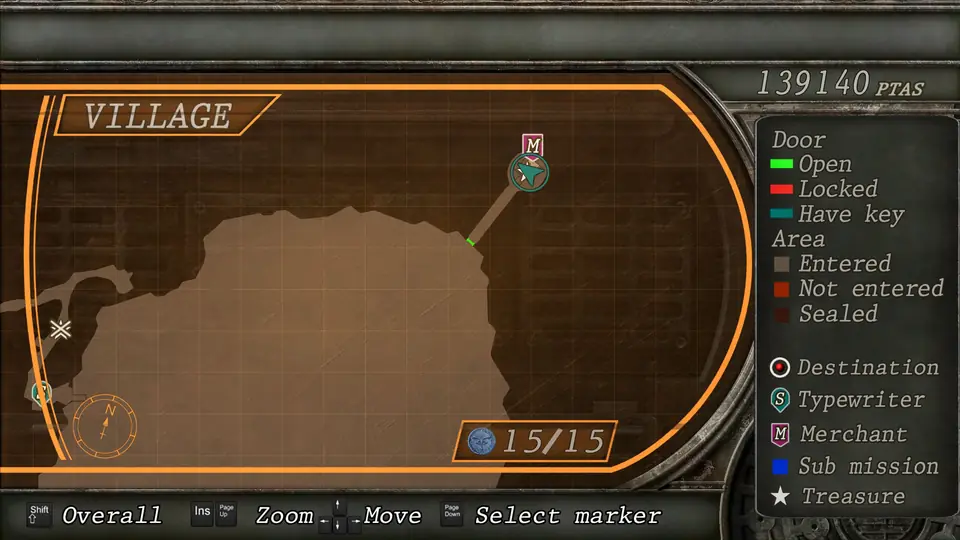
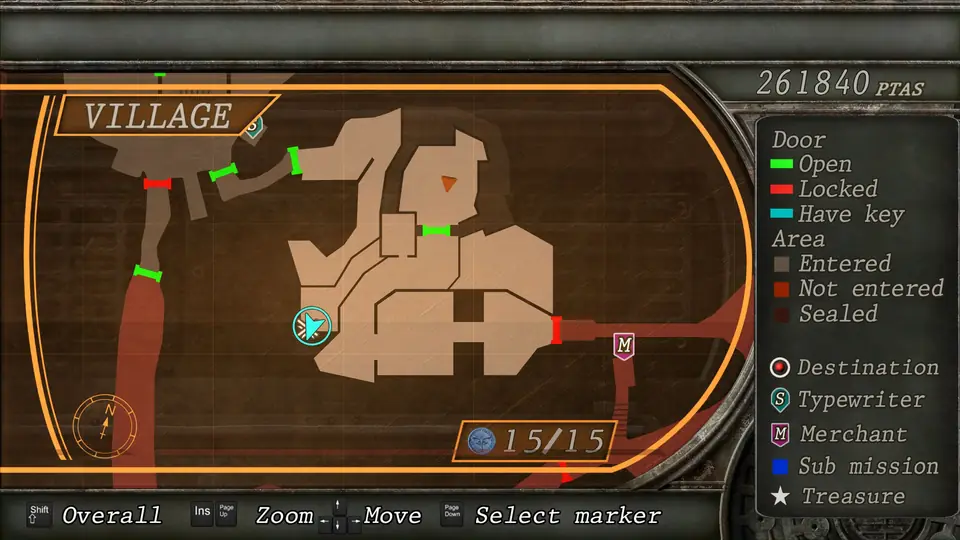
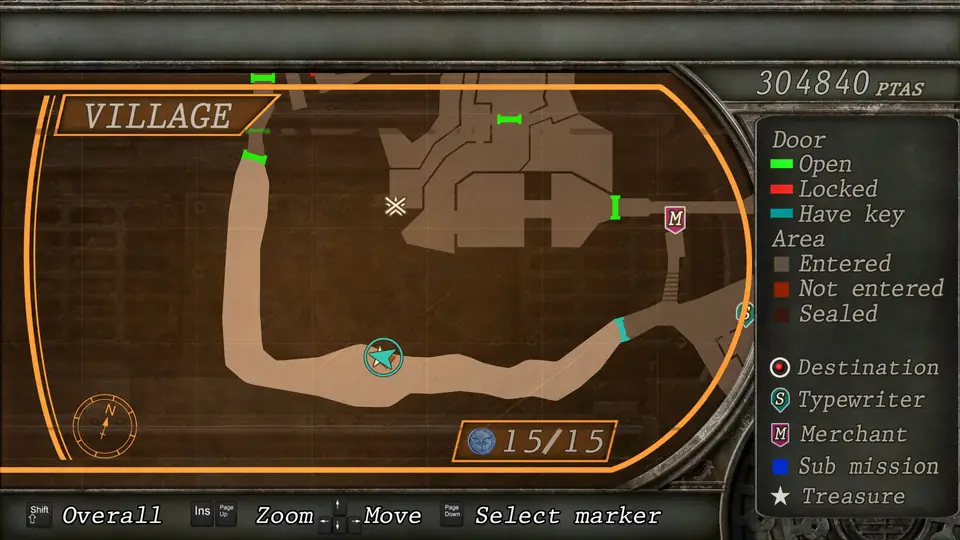
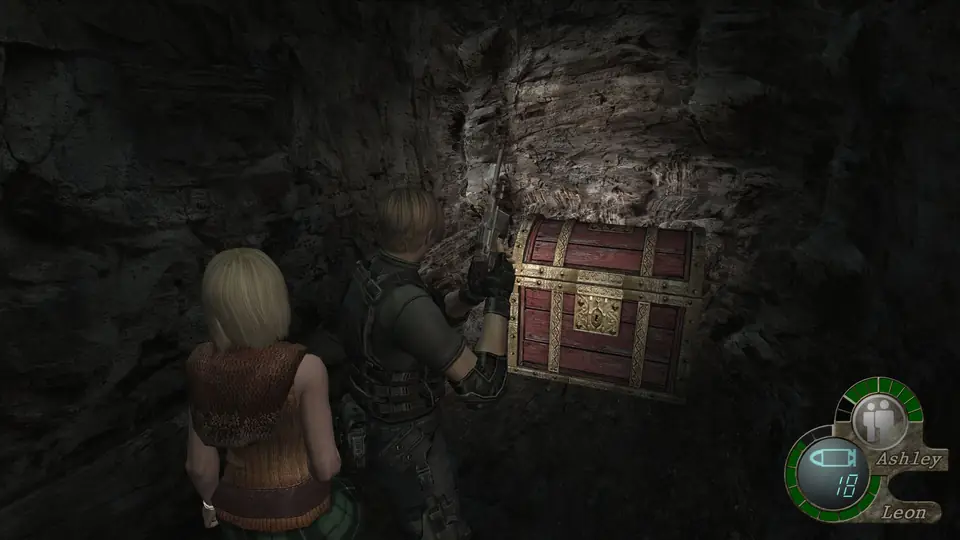
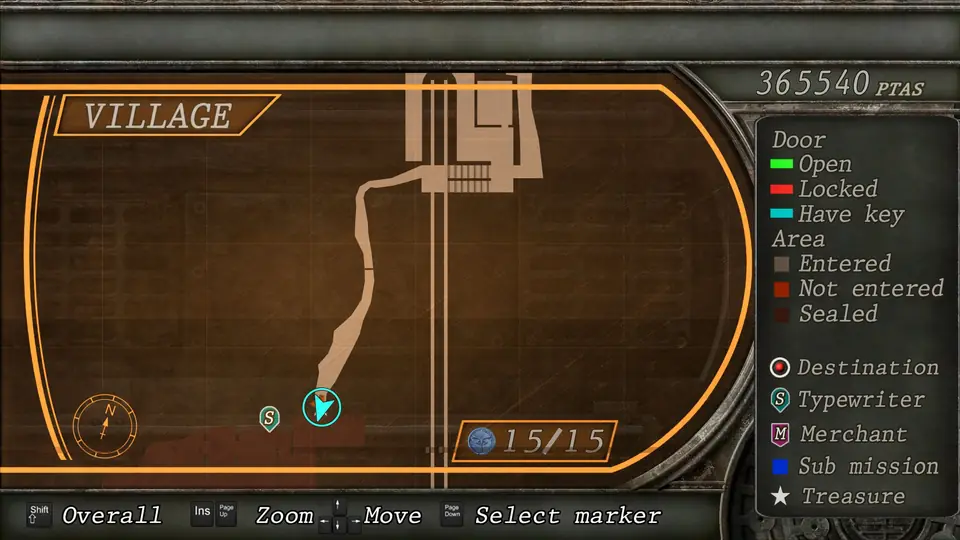
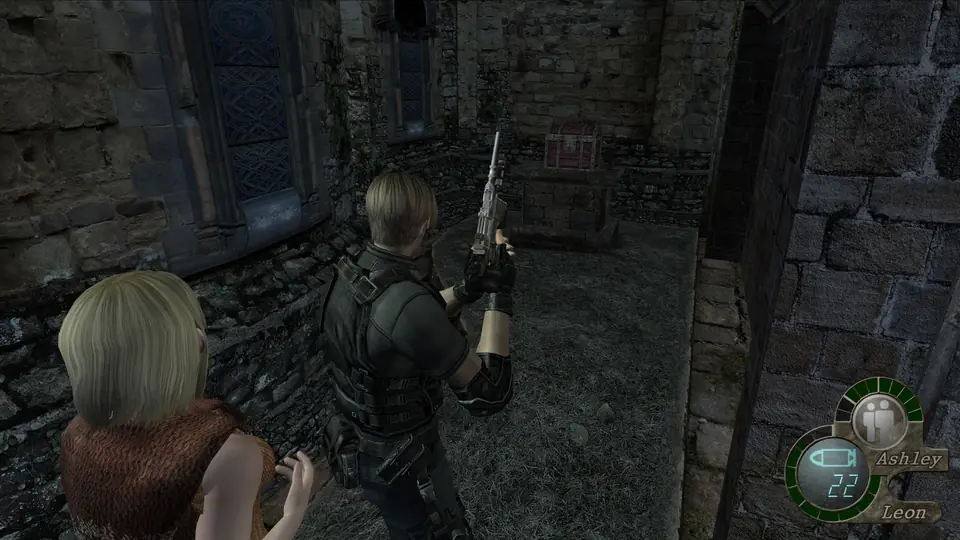
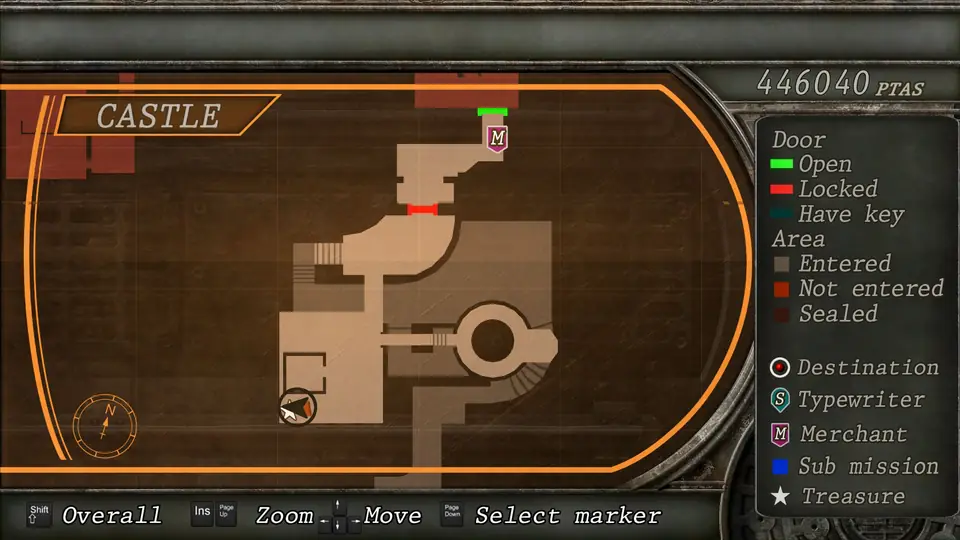
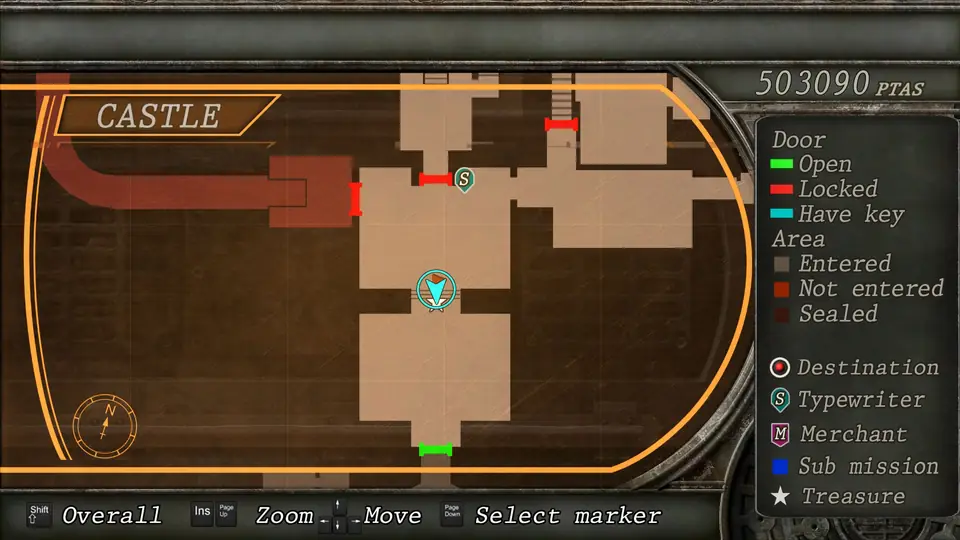
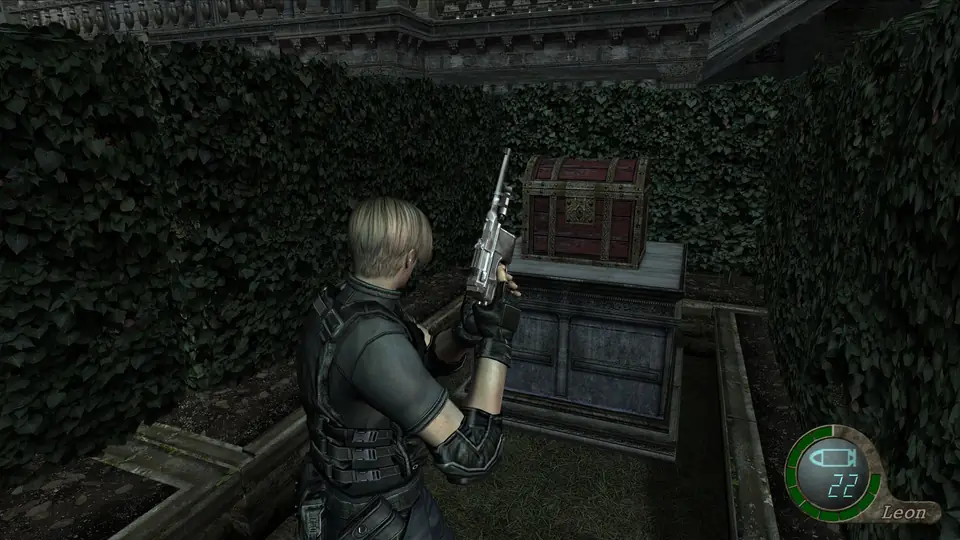
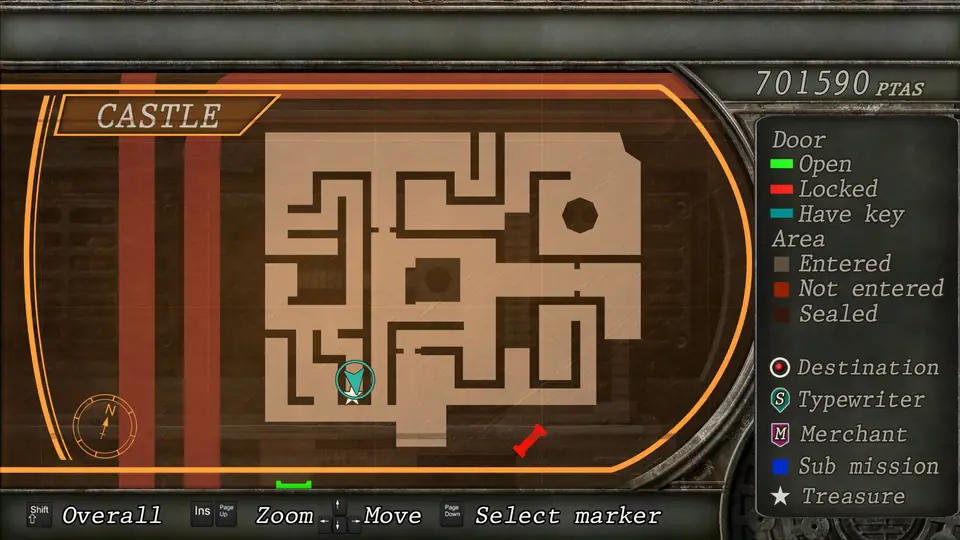
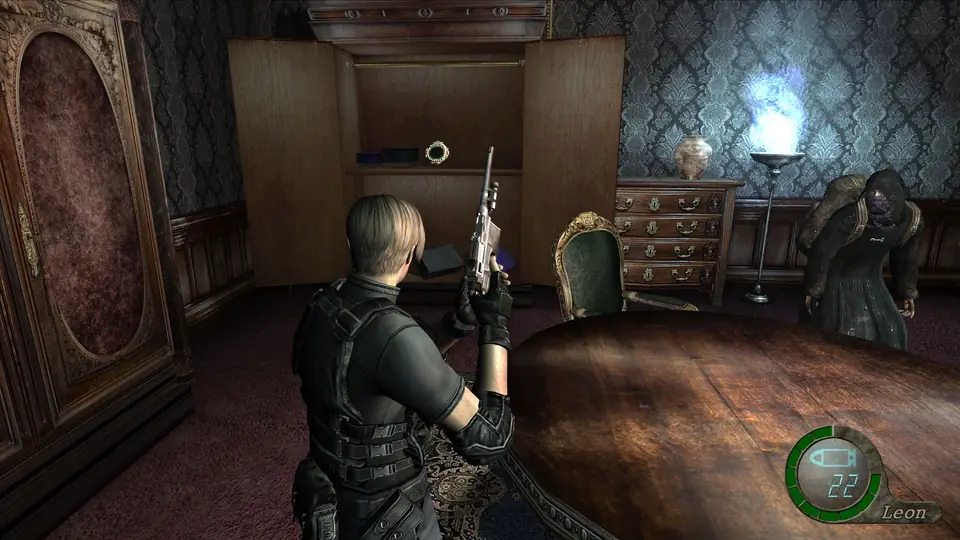
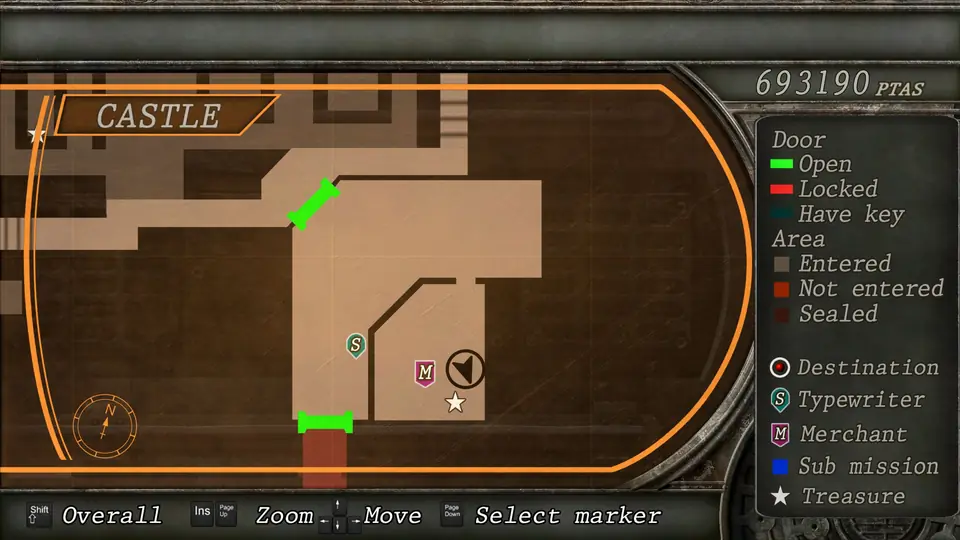
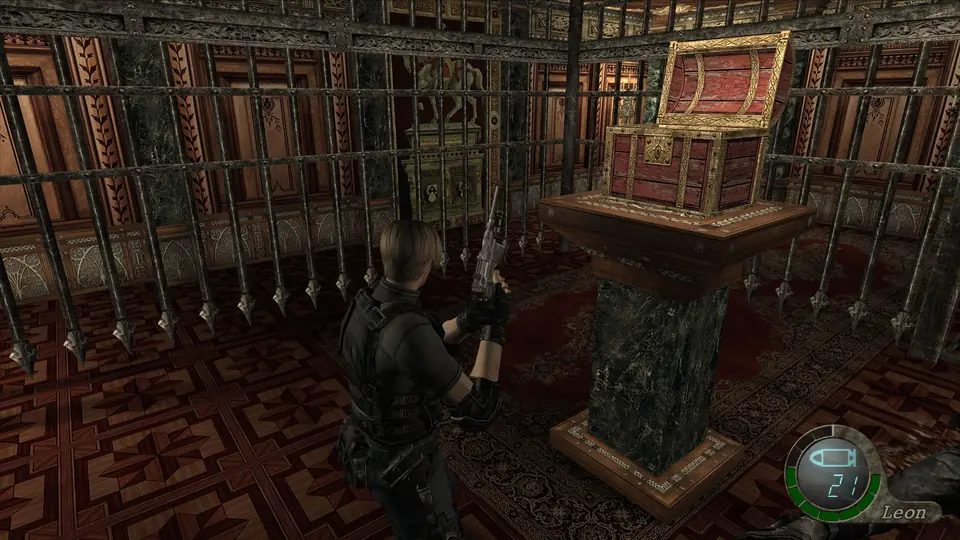
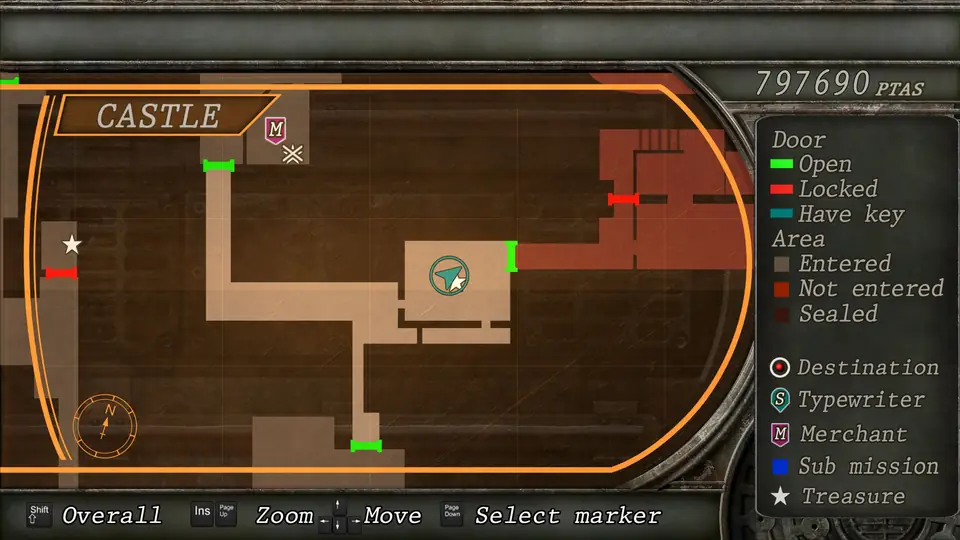
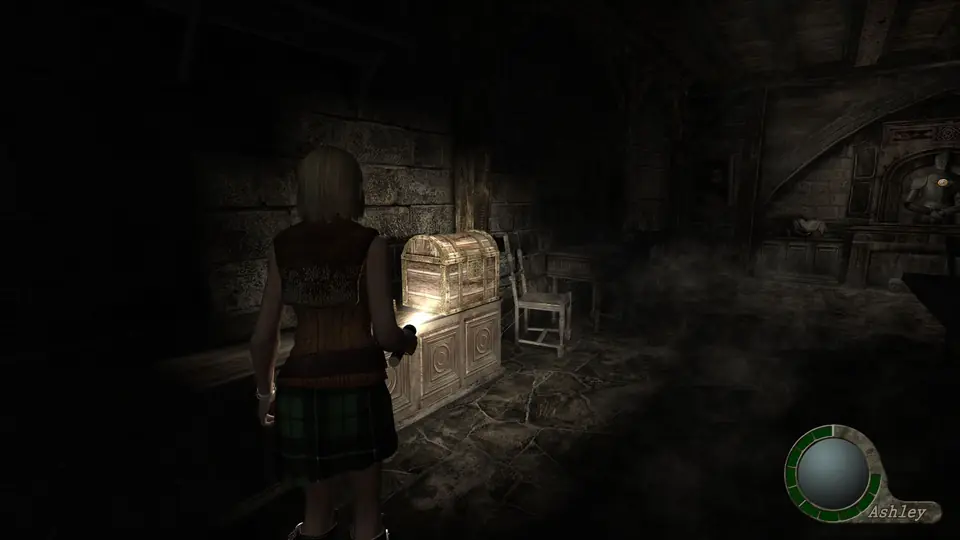
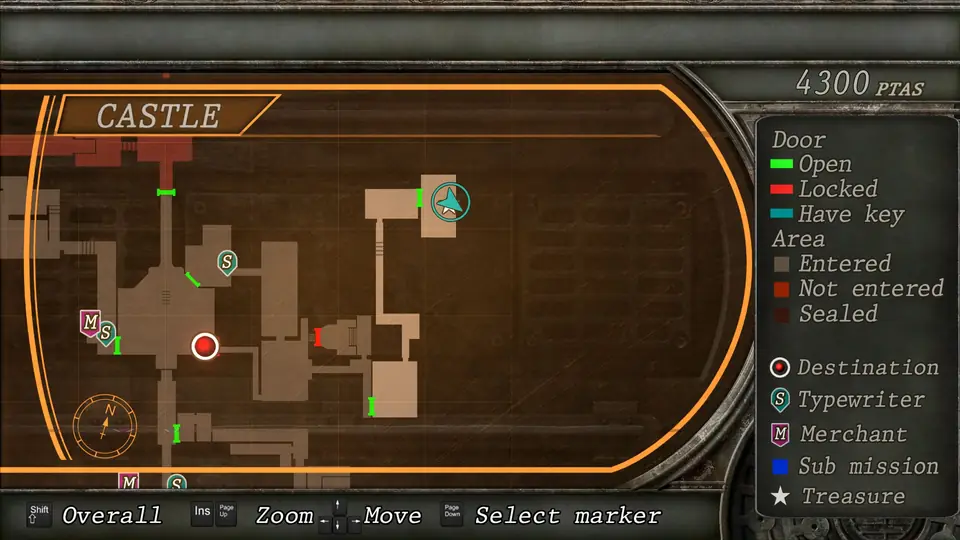
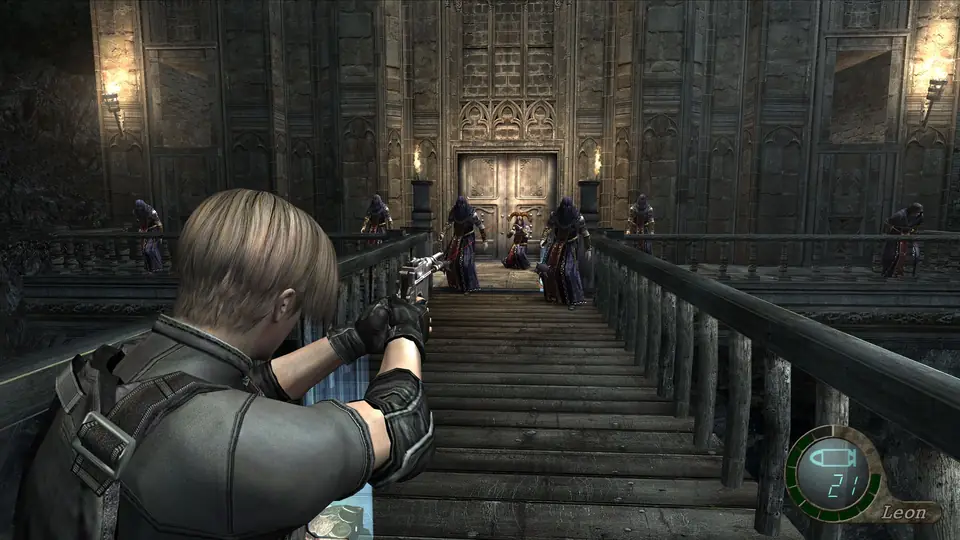
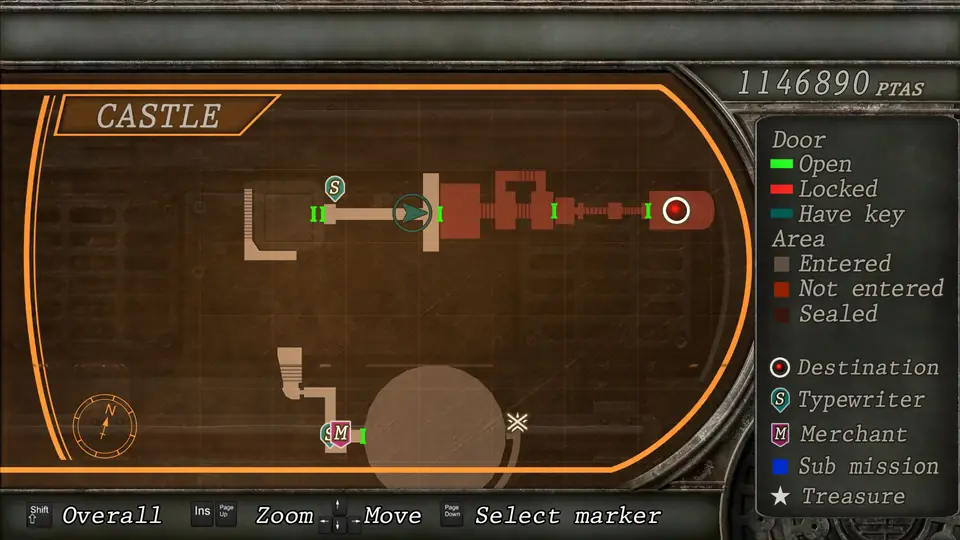
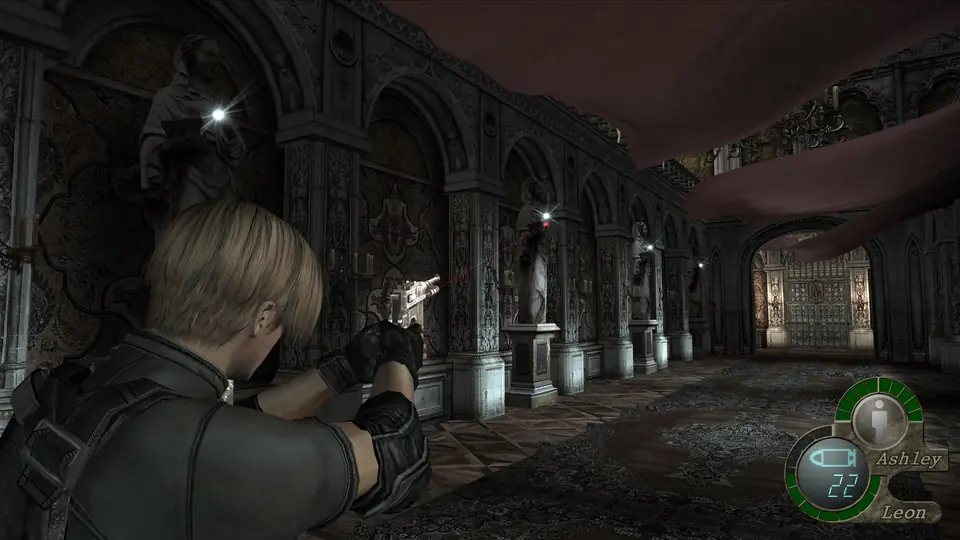
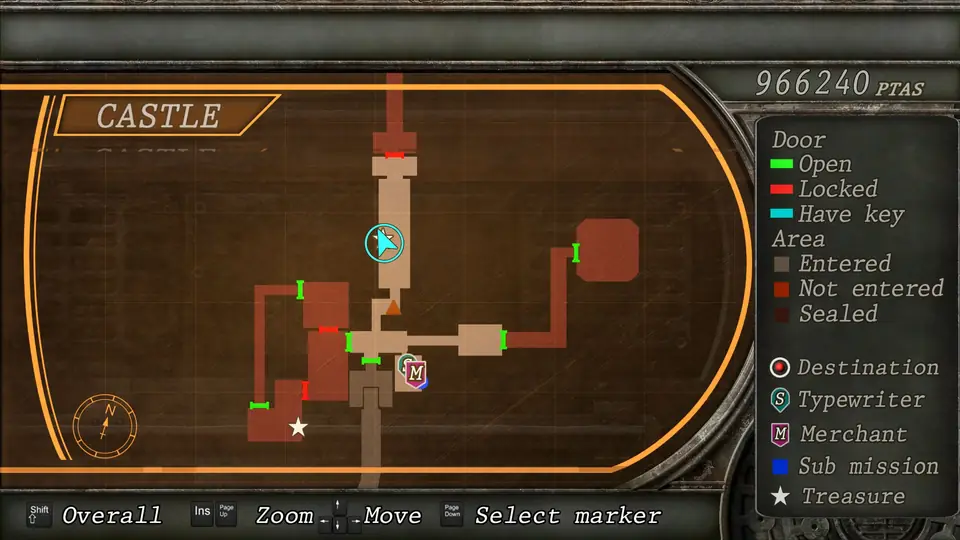
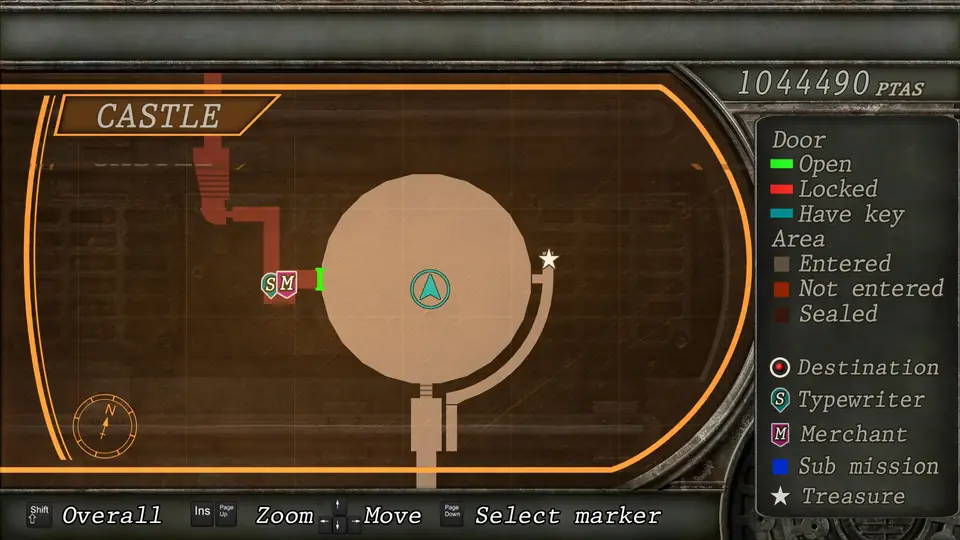
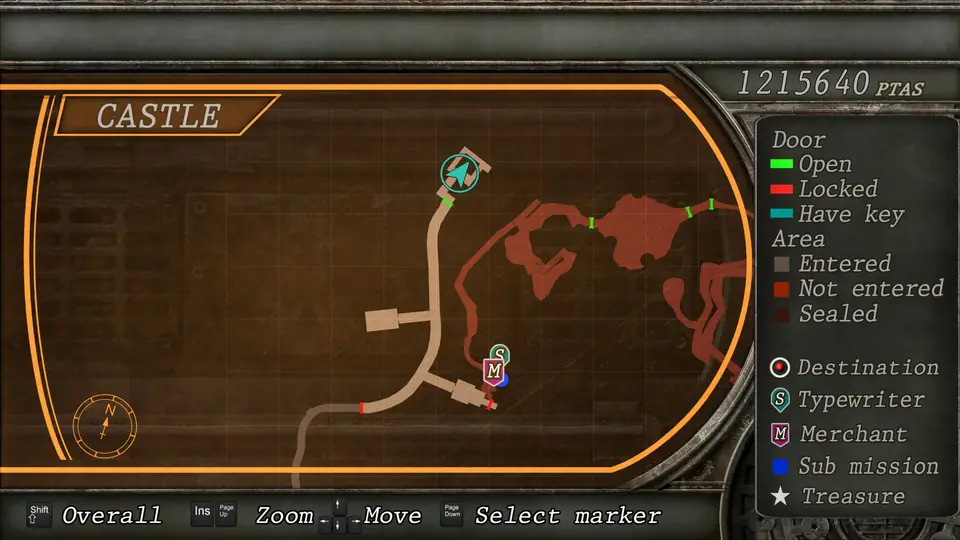
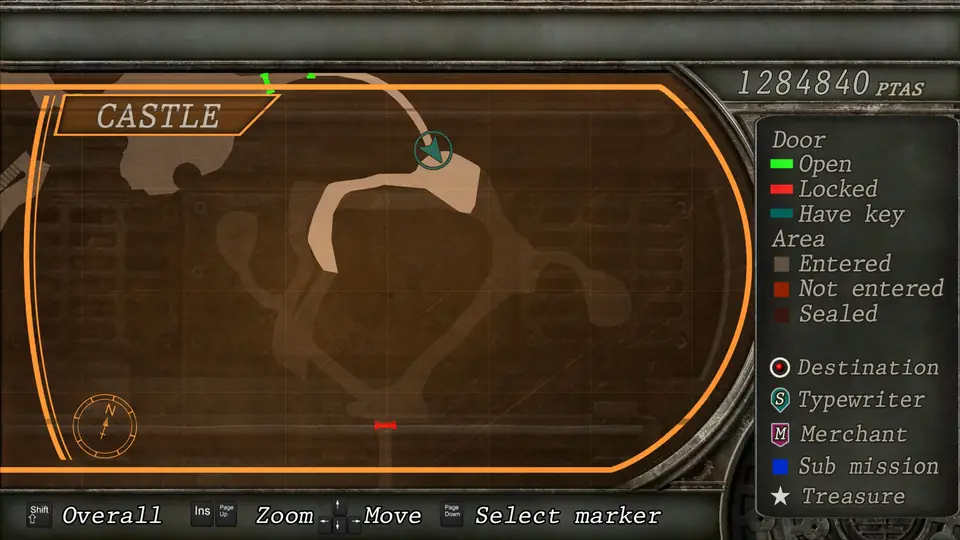
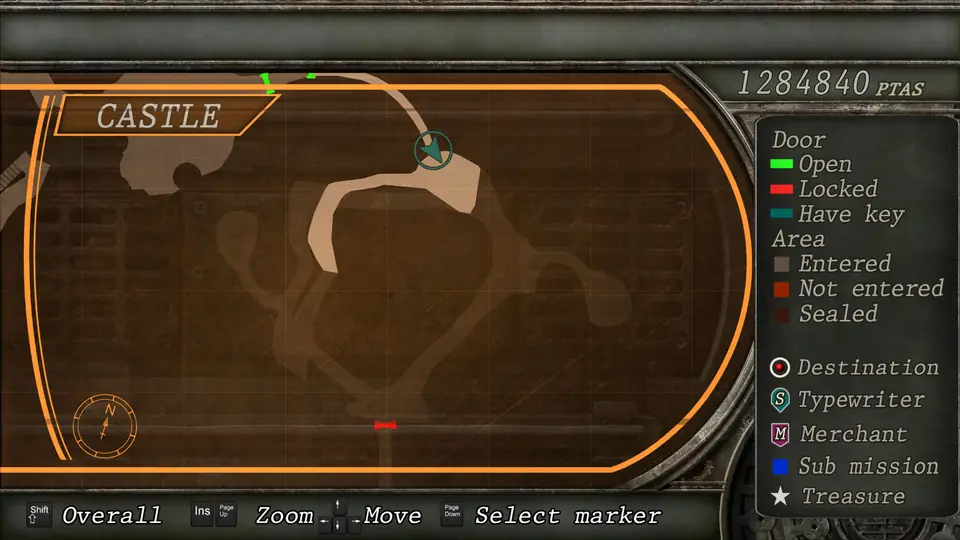
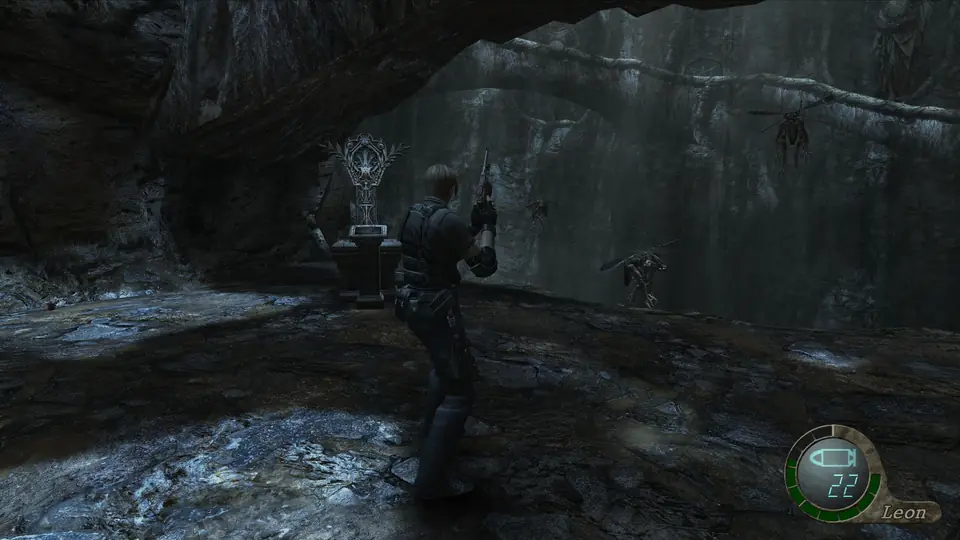
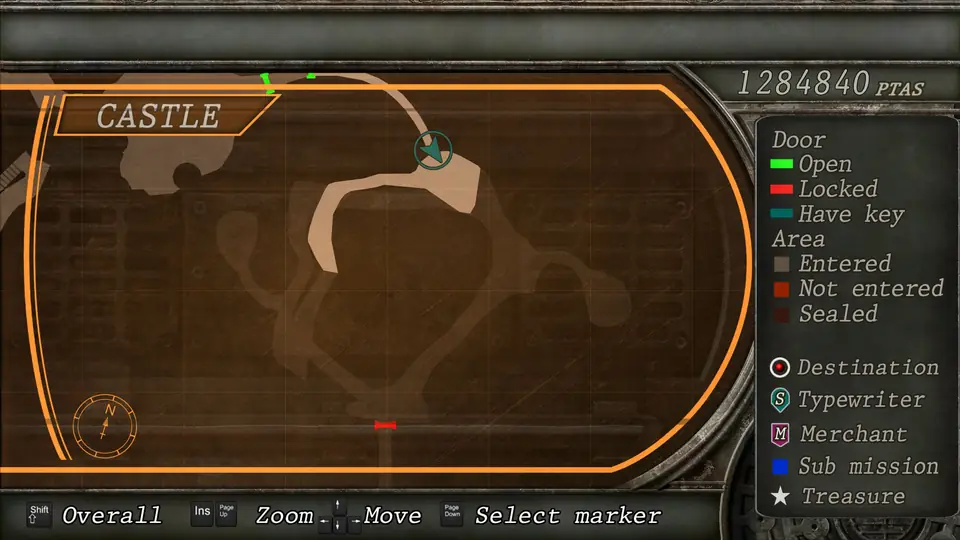
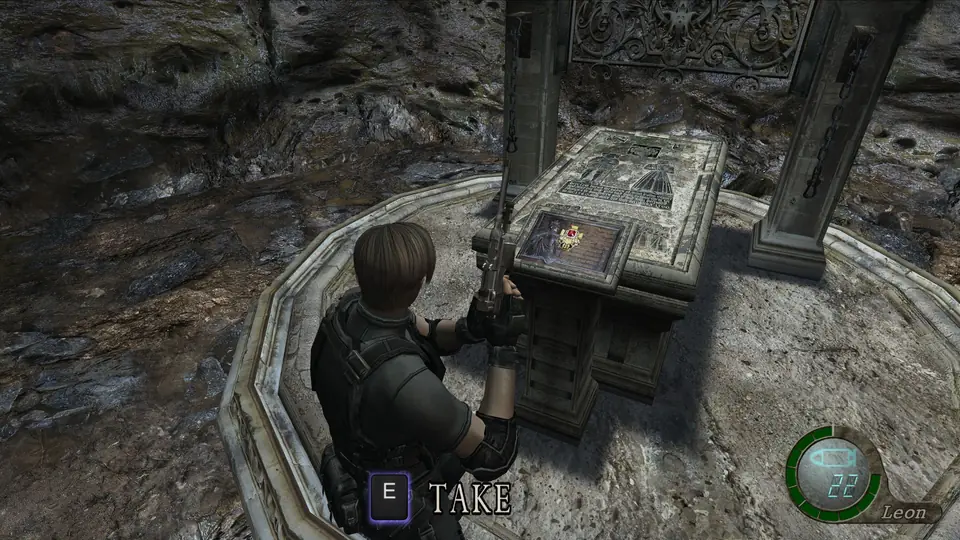
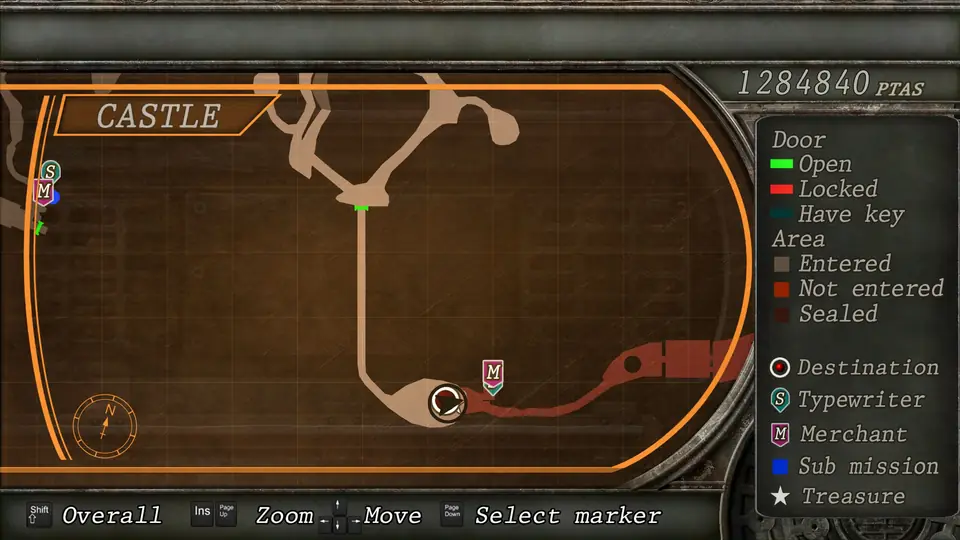
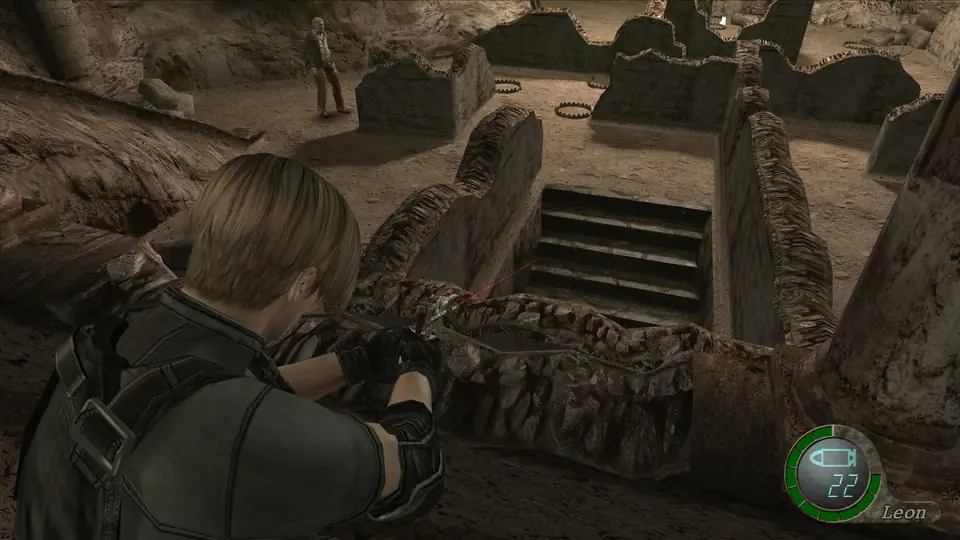
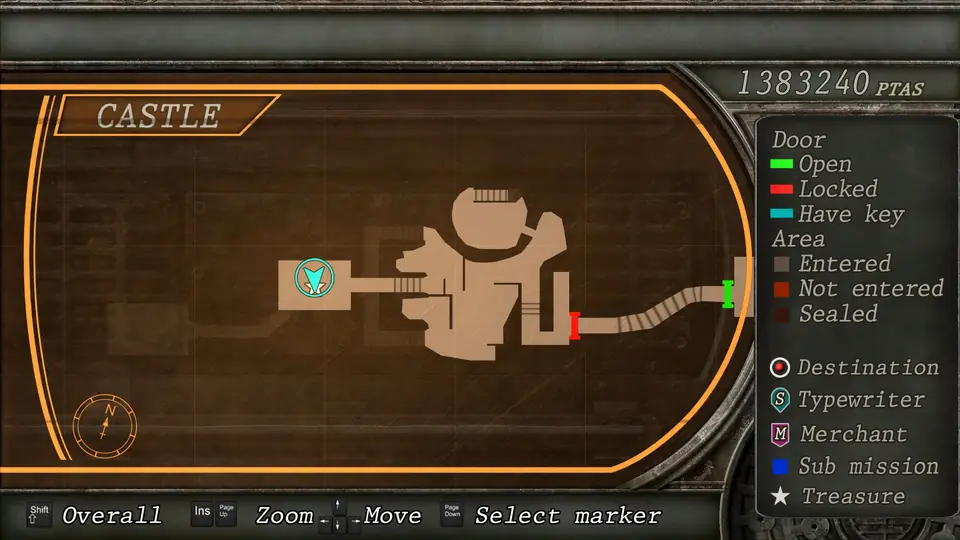
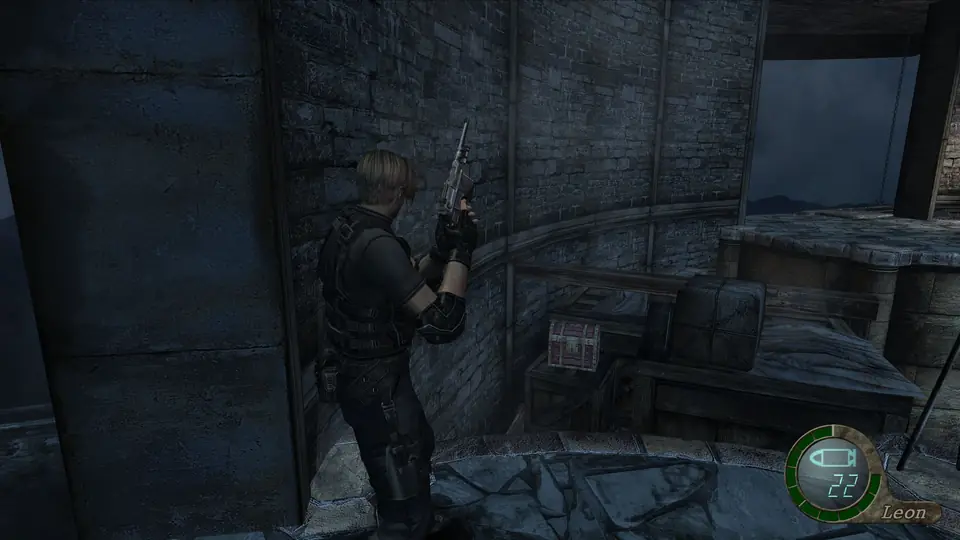
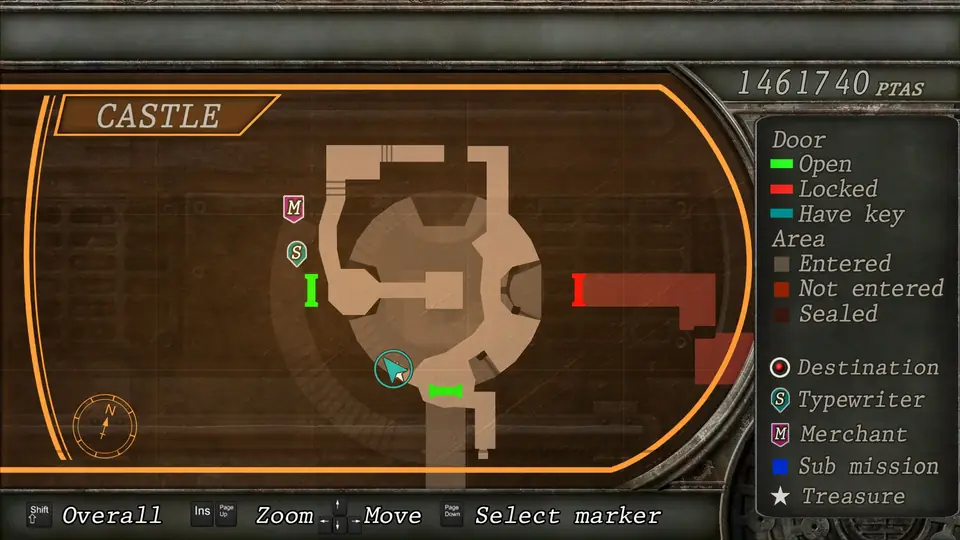
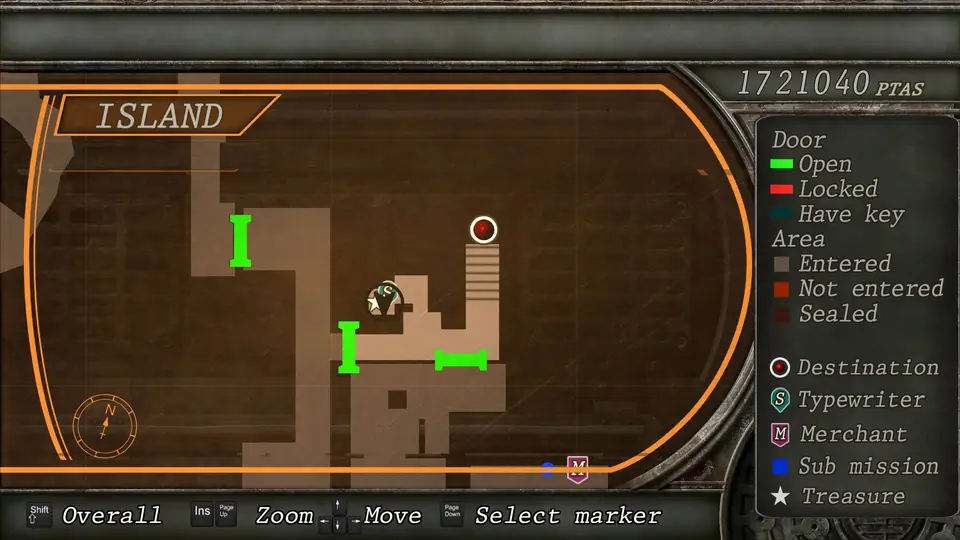
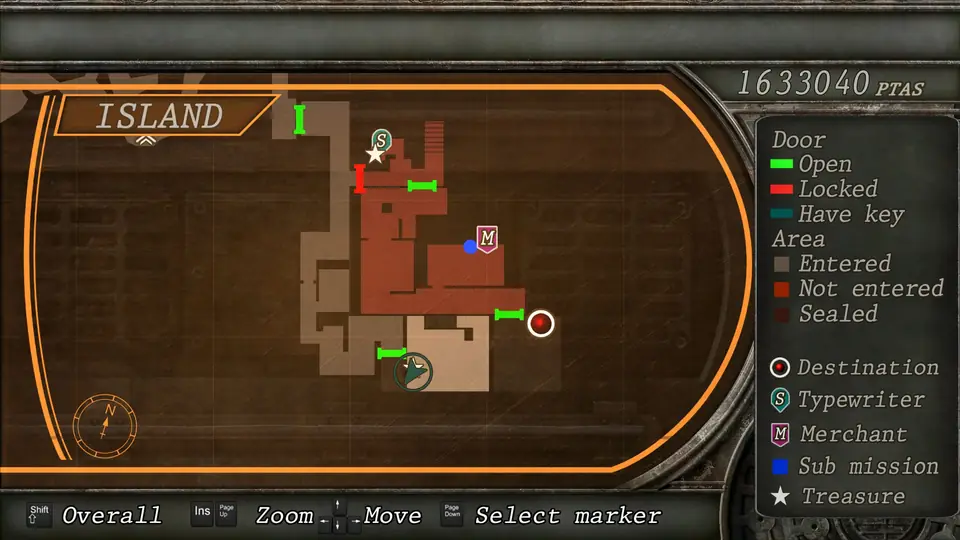
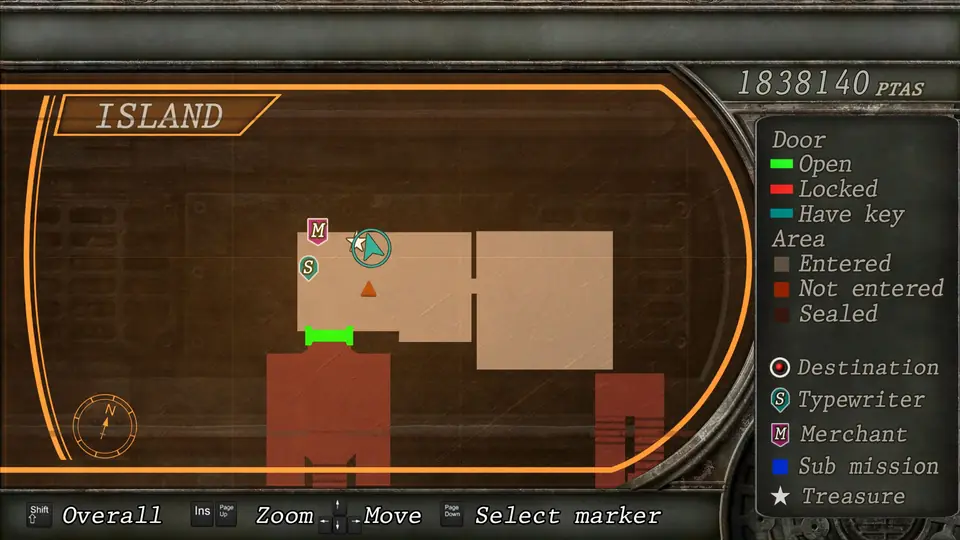
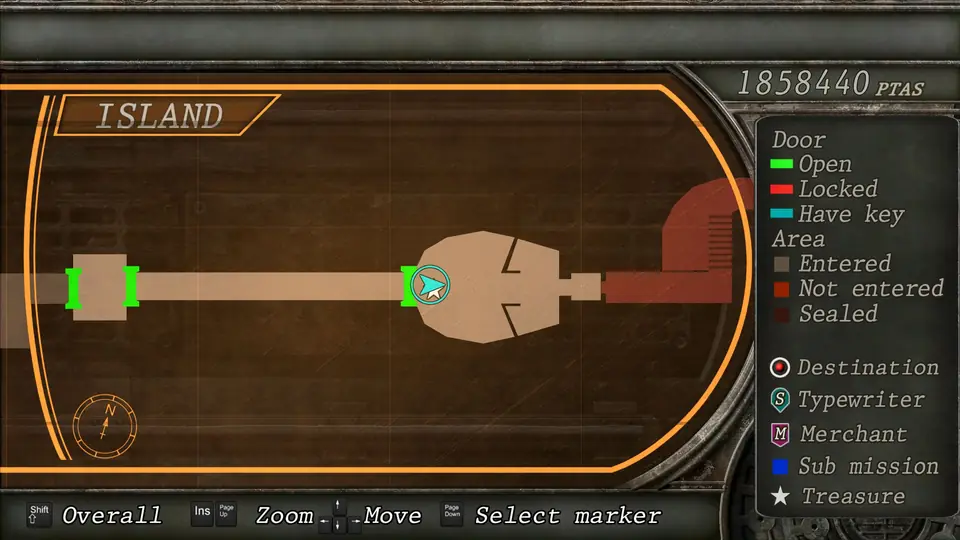
Treasure maps per act
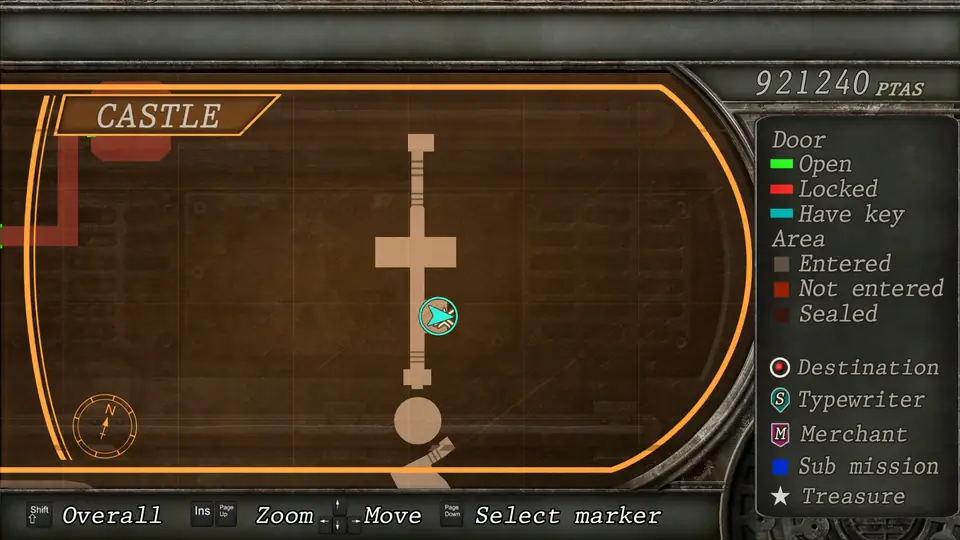
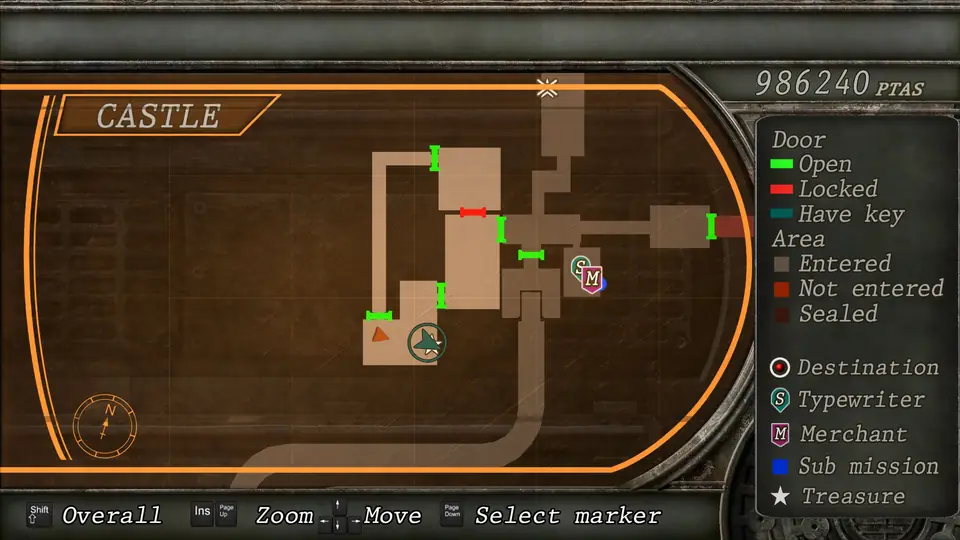
Each map marks every treasure, spinel, velvet blue and emerald, plus merchants and typewriters. Tap to open full size and zoom.
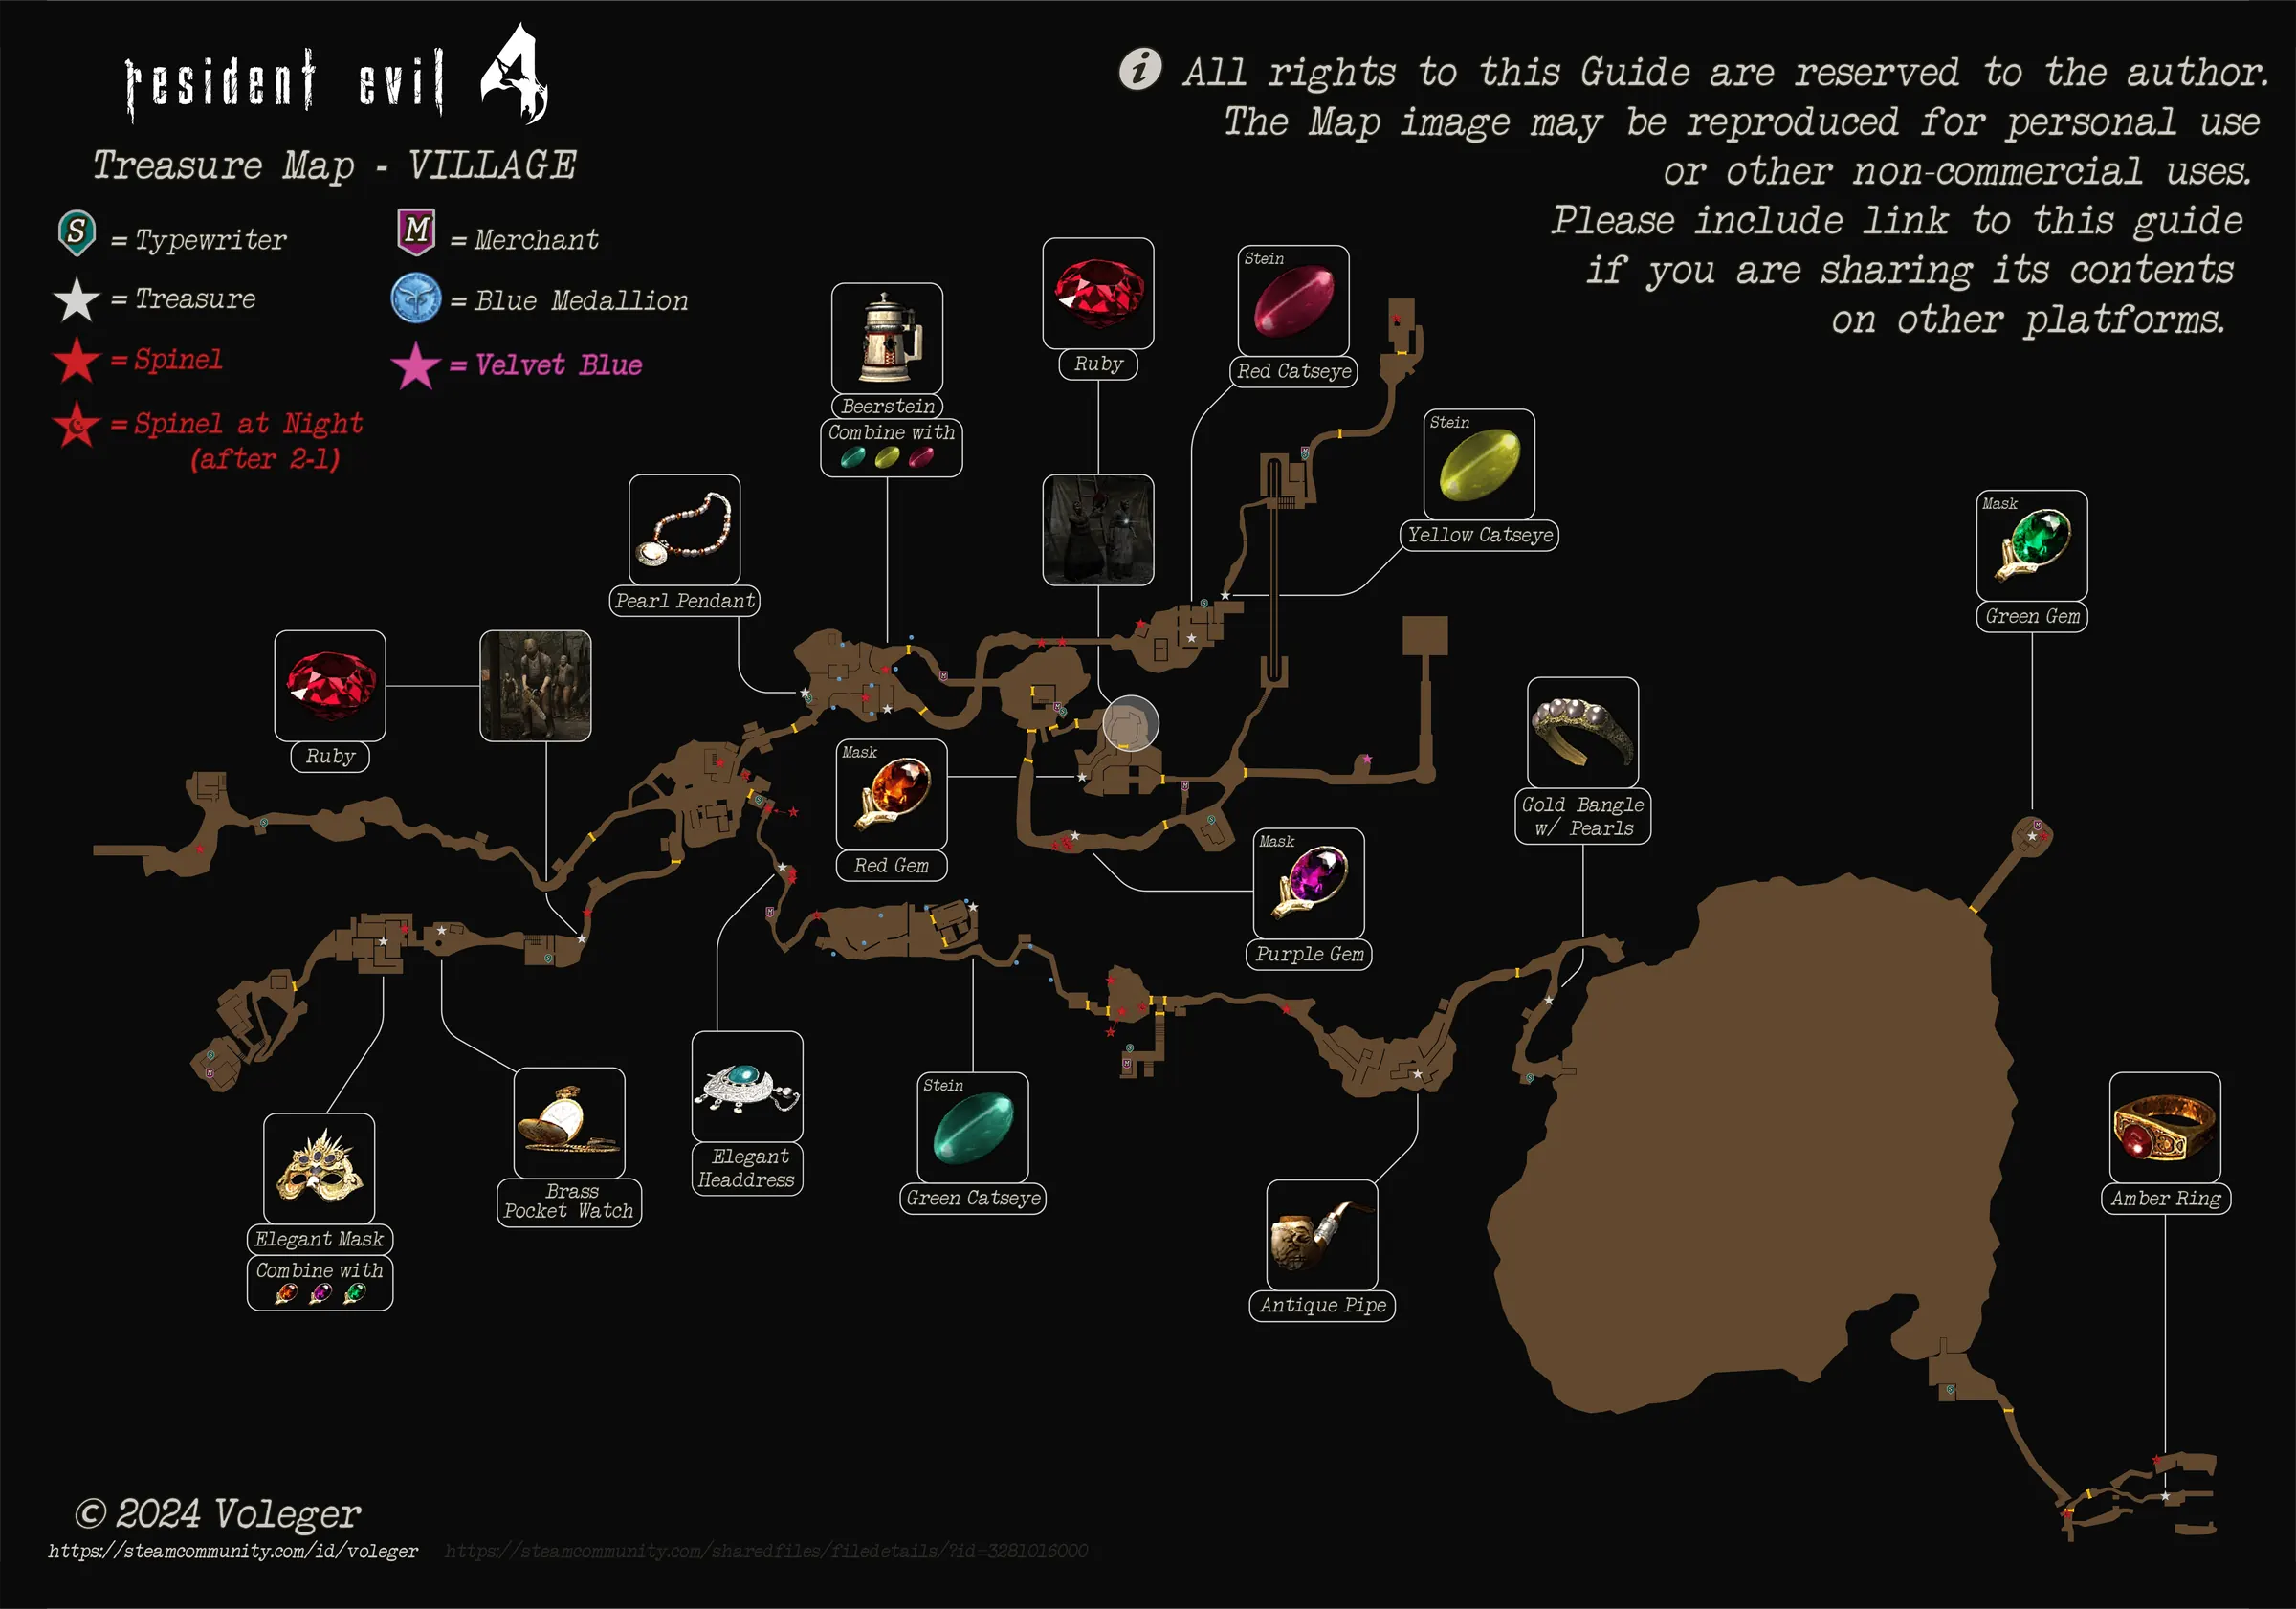
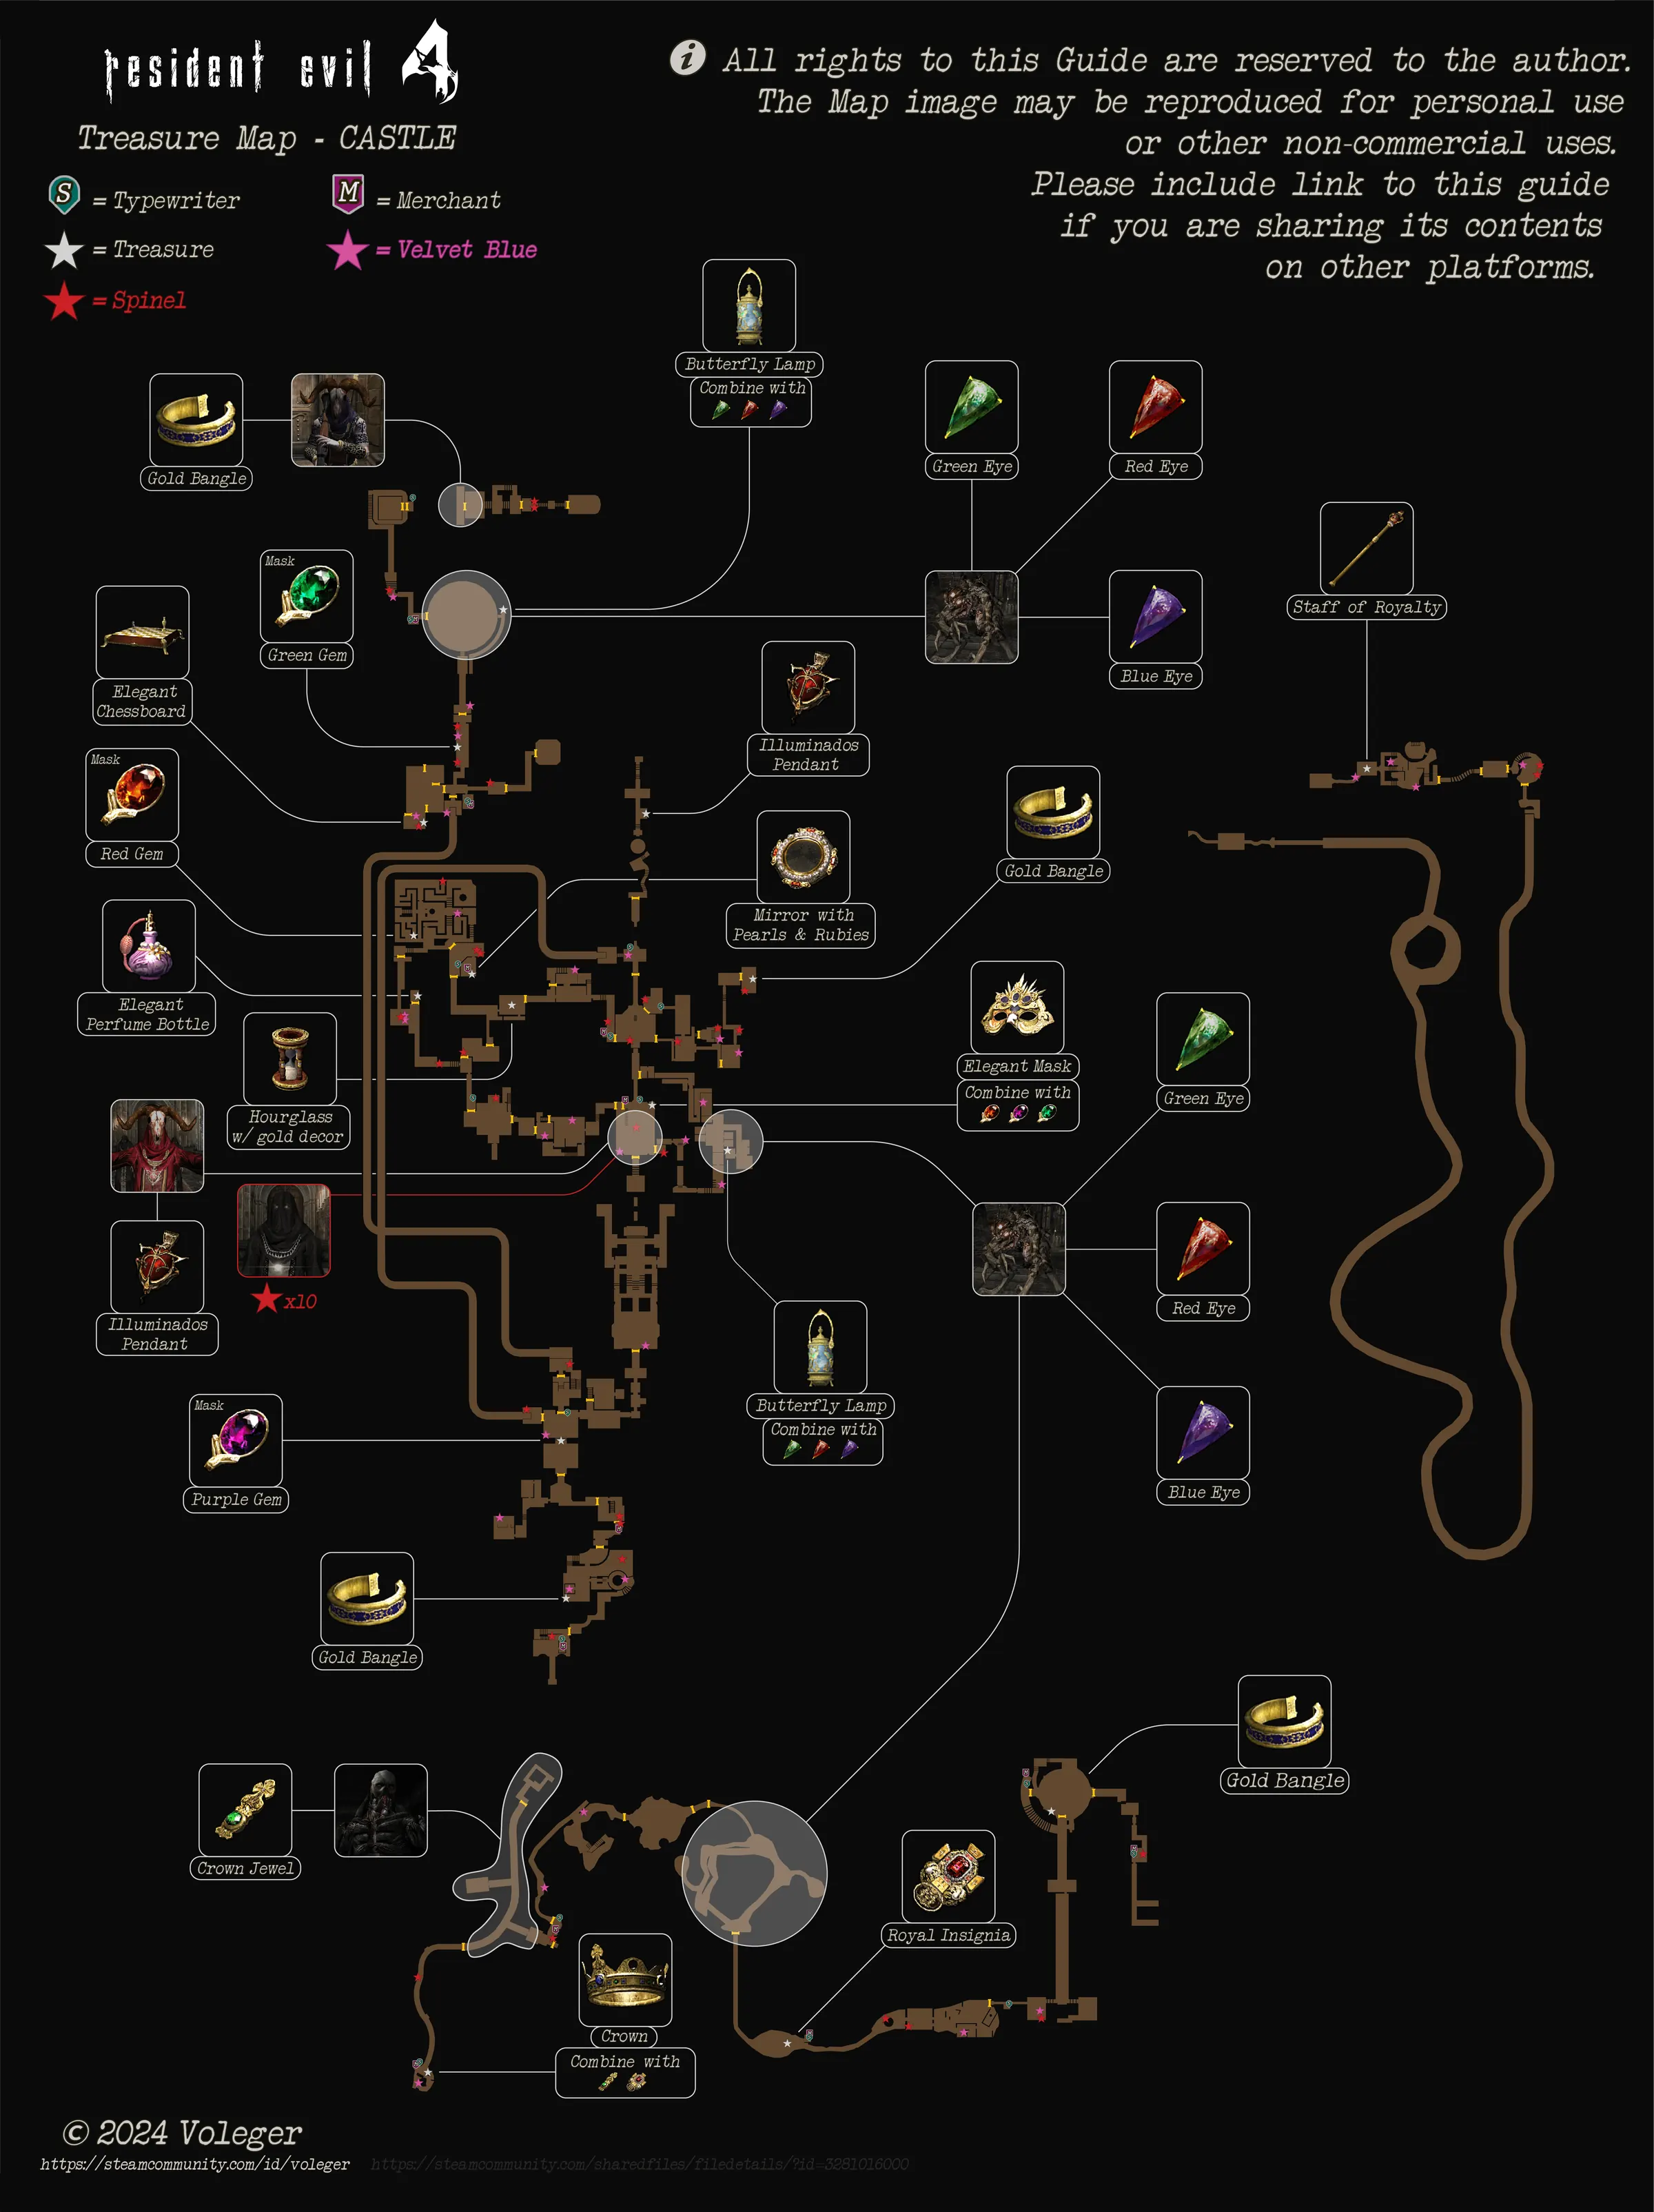
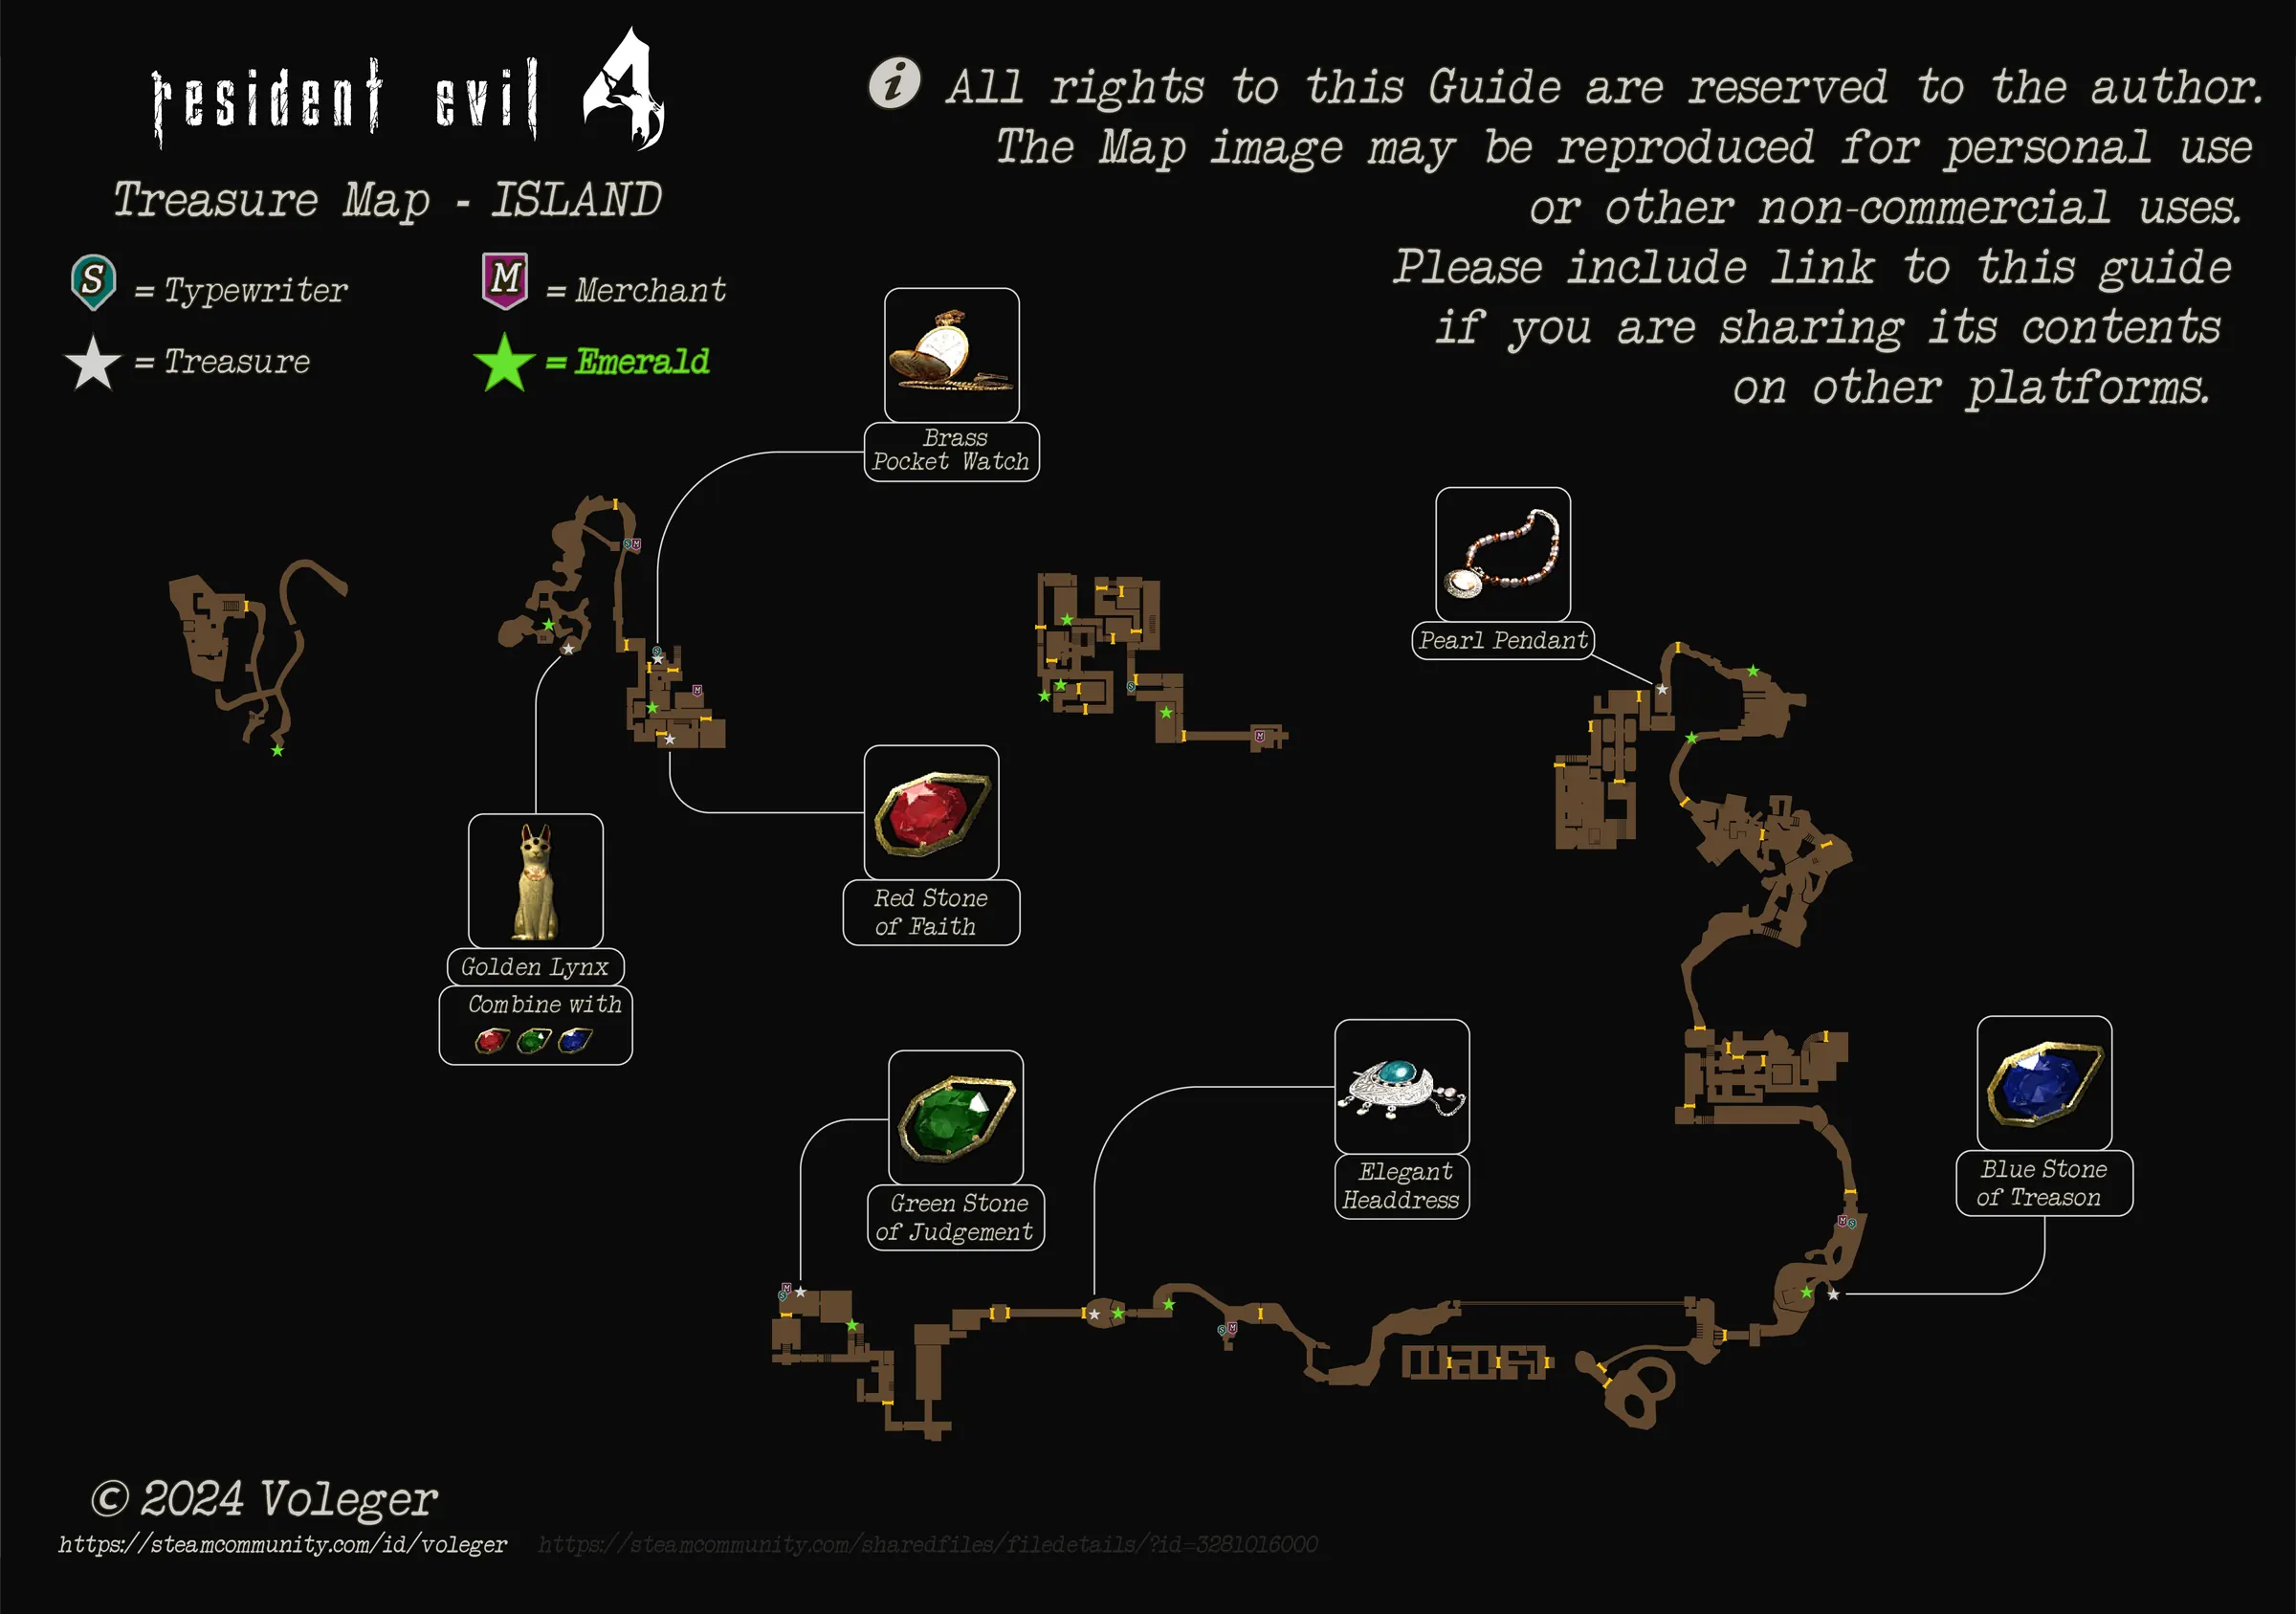
Maps by Voleger, reproduced with his permission for non-commercial use: original guide on Steam
Small change
-
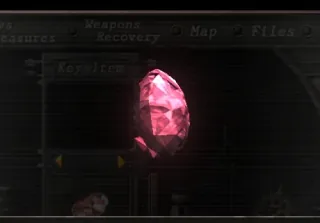 Spinel 2,000pts 69 in the whole game (28 village · 41 castle) = 138,000pts The 8 zealots of the Hall of Rites ritual (3-2) drop one each — always sell them. Voleger marks them in red on the map
 -
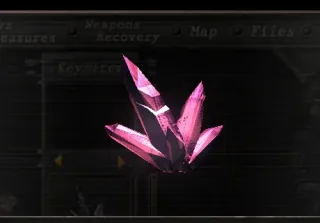 Velvet Blue 2,500pts 34 in the whole game (1 village · 33 castle) = 85,000pts 1 on the road to the castle (2-3), the rest in the castle (pink stars on the map)
 -
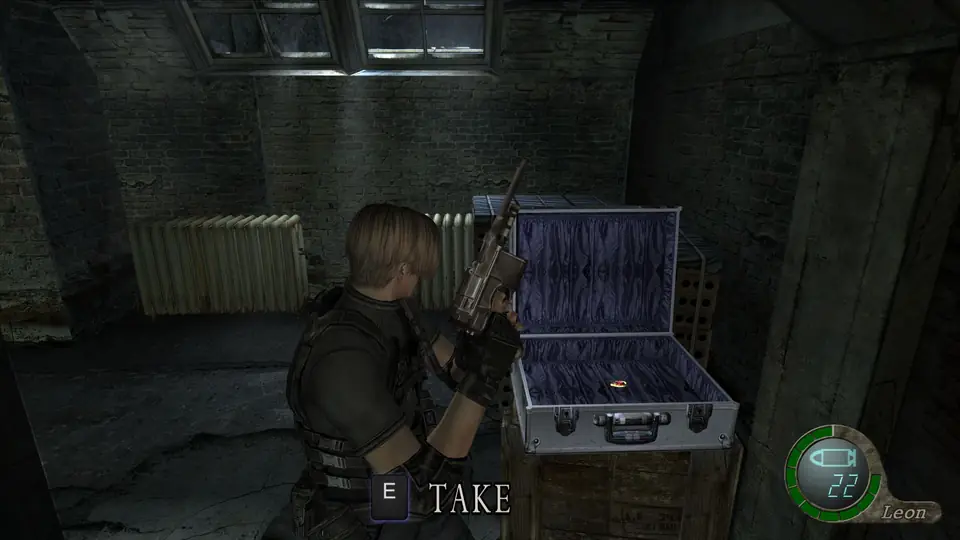
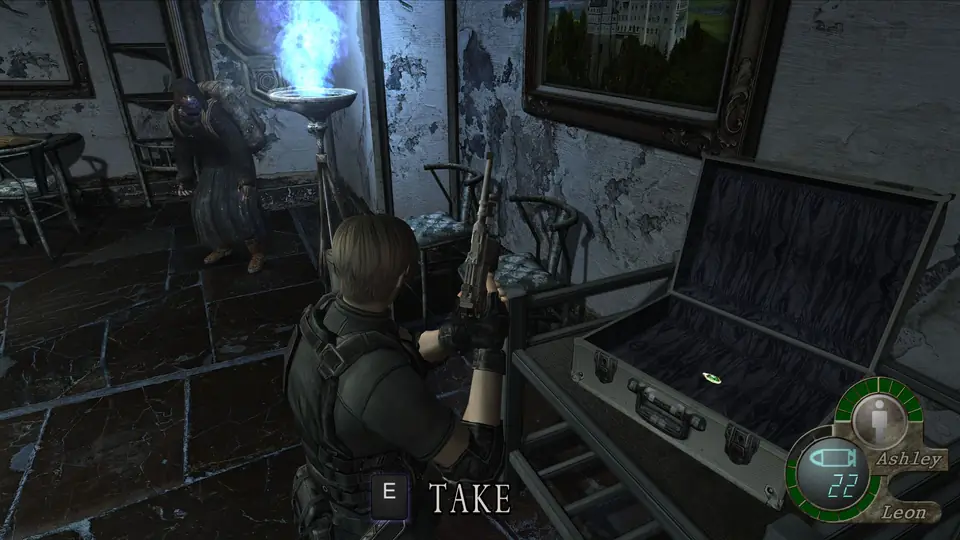
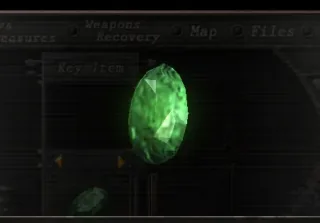 Emerald 3,000pts 13 in the whole game (13 island) = 39,000pts 13, all on the island: 7 in 5-1, 4 in 5-3 and 2 in 5-4 (green stars on the map)
Cash and ammo by zone
Everything lying around the rooms of each zone (treasures and small change excluded), summed room by room from Evil Resource. Single pickups of 5,000 or more are listed apart; almost all of them are boss drops.
| Zone | Pesetas | Big pickups | Ammo and grenades |
|---|---|---|---|
| Hunter's lodge (start) 1-1 | 2,000 in 2 pickups | — | 30 handgun · 1 grenades |
| Village square, town hall and underground passage 1-1 · 1-3 · 2-1 · 2-2 | 12,000 in 3 pickups | 10,000 (Village Square) | 60 handgun · 15 shells · 100 TMP · 1 grenades · 1 flashes · 1 incendiaries |
| Farm, old house, cabin and both routes 1-1 · 2-2 · 2-3 | 22,000 in 8 pickups | 15,000 (Gorge) | 80 handgun · 15 shells · 110 TMP · 3 grenades · 1 flashes · 3 incendiaries |
| Chief's manor, sewage plant and valley 1-2 · 1-3 | 4,000 in 4 pickups | — | 50 handgun · 10 shells · 10 rifle · 50 TMP · 2 flashes · 1 incendiaries |
| Church and graveyard 1-3 · 2-1 · 2-2 | 3,000 in 1 pickups | — | 20 handgun · 5 rifle · 2 grenades · 1 flashes · 2 incendiaries |
| Lake 1-3 · 2-1 | 5,000 in 1 pickups | 5,000 (River) | 40 handgun · 10 rifle · 1 flashes |
| Quarry and swamp 1-3 · 2-1 | 17,000 in 3 pickups | 15,000 (Quarry) | 80 handgun · 10 shells · 150 TMP · 1 grenades · 1 flashes · 1 incendiaries |
| Outskirts (cable car, Mendez's slaughterhouse) 2-3 | 30,000 in 1 pickups | 30,000 (Torture Shed) | 50 handgun · 15 shells · 10 rifle · 100 TMP · 1 grenades · 1 flashes |
| Castle: outer bailey, Audience Hall and prison 3-1 · 4-1 | 38,300 in 8 pickups | 5,000 (Entrance Courtyard) · 5,000 (Prison Access) · 5,000 (Audience Hall Balcony) · 15,000 (Prison) | 20 handgun · 20 shells · 5 rifle · 2 grenades · 3 incendiaries |
| Castle: sewers, gallery, maze and servants' wing 3-1 → 4-1 | 45,100 in 12 pickups | 5,000 (Lounge) · 5,000 (Instruction Hall) · 5,000 (Treasure Chamber) · 5,000 (Dragon Hall) · 15,000 (Display Room) | 115 handgun · 50 shells · 33 rifle · 100 TMP · 3 magnum · 1 grenades · 4 flashes · 4 incendiaries |
| Castle: main gallery, ballroom and clock tower 4-1 | 39,600 in 5 pickups | 5,000 (Platform B North) · 2× 15,000 (Antechamber) | 75 handgun · 20 shells · 8 rifle · 1 grenades · 1 flashes · 1 incendiaries |
| Pit (Verdugo) 4-1 | — | — | 15 handgun · 15 shells · 100 TMP · 5 magnum · 1 incendiaries |
| Mines 4-2 | 47,800 in 5 pickups | 5,000 (Mine) · 10,000 (Mine) · 2× 15,000 (Melting Furnace) | 30 handgun · 25 shells · 50 TMP · 5 magnum · 2 grenades · 2 flashes · 1 incendiaries |
| Ruins 4-3 | 4,000 in 2 pickups | — | 10 handgun · 1 flashes |
| Ancient city and sand mine 4-3 | 48,100 in 19 pickups | 2× 10,000 (Dwelling) · 2× 10,000 (Sand Mine Rail Track) | 25 handgun · 15 shells · 1 grenades |
| Cathedral, tower base and docks 4-4 | 5,500 in 1 pickups | 5,500 (Tower 1F) | 30 handgun · 5 shells · 3 rifle · 1 flashes |
| Tower (Salazar) 4-4 | 50,000 in 1 pickups | 50,000 (Tower 5F) | 45 handgun · 35 shells · 15 rifle · 200 TMP · 5 magnum · 1 flashes · 2 incendiaries |
| Bay (military base) 5-1 | 15,000 in 1 pickups | 15,000 (Outpost) | 10 handgun · 5 shells · 50 TMP · 3 magnum |
| Facility, ground floor 5-1 | 7,000 in 2 pickups | 5,000 (Security Room) | 10 handgun · 20 shells · 10 rifle · 50 TMP · 1 grenades · 1 incendiaries |
| Facility, first floor 5-1 · 5-2 | 25,000 in 5 pickups | 5,000 (Small Operating Room) · 5,000 (East Corridor) · 5,000 (West Corridor) · 5,000 (Freezer) · 5,000 (Communications Tower Entry) | 20 handgun · 30 shells · 19 rifle · 75 TMP · 3 magnum · 1 grenades · 3 flashes · 2 incendiaries |
| Waste disposal 5-2 | 50,000 in 4 pickups | 2× 20,000 (Waste Processing Plant) · 2× 5,000 (Basement Passageway) | 10 handgun · 30 shells · 18 rifle · 50 TMP · 1 incendiaries |
| Maintenance area (Saddler's throne) 5-2 · 5-3 | 16,900 in 5 pickups | 5,000 (Merchant Room) · 5,000 (Altar) | 15 handgun · 3 shells · 1 flashes · 1 incendiaries |
| Container cave (U-3) 5-3 | 50,000 in 1 pickups | 50,000 (Cave Passageway) | 10 handgun · 15 shells · 25 TMP · 1 incendiaries |
| Campsite and ruins (Krauser) 5-3 | 8,000 in 2 pickups | 5,000 (Underground Passage) | 40 handgun · 15 shells · 75 TMP · 6 magnum · 2 grenades · 1 flashes |
| Commando base 5-4 | 45,000 in 5 pickups | 5,000 (Commando Base Pit) · 15,000 (Commando Base Main Gate Access Switch Platform) · 5,000 (Cell Wing) · 15,000 (Upper Storage Room) · 5,000 (Control Room) | 30 handgun · 28 shells · 11 rifle · 125 TMP · 11 magnum · 2 grenades · 3 flashes · 1 incendiaries |
| Construction site (Saddler) 5-4 · final | 110,000 in 3 pickups | 2× 5,000 (Outside Area) · 100,000 (Construction Site) | 15 shells · 50 TMP · 5 magnum · 1 grenades · 1 incendiaries |