Bosses — quick reference
the full strategy lives in each chapter
Dr. Salvador
1-1 ×2 (farm gate and two-storey house) · 1-3 · 4-2 (mine) · 4-3 (×2 in the dwelling, ×2 on the mine cart)Shotgun to the head → ground → knife, then open distance again before he gets up. In 1-1, kill the one at the farm gate first: if you enter the two-storey house before, the Ruby one never shows up. One chainsaw hit = death.
Ruby 10,000pts (1-1 farm gate and 1-3) · the rest (1-1 house, castle mine and ruins): 10,000pts in cash

Del Lago
1-3Infinite harpoons. While it drags you, steer around the floating debris (every hit throws you in the water). When it dives, follow the red arrows and land at least one harpoon in its mouth. Final rope-cutting QTE.
Nothing: the fight is mandatory to move on

El Gigante
2-1 · 2-3 (right route, optional) · 4-2 ×2TMP to the head → it kneels → climb on and knife the parasite. The dog helps in 2-1 if you freed it by hand in 1-1; in 4-2 you can drop one into the lava with the lever (stay off the edge while it sinks).
15,000pts each (nothing if it dies in the lava)

Bitores Mendez
2-3Phase 1: 3 Incendiary Grenades at his feet and TMP or shotgun to the spine after each attack, from the upper floor. Phase 2: shotgun him as he reaches the balcony or hangs from a beam; Hand Grenade (or rocket) while he is on the ground.
30,000pts + False Eye
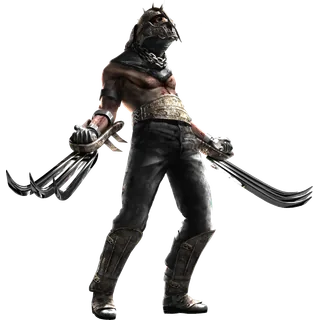
Garrador ×4
3-1 (prison) · 3-3 (cage) · 4-1 ×2 (throne room antechamber)Blind. Walk, don't run. The back parasite is its weak point — rifle or shotgun from behind, best when its claw sticks in the wall. In the cage: Hand Grenade the door and get out. Flash grenades do nothing to it.
15,000pts each
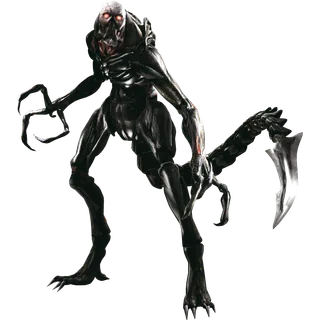
Verdugo
4-1Nearly immune to bullets. Knock down an N2 tank when it's close (freezes it: ×3 damage) and land a rocket. Avoidable, but you lose the jewel.
Crown Jewel

Ramón Salazar
4-4Stay to one side of the upper walkway, never in front of the head. Shoot the central head's eye → the bone cage opens → rocket (one shot kills him) or magnum on Salazar. Buy the rocket from the Merchant at the top of the tower.
50,000pts

J.J. (Gatling Man)
5-1 / 5-4 ×2The heaviest-armed of Saddler's militia, wielding a personal Gatling gun. He only fires with a direct line of sight, and there's a spin-up pause before the burst — take cover, use a Flash grenade to stun him, then unload your strongest weapon (rifle/magnum to the head).
15,000pts each (3 total)

Regenerator / Iron Maiden
5-1 → 5-4 · Iron Maiden: 3 (1 in the 5-1 laboratory, 2 in the 5-2 waste plant)Thermal scope on the rifle → shoot the hidden parasites. Iron Maidens carry an extra one on their back; they explode on death. The Iron Maiden in the lab control centre drops the Storage Room Card Key (required to rescue Ashley).
Regenerator 5,000pts · 5-2 Iron Maiden 20,000pts

U-3 "It"
5-3Containers: it cannot die there; hit both switches in each one, shoot the green locks open and get out before it drops (30 s). Lair: close the gates between you, shoot through them and use the red barrels; then aim at the orange flesh between the pincers.
50,000pts
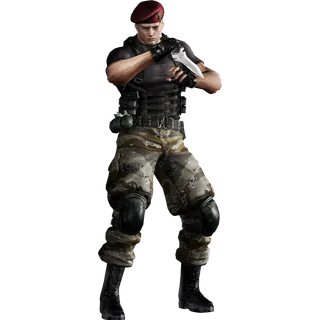
Jack Krauser
5-3Knife QTE first. In the tower (3 min): his mutated arm blocks the torso, so only legs or the head work. Most efficient combo: magnum to the legs to stagger him, then knife while he's reeling — knife slashes deal the equivalent of a fully upgraded Killer7, the cheapest option in ammo. On Professional, dodge QTEs can ask for up to 4 presses in a row instead of 2: keep your hands ready.
Snake piece

Osmund Saddler
FinalShoot the leg eyes → the central eye is exposed → knife/magnum. Cranes and red barrels = free damage. Finisher: Ada's rocket launcher.
100,000pts