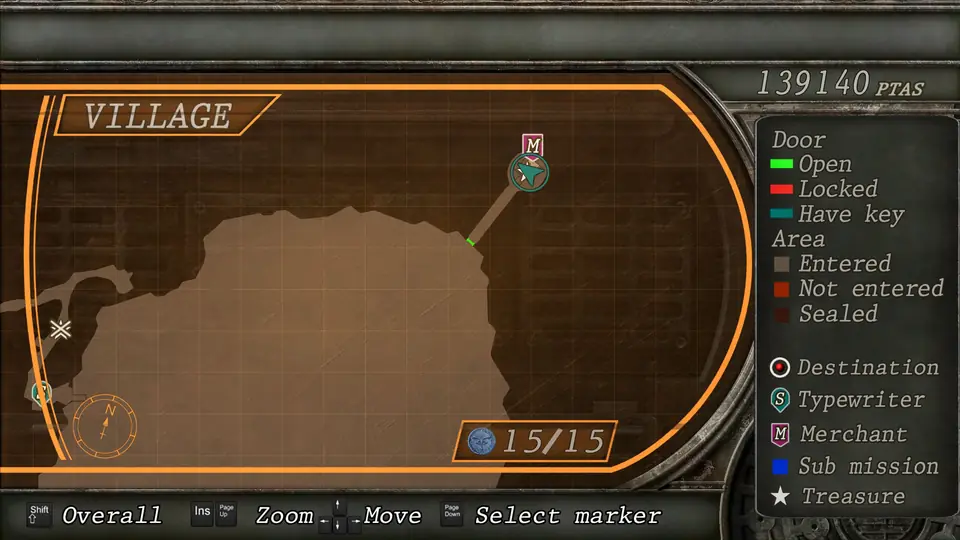
Chapter order: South Dock Shack (typewriter) → (optional, by boat: Lake Cave Merchant, Green Gem) → river (first Plaga Ganado) → waterfall (Amber Ring, Round Insignia) → Waterfall Cave Dock → Quarry Merchant Hideout (typewriter) → quarry: El Gigante (mandatory) → wooden walkway → church courtyard (3 Colmillos) → (optional: graveyard → Underground Passage, Red9) → church (light puzzle, Ashley).
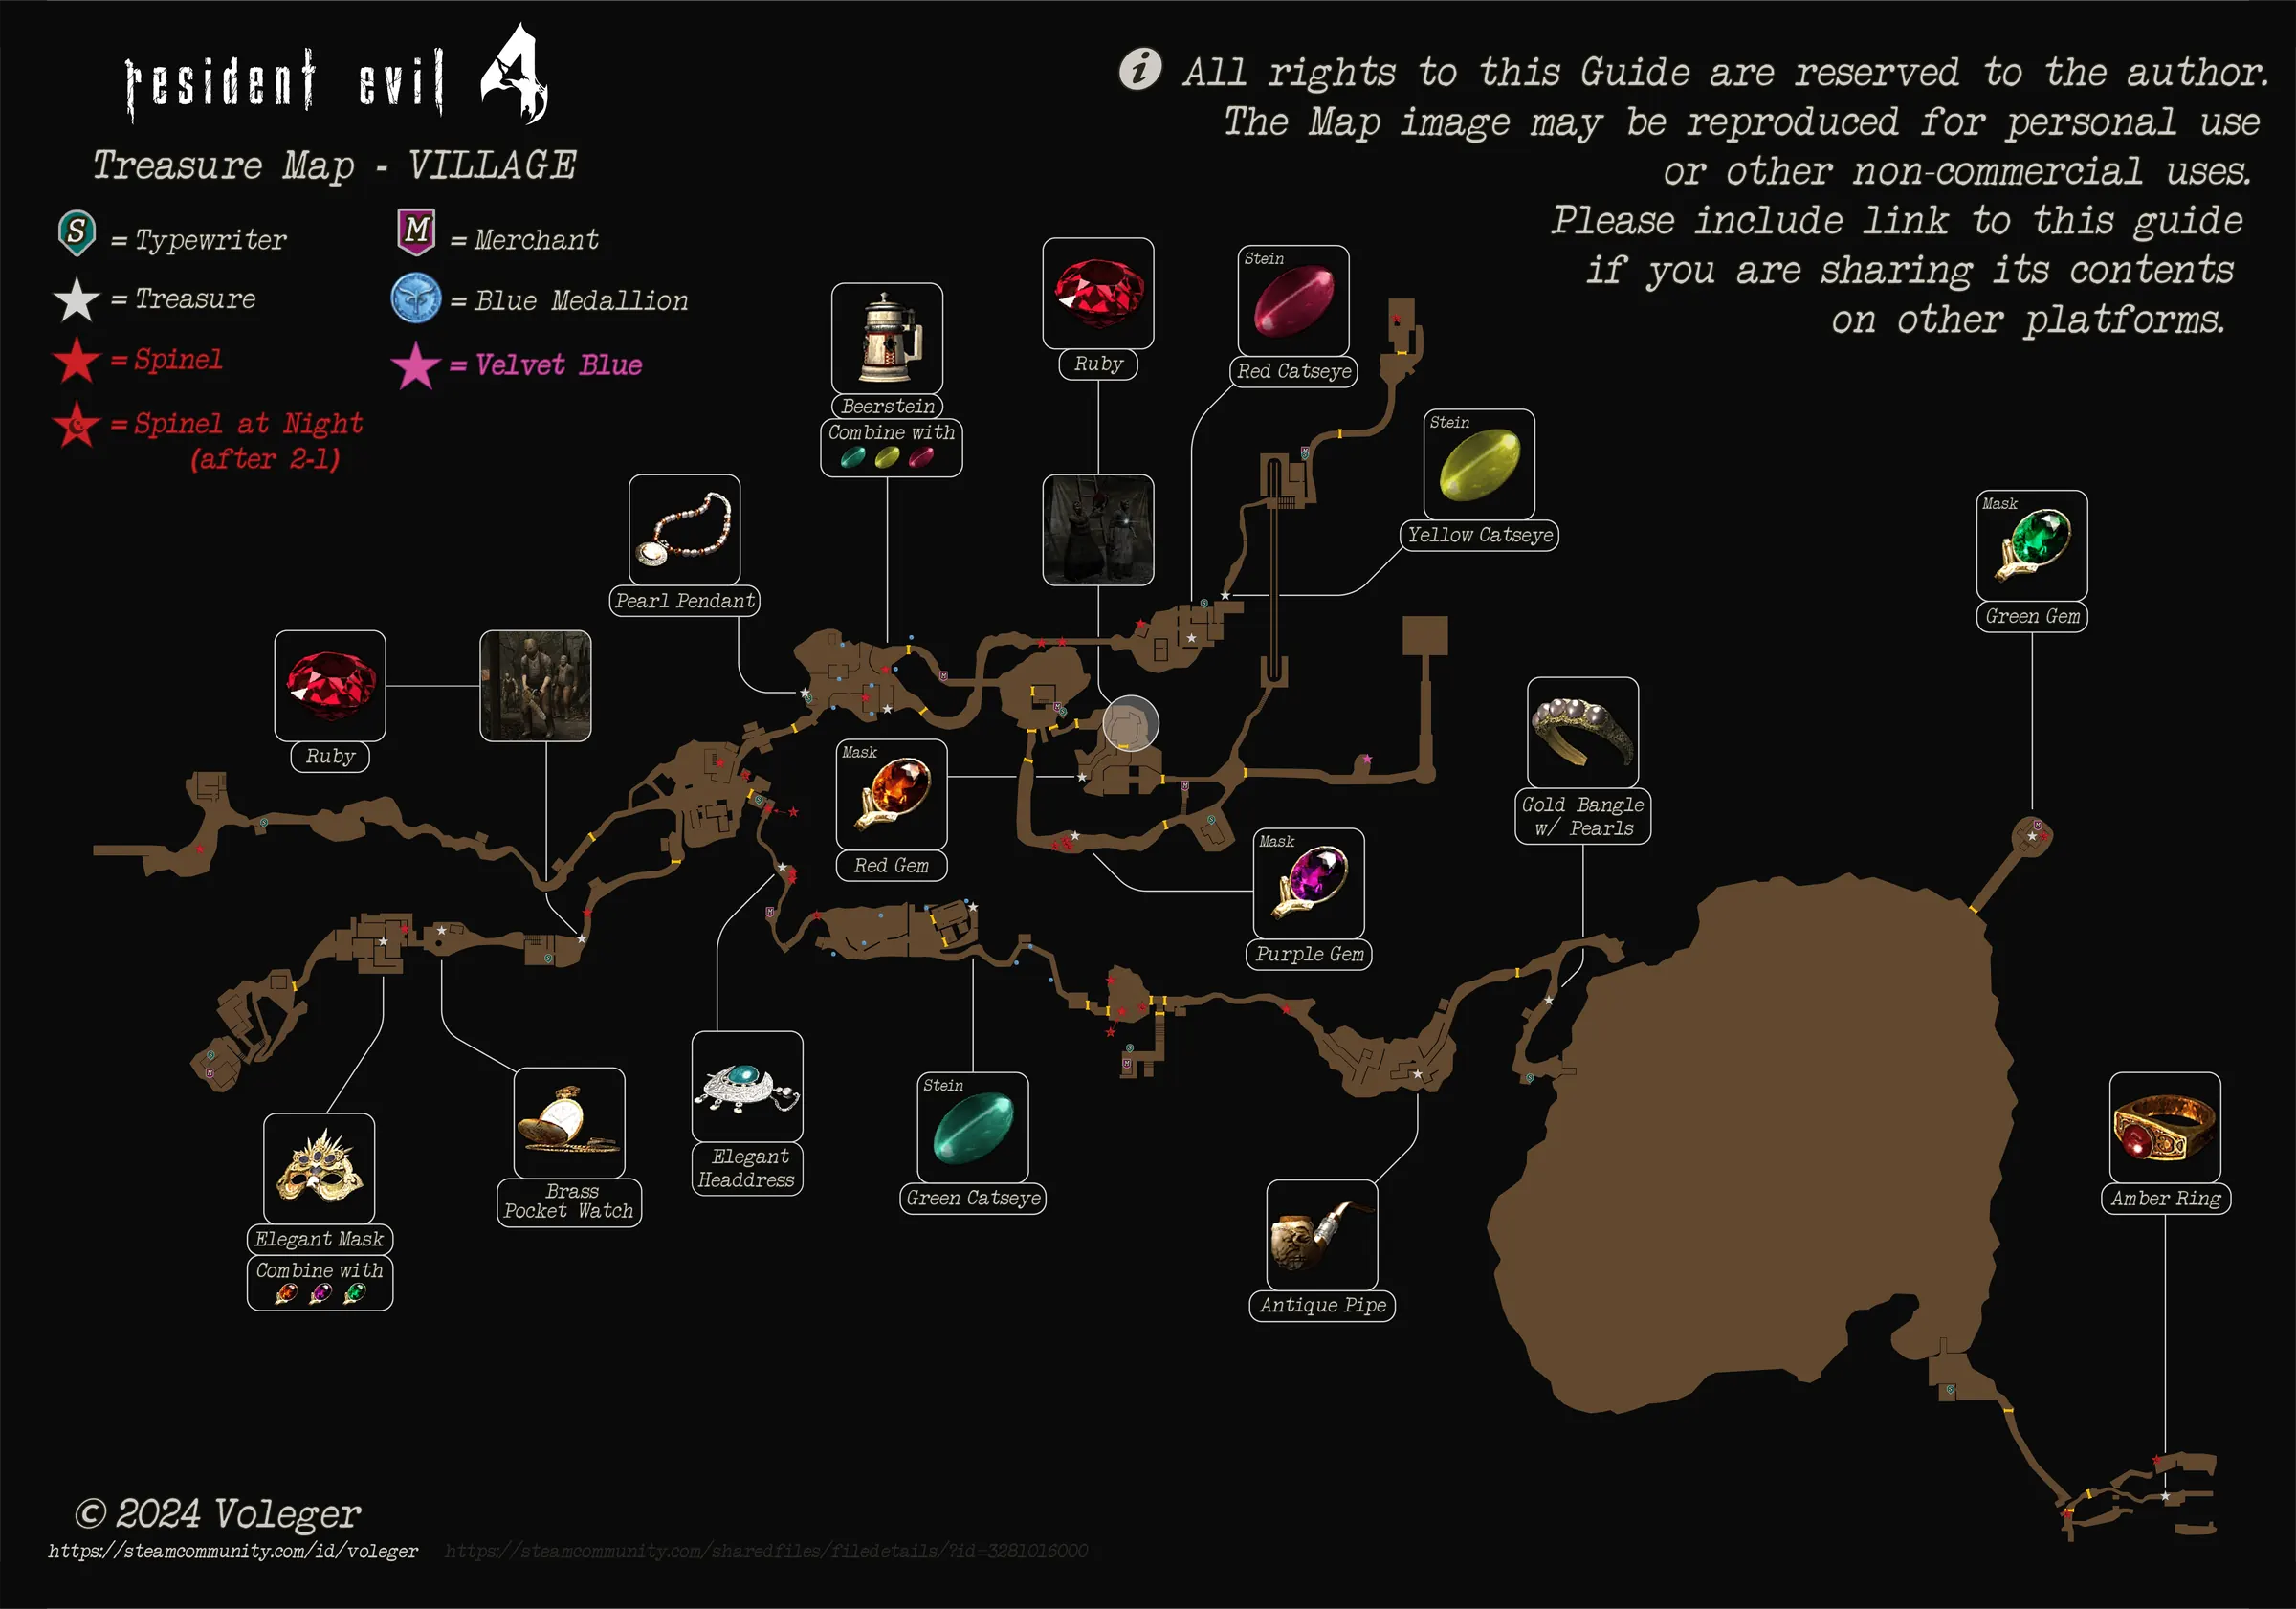
BUY (in priority order, as far as your money goes): 1) Red9 14,000pts: the Underground Passage Merchant sells it from the end of this chapter (climb down the ladder on the graveyard path before entering the church); if you don’t make it, the same Merchant has it in 2-2. 2) Shotgun Power 5.0 20,000pts (and it stops there: you sell it in 4-1). 3) Red9 Power 1.8 15,000pts. The TMP: no — only Capacity 50 for 7,000pts if it’s empty before the Gigante. Sell the Antique Pipe and the Gold Bangle w/ Pearls; keep the Beerstein (the Yellow Catseye comes in 2-3) and the Green Gem too (it goes in the Elegant Mask).
You play as Leon, alone. You wake up at night in a shack on the lake shore, right after beating Del Lago, and Hunnigan reminds you the clock is ticking: the Plaga is already inside you. The chapter’s goal is the Round Insignia, the key to the church where Ashley is locked up. The way runs down the river to the waterfall, back by boat to the quarry, where they set El Gigante on you, and ends in the church with the light puzzle and Saddler’s first appearance. It is also the chapter where the Plagas bursting out of Ganados’ necks and the Colmillos debut.
Before you start
- Typewriters: the one in the South Dock Shack (where you start) and the one in the Quarry Merchant Hideout, just before the Gigante. It’s the last one before the boss: save there.
- Merchants: three on the route. The Lake Cave one (optional boat detour), the Quarry Merchant Hideout one (you pass it before the Gigante) and the Underground Passage one (optional detour at the end; according to Evil Resource the first to stock the Red9).
- Lost if you don’t do it now: the lake’s Green Gem (the green one for the village Elegant Mask, and you don’t come back to the lake), and the contents of the three quarry huts: if El Gigante touches them they break and their items vanish.
- Keep a slot free for the church’s Incendiary Grenade: you’ll want 3 incendiaries for Méndez in 2-3, and a single one kills a Colmillo.
- New threat, Plagas: from here on, a headshot can make the Plaga burst out of a Ganado’s neck. Keep your distance (its whip reaches far); a Flash Grenade kills every exposed Plaga in its radius, and a shotgun blast at the Plaga also works.
- Professional: the items in these areas are the same as on Normal (Evil Resource); what changes is the damage you take.
South Dock Shack
You start here. On the central table are the typewriter and Handgun Ammo ×10; on the shelves in the SE corner, a Flash Grenade; on the bed in the SW corner, the Anonymous Letter, which Ada quite obviously wrote. Hunnigan calls when you wake up (Communication Log #9). Leave through the door onto the South Dock. The lake’s Black Bass heal: shoot or harpoon them from the boat whenever you like.
Optional detour: Lake Cave Merchant (Green Gem)
From the South Dock, get in the boat and row to the Lake Cave, where the Merchant’s shack stands in the middle of a wooden walkway. The trip is worth it:
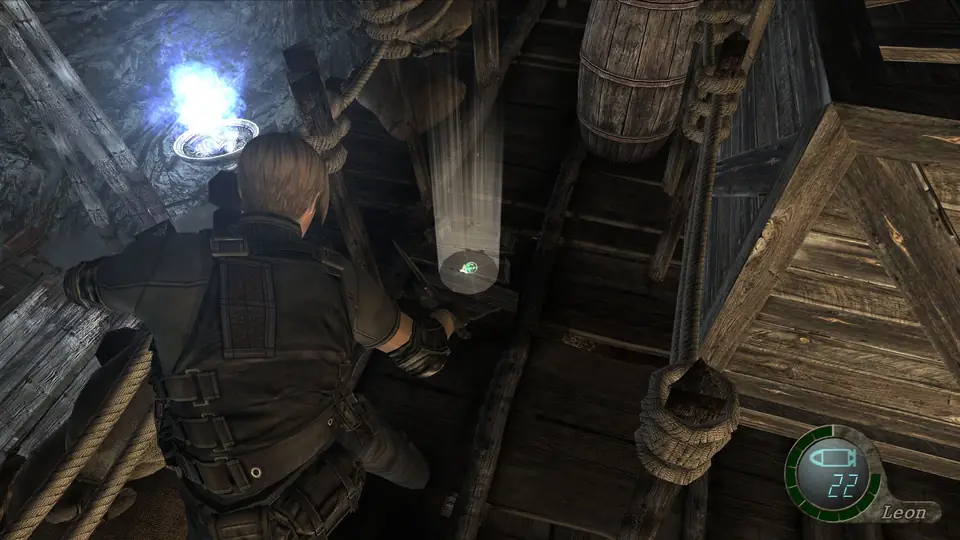
- Green Gem: inside one of the breakable barrels on the shack’s roof. Push the crates and climb the ladder. It’s the green one for the village Elegant Mask (the red and purple ones come in 2-3): take it now.
- Spinel: under the lantern hanging in the east corner of the walkway; shoot it.
- Rifle Ammo ×10: drop from the roof into the back of the shack; it’s on the shelves.
If you row toward the first shore (the Entry Path, by the swamp), 4 Colmillos wait there in 2-1. There’s no need to go.
River: the first Plaga
Go back to the South Dock and follow the river path on foot. There are 2 Ganados, and one of them shows its Plaga in a cutscene: your first run-in with it. Back off, let it come at you in a straight line and finish the Plaga with the shotgun or a Flash Grenade. That Ganado drops a gold bar worth 5,000pts. Further down, before the second river crossing, a side path leads to a barrel with a Hand Grenade. Then you rappel down the cliff to the waterfall.
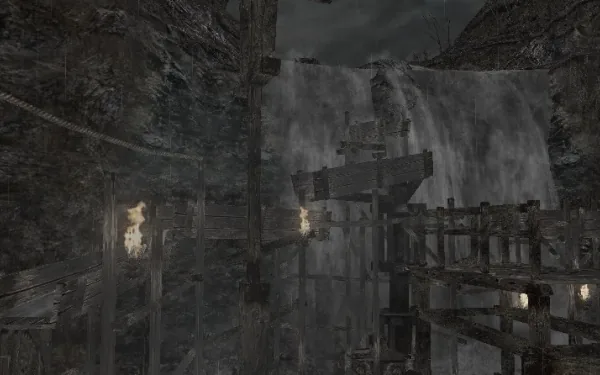
Waterfall: crates, lever and Round Insignia
This area has an order. Follow it as written:
- The lookout. At the foot of the cliff, in the watchtower on the north bank, stands a Ganado with a sickle. Kill it and take the Handgun Ammo ×10 from the watchtower ledge; there’s also a barrel with a random item.
- Spinel. Look up and to the left of the rope you came down, on the NW cliff wall: there’s a Spinel embedded there. Shoot it.
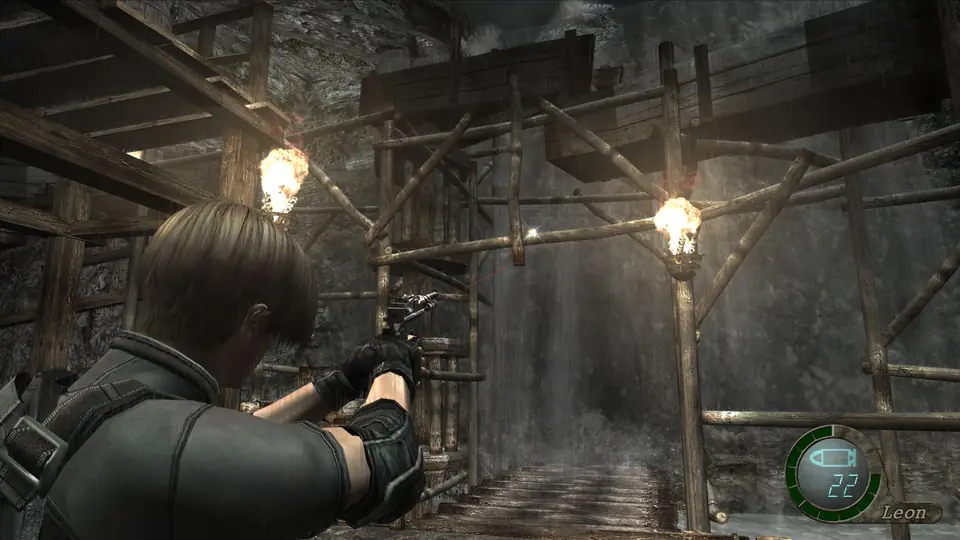
- The three crates. Three crates hang from chains over the river. Shoot the chains so they drop into the water and become stepping stones; dropping the first one gets you to the walkway from which you can drop the other two.
- The lever. Cross to the south bank, climb the watchtower ladder and pull the lever: the water is diverted and uncovers the cave behind the waterfall. A barrel under that platform holds a random item.
- The ambush. When you come back to the central platform, 7 Ganados come at you, some from the newly opened cave and some down the path you used. Best move: jump back to the far bank and make them jump across after you; knock them into the water as they cross or finish them as they land.
- Amber Ring (10,000pts). It’s fixed to the wooden support beam of the central area, in front of the cave entrance. Shoot it down. On the platform next to it, a barrel with a Green Herb.
- Round Insignia. At the end of the tunnel behind the waterfall, on the wall. Taking it opens a door and Hunnigan calls (Communication Log #10).
Waterfall Cave Dock and Quarry Merchant Hideout
Go through the door that opened next to the insignia: you reach the Waterfall Cave Dock. There’s a Spinel on the torch next to the door. Take the boat: it drops you at the Quarry Merchant Hideout. There you’ll find a typewriter (small round table on the west side), the Merchant in his shack and Handgun Ammo ×10 on the boxes to the east. Save and shop here: it’s your last stop before the Gigante.
💡 You could walk back via the river → South Dock → lake → Entry Path (4 Colmillos) → swamp, where 9 Ganados have respawned in 2-1. It’s much longer and more dangerous: take the boat.
Quarry: El Gigante
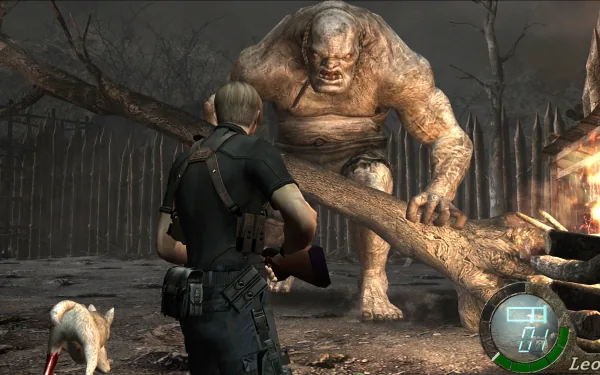
Head up from the hideout into the quarry. When you enter the clearing, a cutscene seals the exits and releases El Gigante: no way around, he has to die.
Before he touches the huts. There are three wooden huts in the clearing and, if El Gigante runs into them, they break and their items vanish. Loot them as soon as you can, or keep the fight away from them:
- West hut: TMP Ammo ×50 on the floor; Spinel and Green Herb on the table (and, if you didn’t take them in 1-3, a second Spinel and Handgun Ammo ×10).
- Middle hut: Handgun Ammo ×10 on the floor and 1,000pts on the table.
- East hut: Spinel, Shotgun Shells ×5 and 1,000pts on the table (and Handgun Ammo ×10 if you didn’t take it in 1-3).
- Outside: Red Herb and Handgun Ammo ×10 on the log pile on the west side; Yellow Herb on the cart in the NW corner (and the cart’s Spinel if you didn’t take it in 1-3).
His attacks. He has 1000 HP and almost everything he does deals 800: punch, two-armed hammer punch, hook, stomp, grab and throwing grab (both QTEs: mash the button), a rugby charge when you get too far away (he crouches before charging: run sideways) and a swing with a tree he pulls out of the ground (there are 3 in the clearing). The kick is the only one that deals less: 400.
Step by step:
- TMP to the head until he kneels; the shotgun to the face also brings him down if you’re low on TMP ammo. Keep your distance and, if he corners you, run between his legs (watch out for the kick).
- When he drops to his knees the Plaga bursts from his back: run to him, press CLIMB and slash the Plaga, mashing the button until he throws you off. If you miss the prompt or are too slow, he grabs you and slams you to the ground.
- If the Plaga is exposed and you can’t get there in time, shoot it directly: a few shots before climbing usually finish him in two rounds.
- Repeat: two or three rounds are enough. The dog helps by distracting him only if you freed it from the bear trap in 1-1.
A single Rocket Launcher shot (30,000pts at the hideout Merchant) kills him outright, but it’s expensive at this point. In 2-1 he dies in a cutscene, so there’s no falling body to dodge. He drops 15,000pts: enough for the Red9.
Wooden walkway and church courtyard: Colmillos
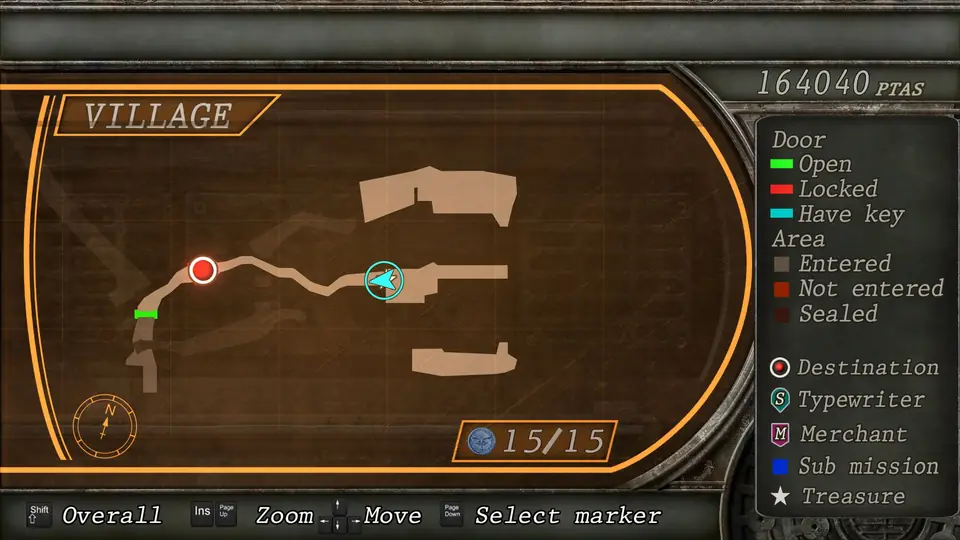
Leave the quarry through the gate to the wooden walkway. If you’re missing any blue medallions here: one hangs under the first gap you jump, another under the SE straight section just past the second gap, and another from the overhead structure next to the shed.
In the church courtyard, 3 Colmillos attack, the game’s first wolves. The first one peeks over the edge before it leaps: if you carry a rifle, one scoped shot deals with it. Use the shotgun or TMP on the other two. Once hurt they unfurl Plaga tentacles and hit from further away: put your back to a wall so they can’t surround you. An Incendiary Grenade kills them instantly if they run through the flames, and a Flash Grenade kills any with their tentacles out.
Optional detour: the Red9 in the Underground Passage
Before opening the church, go from the courtyard to the graveyard and on to the Graveyard Entry Path. The bird’s nest by the ladder holds Handgun Ammo ×10 and the one at the end of the path, a Spinel. Climb down the ladder into the Underground Passage: the Merchant stands in the southern cave. According to Evil Resource, the Red9 (14,000pts) is on sale from the end of 2-1, starting with this Merchant; the Resident Evil Wiki confirms you can buy it here if you come back before entering the church. Don’t go back to the lake or quarry Merchant for it: no source places it there before the Gigante. Carrying on through the Town Hall there’s another typewriter, but the village has already repopulated: go back to the courtyard the way you came.
Church: light puzzle and Ashley
Open the door with the Round Insignia.
- Ground floor: 3,000pts on the left-hand cabinet next to the altar; a Flash Grenade in the barrel at the end of the southern passage.
- To the balcony: climb the ladder to the upper floor and jump onto the chandelier to swing across to the opposite balcony, where the console is. On the right are two barrels: one with a random item and one with the Incendiary Grenade.
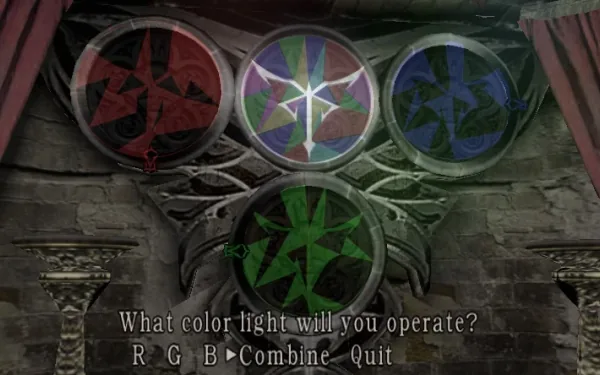
- The puzzle: at the console, turn Red ×2, Green ×3, Blue ×1 and press combine. Each of the three lights projects one piece of the Los Iluminados symbol; if in your game they don’t start in the usual position, turn each one until its piece fits the other two and forms the full insignia.
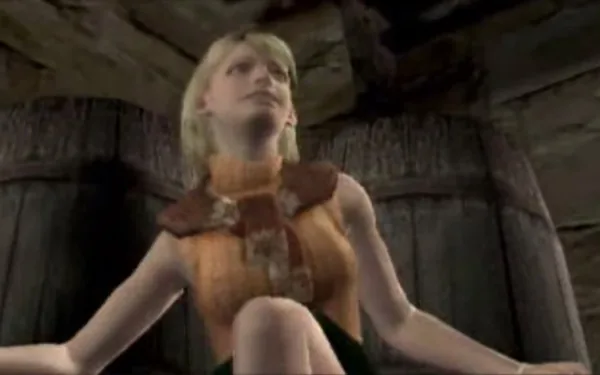
- Ashley: the grille opens onto the church storeroom. You find Ashley and Hunnigan calls (Communication Log #11, plus Playing Manual 3). The barrel in the NE corner has a Green Herb; the other barrels hold random items.
From now on Ashley follows you. If she dies or gets carried to an exit, game over. Learn Wait / Follow me / Hide. To leave, drop down the ladder shaft and catch her when she jumps: she can’t climb down ladders. Entering the nave triggers the Saddler cutscene and the jump through the window that ends the chapter.
Before you enter the church
- Round Insignia (mandatory).
- Green Gem from the roof of the lake Merchant (optional, but you don’t come back).
- Amber Ring from the waterfall (10,000pts).
- 15,000pts from the Gigante and the loot from the three quarry huts.
- Red9 bought in the Underground Passage, if that’s your plan.
- A free slot for the church’s Incendiary Grenade.
- Spinels: the waterfall cliff, the Waterfall Cave Dock torch, the west and east quarry huts (plus the cart’s if it was still there), the graveyard path nest and the lake lantern if you made those detours.
- If you still don’t have the Punisher: all 15 blue medallions. The sources don’t say whether the Merchant keeps the offer open after 1-3.