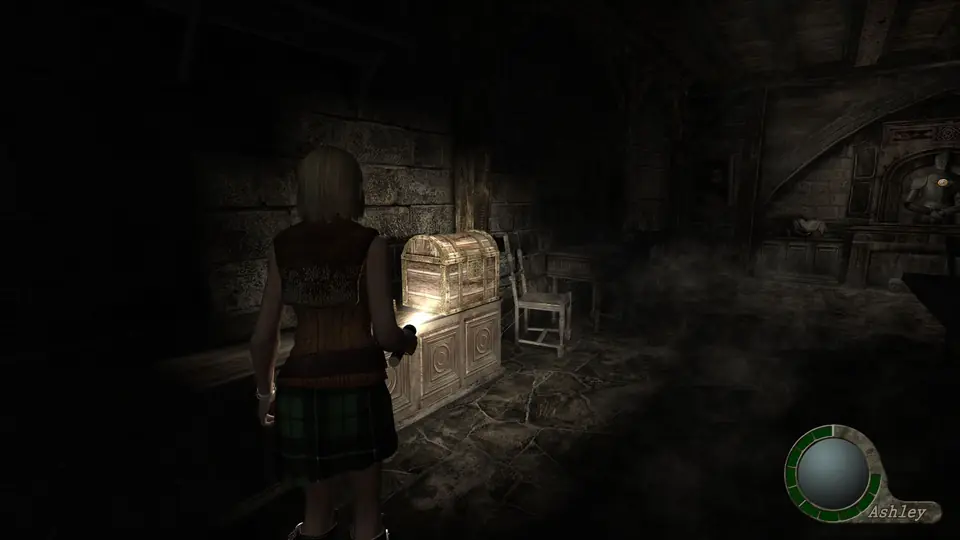
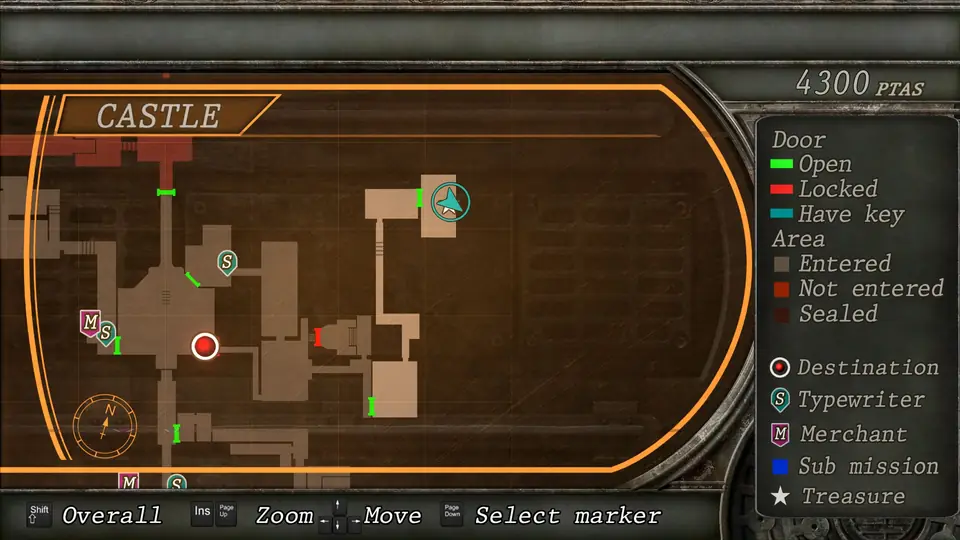
Chapter order: Concourse: loot the balcony and free Ashley → zealot wave (key) → Ashley: Servant’s Hallway (typewriter) → Servant’s Lounge (crank) → Servant’s Quarters (two cranks) → passageway → study (Butler’s Memo, dais) → Storeroom Access (switches, Stone Tablet) → armour passage → Storeroom A (crest puzzle) → Storeroom B (Gold Bangle, Insignia, Serpent Ornament) → escape from the armours → study dais → ladder back to Leon.
BUY: no Merchant in the whole chapter: the next one is in 4-1. Loot the concourse’s upper floor before freeing Ashley: nobody shows up until her three restraints are broken.
You start as Leon on the balcony of the concourse (Instruction Hall), right where Luis died. Ashley is trapped against the wall on the floor below. Freeing her brings a zealot wave: you cover her from above with the rifle until the one carrying the key goes down. She takes it and escapes on her own, and from then on you play as Ashley, unarmed, through the servants’ quarters and the storeroom. Your goal is the Salazar Family Insignia, which turns the study dais and opens the way back to Leon, and the Serpent Ornament, which you’ll need in 4-1.
Before you start
- No Merchant. The last one was in the Connecting Passage at the end of 3-3; you go back to him from the concourse when 4-1 starts.
- Typewriter: in the SE corner of the Servant’s Hallway, Ashley’s first room. Save there before the lamps and the armours.
- For the wave: a loaded rifle to shoot from the balcony and the shotgun in case one comes up.
- Ashley has no weapons. She can only throw oil lamps, crawl under furniture and turn cranks.
- Lost if you don’t take it now: all the loot in Ashley’s section (5 Spinels, 2 Velvet Blues, 2,500pts, 1,800pts and the Gold Bangle, which only Ashley can take). In Storeroom B, take the Gold Bangle and the Spinel before the Serpent Ornament: taking it wakes the armours and you have to run.
- Professional: the items and enemies are the same as on Normal.
Concourse (Instruction Hall): Leon’s balcony
Before you shoot the restraints, sweep the balcony. Nobody appears until Ashley is free.
- 5,000pts behind the picture of Saddler, on the south wall.
- Spinel in the vase on the right-hand cabinet on the south side.
- Flash Grenade and Rifle Ammo ×5 in the vases on the east cabinet.
- Rifle Ammo ×5 in the vase to the right of the north passage.
- Handgun Ammo ×10 on the west cabinet.
The wave: cover Ashley
Shoot the three restraints holding Ashley to the wall. When the third one breaks, 3 zealots appear on the lower floor, followed by up to 8 more, some with crossbows.
- Stay on the balcony with the rifle. From up there you have a line of fire across the whole room.
- First, the crossbowmen aiming at Ashley and anyone who reaches her. If one carries her off, it’s game over.
- Look for the red-robed zealot with the helmet. He carries the key. Kill him early and the wave ends sooner, so you don’t face all eight. If you’re short on ammo, you can leave him for last: once he’s the only one left, his health drops to 700.
- When he drops, Ashley takes the key and leaves the concourse on her own. Control switches to her.
Servant’s Hallway
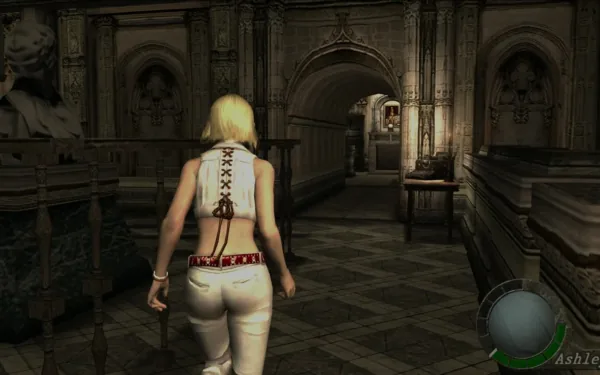
Ashley’s first room, with no enemies.
- Typewriter in the SE corner: save.
- Spinel on the floor next to the cabinet on the west side.
- Yellow Herb on the floor in the NE corner.
Servant’s Lounge: the first crank
There’s 1 zealot. The two in this section don’t carry Ashley off: they grab her by the neck and strangle her, and if she doesn’t break free before her health runs out, it’s game over. If he grabs you, mash the button shown on screen.
- Oil lamps: take one off its hook on the wall and throw it at him. A lamp that hits burns him to death, but he can dodge it: throw it when he’s walking slowly. If you run out, step into the next room and come back: they respawn.
- Green Herb on the row of desks in the middle.
- The crank is on the wall behind the table: turn it to open the gate to the next room. Kill the zealot first or wait until he’s far away: while you turn the crank you’re exposed.
Servant’s Quarters: two cranks
There’s 1 more zealot, and here the gate needs two cranks.
- Kill the zealot first, then crank. One lamp doesn’t kill him: you need two hits, or for him to be hurt already.
- Don’t crawl under the table in this room: the zealot waits on the other side and grabs Ashley as soon as she comes out.
- 2,500pts in the cabinet on the south side.
- Spinel in the drawer of the desk on the west side.
Servant’s Passageway
- Red Herb on the desks at the middle corner.
- Spinel on the east side of the south area, among the small pieces of furniture, near the storeroom entrance.
The passage splits: north, the Servant’s Study; southeast, the storeroom. Go into the study first for its loot.
Servant’s Study
- Butler’s Memo (file) on the cabinet on the south side.
- Velvet Blue in the desk drawer in the SE corner.
- Spinel on the small desk in the NE corner.
- Handgun Ammo ×15 in the desk drawer on the north side.
In the middle there’s a dais with a round hole: you can’t turn it yet. You’ll come back with the insignia. Go back out to the passage and head southeast, to the storeroom.
Storeroom Access: switches and the Stone Tablet
A dark room with gates that rise and fall with switches. Follow this order; if a gate doesn’t move, go back to the previous switch.
- Crawl through the hole on your left, push the shelf aside and press the switch on the north side.
- Crawl under the table and head west to the north end: press the second switch.
- You reach the fireplace area. The Stone Tablet sits on the fireplace mantel, on the east side of the room, under a painting.
- Press the next switch: the gate behind you opens.
- Go back and press the shelf switch again: the way into the storeroom passage opens.
Loot in this room: Green Herb on the table in the SE corner, Velvet Blue on the cabinet in the NE corner and 1,800pts in the cabinet on the north side. Note the suit of armour in the SW corner: it will swing at you on the way back.
Storeroom Passage
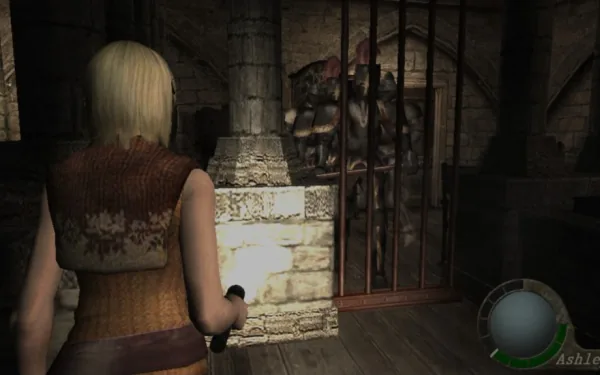
A dark corridor lined with suits of armour. They don’t move now: walk to the end. The two in the corners will attack on your way back.
Storeroom A: the Salazar crest puzzle
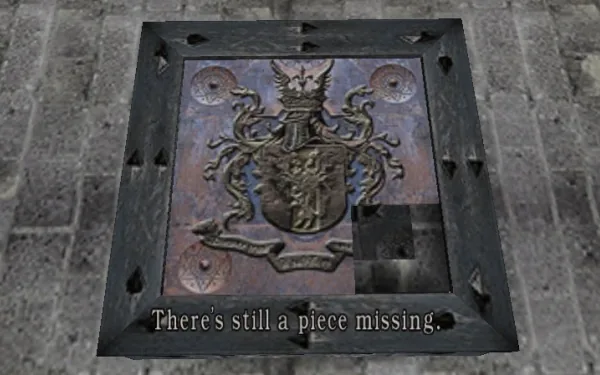
In the middle is a pedestal with the Salazar crest scrambled. It’s a 3×3 sliding-tile puzzle with the gap in the centre: the tiles slide into the gap, they don’t rotate.
Number the squares 1 to 9 in reading order: 1 top left, 3 top right, 7 bottom left and 9 bottom right. Each number is the square whose tile you slide into the gap:
- Slide the tile on square 4 (middle left) into the centre.
- Carry on with 7, 8, 9, 6, 3, 2, 1, 4, 7, 8, 9. The gap travels round the outer ring counter-clockwise.
- When the game stops you and asks for the last piece, insert the Stone Tablet in the gap.
The full sequence is 4, 7, 8, 9, 6, 3, 2, 1, 4, 7, 8, 9. If the game still hasn’t stopped you, keep going round in the same order (6, 3, 2…). With the crest complete, the door to Storeroom B opens.
There are 4 suits of armour lined up in this room. They don’t move yet.
Storeroom B: the loot and the Serpent Ornament
The order matters here.
- Gold Bangle (8,500pts) in the chest on the east side. Only Ashley can take it.
- Spinel in the cabinet in the SW corner.
- Salazar Family Insignia on the suit of armour on the south side. When you take it, the wall spins round and a large chest appears. The door behind you shuts until you take what’s inside.
- Serpent Ornament in that chest. Taking it wakes the armours.
Escaping the armours
You can’t fight: run to the exit and don’t stop.
- Storeroom A: the 4 armours walk towards you. Don’t wait for them head-on: let them come round one side of the central pedestal and circle it the other way to the door.
- Storeroom Passage: the 2 in the corners swing at you as you pass.
- Storeroom Access: the one in the SW corner does the same.
Those last three swings are QTEs: press the two buttons shown on screen to dodge. Miss and Ashley dies. Once you leave the storeroom they stop chasing you.
Back to Leon: the dais
Go back to the Servant’s Study and set the Salazar Family Insignia in the hole in the dais. Choose Yes to turn it: a secret way opens, the Private Passageway, with a ladder up to the concourse. The upper-floor door unlocks and Ashley rejoins Leon.
Until you’ve climbed all the way up you can take Ashley back down the ladder to check for anything you missed; once she’s back with Leon, this area is behind you. The Serpent Ornament joins the Goat Ornament (3-2); with the Lion Ornament (4-1) they open the Audience Hall door you saw in 3-1. Chapter 4-1 opens with Salazar’s third radio call.
Before Ashley climbs the ladder
- Salazar Family Insignia used on the dais and Serpent Ornament in the case.
- Gold Bangle (8,500pts) from Storeroom B.
- 6 Spinels: the one on Leon’s balcony and 5 for Ashley (Servant’s Hallway, Quarters, Passageway, Study and Storeroom B).
- 2 Velvet Blues (Study and Storeroom Access).
- 9,300pts: 5,000pts behind the picture of Saddler, 2,500pts from the Servant’s Quarters and 1,800pts from the Storeroom Access.
- The rest of Leon’s balcony: Flash Grenade, 2 × Rifle Ammo ×5 and Handgun Ammo ×10.
- Butler’s Memo read.
- There’s no Merchant in this chapter: sell your treasures at the first one in 4-1.