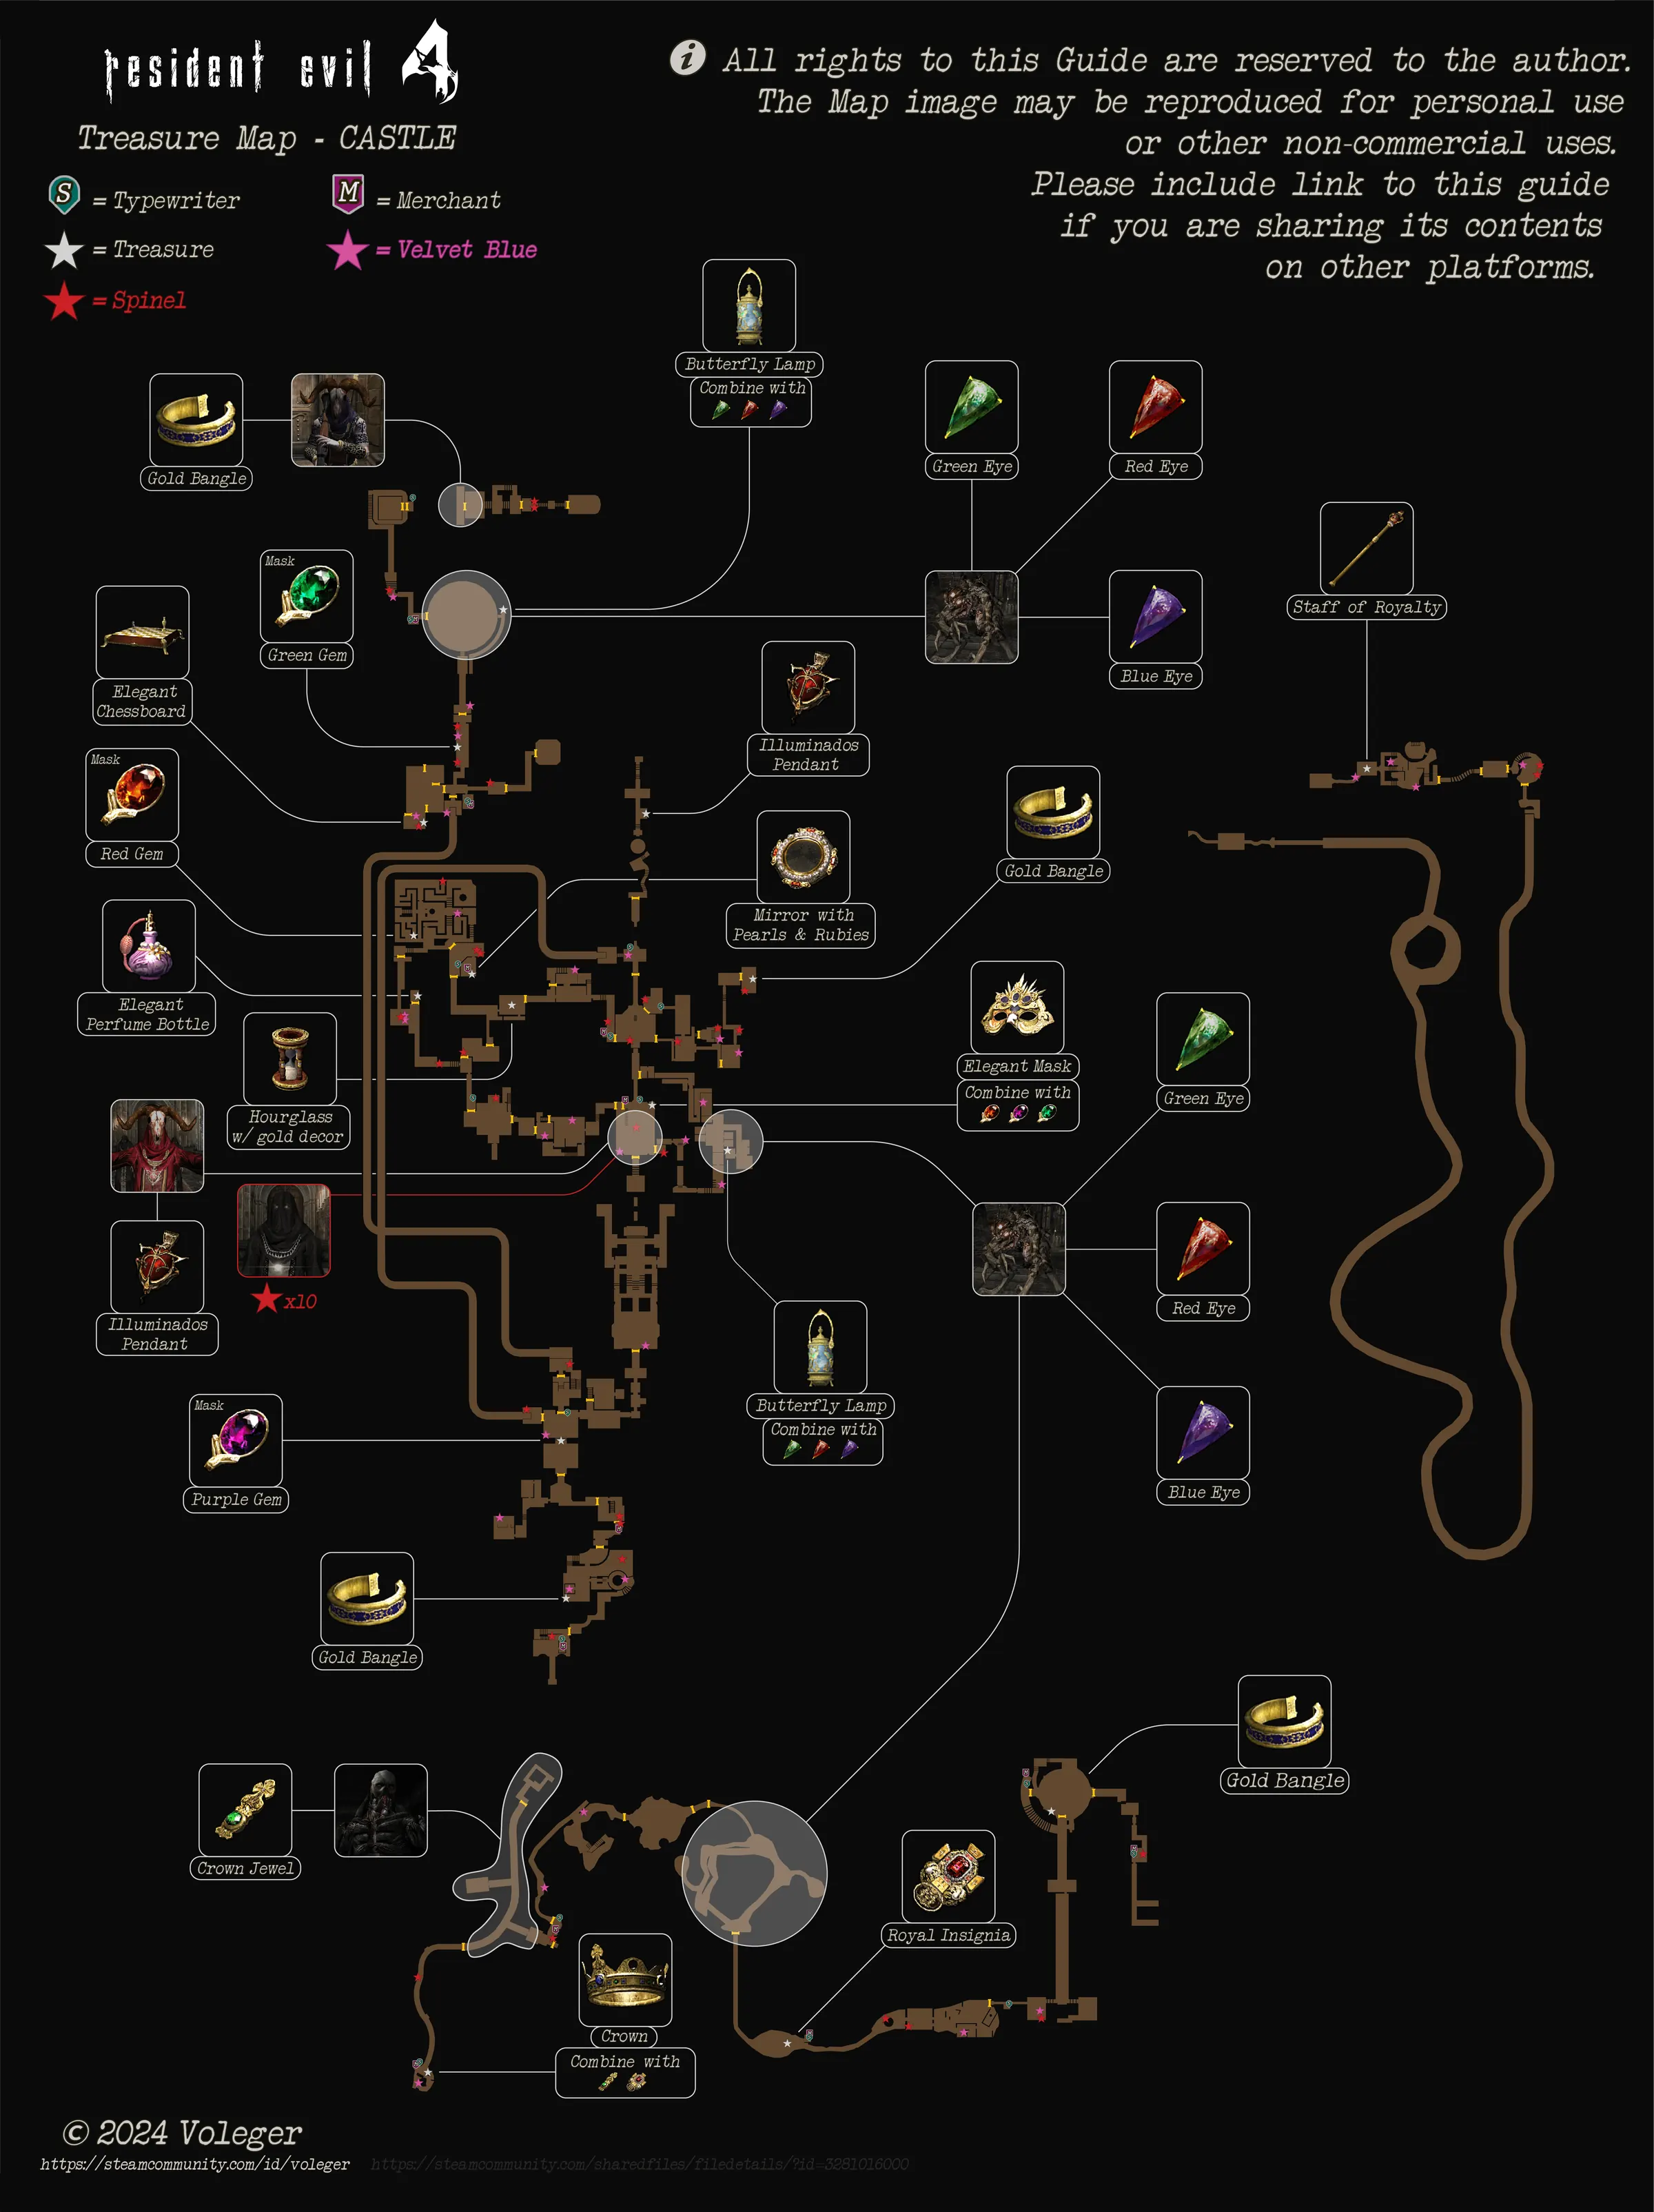
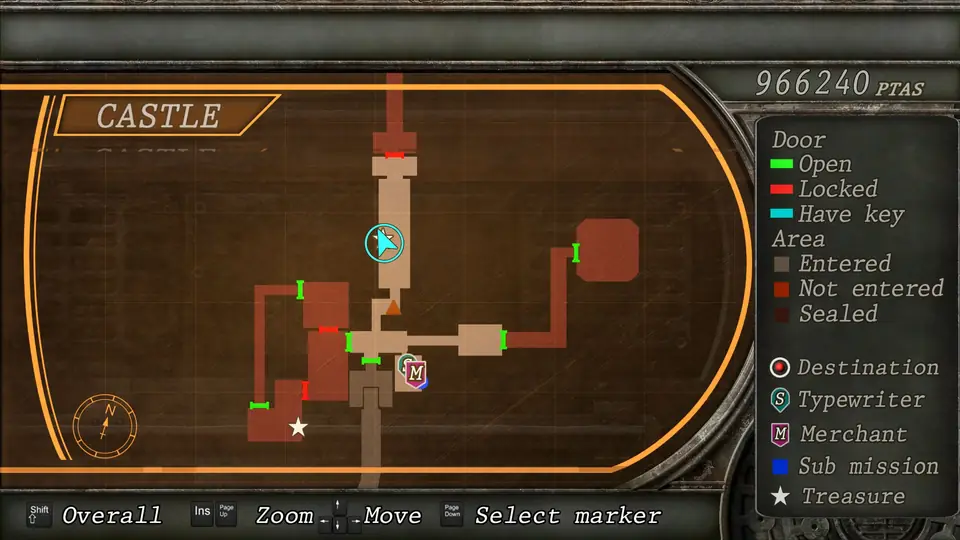
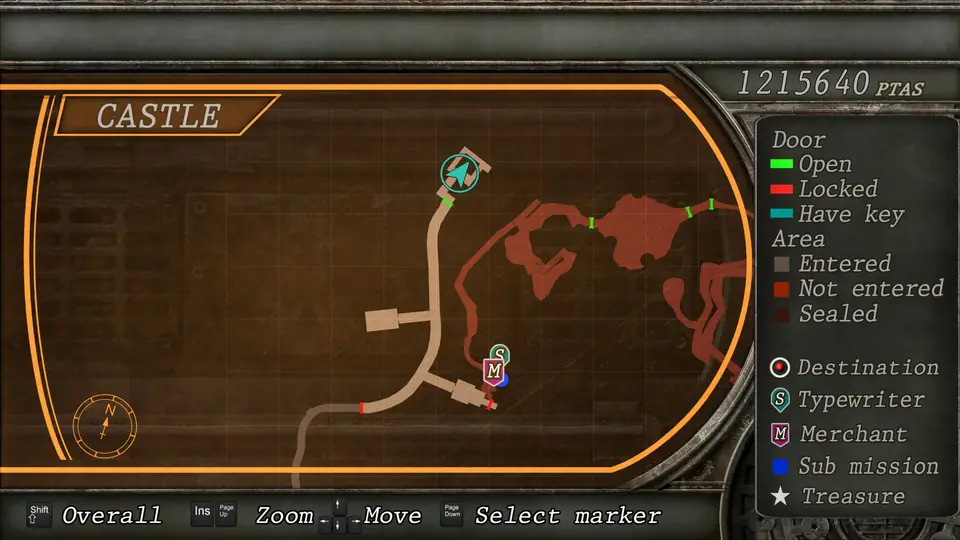
Chapter order: Instruction Hall (Ashley is back) → detour with Ashley to the Treasure Chamber (Broken Butterfly, Perfume) → Dragon Hall (2nd Pendant, Lion Ornament) → cart 1 → three-ornament door → cart 2 → Main Gallery: Merchant and shooting range Game B → east wing (King’s Grail, 6 Armaduras) → west wing (floor plates, spiked ceiling, drill, Queen’s Grail, Chessboard) → statue hallway (Green Gem) → outer balcony (2nd Lamp) → ballroom (Ashley kidnapped, nest: Blue Eye) → clock tower → Throne Room Crossing (Gold Bangle) → 2 Garradors → trapdoor → pit: Merchant (Striker), Crown → Verdugo (Crown Jewel).
BUY: Rifle 11 · TMP 1.2 · Striker 43,000pts (the Pit merchant sells it right before Verdugo; empty the base shotgun and sell it on the spot) · Rocket Launcher: the free one from the 3-3 display case if you kept it; if not, 30,000pts BEFORE heading down for Verdugo. Don’t upgrade the Broken Butterfly: its exclusive doesn’t show up until 5-3.
You’re Leon, with Ashley again, deep inside Salazar’s castle. The chapter starts in the Instruction Hall right after you free her. First comes an optional detour with her to the Treasure Chamber, home of the free Broken Butterfly. Then the Dragon Hall (the last ornament, the Lion), two carts, the Main Gallery and its two wings (the King’s and Queen’s Grails) and the ballroom, where a Novistador carries Ashley off until the island. You carry on alone through the clock tower, a bridge full of zealots, a room with two Garradors and Salazar’s trapdoor, which drops you into the pit. Waiting there are the Merchant with the Striker, the Crown and Verdugo, Salazar’s right hand.
Before you start
- Typewriters (7): Connecting Passage, Dragon Hall Access, Audience Hall, Main Gallery Merchant Room, Ballroom Merchant Room, Throne Room Crossing (by the tower doors) and the pit.
- Merchants (4): Connecting Passage, Main Gallery (with shooting range Game B), next to the ballroom and in the pit. The pit one is the first to sell the Striker (43,000pts).
- Missable with Ashley: the Treasure Chamber (Broken Butterfly, Elegant Perfume Bottle, 5,000pts) only opens with her help. Do it before the ballroom: after that she’s taken and the gun costs 38,000pts at the Merchant.
- Point of no return 1: the Throne Room trapdoor. Anything you leave upstairs (Gold Bangle, 2nd Lamp, Green Gem, the Blue Eye nest, the staircase Spinels) is lost for this run.
- Point of no return 2: in the waterway under the pit, Verdugo wrecks the door behind you and you can’t go back to the pit Merchant. Shop and save before you climb the ladder.
- Rocket Launcher: if you kept the free one from the 3-3 display case, don’t buy another. On a frozen Verdugo it’s an instant kill.
- Ashley: tell her to wait in the Merchant rooms before the dangerous areas (the east-wing Armaduras, the Dragon Hall). She can help you on the west-wing floor plates.
- Chapter cash: 5,000pts in the Treasure Chamber, 5,000pts in the east dragon’s chest, 5,000pts behind the Saddler picture on the Audience Hall Balcony, 5,000pts behind the Platform B North picture, 1,800pts + 2,800pts in Ballroom Access and 2 × 15,000pts from the Garradors. If you didn’t take it in 3-4, there’s still 5,000pts behind the Saddler picture on the Instruction Hall balcony. Treasures: Perfume 10,000pts, Illuminados Pendant 12,000pts, Chessboard 13,000pts, Gold Bangle 8,500pts, plus the Crown and the Lamp. Shooting range Game B pays another 25,000pts.
- Easy: there’s no Armadura fight in the east wing, and the Throne Room antechamber has only one Garrador.
Instruction Hall: Ashley is back
You start with Ashley just freed. Salazar calls you on the radio (it’s kept as the file Communication Log: Salazar #3). If you didn’t loot the upper balcony in 3-4, it’s all still there: 5,000pts behind the Saddler picture (south wall), Handgun Ammo ×10 on the west cabinet, Rifle Ammo ×5 by the north passage, a Flash Grenade and another Rifle Ammo ×5 in the vases on the east cabinet, and a Spinel in the vase on the right-hand cabinet on the south side.
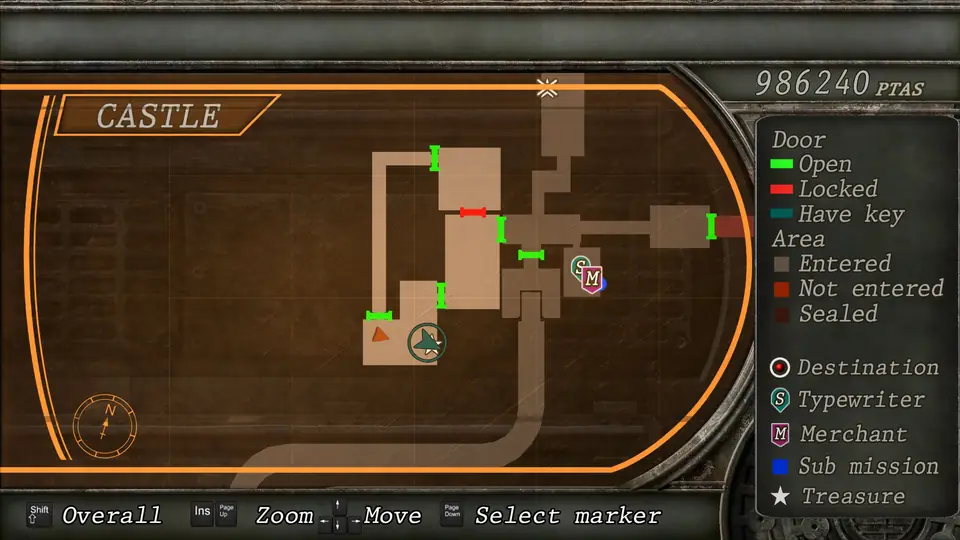
Two ways lead out of the hall: the Connecting Passage (Merchant and typewriter, where you came from in 3-3) and Dragon Hall Access, the main route. Before moving on, take the detour with Ashley.
Detour with Ashley: the Treasure Chamber
Route: Connecting Passage → Exhibition Room (upper floor) → the Garrador cage room (Display Room) → Dining Room → Courtyard Lounge → Courtyard Overlook → Outside Fountain.
- The cage room now has 4 new zealots, and the Dining Room another 3 (2 on the west side and 1 at the end of the south passage). Tell Ashley to wait in the Connecting Passage if you don’t want to babysit her, but you need her at the treasure door: bring her along at the end.
- Outside Fountain: if you skipped it in 3-2 or 3-3, there’s 1 Spinel and 2 Velvet Blues on the fountain (crows perch on it), and an Incendiary Grenade in the NW barrels.
The chamber door. Stand at it with Ashley and use the boost Ashley action: she climbs over and unlocks it from inside. There’s no crank and no puzzle. Inside:
- Broken Butterfly in the large chest on the north side, loaded with 6 Magnum rounds. It’s free: the Merchant charges 38,000pts.
- Elegant Perfume Bottle (10,000pts) in the small chest in the NE corner.
- Red Herb and 5,000pts in the small chests in the NW corner.
Go back the same way to the Instruction Hall. If you left the Rocket Launcher in the display case in Exhibition Room North in 3-3, it’s a short step off the route (down the north landing from the upper floor): don’t sell it, it’s for Verdugo.
Dragon Hall: the Lion Ornament
Dragon Hall Access: typewriter on the round table in the NW, Velvet Blue in the large vase right of the arch to Platform A, and Handgun Ammo ×10 on the east cabinet. Leave Ashley here (wait order) before you go in: everything inside burns.
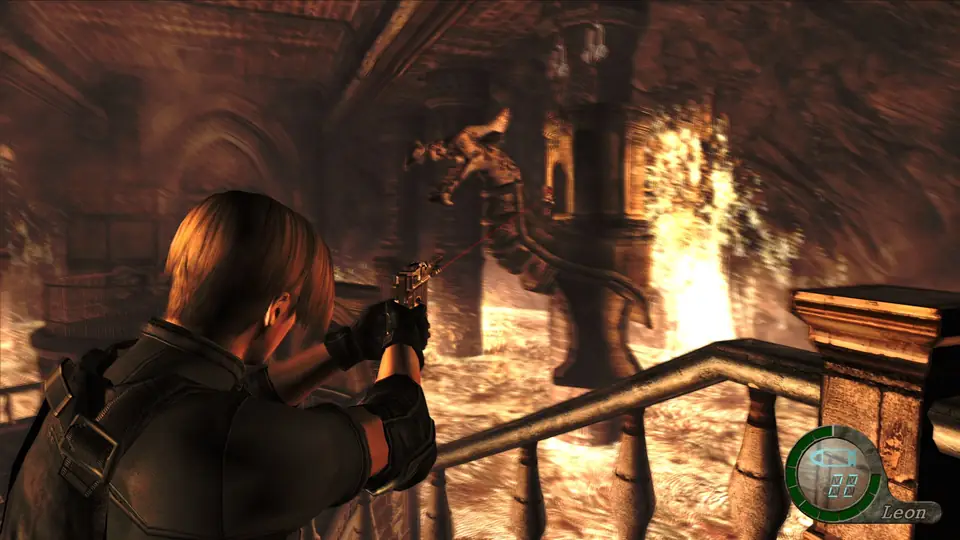
The hall: three dragon statues breathe fire from the lava (east, west and north), and each has a zealot inside working it. To sink one, shoot the gold links of its chains or kill the operator.
- East dragon: sinking it raises a chest with 5,000pts.
- West dragon: its chest holds the Illuminados Pendant (the 2nd one, 12,000pts).
- North dragon: it appears as you move forward. Sinking it raises stairs through the lava to the large chest with the Lion Ornament.
Zealots: there are 10 on the northern platform. Only 2 at first; the rest arrive one by one once the north dragon appears. To reach the northern platform, cross the rotating platform through its gap without standing still in front of the fire. Clear it with the shotgun while no other dragon is aiming at you, then rifle the north dragon’s chains from range.
First cart and the ornament door
Pick Ashley up in the access room and ride the cart at Platform A North with her.
- Platform A South: 1 Spinel and Shotgun Shells ×5 in the large vases on the north side.
- Audience Hall: the statue room from 3-1. Typewriter in the NE and Velvet Blue in the SW vase. If you didn’t shoot the Purple Gem off the south wall in 3-1, high up opposite the balcony, it’s still there. Set the Goat Ornament, the Serpent Ornament and the Lion Ornament into the door relief: it opens the Audience Antechamber.
- Audience Antechamber and Audience Hall Balcony: the antechamber is empty, but it opens onto the balcony Salazar spoke from in 3-1. Detour there first: 5,000pts behind the Saddler picture on the north wall of the central room and a Hand Grenade in the small vase on the pedestal by the south wall.
- Platform B South: 1 Spinel in the small vase on the east side. Ride the second cart.
- Platform B North: 5,000pts behind the picture on the west wall, Handgun Ammo ×10 in the SE vase and a Velvet Blue in the SW one.
Main Gallery: Merchant and shooting range Game B
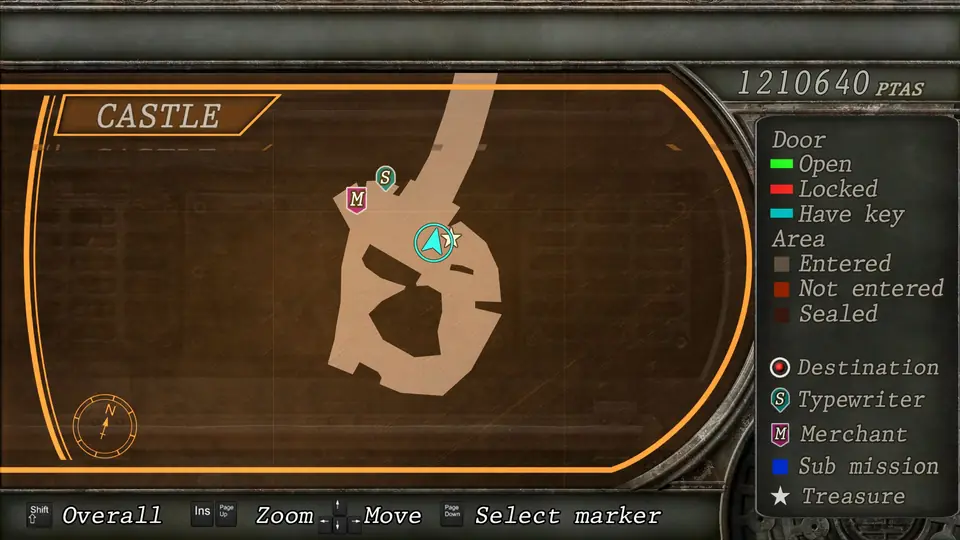
The gallery is the hub of the area. It has four exits: the Merchant room, the lounge to the east wing, the yellow door to the west wing and the northern statue hallway, which won’t open until you have both grails. Flash Grenade on the chair in the NW.
Merchant room: Merchant, typewriter and Handgun Ammo ×10 in the NW cabinet. Shooting range Game B opens here: 6 caps (Don José, Don Diego, Don Esteban, Don Manuel, Dr. Salvador and the Bella Sisters) and 25,000pts for the full set. There are three objectives (2,000, 3,000 and 4,000 points) with each of the two weapon sets (rapid-fire and sniping): each objective you meet earns a cap. Don’t shoot the Ashley targets (−1,000 points).
What to buy: nothing new is urgent. Sell your loose treasures (Perfume, Pendant) and upgrade whatever you’ll use on the Armaduras (shotgun). Save up for the Striker (43,000pts) and, if you don’t have one, the Rocket Launcher (30,000pts).
East wing: the King’s Grail
Leave Ashley waiting in the Merchant room. An Armadura can kill her in one hit.
- Main Gallery Lounge: Yellow Herb and the file Sample Retrieved on the middle table, and a Spinel in the NW cabinet.
- East Wing Passageway: 2 Armaduras at either end of the central section swing their weapon when you get close. Press the dodge button as soon as it shows. Handgun Ammo ×15 on the lion statue in the south corner.
- East Wing Chamber: King’s Grail on the central pedestal, Shotgun Shells ×5 on the coat of arms on the NE wall and Green Herb in the SW corner. Pick it all up before you take the grail.
The 6 Armaduras. Taking the grail seals the room and 6 Armaduras come down in two groups of three.
- Shotgun to the helmet: one blast knocks it off and exposes the Plaga.
- Once all three show their Plaga, one Flash Grenade kills them all at once. Without one, keep blasting the Plagas.
- Don’t stand between two of them: their swings are slow but they hurt. Circle along the edge.
- The second group (black armour) is more dangerous: repeat the process.
When they’re done the room opens. On Easy there’s no fight. Go back for Ashley.
West wing: the Queen’s Grail
Go through the gallery’s yellow door with Ashley: you need her here.
West Wing Armor Room: the plates. There are 4 plates on the floor. Push the 2 statues onto any two plates, tell Ashley to stay on the third and stand on the fourth yourself. The door opens.
Trap Room: the spiked ceiling. After the Salazar cutscene, the spiked ceiling starts coming down. Shoot the 4 red lights on the ceiling to stop it. Handgun Ammo ×10 on the floor in the NE.
West Wing Storage Access: the drill. As you go out the south door a gate drops between you and Ashley, and a drill carrying 2 zealots drives toward her. Kill both drivers with the rifle (or the handgun, fast). The gate lifts and Ashley rejoins you.
West Wing Storeroom:
- Queen’s Grail in the chest on the north side.
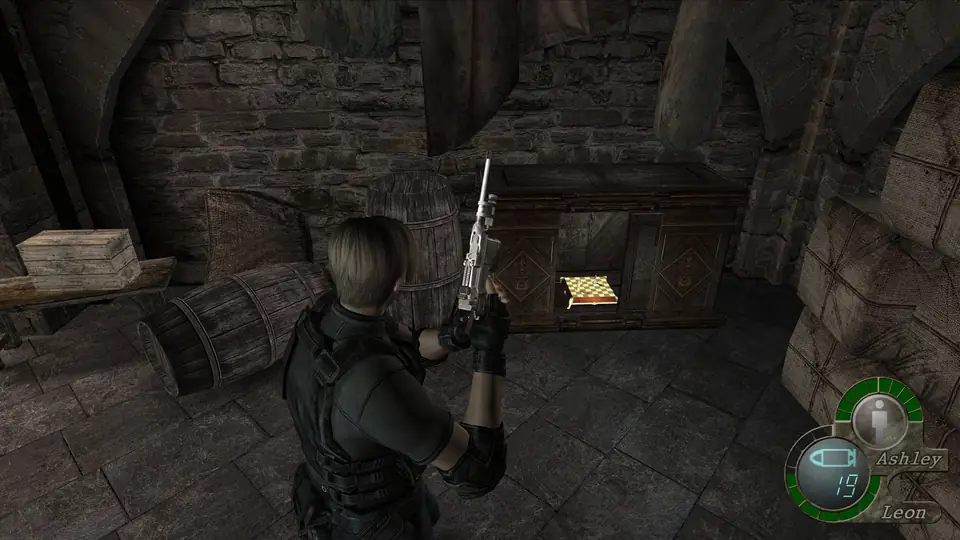
- Elegant Chessboard (13,000pts) in the SE cabinet.
- Rifle Ammo ×3 by the door, 1 Spinel in the small crate to the south, Handgun Ammo ×10 in the crate on the small east table and a Velvet Blue in the barrel in the middle.
The storeroom’s padlocked door leads straight back to the plate room: open it for a quick way back to the gallery.
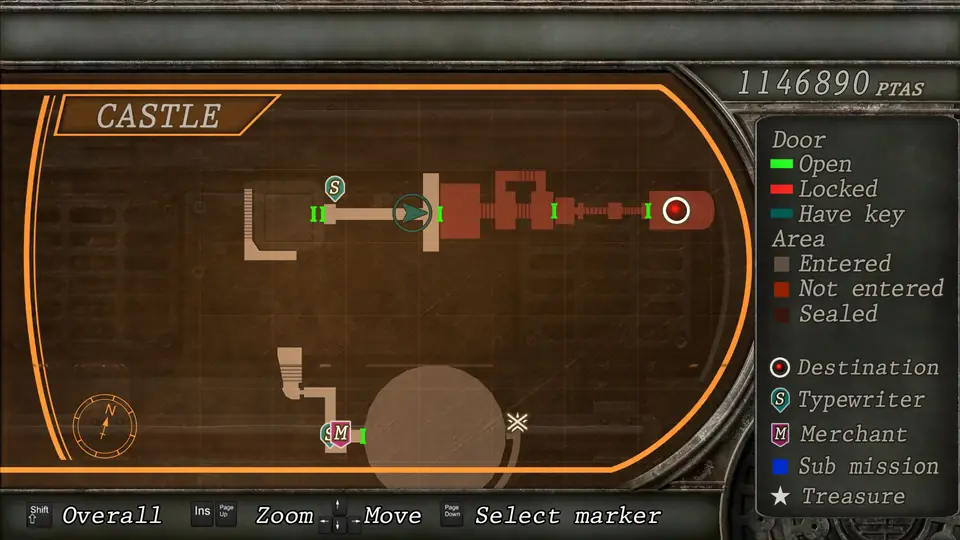
Main Gallery Hallway: the grail door
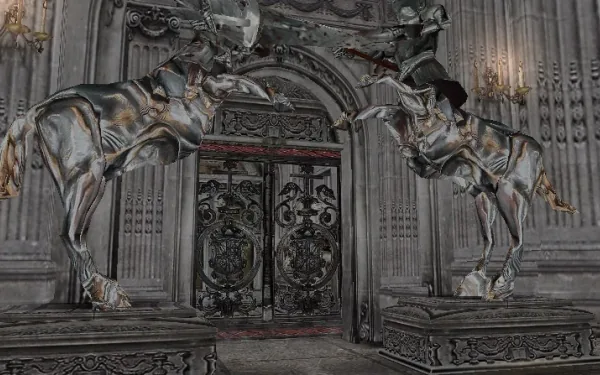
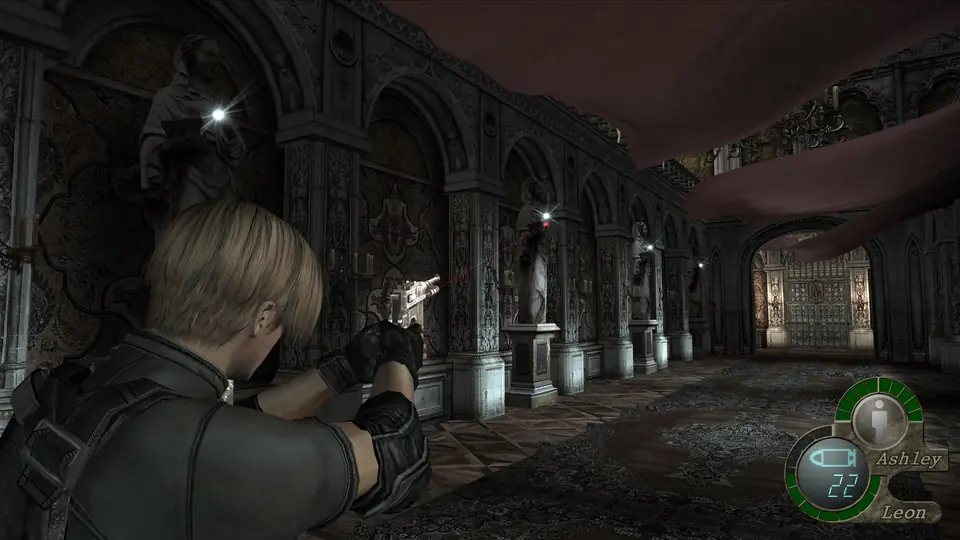
With both grails in your case, go in through the north of the gallery: 6 zealots appear at the far end of the hallway. An Incendiary Grenade into the group works very well; keep Ashley behind you.
The four statues on the west side have items on top. Shoot them down:
- Spinel.
- Green Gem (the 2nd one): it goes into the castle’s Elegant Mask. It’s missable.
- Velvet Blue.
- Spinel.
Put the King’s Grail and the Queen’s Grail in their statues’ hands. The door to Ballroom Access opens.
Ballroom Access and outer balcony: the 2nd Lamp
Ballroom Access:
- 1,800pts and 2,800pts in the two cabinets on the west wall.
- Shotgun Shells ×5 in the vase on the NE cabinet.
- The SE cabinet has two vases: the right-hand one holds a Velvet Blue; the left-hand one, a snake. Break it and back off.
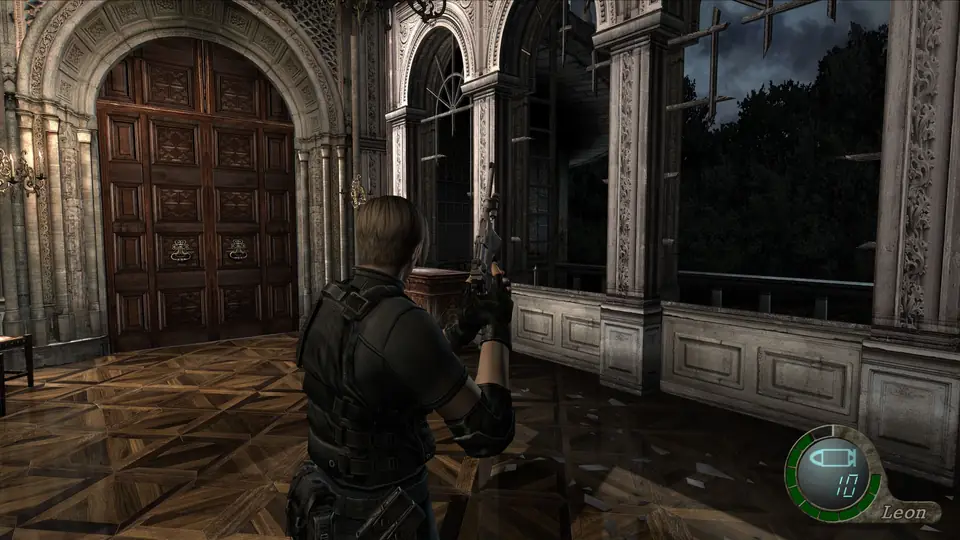
Ballroom Outer Balcony: climb out the Ballroom Access window and up the ladder. The chest at the north end of the upper section holds the Butterfly Lamp (the 2nd one). There’s a Red Herb on the lower section. From the balcony you can drop into the ballroom from the side, or go back and use the door.
Ballroom: Ashley is taken
Walking toward the middle triggers a cutscene: a Novistador carries Ashley off. You don’t get her back until the island. Then 7 flying Novistadors attack.
- One shotgun blast in the air kills them. If you’re short on ammo, shoot them while they hover over the drop: 1 or 2 bullets do it.
- The ceiling nest: you can shoot it at any time. It takes a lot of damage (rifle or TMP). When it falls it drops up to 8 Eyes, one of them a guaranteed Blue Eye: the only sure Blue Eye in the game. Put the Eyes in the Butterfly Lamps: a lamp with green, red and blue is worth 32,000pts.
- The bridge: pull the switch, then shoot both chains so the bridge comes down.
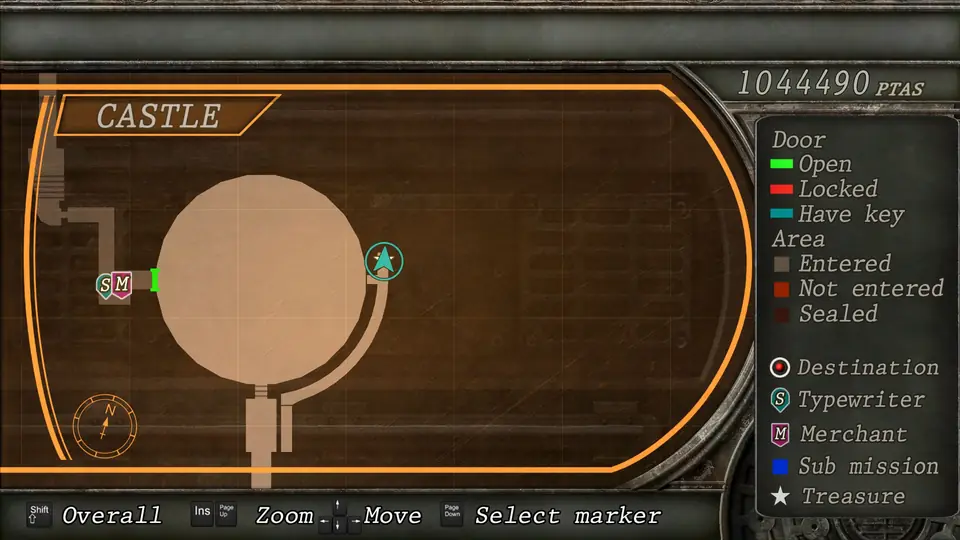
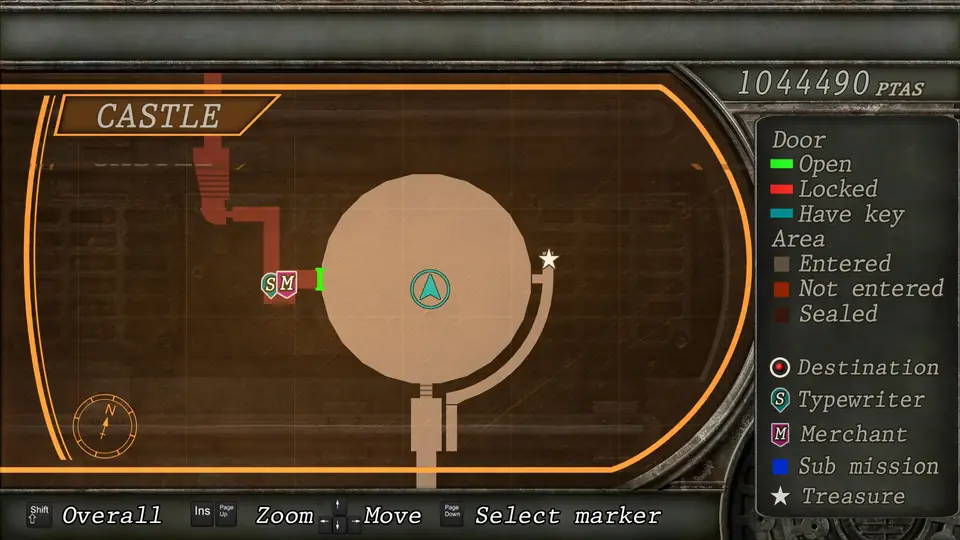
Cross to the Ballroom Merchant Room: Merchant, typewriter (SW table) and Handgun Ammo ×10 on the west chair. Sell the Chessboard and save.
Clock Tower Crossing and balcony
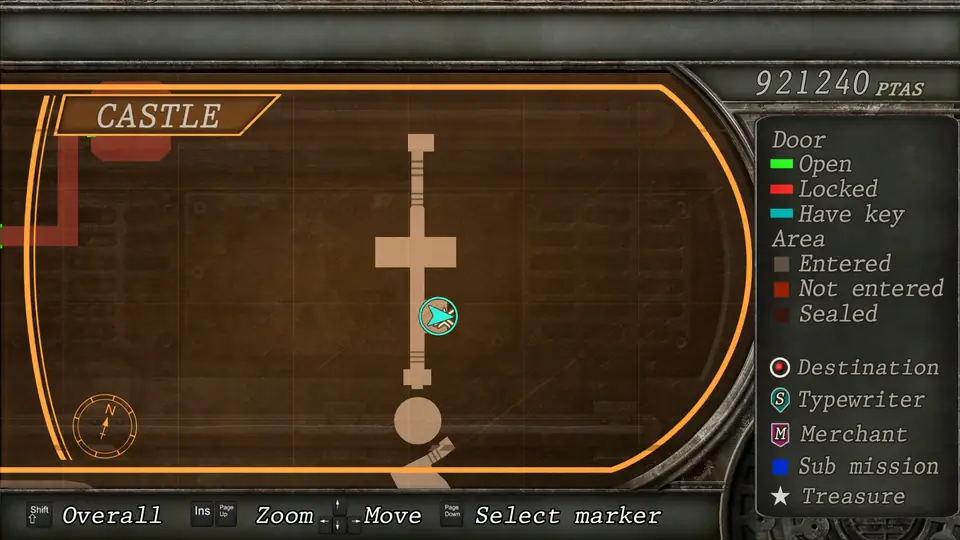
Clock Tower Crossing: as you step onto the bridge, Salazar calls you (it’s kept as the file Communication Log: Salazar #4). Before crossing, rifle the zealot on top of the far tower: otherwise he calls in the catapults. Velvet Blue in a barrel by the Merchant-room door and a Spinel inside the torch on the south side of the bridge.
Clock Tower Balcony: 5 zealots wait after the bridge cutscene. Shotgun them on the stairs. Rifle Ammo ×5 in a barrel on the south side.
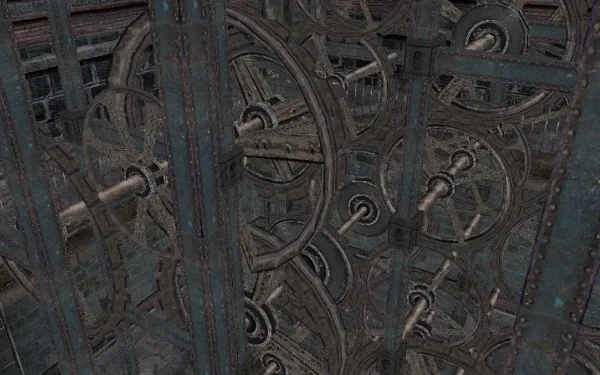
Clock Tower: the three blocks
The tower is empty when you walk in: loot it first.
- Hand Grenade in the large crate in the NW of the 1st floor (the very bottom).
- Handgun Ammo ×10 on the 3rd floor, west of the boxes.
- Green Herb and the file Ritual Preparation on the SE table of the 4th floor.
The puzzle. Three wooden blocks jam the gears. One is visible from the 2nd floor and the other two from the very top. Shoot them and pull the 4th-floor lever: the bridge swings round. As soon as you pull it, about 10 zealots with crossbows and scythes pour in on floors 1 to 3. Kill the crossbowmen from above first and work your way down floor by floor. The tower exits onto Throne Room Crossing.
Throne Room Crossing: the big wave
Typewriter by the tower doors: save here.
- 3 shield zealots walk slowly toward you. Rifle or shotgun whoever peeks out.
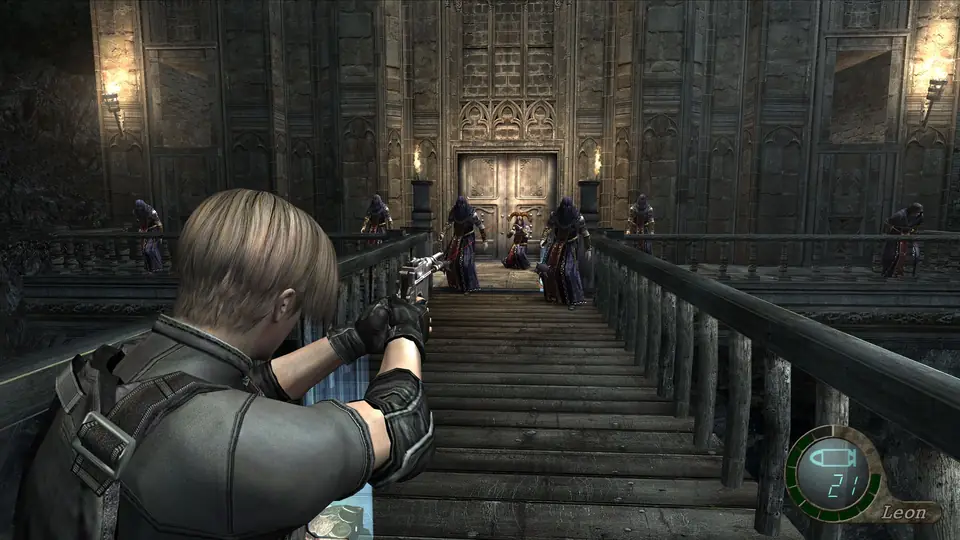
- Halfway across, 14 more arrive (2 behind you, from the west, and the rest from the east) along with a Leader Zealot (goat mask).
- One of them carries a rocket launcher: he’s your priority. Fire the shotgun toward him even with others in front and, once they drop, throw a grenade or Incendiary Grenade into the group.
- Then the two behind you, and the rest at your own pace.
The Leader Zealot drops the Gold Bangle (8,500pts).
Antechamber: two Garradors
Inside are 2 Garradors (one in full body armour) on the east side, 2 zealots in the middle and 1 in the north passage. When you reach the middle, gates drop and 3 more zealots come in behind you.
The doorway trick. Before the gates drop, from the doorway, headshot a zealot with the rifle, step out and back in: the rest reset, motionless, in their spots. Repeat until the zealots are gone. Then don’t go past the stairs. Fire a shot to draw the Garradors and hit the Plaga on their backs with the rifle, walking from side to side (they’re blind: they can’t hear you walk).
- Rocket Launcher: a rocket between them kills both on Normal. On Professional the armoured one is left on its last legs.
- Easy: only one Garrador.
- Loot: 15,000pts per Garrador and a First Aid Spray from the north-passage zealot. Green Herb in the SW, Incendiary Grenade in the small vase to the south and Shotgun Shells ×10 in the SE vase.
Throne Room Access: 2 Spinels on the white statues at the foot of the stairs. Take them: they’re the last pickup upstairs.
Throne Room: the trapdoor (point of no return)
Salazar opens a trapdoor under your feet, above sharp rocks. Hit the QTE or Leon dies. After the fall you can’t return to the castle rooms: whatever you left upstairs is lost for this run.
The Pit: Merchant, Striker and the Crown
As you arrive, Salazar calls you (it’s kept as the file Communication Log: Salazar #5). There are no enemies.
- Merchant and typewriter in the NW, with an Incendiary Grenade on the same table.
- Yellow Herb, TMP Ammo ×50 and Magnum Ammo ×5 on the floor on the west side.
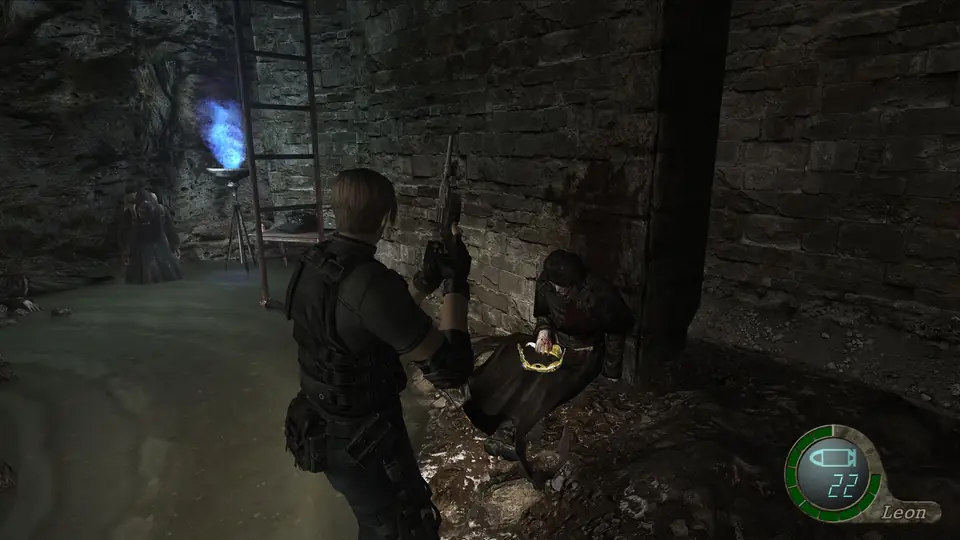
- Crown in the hands of the dead cultist on the north side.
- Velvet Blue among the bodies in the middle.
What to buy now: the Striker (43,000pts) is new. Empty the base shotgun and sell it here. If you didn’t keep the 3-3 Rocket Launcher, buy one now (30,000pts). Don’t sell the Crown: it’s missing the Crown Jewel (Verdugo) and the Royal Insignia (4-2), and complete it’s worth 48,000pts. Save.
Waterways: the way to the control room
Climb the ladder into Waterway Passage 1: Velvet Blue in the first side drain pipe on the west side, Spinel in the second and Red Herb by the grate on the east side.
Point of no return: in Waterway Passage 2, once you pass the first side room, Verdugo wrecks the door you came in by. You can’t go back to the pit Merchant. From here on he strikes through the floor and ceiling grates: press the dodge button when it shows.
The second passage is a corridor with three rooms. Note the red liquid nitrogen (N2) tanks: they’re your weapon against Verdugo.
- Processing Plant Elevator: no power. First Aid Spray and Handgun Ammo ×15 on the table, and an N2 tank in the corner.
- Maintenance Room: TMP Ammo ×50 on the floor and another N2 tank.
- The long hallway to the control room: a third N2 tank.
- Control Room: Shotgun Shells ×15 on the SW console, Green Herb in the north corner and the elevator power switch in the east corner.
Boss — Verdugo
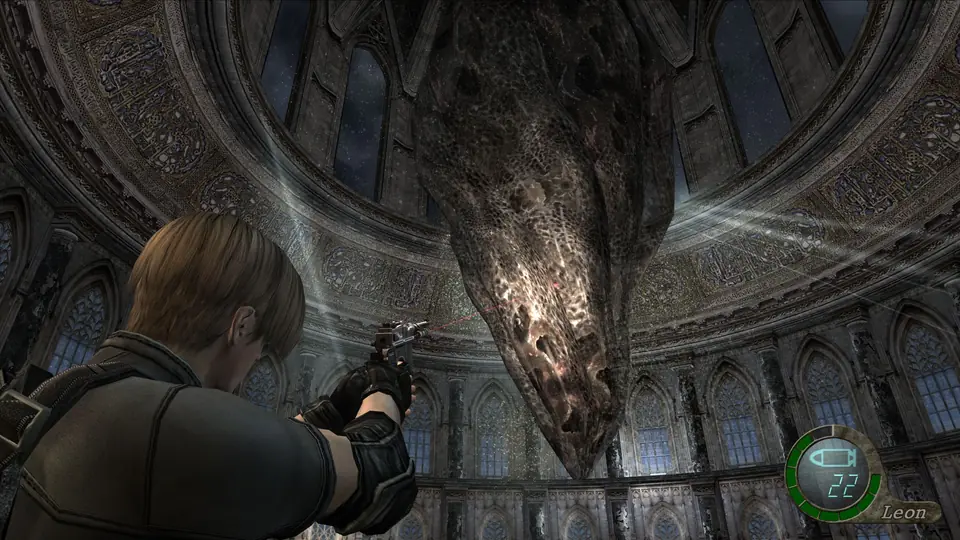
Nearly immune to bullets: you only really hurt him while he’s frozen. 20,000 HP.
How it starts. Pull the control-room switch: the elevator will take 4 minutes to arrive and shutters lock you in. Press the panel beside them: they open after about a minute and Verdugo drops from the ceiling. If you kill him sooner, the elevator arrives at once.
His attacks (650 each):
- Claw up close.
- Jump claw: dodge button.
- Tail ×4 from the ceiling: four dodge buttons in a row.
- Surprise attack through the grates: dodge button.
How to freeze him. When he’s right next to an N2 tank, knock it over (action button by the tank). He won’t freeze while he’s on the ceiling, in the water or out of reach of the gas: wait for him to come down and close in. The first time you get a prompt to kick him. Frozen, he takes ×3 damage and only hits for 300. The ice lasts about 10 seconds or until he takes enough damage; after that you need the next tank.
Step by step:
- Stand by the tank in the long hallway or the elevator room with the Rocket Launcher equipped.
- When he comes down and goes for you, knock the tank over.
- Once he’s frozen, take a few steps back and hit him with a direct rocket: instant kill.
- No rocket: freeze him and empty the Broken Butterfly or the Striker into him at point-blank range. When he breaks the ice, run to the next tank and repeat.
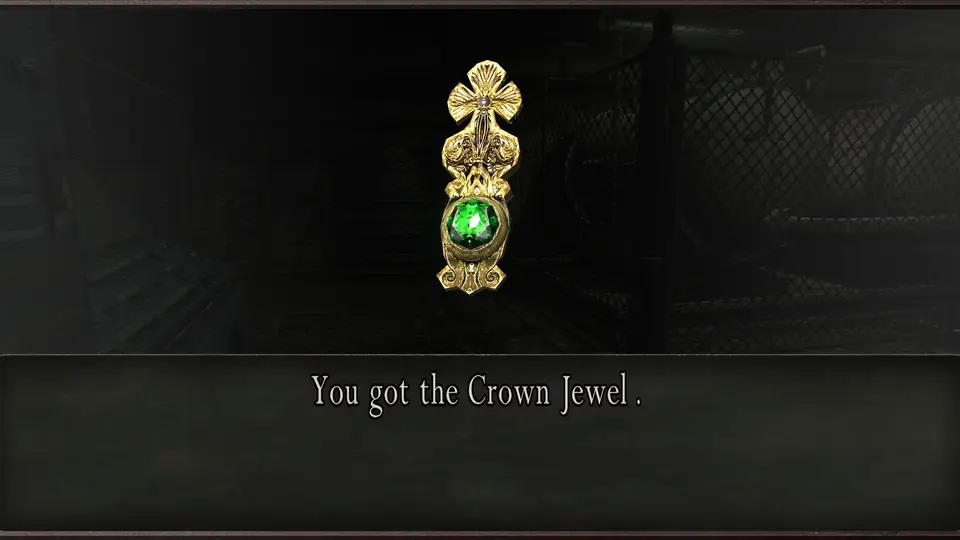
He drops the Crown Jewel and gives you the A Terrifying Assassin achievement. Surviving the 4 minutes until the elevator also lets you move on, but you lose both, and the Crown then tops out at 27,000pts instead of 48,000pts. Step into the elevator to end the chapter.
Before you take the elevator
- Broken Butterfly (free, Treasure Chamber).
- Elegant Perfume Bottle, Illuminados Pendant (2nd), Elegant Chessboard and Gold Bangle (the bridge Leader Zealot), sold or in your case.
- Green Gem (2nd) in the Elegant Mask and the nest’s Blue Eye in a Butterfly Lamp (the 2nd one, from the balcony).
- Crown and Crown Jewel (Verdugo) combined, unsold: the Royal Insignia from 4-2 is still missing.
- Striker bought and the base shotgun sold.
- The 5 files: Communication Log: Salazar #3, Sample Retrieved, Communication Log: Salazar #4, Ritual Preparation and Communication Log: Salazar #5.
- The Game B shooting-range caps, if you went for them (25,000pts).
- 30,000pts from the Garradors and all the chapter’s loose cash.