Chapter order: Courtyard Lounge (typewriter, 2 Spinels) → Merchant room (Mirror) → dining room → small south lounge (shortcut, 5,000pts) → bell and bottle → Garrador cage (Hourglass, 15,000pts) → service passage (Magnum Ammo) → exhibition rooms: bridge switch, display case (Rocket Launcher, Velvet Blue) → Connecting Passage: Case XL Merchant and typewriter → concourse: Luis dies.
BUY: Case XL 73,000pts at the Connecting Passage Merchant, the last one in the chapter and the first to sell it. Don’t sell the free display-case Rocket Launcher: it resells for 15,000pts, but in 4-1 you’ll want one for Verdugo and buying it costs 30,000pts. With the Case XL it fits. Sell the Mirror w/ Pearls & Rubies and the Hourglass w/ Gold Decor (12,000pts each); not the castle’s Elegant Mask.
You’re still Leon, alone, in the wing of the castle that opens after the hedge maze. The chapter starts in the Courtyard Lounge after the scene with Ada and crosses three areas: the dining room, whose bell-and-bottle puzzle locks you in a cage with a Garrador; the exhibition rooms, full of zealots and with a free Rocket Launcher in a display case; and the Connecting Passage, with a Merchant and a typewriter. It ends when you step through the door into the concourse (Instruction Hall): Saddler kills Luis in a cutscene.
Before you start
- Typewriters: in the Courtyard Lounge, on the table in the SW area (next to the dining room door), and at the south end of the Connecting Passage, right before the end.
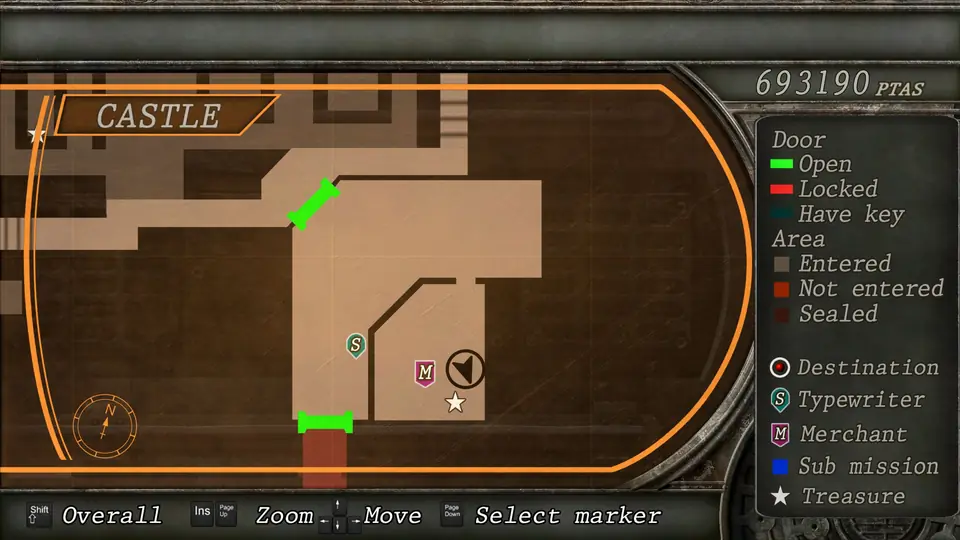
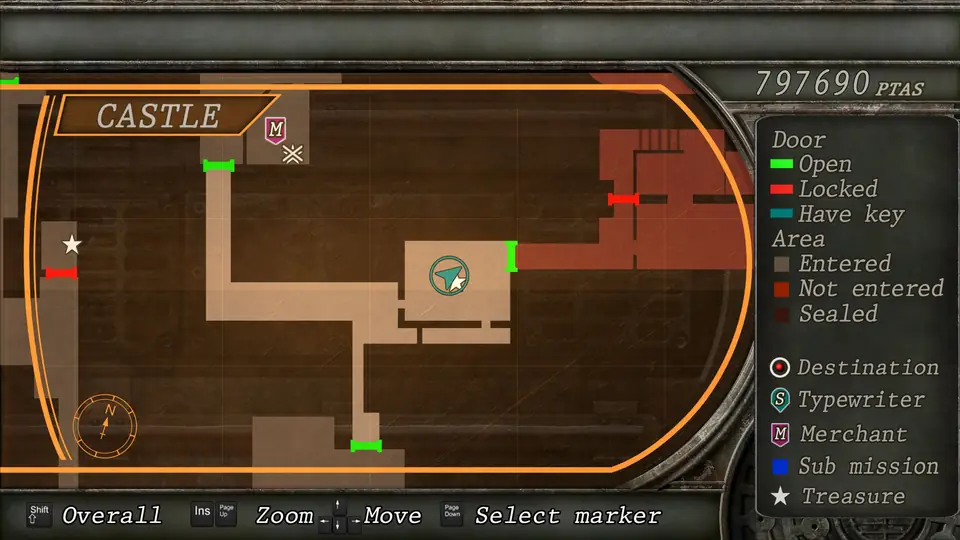
- Merchants: in the Courtyard Merchant Room, next to the lounge where you start, and in the Connecting Passage alcove. That second one is the first to sell the Case XL (73,000pts).
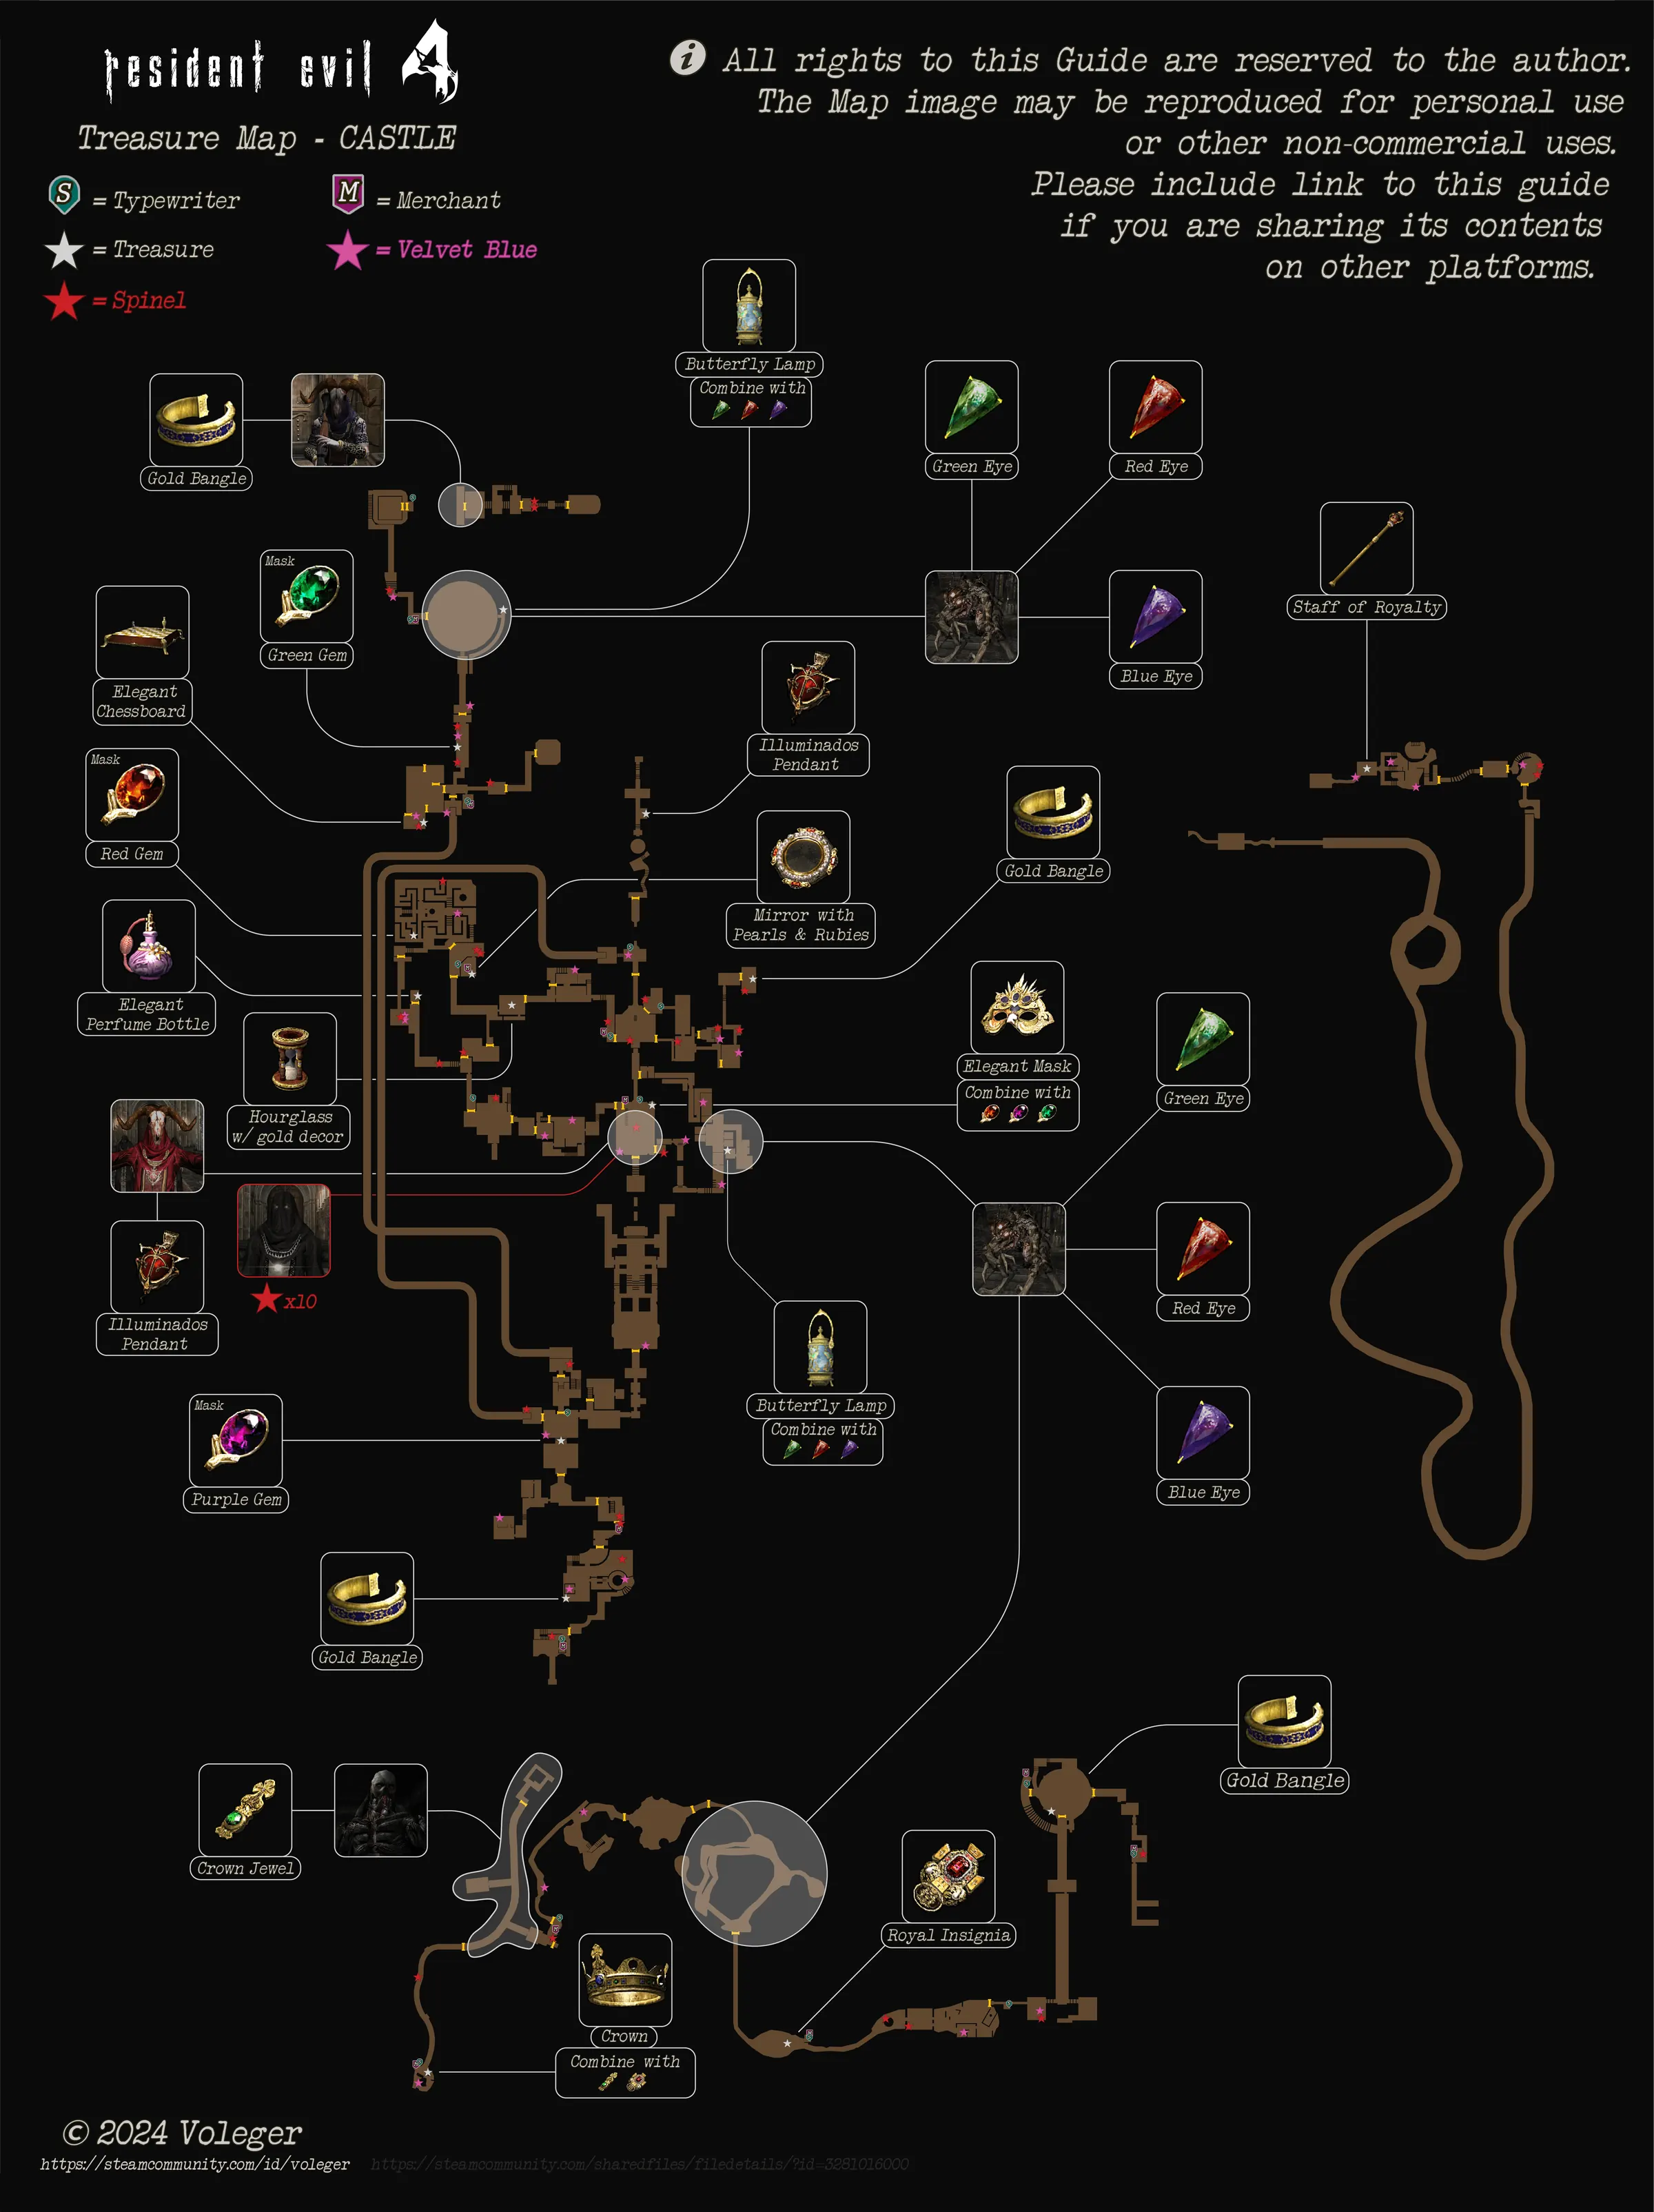
- Money in this chapter: 12,000pts (Mirror) + 12,000pts (Hourglass) + 15,000pts (Garrador) + 5,000pts (small lounge) + 1,800pts (gallery north landing), plus 3 Spinels and 1 Velvet Blue. Save up for the Case XL.
- For the cage: arrive with a loaded shotgun and at least one Hand Grenade. Its blast breaks the cage padlocks and stuns the Garrador.
- Same loot on Normal and Professional. On Professional the Garrador and the zealots hit harder: go into the cage at full health.
- No Merchant until 4-1: the concourse door at the end of the Connecting Passage starts the cutscene that closes the chapter. 3-4 opens with a zealot wave and goes on with an Ashley section, and you don’t see this Merchant again until 4-1. Shop and save before you go through.
- Left over from 3-2: if you skipped the Outside Fountain, the fountain holds 1 Spinel and 2 Velvet Blues; you reach it through the Courtyard Overlook, next to the lounge where you start.
Courtyard Lounge
You start in a bedroom next to the terrace that overlooks the maze. Loot it before you leave:
- Incendiary Grenade in the vase on the cabinet to the right of the terrace door.
- Handgun Ammo ×10 on the small desk facing that door.
- Spinel in the vase on the cabinet in the SE corner of the bed area.
- Spinel embedded in the bed canopy: shoot it down.
- Typewriter on the table in the SW area, next to the dining room door.
Courtyard Merchant Room
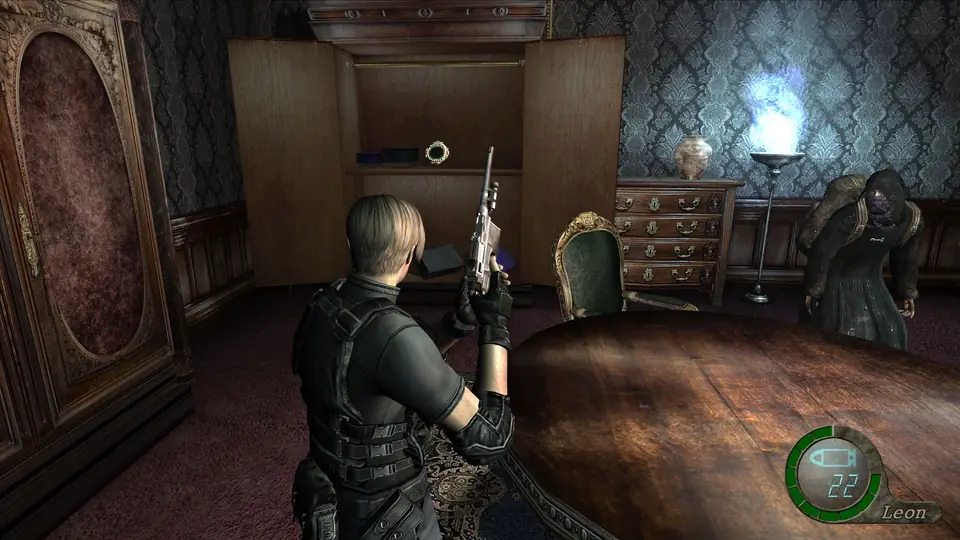
It opens off the lounge. The Merchant stands on the south side. On the round table in the middle is the file Female Intruder, about Ada, and in the wardrobe in the SE corner is the Mirror w/ Pearls & Rubies (12,000pts).
Sell your loose treasures here, the Mirror included, but not the Elegant Mask: it still needs castle gems. Upgrade what you’ll use on the Garrador (shotgun or rifle) without touching your Case XL savings: more than 45,000pts come in this chapter, and you sell the Hourglass at the next Merchant. Save at the lounge typewriter and take the SW door to the dining room.
Dining room
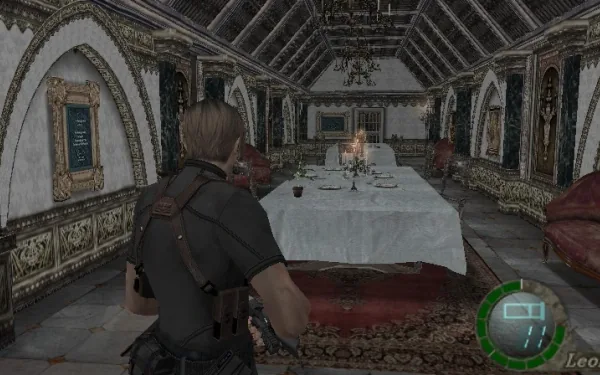
A long hall with two banquet tables. No enemies yet.
- Shotgun Shells ×5 in the vase in the SW corner.
- Green Herb on the NW corner of the west table.
- Handgun Ammo ×10 on the SW corner of the east table.
The signs on the walls are the puzzle hint. The big one reads: “One last drink and the bottle breaks, returning us to the dust from whence we came.”
Small south lounge: the shortcut
A short corridor leads south off the dining room to a small lounge. Loot it before the puzzle:
- 5,000pts in the cabinet in the NE corner.
- Shotgun Shells ×5 in the wooden crate on the shelves in the SE corner.
- Green Herb on the centre table.
- Snake: it’s in the right-hand vase on the north cabinet, on the west side. Break it, back off and kill it with the knife.
The padlocked door in this lounge opens onto the Small Hall, next to the 3-2 cloister. Open it from this side: it’s a shortcut back, not the way forward. If you keep going that way you only loop through rooms you’ve already seen.
The bell-and-bottle puzzle
Go back to the dining room and head to the far east end (the SE corner). There’s a counter looking down a narrow corridor you can’t enter yet: the service passage.
- Ring the bell on the counter. A small painting slides into view at the end of the corridor.
- Shoot the wine bottle in the painting.
- The bars on the dining room’s locked door retract: it leads to the Display Room, with a chest in the middle.
The Garrador cage (Display Room)
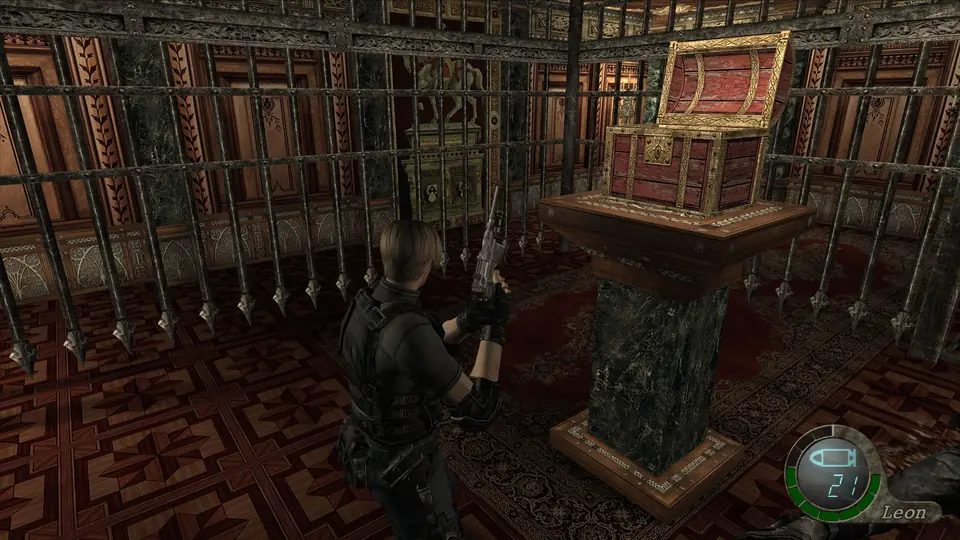
Before you go in, load the shotgun and have a grenade ready. In the glass cabinet in the NW corner there’s a Flash Grenade, and the chest on the centre pedestal holds the Hourglass w/ Gold Decor (12,000pts). As you approach the chest a cage drops around you and the fight starts.
What you’re up against:
- The Garrador (about 4,000 HP) drops into the cage with you.
- 5 zealots drop into the cage one at a time: each time you kill one, the next appears.
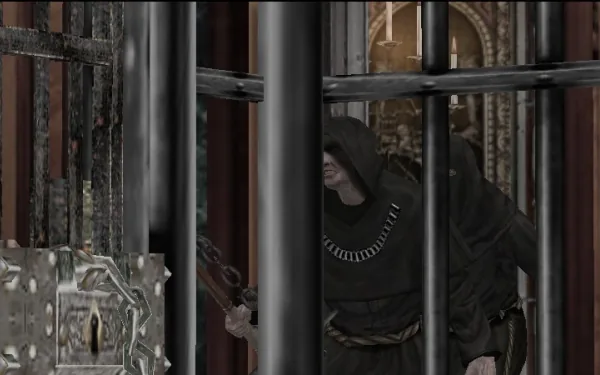
- 4 zealots come into the room outside the cage. One carries a crossbow and shoots between the bars.
- The cage has two padlocked doors, with locks tougher than usual.
How the Garrador works. He’s blind and follows noise: running and gunfire tell him where you are; if you walk, he can’t hear you. Armour covers almost his whole body. His weak point is the Plaga on his back, which takes far more damage than the rest. He has two attacks:
- Claw swings: he sweeps with both claws, one after the other.
- Charge: he rushes you with his claw raised. It deals 1,400 damage, and if your health is low he impales you and you die. If you sidestep while standing against a wall or the bars, the claw gets stuck and he’s pinned for a few seconds, back exposed.
Step by step:
- Skip the cutscene as soon as it starts: you get control back sooner and gain distance.
- Open a cage door. Shoot a padlock with the shotgun, or throw a Hand Grenade at a door: it breaks the padlock, kills the zealots around it and stuns the Garrador.
- Get out and circle the cage to the side you didn’t open. Being blind, he doesn’t look for the exit: he stays inside hitting the other door while you shoot him from outside. If he’s still inside and hears you nearby, he’ll hit that door until it breaks, so don’t linger.
- The crossbowman first, then the zealots outside, with the shotgun, so they don’t surround you while you aim.
- Finish the Garrador from behind. Walk, don’t run, until you’re behind him and shoot the Plaga. Or stand against a wall, let him charge, step aside and shoot while his claw is stuck.
- A Hand Grenade stuns him with its blast: use the moment to shoot his back.
Don’t throw a Flash Grenade at him. It has no effect (his eyes are sewn shut) and he charges at you as soon as you use it. Use it on the zealots.
He drops 15,000pts. You can open the Hourglass chest at any time, before or after the fight.
Dining Room Service Passage
The Display Room’s south door leads into the narrow corridor you saw from the dining room. It’s a dead end: at the far end, by the bell ledge, there’s Magnum Ammo ×3. Go back to the Display Room and take the other exit, towards the gallery.
Exhibition rooms
A big two-level hall. You come in on the upper level (Exhibition Room Upper) and the middle is cut off: a bridge rises when you hit a switch below, in the south part.
Upper level. 1 zealot wanders the east landing. In the vase on the cabinet on the west landing there’s Rifle Ammo ×5.
South part (Exhibition Room South). 3 zealots wait below, and one of them sprouts a spider Plaga. They aren’t bunched up enough to be worth a grenade: rifle or handgun to the head from above, shotgun if they close in.
- The spider Plaga: kill it while it’s still on the body, with the shotgun or TMP, or with a Flash Grenade, which kills any exposed Plaga instantly. If you kill the body first, the spider jumps off and chases you on its own. Never walk up to knife it.
The bridge switch. It’s in the south part. Reload before you press it: as soon as the bridge rises, 5 zealots come in upstairs through the east and west doors. Back into a corner and meet them with the shotgun, or throw a grenade when they bunch up in a doorway.
North landing (Exhibition Room North Landing). Cross the bridge: on the centre table there’s 1,800pts.
North room (Exhibition Room North). In the vase on the small table in the NE corner there’s a Velvet Blue. The glass display case in the middle holds the Rocket Launcher, an Incendiary Grenade, a Flash Grenade, Handgun Ammo ×10, Shotgun Shells ×5 and Rifle Ammo ×3. Break the glass with a shot or the knife and take everything.
- No room for the Rocket Launcher? Take the ammo first to free space. If it still doesn’t fit, leave it there: the Merchant in the next room sells the Case XL. Buy the case and come back for it.
North balcony (Exhibition Room North Balcony). From the north room you step out onto this balcony, with 2 zealots. Its door to the upper level is padlocked: shoot the padlock to open the shortcut, or go back over the bridge.
The exit is upstairs: the door to the Connecting Passage.
Connecting Passage: Merchant and typewriter
- Spinel in the vase on the west side, halfway along the passage.
- Merchant in the alcove at the south end, with the typewriter next to him.
What to buy and sell:
- Case XL (73,000pts): buy it now if you can afford it. It’s the last case size and the Rocket Launcher takes a lot of room.
- Sell the Hourglass w/ Gold Decor (12,000pts) and any Spinels and Velvet Blues you’re carrying.
- Rocket Launcher: keep it for Verdugo in 4-1. Selling it gets you 15,000pts, but this guide recommends one for that fight and buying it costs 30,000pts: keeping it saves you 15,000pts. Only sell it if you’re sure you won’t use it.
- For the next wave, at the start of 3-4, you’ll want the rifle loaded and a Flash Grenade.
Save here. Going through the far door starts the final cutscene.
Ending: the concourse (Instruction Hall)
In the concourse you meet Luis, who has recovered the sample. Saddler runs him through from behind with a tentacle and takes the sample, the dominant-strain Plaga egg. Before he dies, Luis tells Leon he was a researcher for Saddler, gives him pills that suppress the growth of the Plaga (not a cure or a vaccine) and asks him to get the sample back. His research notes remain scattered around the castle and the island. Chapter 3-4 starts right here, with Ashley trapped on the floor below.
Before you walk into the concourse
- Mirror w/ Pearls & Rubies (12,000pts) and Hourglass w/ Gold Decor (12,000pts), sold or in the case.
- 15,000pts from the Garrador, 5,000pts from the small lounge and 1,800pts from the gallery’s north landing.
- 3 Spinels (2 in the Courtyard Lounge and 1 in the Connecting Passage) and 1 Velvet Blue (gallery north room).
- The display-case Rocket Launcher, kept for Verdugo.
- Case XL, if you can afford it.
- Magnum Ammo ×3 from the service passage, and the gallery display case emptied.
- Rifle loaded and a Flash Grenade for the wave that opens 3-4.
- Game saved at the Connecting Passage typewriter.