Chapter order: Hall of Rites (Salazar on the radio) → sewers: Water Pool North, Dungeon (Novistadors) → Drainage Control Room (Butterfly Lamp) → Water Pool South → Pendulum Passage → Hall of Rites Balcony: ritual (8 Spinels, Illuminados Pendant, 2nd Elegant Mask) → Merchant → gallery and the Gatling zealot (Gallery Key) → Gallery Portrait Room: painting puzzle → sinking-paintings Drawing Room (Goat Ornament) → Windowed Passage (typewriter) → Cloister and Outside Fountain → maze (Moonstone, Red Gem) → moon door: Ada.
BUY: nothing new. The Merchant moves to the north end of the Hall of Rites’ west balcony: sell the Spinels and the Illuminados Pendant; the castle Elegant Mask is a keeper (it takes the castle gems).
You play as Leon, alone: the trap at the end of 3-1 took Ashley. When you get control back, Salazar cuts into your radio to gloat and warns you he has let some “insects” loose in the sewers. The chapter goes down into the castle sewers, where the invisible Novistadors debut and the Butterfly Lamp waits; comes back up to the Hall of Rites in time to surprise a loot-laden zealot ritual; crosses the Gatling zealot’s gallery, the painting puzzle and the sinking-paintings Drawing Room for the Goat Ornament; and ends in the garden maze, full of Colmillos, which holds the Moonstone that opens the moon door. Ada is waiting behind it.
Before you start
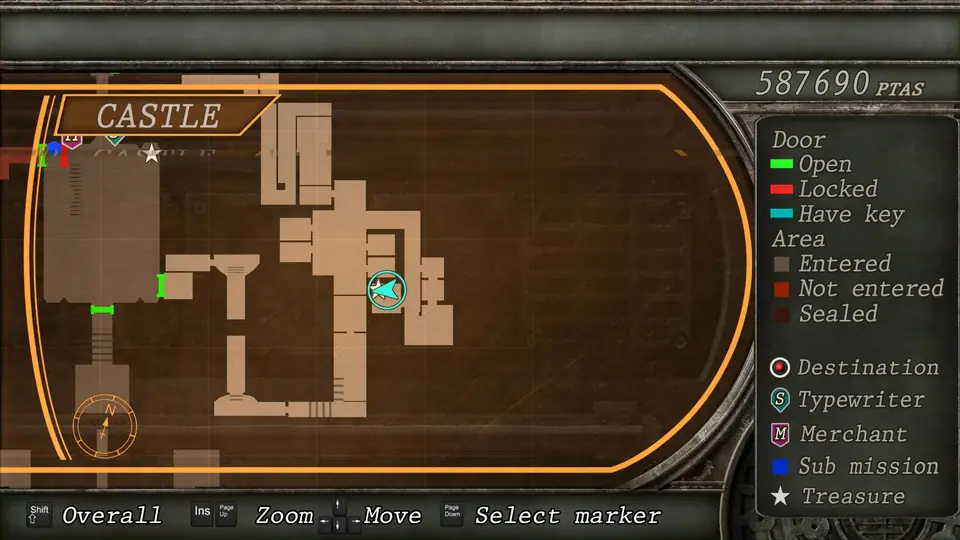
- Typewriters: the Hall of Rites one (to the right of the entrance to the north passage), the Windowed Passage one (south end), right after the Goat Ornament room, and the Courtyard Lounge one, behind the moon door (already 3-3).
- Merchant: one, in the Hall of Rites. At the start he’s in the north-west corner; when you come back from the sewers he’s at the north end of the west balcony, and his door leads to the gallery.
- Shop: nothing new between 3-1 and 3-3 (the next item is the Attaché Case XL, 73,000pts, in 3-3; the Striker in 4-1). The ritual leaves you some 28,000pts (Pendant + 8 Spinels) right next to the Merchant: sell them and put it into the Semi-auto and Red9 power from the 3-1 plan.
- Don’t sell: the 2nd Elegant Mask (Purple Gem from 3-1, Red Gem from this maze, Green Gem from 4-1), nor the Butterfly Lamp until it has its three eyes.
- Lost if you get it wrong: the ritual loot. If the zealots spot you, they leave and take the 8 Spinels and the Pendant with them. Hit them by surprise from the balcony.
- Novistadors: invisible until they attack, but they give themselves away by the acid drool hanging in the air and the splashing. Aim just above the drool; a rifle headshot drops them. If they close in, shotgun. They drop the lamp’s eyes (green, red or blue) at random.
- Bring grenades: a Hand Grenade for the ritual and Incendiary Grenades for the maze (one kills a Colmillo). A Flash Grenade solves the Gatling zealot.
- Easy: according to the Resident Evil Wiki, on Easy the maze is closed off and there are no Colmillos. There’s no Moonstone to hunt, but you can’t get the Red Gem or the rest of the maze loot either, so the 2nd Mask can’t be completed on that difficulty.
- Professional: every room holds the same items as on Normal (Evil Resource).
Hall of Rites: Salazar on the radio
You start in the Hall of Rites. Salazar hijacks your call (Communication Log: Salazar #1). If you didn’t in 3-1, take the Spinel in the eye of the southernmost upside-down statue and the Hand Grenade in the chest in the north-east glass cabinet. Save and leave through the door on the right.
Sewer Entrance and passages
At the Sewer Entrance, break the barrels in the west room: one holds a Flash Grenade. Climb down the ladder. Walk the corridor (you’ll hear something run and jump, but it won’t attack yet) until the stretch that faces south, and stop: 1 Novistador is waiting at the far end of Passage B. Take out the rifle, find the drool and fire just above it.
Water Pool (North)
Past the first one, on the right there’s a pool with 2 Novistadors near the far ladder. Snipe them from above and drop down to collect:
- A Velvet Blue in the north-west corner of the water.
- Handgun Ammo ×10 in the north-east corner.
- TMP Ammo ×50 inside the culvert in the south-west corner.
Climb back up and go through the door to the Dungeon.
Dungeon and cells
There are 3 Novistadors here: one comes out of the hole in the ceiling as you approach, another from the south-east cell and another waits in the east passage. Kill the east-passage one first: go for it before checking the cells on the east side and you can snipe it; otherwise it’s on top of you.
Cell loot:
- An Incendiary Grenade in the sink of the south-east cell.
- A Yellow Herb on the floor of the south-west cell.
- Luis’ Memo (file) in the sink of the north-east cell and Shotgun Shells ×10 on its bench.
The north-west cell is locked: leave it, something bursts out of it later. Carry on through the cells to Dungeon (South) and the drainage room.
Drainage Control Room: the Butterfly Lamp
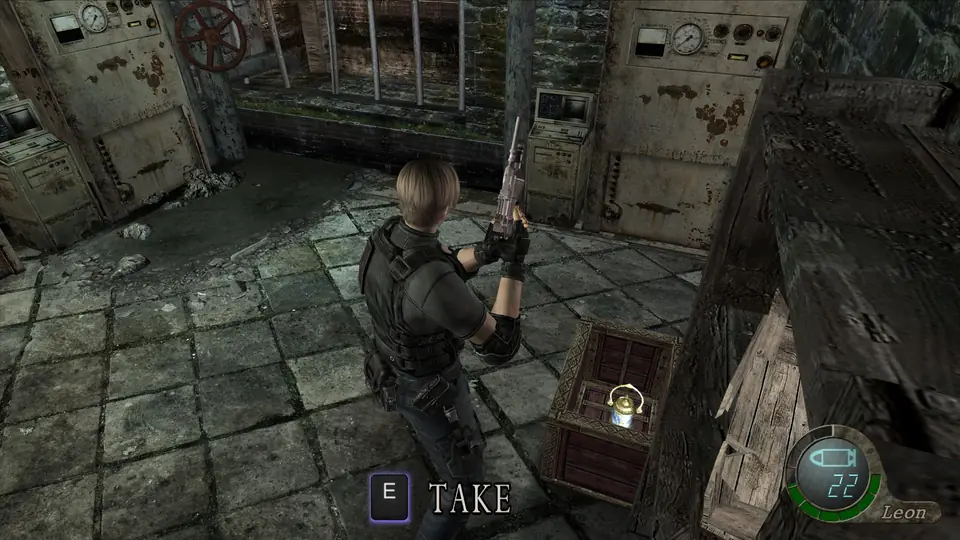
The Drainage Control Room has the chest on the north side with the Butterfly Lamp, and in the small crates on the north-east shelves a Green Herb and Shotgun Shells ×5.
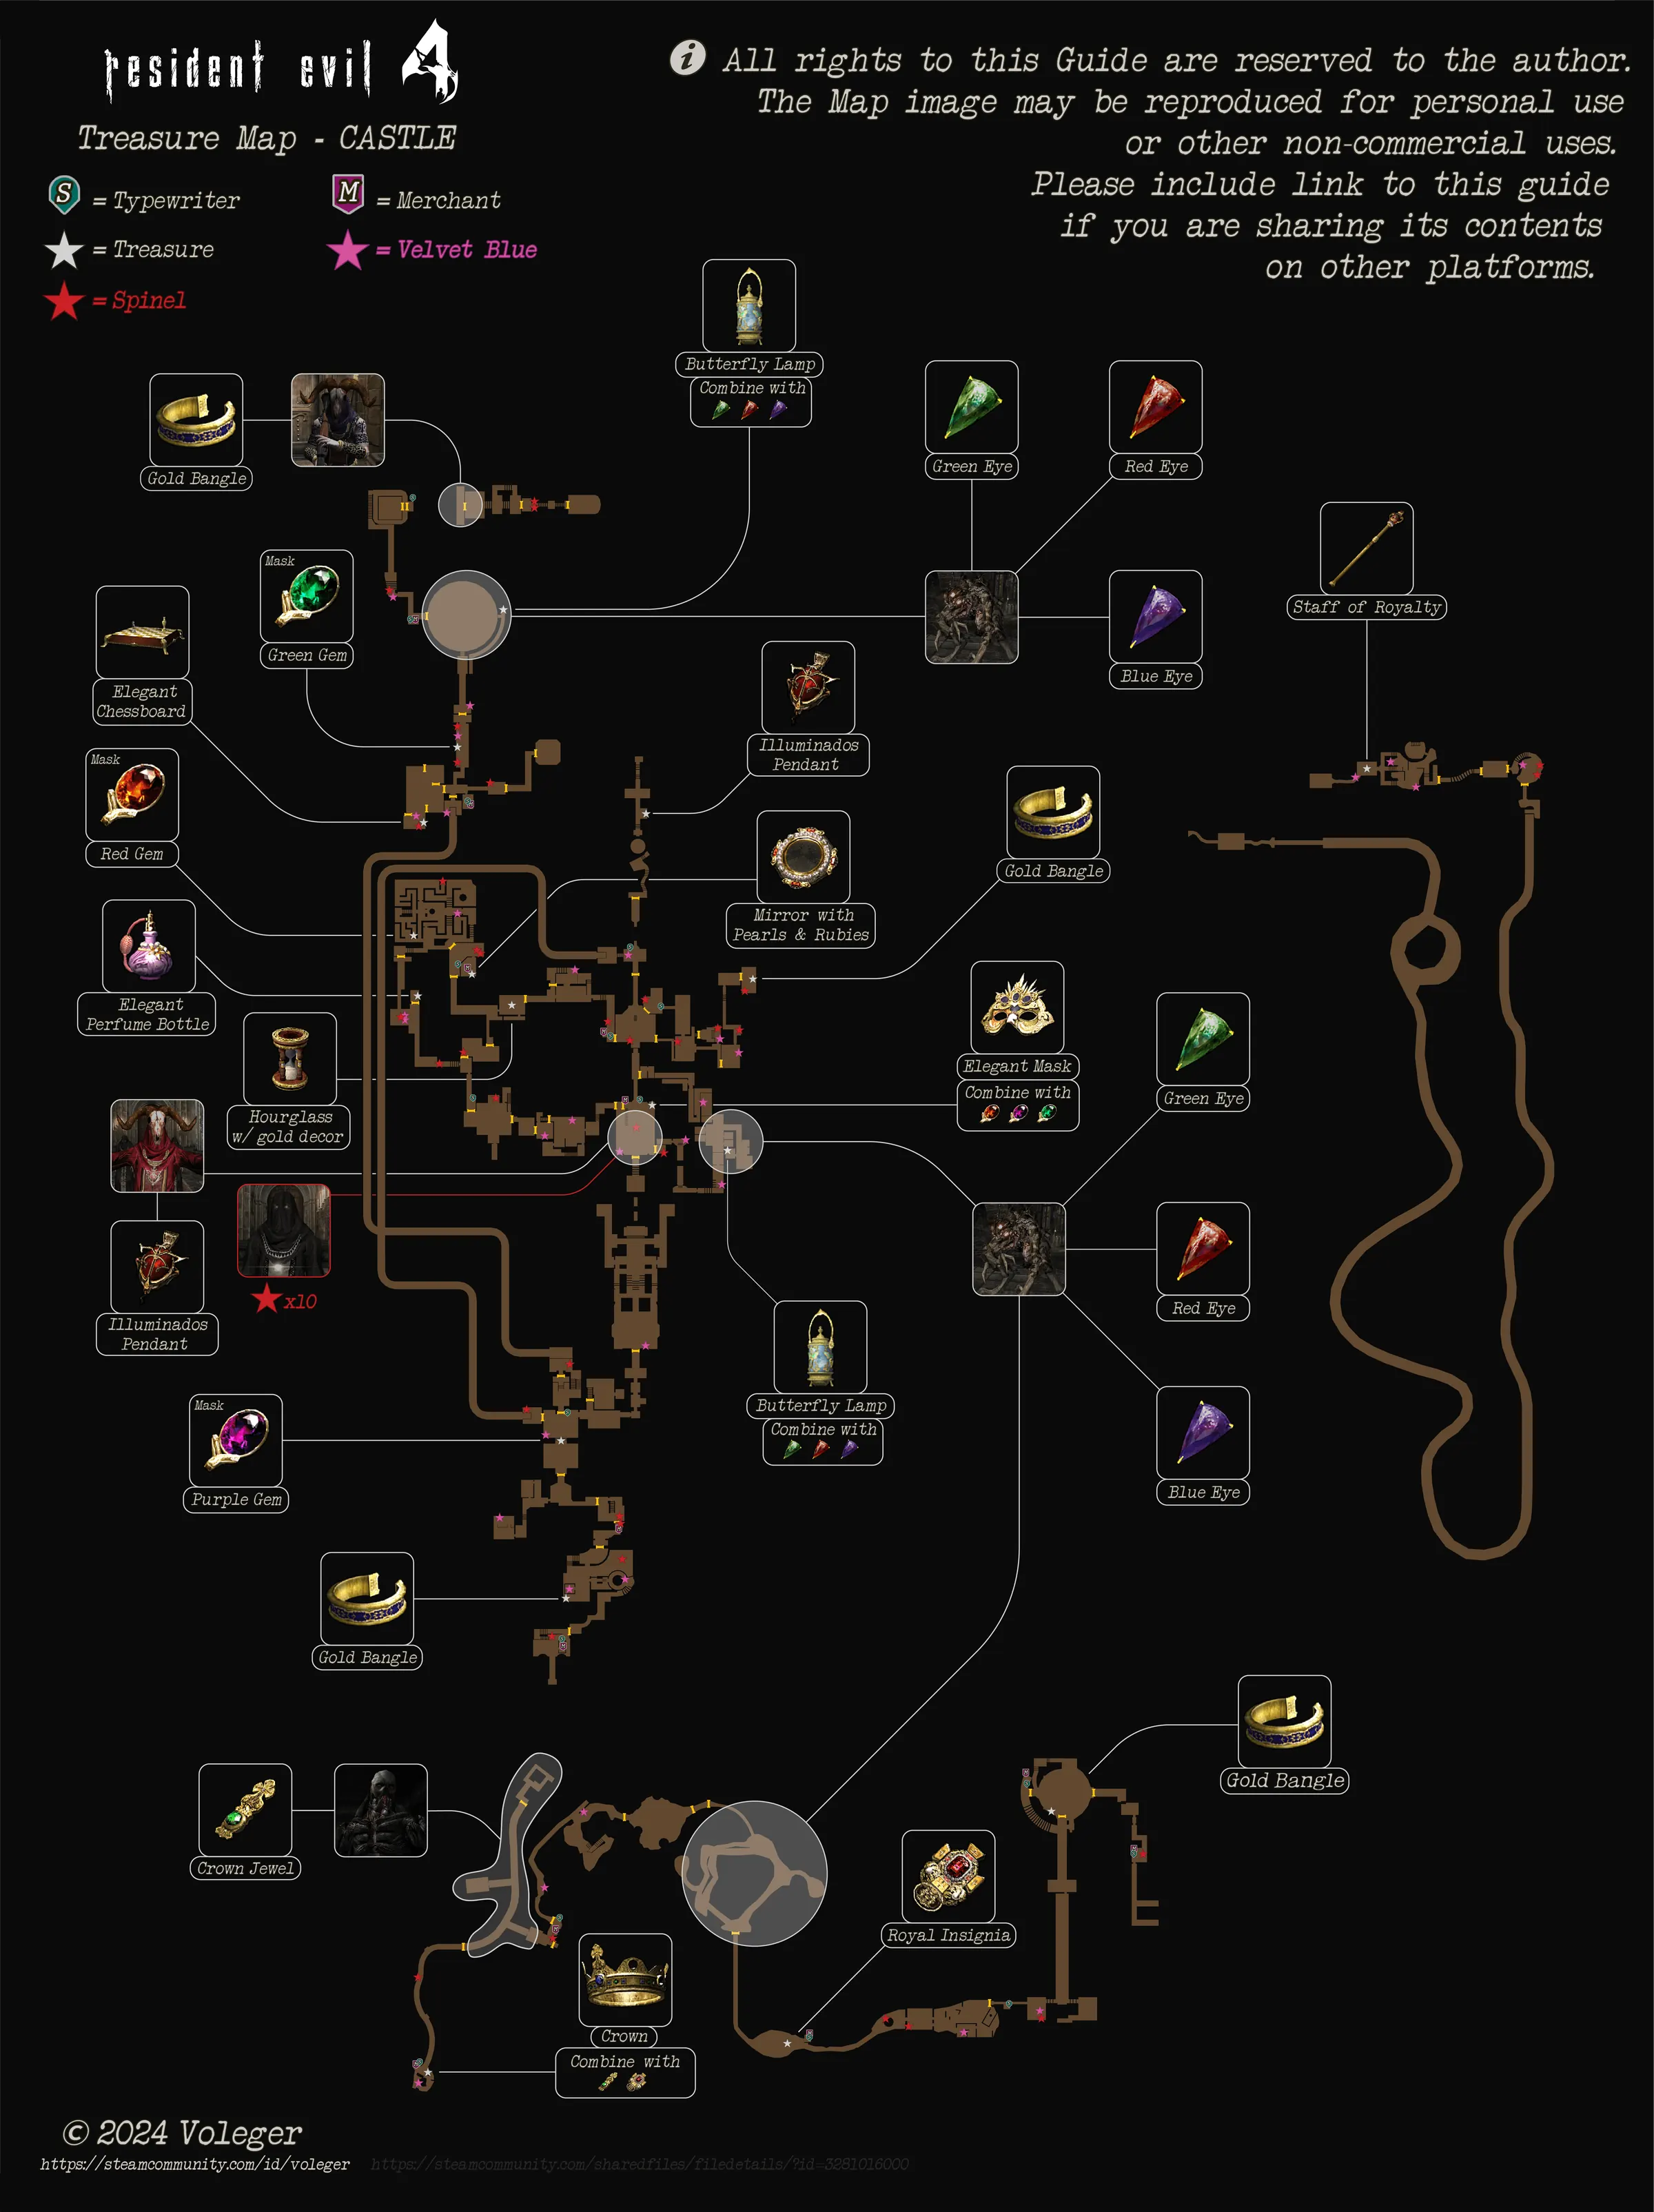
The lamp: worth 4,500pts on its own; it takes the Green Eye, the Red Eye and the Blue Eye. With one eye it’s worth 6,500 / 7,000 / 8,500pts and with all three, 32,000pts. Novistadors drop the eyes at random: these sewers hold 12 Novistadors and you meet more later on (the 4-2 cavern). Keep it until it’s full.
Turn the wheel to drain the water.
After draining: the Novistadors return
On the way out the sewers fill up again:
- 2 in Dungeon (South), through the ceiling hole right outside the room.
- 1 bursts out of the Dungeon’s north-west cell and 1 more drops from the ceiling hole.
- 1 at the far west end of the Sewer Side Passageway, off your route: only if you’re hunting eyes.
With the water drained, drop into the pool and kick down the central gate, the one that leads to Water Pool South. The moment you do, 1 Novistador drops behind you: don’t fight it in the pit. Run into the next room, turn around and meet it with the shotgun.
Water Pool (South) and the Pendulum Passage
In Water Pool (South) there’s a Velvet Blue in the water in the south-east corner. Climb the stairs to the Pendulum Passage: huge blades sweep the path. Wait for each to pass and walk right behind it; a hit takes a lot of health. On the far side, on the northern platform, another Velvet Blue.
Go through the door and climb the ladder at the Sewer Exit. At the top, in the barrels in the south-east corner, there’s a Spinel.
Hall of Rites Balcony: the ritual
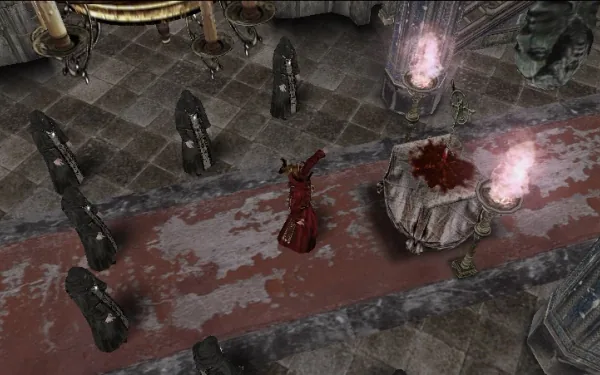
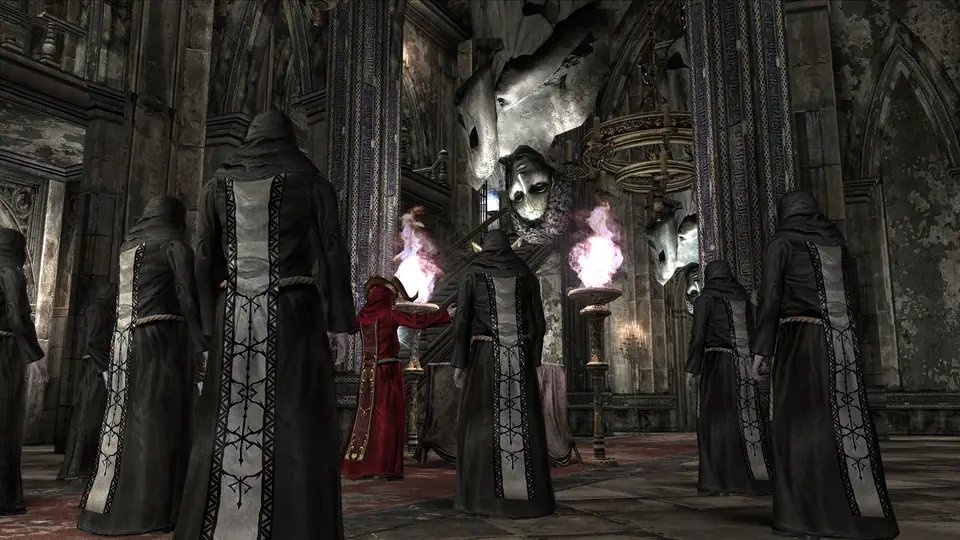
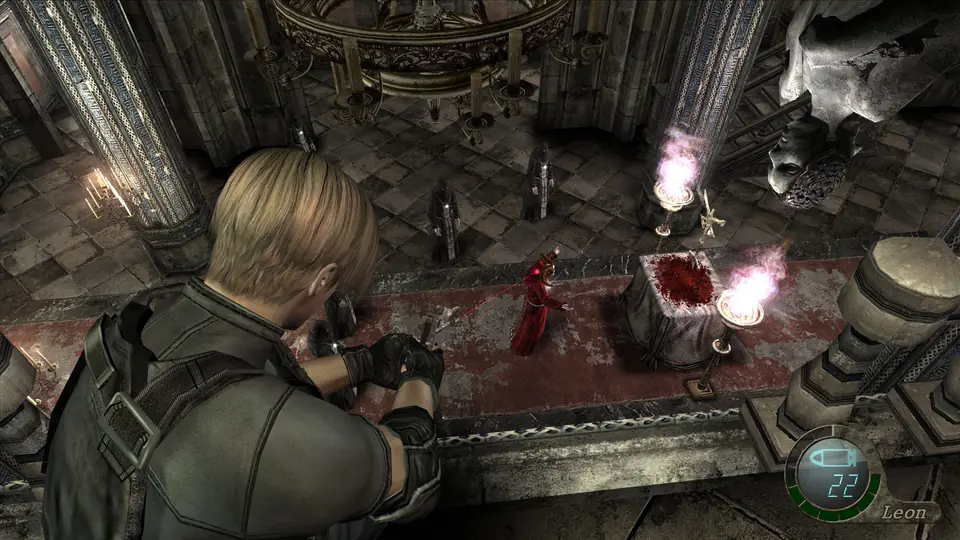
The door leads out onto the Hall of Rites balcony. Below, 8 zealots and their red-robed leader are holding a ritual (it only appears after you’ve explored the dungeons). It’s the best loot in the chapter: each zealot drops a Spinel (16,000pts in all) and the leader the Illuminados Pendant (12,000pts). If they spot you, they leave and take the loot with them.
- Surprise the group: from the balcony, throw a Hand Grenade into the middle of the group before they react. Then finish them with the rifle.
- Cross by the chandeliers: jump to the first one to swing to the other side and use the second to reach the next section.
- There, hit the switch that opens all the grates and finish the red leader (rifle to the head): he drops the Pendant.
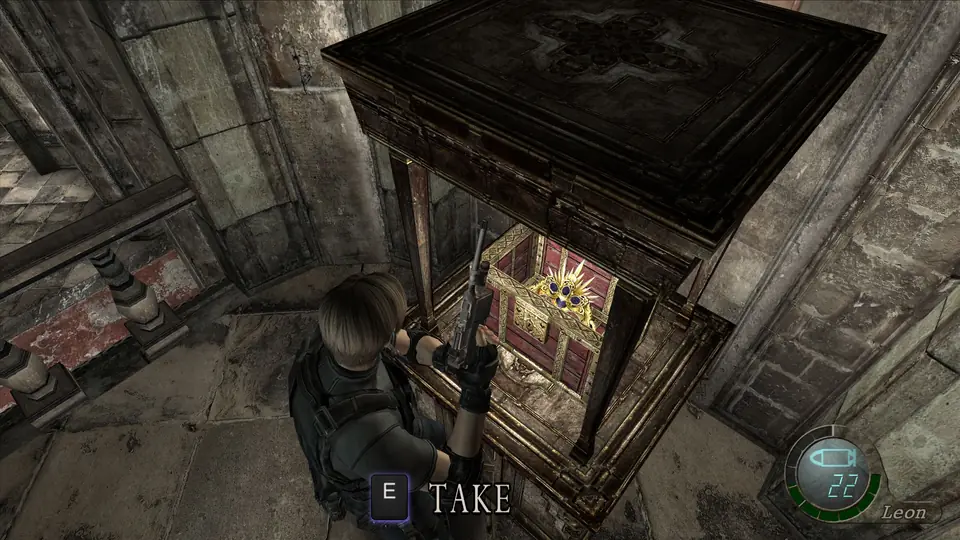
Balcony loot: a Velvet Blue in a vase at the south end of the west balcony and the 2nd Elegant Mask in the chest in the glass cabinet at the north end of the east balcony. Keep it.
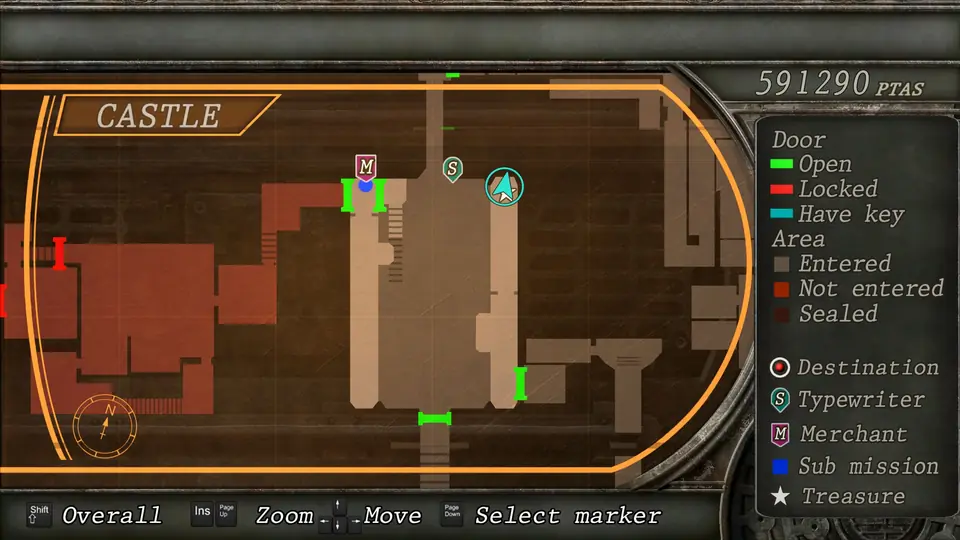
Save at the typewriter, go up to the Merchant (north end of the west balcony), sell the Spinels and the Pendant and go through the door beside him.
Gallery: the Gatling zealot
Gallery Entry Hall and Gallery Entry. On the small west table of the Gallery Entry Hall there’s a Red Herb. Go upstairs: the Castellan Memo (file) is on the centre table and Handgun Ammo ×10 on a chair on the south side. Go through the green door.
Gallery. On the west side, out of your reach, stands the red Leader Zealot: he carries the Gallery Key. The main room holds 2 zealots on the floor and crossbowmen on the balcony. From the entrance, turn left: there’s a nook the bolts can’t reach. Kill the crossbowmen first with the rifle; the explosive barrel by the south window helps you clear the balcony. Then the ones on the floor. Loot: a Velvet Blue in the small north-east vase and a Green Herb in the large vase in front of the east door.
💡 Extra money (per the wiki): the two floor zealots respawn if you go back to the Merchant’s room and return. With kick-and-knife combos you get pesetas and ammo for almost no bullets.
Stairs and balcony. Go through the south-west door. On the Gallery Stairs there’s 1 zealot at the top. On the Gallery Balcony, Rifle Ammo ×5 on the small south-east table. Walk the catwalk.
Gallery (West): the leader runs. When you drop from the catwalk into Gallery (West), 4 zealots attack and the leader runs off at that very moment: don’t expect to kill him before he bolts (a critical headshot while he runs drops him on the spot). There’s an explosive barrel on the south side for the four. The leader cuts through the Gallery Side Passage (Shotgun Shells ×5 on the small west table and 4 × 1,000pts on the north-east shelves) and, as you go through the green door in the corner, a shield zealot appears to slow you down. If the leader reaches the bottom of the stairs, he raises a Gatling gun.
How to handle it:
- With a Flash Grenade (best): before opening the green door, equip a flash, kick the door and throw it at once. The leader is stunned (the shield zealot isn’t). Get past the shield zealot, kick the leader, go downstairs, turn around and finish both (grenades, and rifle to the leader’s head).
- If he’s already on the Gatling: never give him a clear shot. Go back to the catwalk doorway, which shields you from the bursts, and snipe him from there.
He drops the Gallery Key. Go back to Gallery (West), where the leader first stood, and open the door to the Gallery Portrait Room.
Gallery Portrait Room: the painting puzzle
Before the puzzle, shoot the eye of the deer head on the south wall: it’s a Velvet Blue. Break the room’s urns.
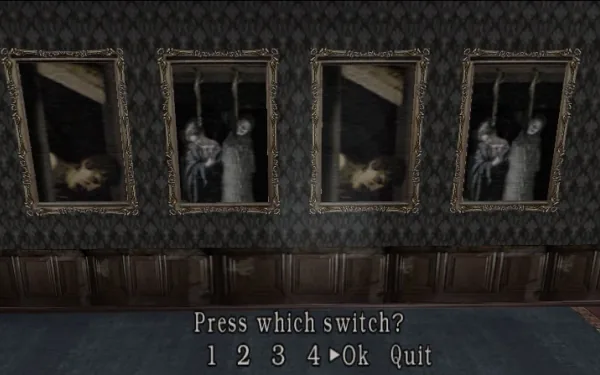
The goal: the four execution paintings are double-sided; the inscription says “the sacrifice of six lives shall make way”. Flip them until six dead people show in total. Each switch flips several paintings:
- Switch 1: the two on the left.
- Switch 2: all but the rightmost.
- Switch 3: all but the leftmost.
- Switch 4: the two on the right.
Solution: from the starting state, press each switch exactly once, in any order (1, 4, 3, 2 is the wiki’s), then OK. Every press only flips paintings, so the order doesn’t matter; press one twice and it cancels out: press it again and carry on.
Sinking-paintings Drawing Room: the Goat Ornament
Entering the Drawing Room, Salazar appears in a cutscene and both doors lock. Downstairs 4 scythe zealots attack. Run to the door on your right (the Drawing Room Stairs) and use it as a choke point. At the top of those stairs, in the north-west corner of the upper floor, there’s a Yellow Herb.
Up to 8 more zealots roam the upper floor and come in through the corners as you kill them; crossbowmen keep appearing in the four corners. The large painting on the west side of the upper floor rises as you get close and reveals 2 rocket-launcher zealots: they fire only once and then hide. Sidestep or get behind a door the moment you see the painting go up. Any hit kills them.
Loot: Handgun Ammo ×10 on the cabinet in front of the big painting (upper floor, west), a Spinel on a chair on the north side of the upper floor and a Green Herb on the table by the door to the switch passage.
The sequence:
- First button: press the red security button in a wall alcove next to one of the doors (Evil Resource puts it by the east door and the wiki on the west wall: look for the red button). The central platform rises and the painting goes up again with 2 new rocket zealots: take cover.
- Second button: go into the Drawing Room Switch Passage (the small side room) and break the vase at the end: the button underneath extends the bridge to the central chest. Pressing it brings 2 zealots onto the platform, and masked scythe zealots join them.
- Leaving the small room: another 2 rocket zealots aim at the doorway. Step back and let the closed door take the rocket, or shoot them first; one hit kills them.
The central chest holds the Goat Ornament (the first of the three ornaments for the Audience Hall door). Open the exit to the Windowed Passage.
Windowed Passage, Cloister and Outside Fountain
- Windowed Passage: typewriter at the south end. Save here: the maze is next.
- Small Hall: Handgun Ammo ×10 in the small vase on the south table.
- Cloister: 8 crows on the windows (shoot them: they drop money or items) and a Spinel set in the wall above the western doorway.
- Outside Fountain: shoot the 3 crows on the fountain and take what’s on it: a Spinel and 2 Velvet Blues. The barrels blocking the path to the north-west hold an Incendiary Grenade.
The fountain’s side door leads to the Treasure Chamber, but it needs Ashley’s help: inside are the Broken Butterfly (loaded with 6 magnum rounds), the Elegant Perfume Bottle, 5,000pts and a Red Herb. You come back in 4-1.
Head north to the Courtyard Overlook. As you approach the stairs down to the maze, Salazar calls again (Communication Log: Salazar #2). The moon door, right here, wants the Blue Moonstone.
Maze: Moonstone and Red Gem
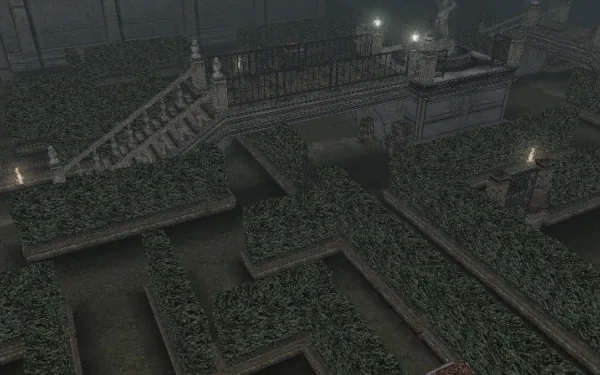
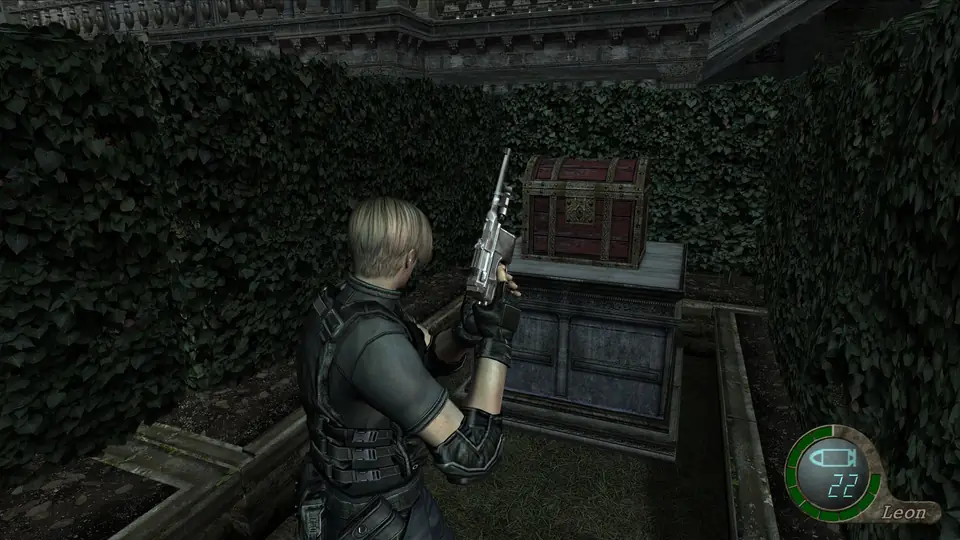
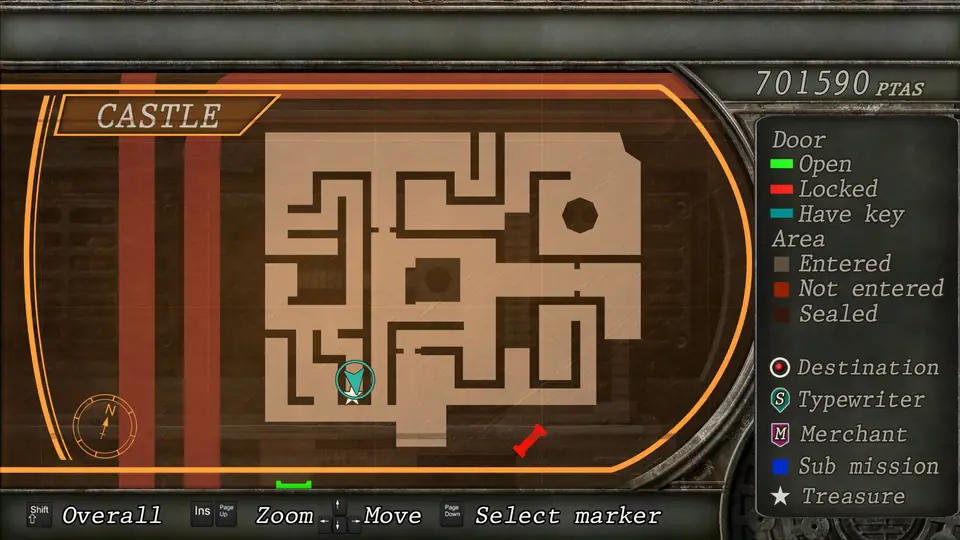
The garden maze is full of Colmillos (about 12 between cages and ambushes): keep the shotgun equipped and use the Incendiary Grenades when two or more come at once. With your back to a hedge they can’t surround you.
Contents:
- Velvet Blue: barrel under the bridge by the entrance gates.
- Yellow Herb: at the end of the south-west route.
- Red Gem (2nd): chest at the end of the inner south route. It’s the red one for the 2nd Elegant Mask.
- First Aid Spray: chest at the end of the north-west route (1 Colmillo in the north-west cage).
- Spinel: at the end of the north route.
- Green Herb: barrel under the west bridge of the central structure.
- TMP Ammo ×50: chest at the end of the north-side route, reached from the north end of the east bridge.
- Shotgun Shells ×5: chest at the end of the south-east route (2 Colmillos spawn when you open it).
- Moonstone (Right half): on the fountain in the middle of the maze, up the stairs of the central structure.
- Moonstone (Left half): on the fountain in the north-east corner. Taking it spawns 3 Colmillos at the north end of the east bridge.
Route (the wiki’s):
- Go through the gate; a first Colmillo shows up soon after. Turn left and follow the path to the gate of the southern cage (2 Colmillos).
- Head east to the south-east chest (Shotgun Shells) and kill the 2 Colmillos that spawn. Head back west.
- Take the third right (Yellow Herb), then the second right. Go north to an opening, kill the Colmillo and take the path south on the right: the chest with the Red Gem.
- Come back out, go west and climb the stairs of the central structure: the right half of the Moonstone on the fountain. The Green Herb is under the west bridge.
- Go down and sweep the maze clockwise: First Aid Spray in the north-west and Spinel in the north. Another Colmillo appears when you return to the centre.
- Go back to the south-east corner and cross the walkway to the north-east corner: the left half on the fountain. Get ready for the 3 Colmillos on the east bridge; the TMP Ammo chest is at the end of the route that leaves from that bridge’s north end.
Combine the halves: Blue Moonstone.
💡 If you’re short on ammo: take only what you need (the two halves) and come back to loot the maze in 4-1, when the Colmillos are gone.
Moon door: Ada
Go back to the Courtyard Overlook and use the Blue Moonstone on the door. You walk into the Courtyard Lounge: cutscene with Ada and the end of the chapter. That room’s typewriter is for the start of 3-3.
Before the moon door
- Butterfly Lamp and whatever eyes the Novistadors dropped.
- 2nd Elegant Mask with the Purple Gem (3-1) and the maze’s Red Gem: keep it for the Green Gem in 4-1.
- Illuminados Pendant (12,000pts), sold or in the case.
- Spinels (up to 14): Sewer Exit, the 8 from the ritual, the Drawing Room chair, the Cloister, the Outside Fountain and the maze’s north route (plus the Hall of Rites statue one if you skipped it in 3-1).
- Velvet Blues (9): Water Pools North and South, Pendulum Passage, Hall of Rites Balcony, Gallery, the deer’s eye, the fountain ×2 and the maze entrance barrel.
- 4 × 1,000pts from the Gallery Side Passage.
- Goat Ornament (not used up until the Audience Hall door).
- Files: Communication Log Salazar #1, Luis’ Memo, Castellan Memo and Communication Log Salazar #2.
- Note the Outside Fountain Treasure Chamber (Broken Butterfly, Elegant Perfume Bottle) for 4-1.