Chapter order: Entrance Courtyard + Merchant Room (Semi-auto, Attaché L, typewriter) → Gate Entranceway → Gate Courtyard → Gate Battlements (catapults) and shack → Cannon Room: blow the gate → Gold Bangle chest behind the shack → Gate Inner Area (2nd Merchant) → Barracks (sword puzzle) → Outer Bailey Courtyard (Luis) → passageway and storeroom (Castle Gate Key) → Audience Hall: Salazar (typewriter, Purple Gem) → Prison Access → Connecting Passage (Prison Key) → prison: Garrador (lever) → Water Hall (pressure plates) → Water Hall North (cranks) → Hall of Rites (Merchant, typewriter, shooting range Game A) → north passage: Ashley falls.
BUY: Attaché L 40,000pts · Castle Map 6,000pts · Semi-auto Rifle 35,000pts · Red9 2.1 · Rifle 8 · TMP 0.8. The shotgun stays at 5.0: you sell it in 4-1 and only get half back. Ignore the Riot Gun, Mine Thrower and Broken Butterfly (free in 4-1). The Blacktail only if you prefer it to the Red9.
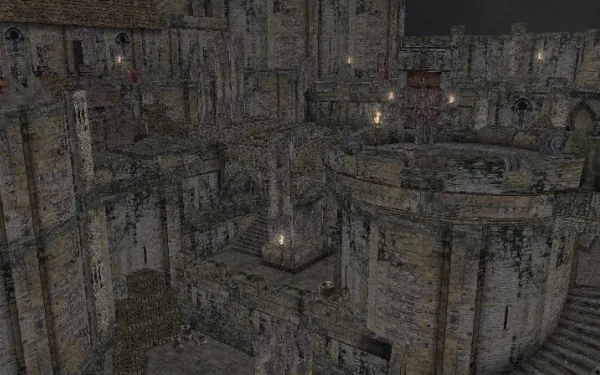
You play as Leon and Ashley follows you for the whole chapter: if she dies or is carried off through an exit, it’s game over. You arrive at night at the gates of Salazar’s castle, Los Iluminados’ stronghold. To get in you blow the gate with a cannon under catapult fire; inside come a sword puzzle, the castle gate key, Ramón Salazar’s introduction, the first Garrador in the prison and the huge Water Hall, where Ashley has to help you open the way. The chapter ends in the Hall of Rites, when a trap separates you from Ashley. The enemies are no longer villagers but robed zealots: tougher, with shields, crossbows, scythes and a new Plaga, the mandible.
Before you start
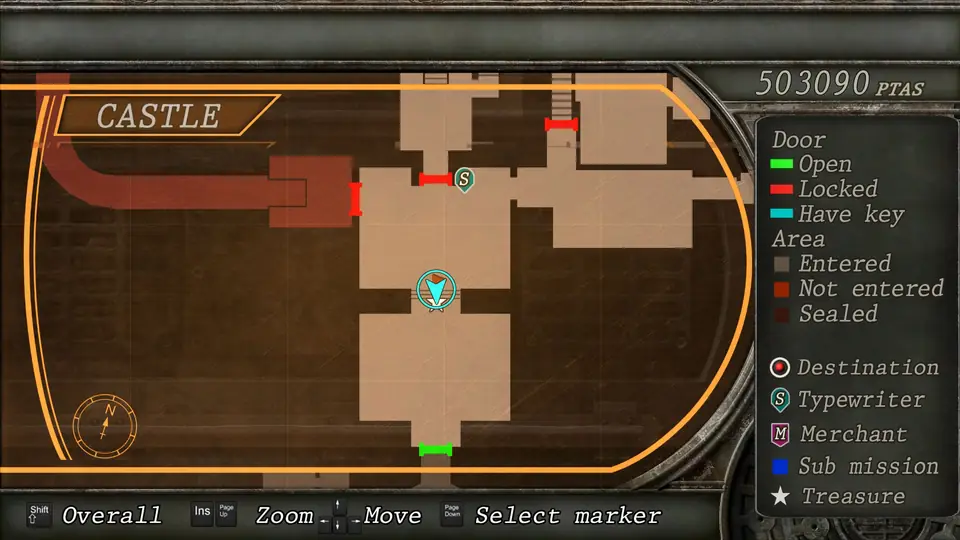
- Typewriters: three. In the Entrance Courtyard Merchant Room (table on the north side), in the Audience Hall right after you meet Salazar (north-east of the northern half) and in the Hall of Rites, to the right of the entrance to the north passage. Save at the third one before walking north: that passage ends the chapter.
- Merchants: three. The Entrance Courtyard one, the Gate Inner Area one (east side, before the Barracks) and the Hall of Rites one (north-west corner), who also opens the first shooting range.
- New in stock (nothing changes from here until 3-3): Attaché Case L 40,000pts, Treasure Map (Castle) 6,000pts, Semi-auto Rifle 35,000pts and its scope 10,000pts, Blacktail 24,000pts, Riot Gun, Broken Butterfly 38,000pts (free in 4-1), Mine Thrower 9,800pts and its scope 8,000pts. The Attaché Case XL arrives in 3-3 and the Striker in 4-1 (43,000pts).
- Buy the Attaché L first: with the Semi-auto and what’s coming, the M runs out of room.
- Zealots: shield bearers open up to a shotgun blast (or a rifle headshot straight through the shield); masked ones don’t die to a headshot while the mask is on, so aim for the body; crossbowmen and scythe throwers, rifle from range.
- The mandible: a new Plaga that bursts from the head like a worm with a mouth and bites your head off if you get close. Keep your distance and finish it with the shotgun or a Flash Grenade.
- Ashley: in the big fights (catapults, Garrador) leave her somewhere safe with Wait and come back for her afterwards.
- Point of no return: the Hall of Rites’ north passage. Walking in, Ashley falls through a trap and the chapter ends. Shop, save and play the shooting range first.
- Professional: every room holds the same items as on Normal (Evil Resource); what changes is the damage you take and how tough the zealots are.
Entrance Courtyard and the first Merchant
You start at the foot of the castle steps. Before shopping, break the barrels:
- Spinel: in the barrel at the foot of the central stairs.
- Green Herb: in the north-west barrel.
- A snake jumps out of the small crate in the north-east corner: knife it.
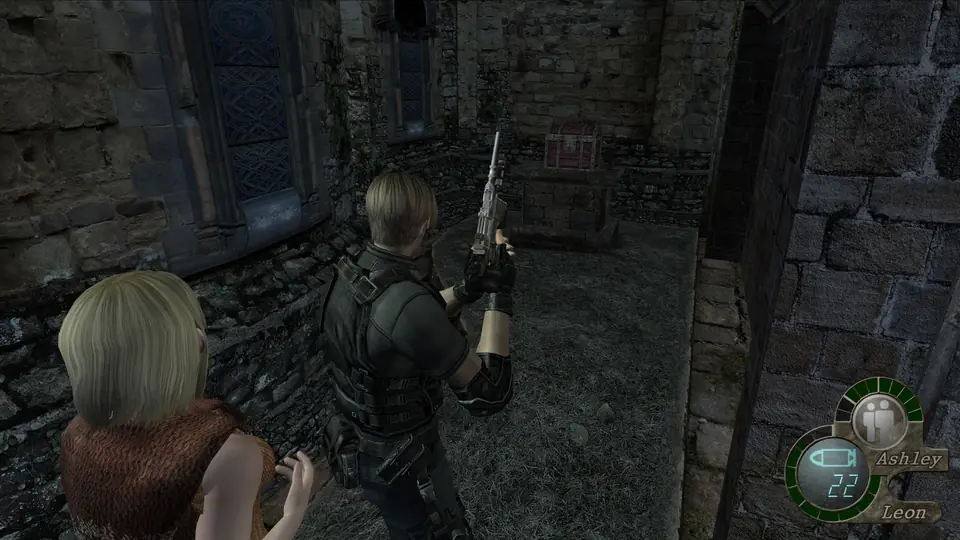
- 5,000pts: in the chest behind the Merchant’s shack.
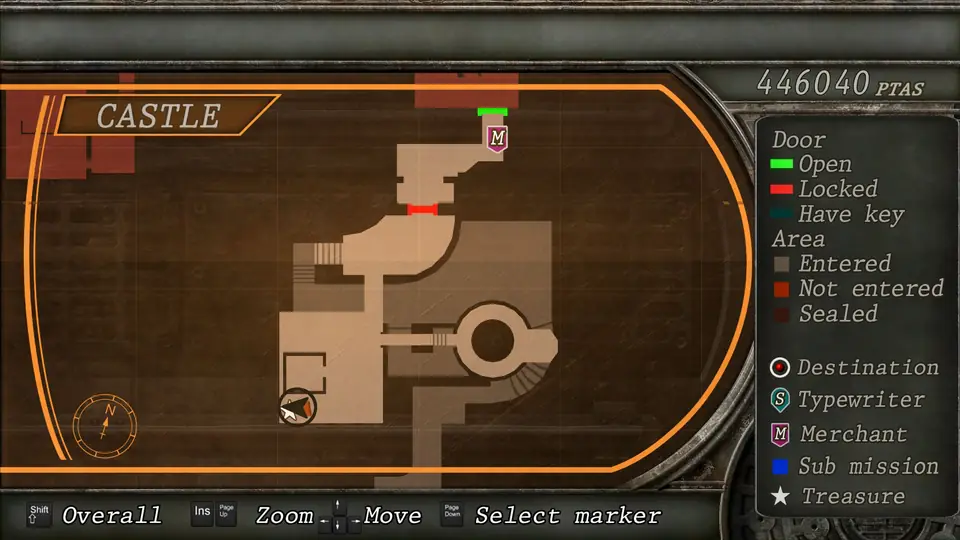
Step into the Merchant Room: he stands in the south-east corner; on the table on the north side there’s a typewriter and a Green Herb. Buy the Attaché L here and, if you can afford it, the Semi-auto Rifle (sell the bolt-action in the same visit) and the Castle Map. Save and climb the stairs to the door.
Gate Entranceway and Gate Courtyard
In the Gate Entranceway there’s Rifle Ammo ×5 on the large box in the clearing. From here you can already see 2 zealots walking the courtyard’s southern balcony: snipe them before moving on, it’s easier from down here.
In the Gate Courtyard, look for the Spinel in the ruins of the small colonnade to the south-east. As you climb the winding path the catapults open fire: their fireballs land in volleys. Sprint from cover to cover right after each impact and never stand still in the open. Leave Ashley at the entrance if you’ll be a while.
Gate Battlements: catapults and shack
The Gate Battlements hold 4 zealots, one at each catapult, plus a Leader Zealot at the catapult on the west battlements. Once you gain height you’ll see the loaders: one shot from any weapon kills them (the leader takes more: rifle to the head). The red barrels next to each machine destroy it for good; shoot them as soon as a zealot walks past.
Climb the stairs at the far end to the upper level. The shack (Gate Storage Building) holds 1 masked zealot: body shots, not the head. Inside, a Velvet Blue in the small crate on the south-east shelves and a Yellow Herb in the north-west chest. While you explore the battlements, 2 unarmed zealots come in through the Gate Entranceway and climb up behind you: watch Ashley.
Cannon Room: blow the gate
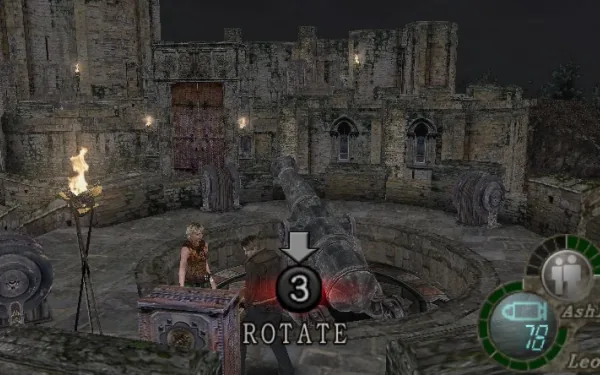
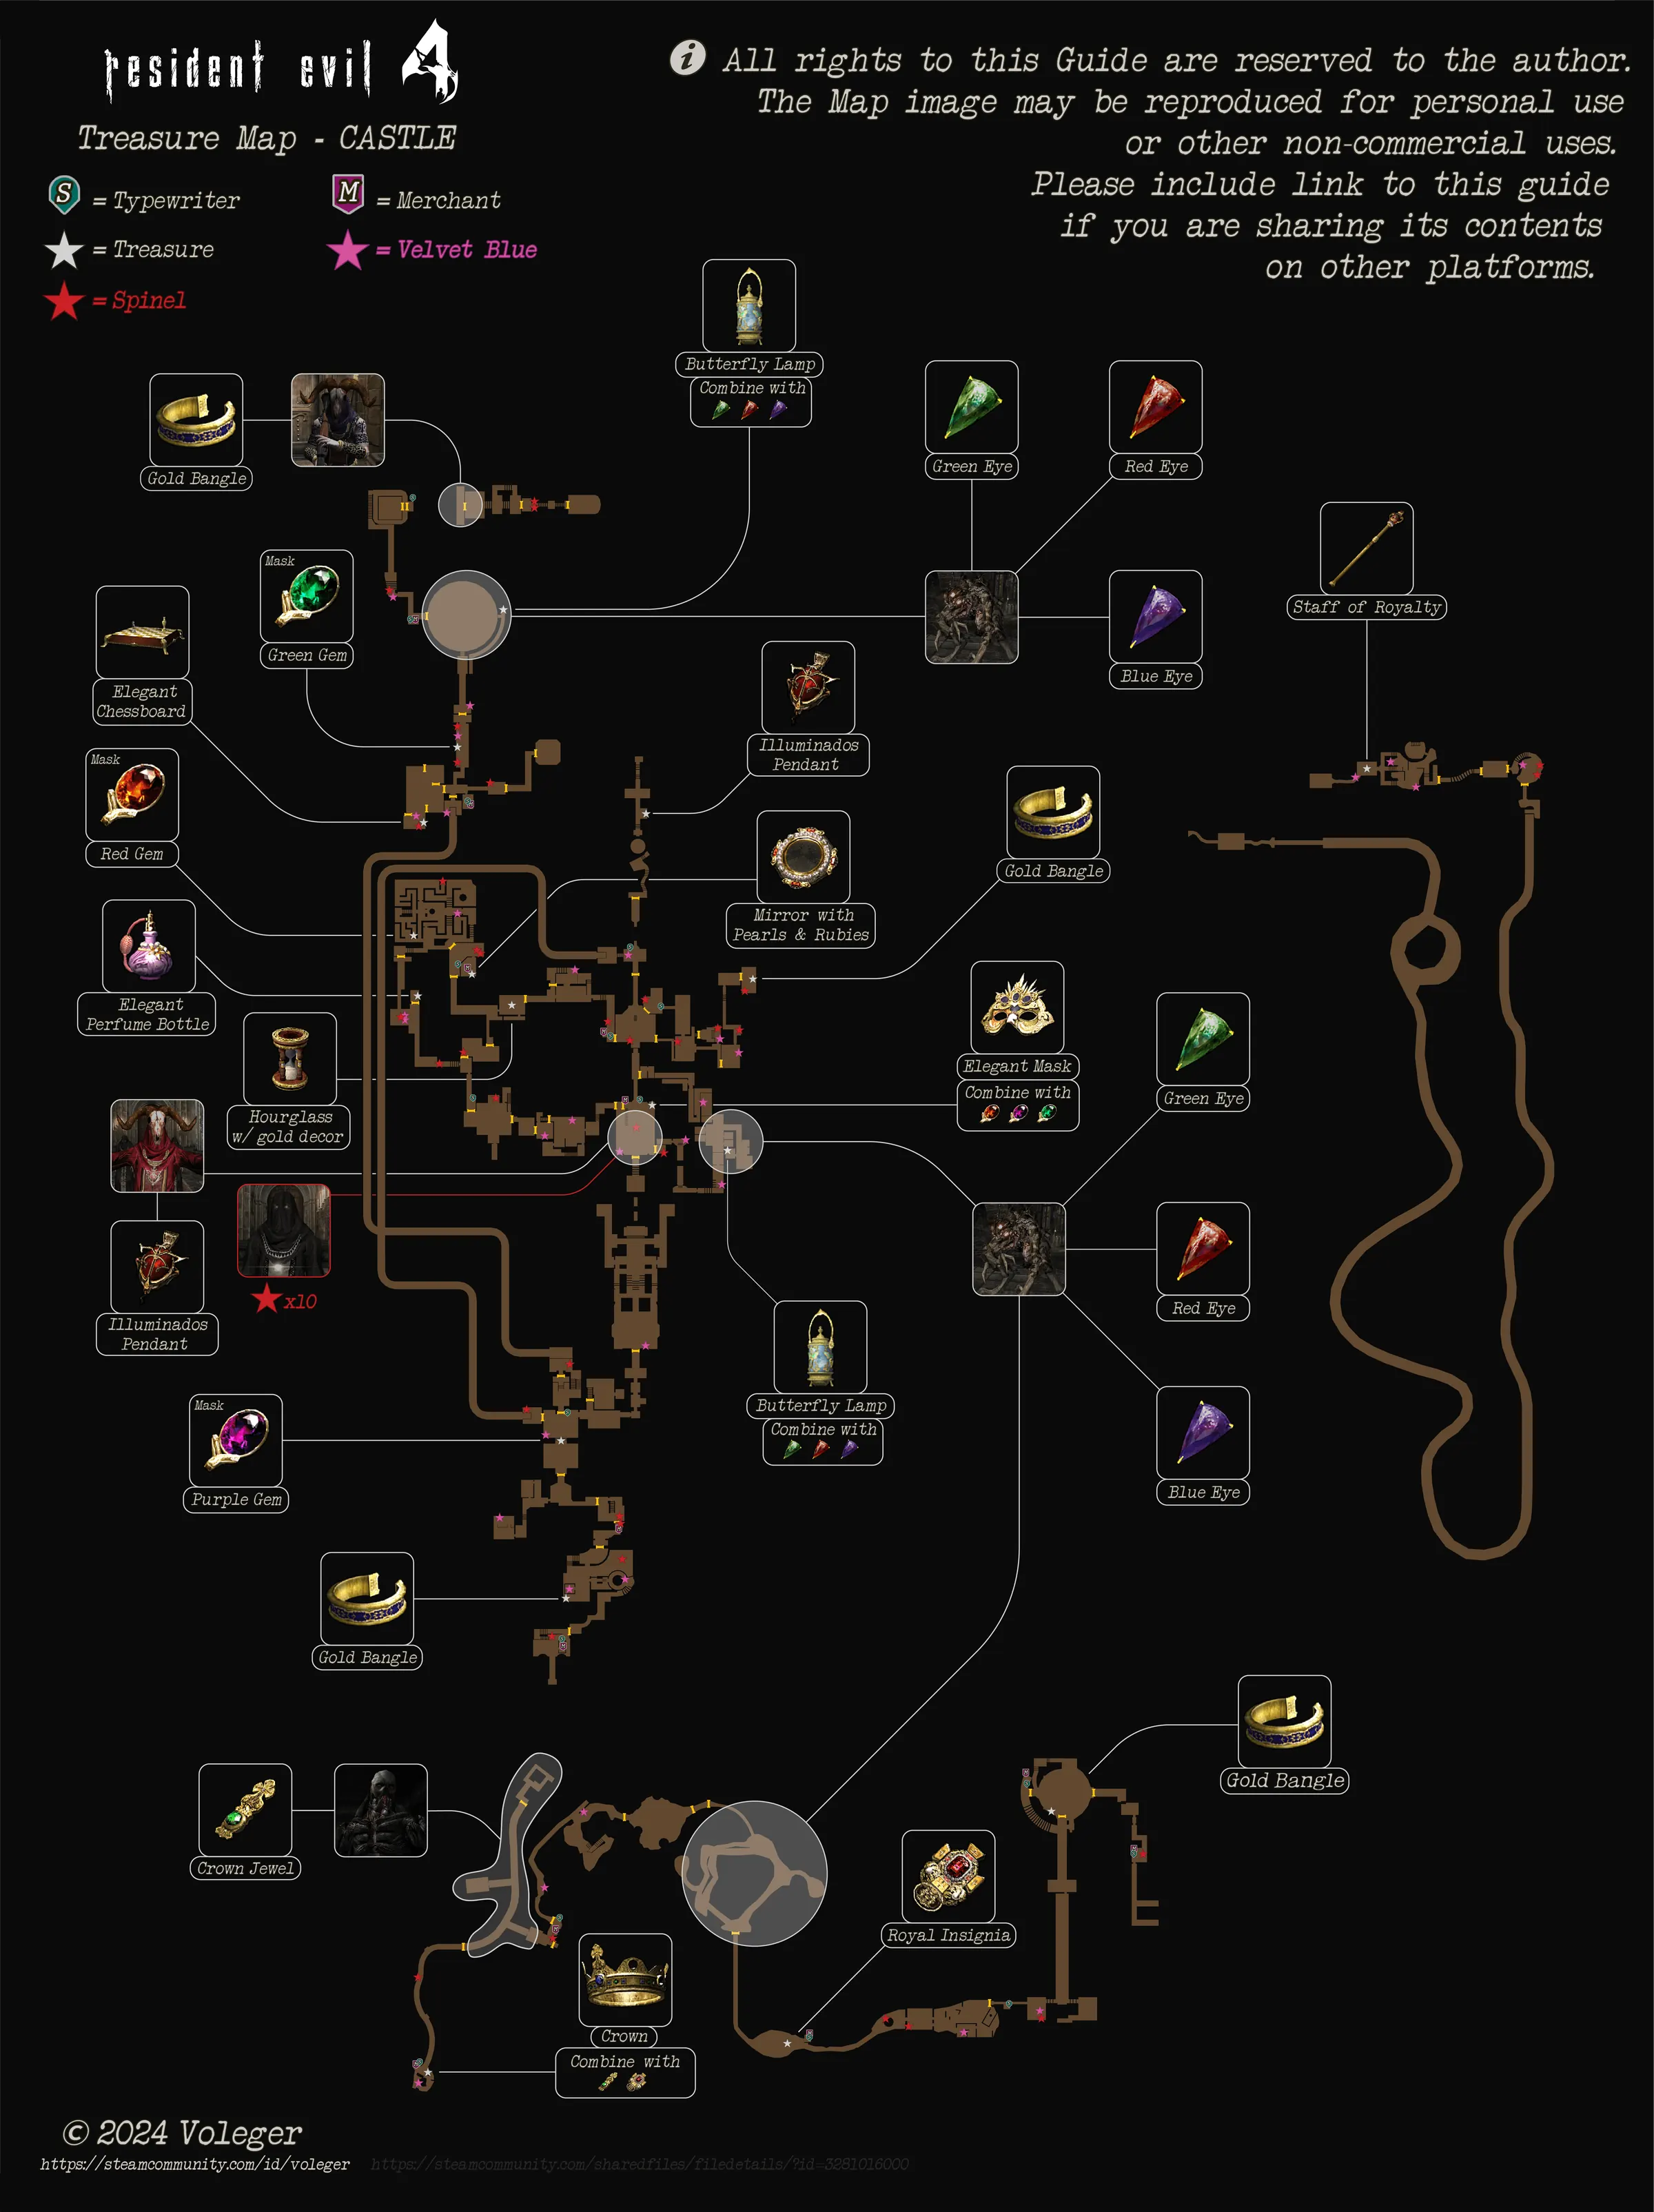
Carry on to the Cannon Room, the firing deck. The barrels on the east side hold a Velvet Blue and an Incendiary Grenade. Turn the crank to level the cannon and fire it: the castle gate is blown open. With the area clear, go back to the upper level and open the chest in the south-west corner, behind the shack: the Gold Bangle (8,500pts). Collect Ashley and walk through the wrecked gate.
Gate Inner Area and the second Merchant
In the Gate Inner Area the Merchant is on the right, on the east side. There’s a Spinel inside the torch next to the Barracks door: shoot it. If you were short of money at the entrance, this Merchant sells the same stock.
Barracks: the sword puzzle
As you enter the Barracks Hunnigan calls (Communication Log: Hunnigan #13). Ground floor: Shotgun Shells ×5 on the table and 2,000pts in the cabinet in the south-east corner. The Platinum Sword is set into the north-west wall of the ground floor.
- Take the Platinum Sword and go up. As you climb, 3 zealots appear on the upper floor; any of them may sprout a mandible.
- Hold off the waves. While you explore upstairs, 1 zealot and then 6 more come up from the ground floor in pairs: each pair spawns when you kill the previous one. Take the south-east corner of the upper floor and shoot them as they reach the top of the stairs. The wiki also mentions a Leader Zealot downstairs once they’re done: take him down calmly.
- Upstairs loot: a Spinel in the lowest crate on the south-east shelves, a Red Herb in the cabinet on the south wall and 1,800pts on the west table.
- Swap the swords. The Golden Sword is in the north-west wall of the upper floor. Put the Platinum in the Golden’s slot (upstairs) and take the Golden down to the Platinum’s slot (ground floor). The way to the Outer Bailey Courtyard opens.
Outer Bailey Courtyard, passageway and storeroom: the Castle Gate Key
In the Outer Bailey Courtyard there’s a cutscene with Luis: he says he lost something and heads off on his own. The courtyard’s big door leads to the Audience Hall and wants the Castle Gate Key; leave through the west door towards the passageway.
Outer Bailey Passageway. A wave follows you from the door: use it as a choke point, with Ashley waiting inside. Then:
- 1 zealot in front of the Armory and an explosive barrel in the north-east corner, next to the Armory door: shoot it when they bunch up.
- 1 crossbowman on the archway over the passage to the storeroom: rifle.
- 2 shield zealots by the storeroom door: a shotgun blast breaks the shield, then finish them with something else.
Outer Bailey Armory (optional): 3 zealots, Handgun Ammo ×10 on the centre table and 2,500pts in the north-west cabinet. Worth it.
Outer Bailey Storeroom. A Velvet Blue in the north-west barrel and a Green Herb on the north-east shelves. The Castle Gate Key is in the chest in the north-west corner, and the moment you take it 6 zealots come sprinting in. Before opening it, find the explosive barrel on the south side; key in hand, face the door and blow the barrel as they run past it.
Go back to the Outer Bailey Courtyard and open the door with the key.
Audience Hall: Salazar and the Purple Gem
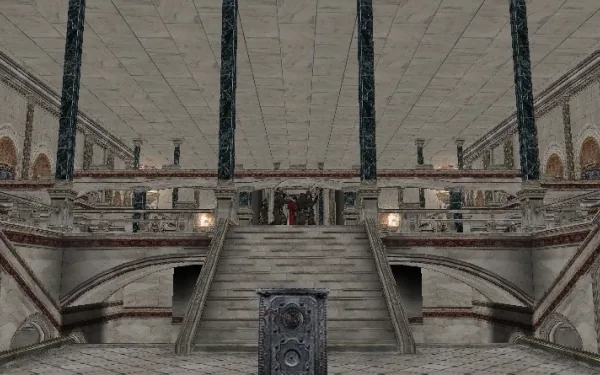
Entering the Audience Hall, Ramón Salazar introduces himself from the balcony. Afterwards a wall blocks the way north (its door wants the three ornaments: Goat, Serpent and Lion; you’ll bring them in 3-2, 3-4 and 4-1). Right here you have:
- A typewriter in the north-east of the northern half. Save.
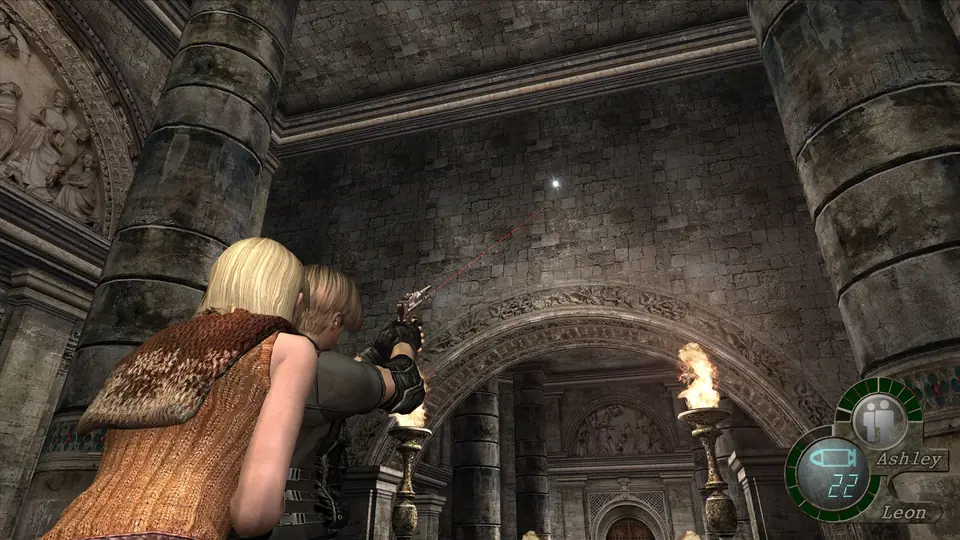
- The Purple Gem: high on the south wall, seen from the northern half of the room, opposite the balcony where Salazar appeared. Shoot it down. It’s the purple one for the 2nd Elegant Mask (you’ll find it in 3-2): keep it, don’t sell it.
- A Velvet Blue in the large vase in the south-west corner of the northern half.
Leave through the east door.
⚠️ If you backtrack after meeting Salazar, 3 zealots appear in the Outer Bailey Passageway and 2 by the Barracks door.
Prison Access and Connecting Passage: the Prison Key
You walk into Prison Access, a parlour overlooking the dungeon. The door down to the prison, on your left, is locked. Search the parlour:
- 5,000pts behind Saddler’s portrait, on the south side.
- In the far room to the east: the Capture Luis Sera file on the east wall and a Yellow Herb in a barrel.
- An Incendiary Grenade in a barrel next to the prison door.
Go straight on and turn left into the Connecting Passage: two fire-spewing sculptures block the way north to the Water Hall. The Prison Key hangs on the painting in the south-east alcove. Go back to the prison door and unlock it. Leave Ashley upstairs with Wait.
Garrador (general guide for all 4)
In the prison, a cutscene shows the Garrador chained in the east cell. The lever that shuts off the fire sculptures is inside that cell, so you can’t pull it without waking him: the moment you kick the door down, he breaks free. Before going in, take the Green Herb in the north-east corner and shoot down the Shotgun Shells ×5 sitting on the beam on the east side.
Blind: he goes by sound. Walk, don’t run; run and he charges, and his lunge is instant death. Up close he also slashes wildly. His weak point is the parasite on his back — rifle or shotgun from behind when his claw gets stuck in the wall after a dodged charge (make noise on purpose to provoke one). Each drops 15,000pts. If it’s going badly you can dodge him, pull the lever and leave, but the money is worth it.
Step by step:
- Walk away until there’s a wall close by and make some noise (run a couple of steps) so he charges.
- Sidestep at the last moment: the claw sinks into the wall.
- Circle round and shoot the parasite on his back (shotgun up close or rifle).
- Repeat until he drops. If he stands still, so do you: only walk when you have a clear shot at his back.
Pull the lever in the cell and collect Ashley.
Back through Prison Access: ambush
Shutting off the fire brings reinforcements:
- 3 zealots come from the east side of Prison Access. Two attack directly; one falls back towards the Water Hall Entryway.
- Past the sculptures a dynamite thrower and 2 crossbowmen are waiting: shoot the dynamite thrower while his fuse is lit and the blast takes the other two.
- 1 zealot appears on the north side of the Connecting Passage.
- In the Water Hall Entryway 2 zealots appear, one of them unarmed and lying in ambush. Handgun Ammo ×10 between the two central pillars.
Water Hall: pressure plates
A huge room with 10 zealots at first (among them a red-robed leader and several shield bearers), and more come in as you kill them. Push up one side with the shotgun or grenades until you reach the small room at the far centre (Water Hall Lower Room) and use its doorway as a choke point. When the pressure eases, more come out of doors in the walls, with shields and maces; then the balcony crossbowmen with the rifle.
Room loot: 2,000pts on the semicircular table on the east wall (south-east area), a Velvet Blue in the small vase on the cabinet by the south wall, an Incendiary Grenade in the large vase in the centre-east and a Hand Grenade in the large vase opposite the small room’s door. Inside the small room, a Green Herb on the north shelf and Shotgun Shells ×5 on the right-hand chair.
Pressure plates: put Ashley on one yellow plate in the small room and stand on the other yourself. Triggering them brings 8 zealots into the hall and 2 that drop one at a time through the hole in the small room’s ceiling, plus 1 on each balcony (east and west). Hold out inside with Ashley behind you.
Then take Ashley to the central crank and have her turn it while you cover her. Watch the scythe zealots coming down the stairs: at range they throw their scythes, so drop them before they wind up.
Water Hall North: Ashley’s cranks
As you move north (Water Hall North), Ashley points out two cranks on the upper levels. First grab Shotgun Shells ×10 from the large north-east vase and Rifle Ammo ×10 from the north-west one. On the West Balcony there’s a First Aid Spray in a vase.
Help Ashley up to a crank and stay in the centre with the rifle. While she turns both, 4 zealots come in behind you from the Water Hall and 8 keep appearing on both sides of the upper walkway, which is where she is: prioritise the ones closing on her and use the handgun on the ones coming for you at ground level. With both platforms raised, go to the balcony where she’s waiting, catch her when she jumps and cross the walkway.
Hall of Rites: Merchant and shooting range
The Hall of Rites, a temple hung with upside-down statues, is the last stop:
- The Merchant is in the north-west corner and a typewriter sits to the right of the entrance to the north passage.
- A Spinel in the eye of the southernmost upside-down statue: shoot it.
- A Green Herb in the north-west vases, Handgun Ammo ×10 on the west cabinet and a Hand Grenade in the chest in the north-east glass cabinet.
Shooting range (Game A). Next to the Merchant there’s a blue door. The Target Practice file lies on his counter. You pick one of two weapon sets: Rapid-Firing (Shotgun + TMP) or Sniping (Rifle + Handgun), each with a grenade. Scores: body 50, man’s head 100, woman’s head 200, Salazar 500 (he pops up at the back after 5 hits in a row without missing), fireworks 300 (shoot the moon and the castle when that backdrop appears) and Ashley −1,000. Caps are earned by score, but the threshold depends on the version: the wiki gives 2,000, 3,000 and 4,000 points per weapon set; guides for the HD version say about 3,000 points per cap, with the last one for hitting every target without touching Ashley. Read the file on the counter, which carries your version’s rules; you don’t need to switch weapon sets. The 6 Game A caps pay 15,000pts when you choose “End Game” with the Merchant. It’s optional and you can come back in later chapters.
⚠️ Don’t walk north until you’re done here. Walking down the north passage triggers a cutscene: the trap swallows Ashley and the chapter ends. Leon is alone through 3-2 and 3-3; the Treasure Chamber by the Outside Fountain (Broken Butterfly) needs Ashley and waits for 4-1.
Before walking north
- Gold Bangle (8,500pts) from the chest behind the battlements shack.
- Purple Gem from the Audience Hall wall: keep it for the 2nd Elegant Mask.
- 5 Spinels: Entrance Courtyard barrel, Gate Courtyard colonnade, Gate Inner Area torch, the crate on the Barracks’ upper floor and the Hall of Rites statue’s eye.
- 5 Velvet Blues: shack, Cannon Room, Outer Bailey Storeroom, Audience Hall and Water Hall.
- Money: 15,000pts from the Garrador, the two 5,000pts stashes (behind the first Merchant’s shack and behind Saddler’s portrait), plus 2,000, 1,800, 2,500 and 2,000pts lying around.
- Files: Communication Log Hunnigan #13, Capture Luis Sera and Target Practice.
- Attaché L and Semi-auto Rifle bought.
- Shooting range Game A caps (optional, 15,000pts).
- Game saved at the Hall of Rites typewriter.