Chapter order: entrance (Letter from Ada) → Merchant Shack (typewriter, sell the Crown) → Ruins Approach (Spinel in the nest) → Dilapidated Entrance Hall → Courtyard: torch Ganados and the lion door → Dilapidated Building (Velvet Blue in the well) → shed: crank and trapdoor → sand ruins: Main Chamber (bear traps) → Treasure Chamber (Staff of Royalty) → Dwelling (2 Salvadors, Key to the Mine) → Trap Room → sand mine and mine cart (2 more Salvadors) → Exit Chamber (Stone of Sacrifice) → ladder up to the Courtyard → lion door → lift.
BUY: Merchant and typewriter in the shack, right as you step off the mine lift. Sell the full Crown, 48,000pts. No new weapons (the Killer7 arrives in 5-1): Semi-Auto Rifle to 11 (24,000pts for that level) and TMP to 1.2 (35,000pts for that level) if you haven’t yet, but keep 30,000pts for the Rocket Launcher for Salazar in 4-4.
You’re still Leon, alone: Salazar has taken Ashley and you’ve just come up from the mine (4-2) with the full Crown. Up top, a letter from Ada is waiting: Ashley is running out of time before the Plaga takes her over. To reach the cathedral you have to open the lion door in the ruins’ courtyard, which asks for an offering: the Stone of Sacrifice. It lies beyond underground ruins full of bear traps, a dwelling with two Dr. Salvadors, a spike room and a mine-cart ride with two more. It’s the chapter with the most chainsaw men in the game, and one of the most profitable.
Before you start
- Save in the Merchant Shack. It’s the chapter’s only typewriter; the next one is in the Cathedral Entrance Passage at the start of 4-4.
- Weapon for the Salvadors: a loaded shotgun (Striker or Riot Gun) and grenades. One touch of the chainsaw is instant death.
- For the mine cart: TMP or Semi-Auto Rifle with a full magazine. Ganados keep jumping into the carts.
- ⚠️ MISSABLE: Staff of Royalty (20,000pts), the single most expensive treasure in the game. It’s in the Treasure Chamber, a separate room off the west side of the sand ruins’ Main Chamber, not in the Salvadors’ Dwelling. Until you place the Stone of Sacrifice you can go back for it (the shed’s trapdoor stays open and leads down to the ruins); once you take the lion lift, it’s gone.
- Small treasures: there are 5 Velvet Blues and 4 Spinels spread across the chapter; each one is placed below.
- Professional: every room holds the same items and enemies as on Normal (Evil Resource); what changes is the damage you take.
Castle Ruins Entrance
You arrive from the South Cavern of the 4-2 mine.
- Letter from Ada (file) pinned to the wall next to the door of the Merchant Shack.
- Green Herb and Handgun Ammo ×10 in the barrels on the north side.
Merchant Shack
The Merchant stands in the NE corner and the typewriter is in the SE corner.
- Sell the full Salazar Family Crown (48,000pts). If you’re still holding an incomplete Crown, you can no longer complete it: sell it anyway.
- Nothing new in stock. If you haven’t yet, take the Semi-Auto Rifle to firepower 11 (24,000pts for that level) and the TMP to firepower 1.2 (35,000pts for that level).
- Set aside 30,000pts for the Rocket Launcher: you’ll buy it from the Merchant at the top of the tower in 4-4, right before Salazar.
- Save before you leave.
Ruins Approach
The slope up to the ruins. The tree in the middle has a bird’s nest: shoot it and a Spinel (1/4) falls out.
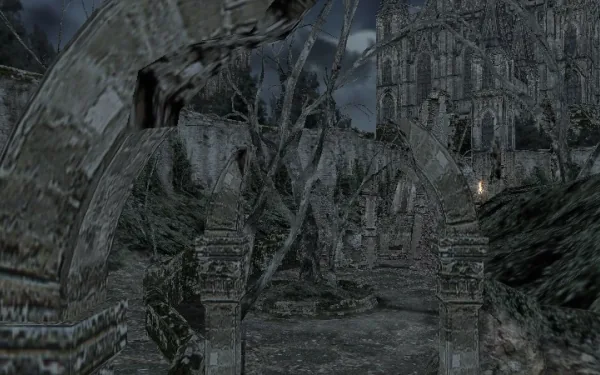
Dilapidated Entrance Hall
2 Ganados carry torches: once they spot you, they come to shove them in your face. Kill them from the entrance before you walk in; a shot to the face as they raise the torch sets them on fire with it.
- Spinel (2/4) on the table in the SW corner.
- 2,200pts on the small table on the north side.
Courtyard: the mob and the lion door
9 Ganados stand around the campfire in the NE. Once they spot you, they all come at once.
- Fight from the Entrance Hall doorway. That way they come through one gap in a line and can’t surround you.
- If they bunch up, a grenade (or this courtyard’s own Flash Grenade) leaves them open to the shotgun.
- Alternative: on the left as you move up there’s a platform with a ladder. Climb it, fire a shot to draw them, and knife or kick them one at a time as they climb, or drop a grenade on the group from up there.
Once the courtyard is clear:
- Flash Grenade in the barrel in the SE corner.
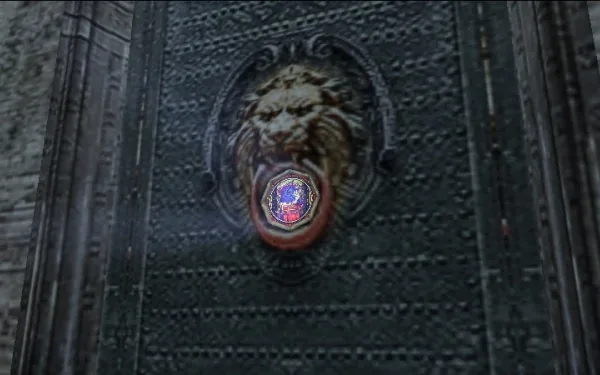
- The lion door is here. The inscription reads “Offer the sacrifice to the lion.” It needs the Stone of Sacrifice, which is underground. Take note of it: you’ll be back at the end of the chapter.
Dilapidated Building
One of the buildings off the courtyard.
- 1,800pts in the NW corner.
- Velvet Blue (1/5) in the well in the SW corner.
Dilapidated Shed: the crank
The shed to the right of the campfire: get in by jumping through the window. Turn the crank inside: a trapdoor opens down to the underground ruins. Down there, a tablet warns: “Up ahead rests the offering to the lion.”
Sand ruins: Entrance Room and passage
- Entrance Room: empty. Keep going to the passage.
- Entrance Passage: halfway along, in the wall alcove on the north side, a small wooden crate holds a Velvet Blue (2/5). Break it with the knife.
Sand Ruins Main Chamber
A big room of low walls with several exits: the Treasure Chamber to the west, the two-storey Dwelling, and a locked door to the east that needs the Key to the Mine.
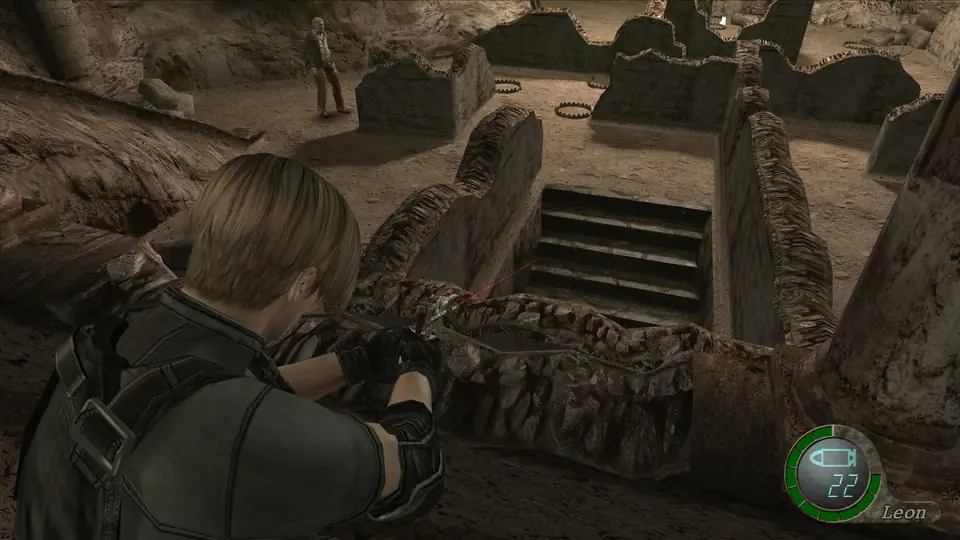
Watch out for bear traps. There are 7 Bear Traps around the room, hard to see behind the low walls. Walk slowly, shoot or knife them as soon as you spot them, or go around them. Step in one and you’re stuck while the Ganados catch up.
Waves:
- 5 Ganados are spread around the room when you arrive. Take them from the Entrance Passage, which makes a good chokepoint.
- Entering the Dwelling brings 3 more Ganados into this room.
- Taking the Key to the Mine on the Dwelling’s upper floor brings 12 Ganados at once. Fight from the Dwelling’s upper floor, at the top of the ladder, never out in the open among the traps.
Loot in the room:
- Velvet Blue (3/5) in the corner of the small area on the west side, north of the passage to the Treasure Chamber. It’s on your way to the Staff.
- Velvet Blue (4/5) on the ground in the SE corner, on the south side of the room.
- Red Herb on the ground at the far east end, next to the door the Key to the Mine opens.
Treasure Chamber: the Staff of Royalty
Take the passage on the west side of the Main Chamber. 1 Ganado stands in front of the sarcophagus in the middle: kill him and open it. Inside is the Staff of Royalty (20,000pts). Don’t leave it for later: forget it and place the Stone of Sacrifice, and it’s lost.
Dwelling: two Dr. Salvadors and the Key to the Mine
A two-storey stone building off the Main Chamber. There’s one Dr. Salvador on the ground floor and another on the upper floor. Each drops 10,000pts in cash (in the castle they don’t drop the village’s Ruby).
- Tactic: the usual routine. Shotgun to the head to stagger him, another shot to knock him down, then knife him while he’s down, or keep shooting from range. Never let him close in: always back off and make sure the Ganados arriving behind you don’t corner you. A grenade with both together saves ammo.
- The upstairs one tends to jump out of the window as you climb up and come back up the ladder: wait for him up top with the shotgun. Once he’s down, kick the ladder over to buy a few seconds.
- You don’t have to fight. The key can be taken without killing either: go up, grab it and run. But they’re worth 20,000pts, which is worth the ammo.
- Hand Grenade in the small crate in the alcove in the south wall, ground floor.
- Yellow Herb in the barrel in the NW corner, upper floor.
- Key to the Mine on the small stone pedestal in the middle of the upper floor. Taking it brings the 12 Ganados into the Main Chamber: stay in the Dwelling and let them come up the stairs one at a time.
The Key to the Mine opens the east door of the Main Chamber (by the Red Herb), which leads to the Adjoining Passage and the Trap Room.
Trap Room
The Adjoining Passage is empty and leads to this room. It’s the same trap as in 4-1, with an extra.
- As soon as you reach the middle, the door seals and the spiked ceiling starts to come down. 2 Plaga C (the spider type) appear.
- Throw a Flash Grenade to kill the Plagas in one go. Without one, shoot them while you dodge; they stop coming once the ceiling stops, so the lights come first.
- Shoot the 4 red lights in the ceiling, as in 4-1. With the fourth, the ceiling stops and the far door opens.
- Before you leave: the sarcophagus on the south side holds 1,800 + 2,000 + 1,500pts (5,300pts), and there’s Handgun Ammo ×10 on the ground in the NE corner.
Sand Mine Entrance
Three treasures in one room:
- Velvet Blue (5/5) in a barrel in the NW corner of the lower area.
- Spinel (3/4) on the ground on the east side.
- Spinel (4/4) on the lantern hanging from the ceiling on the east side: shoot it down.
Sand Mine Platform
- Shotgun Shells ×5 in a barrel on the west side and a Green Herb in the SE corner.
- Reload everything. Get in the carts (the rear one is the easiest to fight from) and shoot the lever to start.
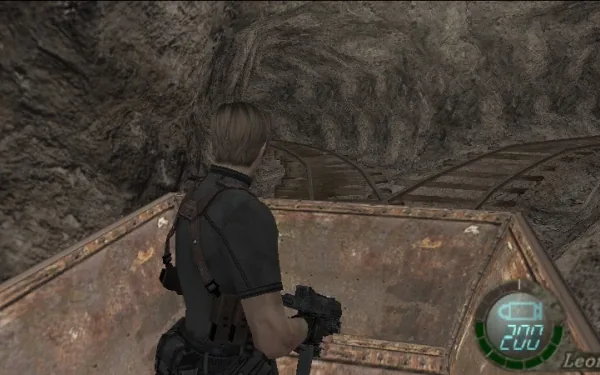
The mine cart (Sand Mine Rail Track)
Three carts coupled together. Ganados jump from wooden platforms and land in them. Jump from cart to cart to get away from whoever lands in yours, and use the TMP or the Semi-Auto Rifle on those still on the platform. When you see beams ahead, duck and let them take out the Ganados who are standing.
First stretch: three platforms with 3, 3 and 4 Ganados.
Forced stop (halfway): a Ganado (Don Esteban) pulls a lever and the carts stop.
- There are 17 Ganados: one stays in front of the switch and the rest keep jumping into the carts. Kill the one at the switch first to get a clear shot and shoot the lever to get going again. Until you do, they keep coming.
- A Dr. Salvador (10,000pts) shows up. If you can, shoot him before he jumps into the carts.
- Handgun Ammo ×15 on the beams on the west side (reachable from the rear cart) and Shotgun Shells ×10 on the east side (from the front cart).
Second stretch: three more platforms: 3 Ganados, then 3 Ganados and the second Dr. Salvador (10,000pts) on the second platform, and 4 Ganados on the third. Shotgun the Salvador as soon as he lands and switch carts so the chainsaw can’t reach you.
The end: the track spirals down and ends at a drop. Press the buttons shown on screen: the first to jump when the cart falls and the second to climb up the edge. Miss them and you die.
Sand Mine Exit Chamber: the Stone of Sacrifice
The Exit Shaft leads to this room.
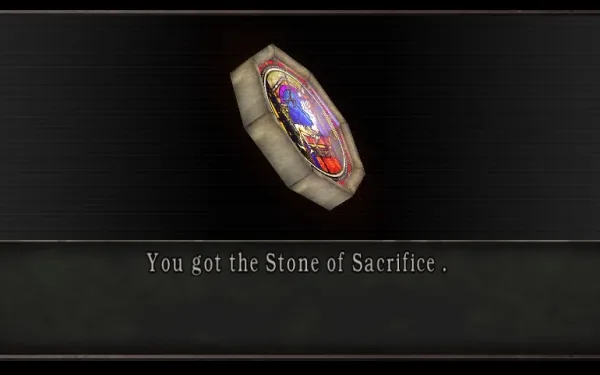
- Stone of Sacrifice on the stone pedestal in the middle.
- Hidden money: on the ground in the SE corner there are 12 small cash pickups (3×100, 5×200, 2×300, 400 and 500pts: 2,800pts in all). Sweep the corner until nothing more turns up.
Back to the Courtyard: the lion door
The ladder in the Exit Passage comes up straight into the Courtyard. Before you go on, if you’re missing the Staff of Royalty or any of the sand ruins’ Velvet Blues, go back down the shed’s trapdoor: this is your last chance.
Place the Stone of Sacrifice in the lion’s mouth on the door: it opens onto a lift to the cathedral. Ride it to end the chapter.
Before you ride the lion lift
- Staff of Royalty (20,000pts) from the Treasure Chamber.
- 5 Velvet Blues: the Dilapidated Building’s well, the Entrance Passage, two in the Main Chamber and the barrel in the Sand Mine Entrance.
- 4 Spinels: the tree’s nest, the Entrance Hall table, the ground and the lantern in the Sand Mine Entrance.
- Key to the Mine used and Stone of Sacrifice placed.
- About 4,000pts from the ruins up top (2,200 + 1,800) and about 48,100pts from the sand ruins: 4 Salvadors × 10,000, the Trap Room sarcophagus (5,300) and the Exit Chamber (2,800).
- Crown sold (48,000pts) and 30,000pts saved for the Rocket Launcher.
- Letter from Ada read.