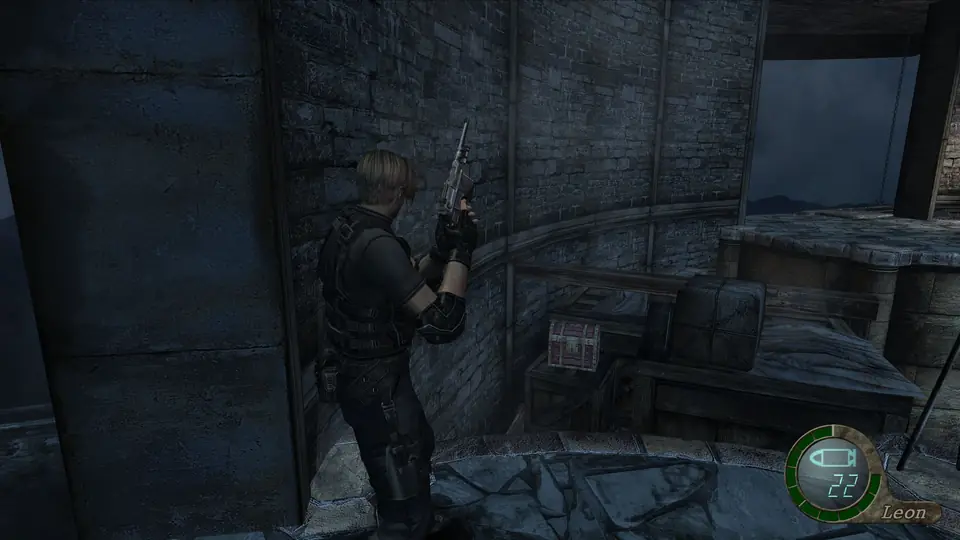
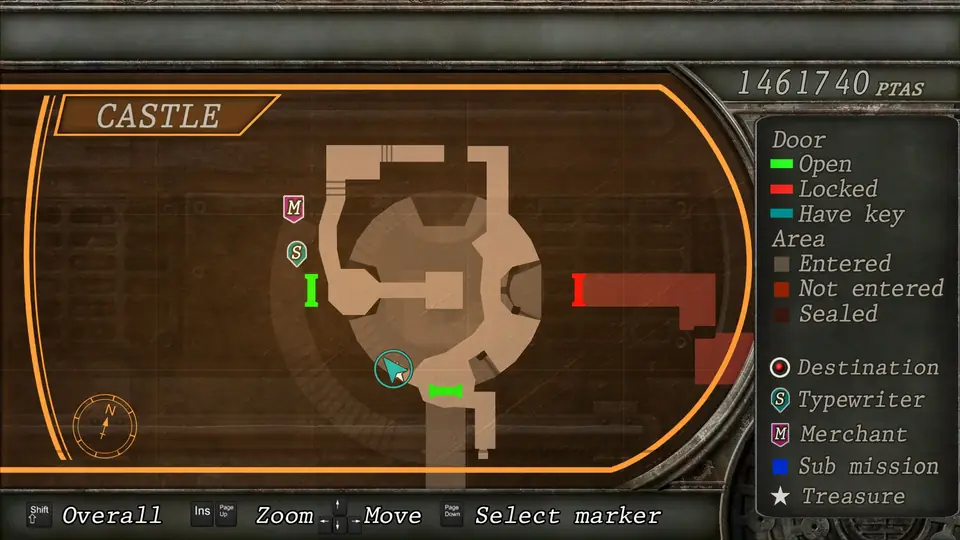
Chapter order: Cathedral Entrance Passage (typewriter) → cathedral: the floor sinks, the statue-hands puzzle → the colossal statue starts walking → tower: cutscene with Salazar (knife) → barrel stairs → Leader Zealot → lift → Tower 4F Walkway (Gold Bangle) → Merchant at the top (typewriter, rocket) → Salazar → rope, third lift and battlements → Merchant by the docks (typewriter) → boat with Ada.
BUY: two Merchants. At the one at the top of the tower, right before the boss: Rocket Launcher 30,000pts (Salazar drops 50,000, so it pays for itself). At the one after the boss, the real last one in the castle: sell everything and upgrade. Exclusives are only offered on a fully upgraded weapon: the Striker’s (60,000pts: 100-shell magazine, and it fills it for you) and the Red9’s (80,000pts), in that order of priority.
You’re still Leon, alone. The lift behind the lion door takes you up to the castle’s cathedral. Salazar has Ashley and means to ship her to Saddler’s island; before she sails, you have to get through the cathedral, where a colossal statue of Salazar comes to life, and climb his tower through barrels and zealots to the ritual chamber. There Salazar fuses with his bodyguard and a giant plant for the castle’s final boss. This is the last castle chapter: once you board Ada’s boat, anything you leave behind is lost.
Before you start
- Three typewriters: the Cathedral Entrance Passage (at the start), the top of the tower (before the boss) and the Merchant Room by the docks (after the boss).
- Two Merchants: at the top of the tower, before the boss door, and in the room by the docks, after the boss. Buy the rocket at the first one and do your big selling and upgrading at the second.
- Bring 30,000pts for the Rocket Launcher. With a rocket, Salazar goes down as soon as his shell opens.
- For the tower: something with punch to burst barrels in one or two shots (shotgun or rifle), and the shotgun for the lift, where there’s little room to dodge.
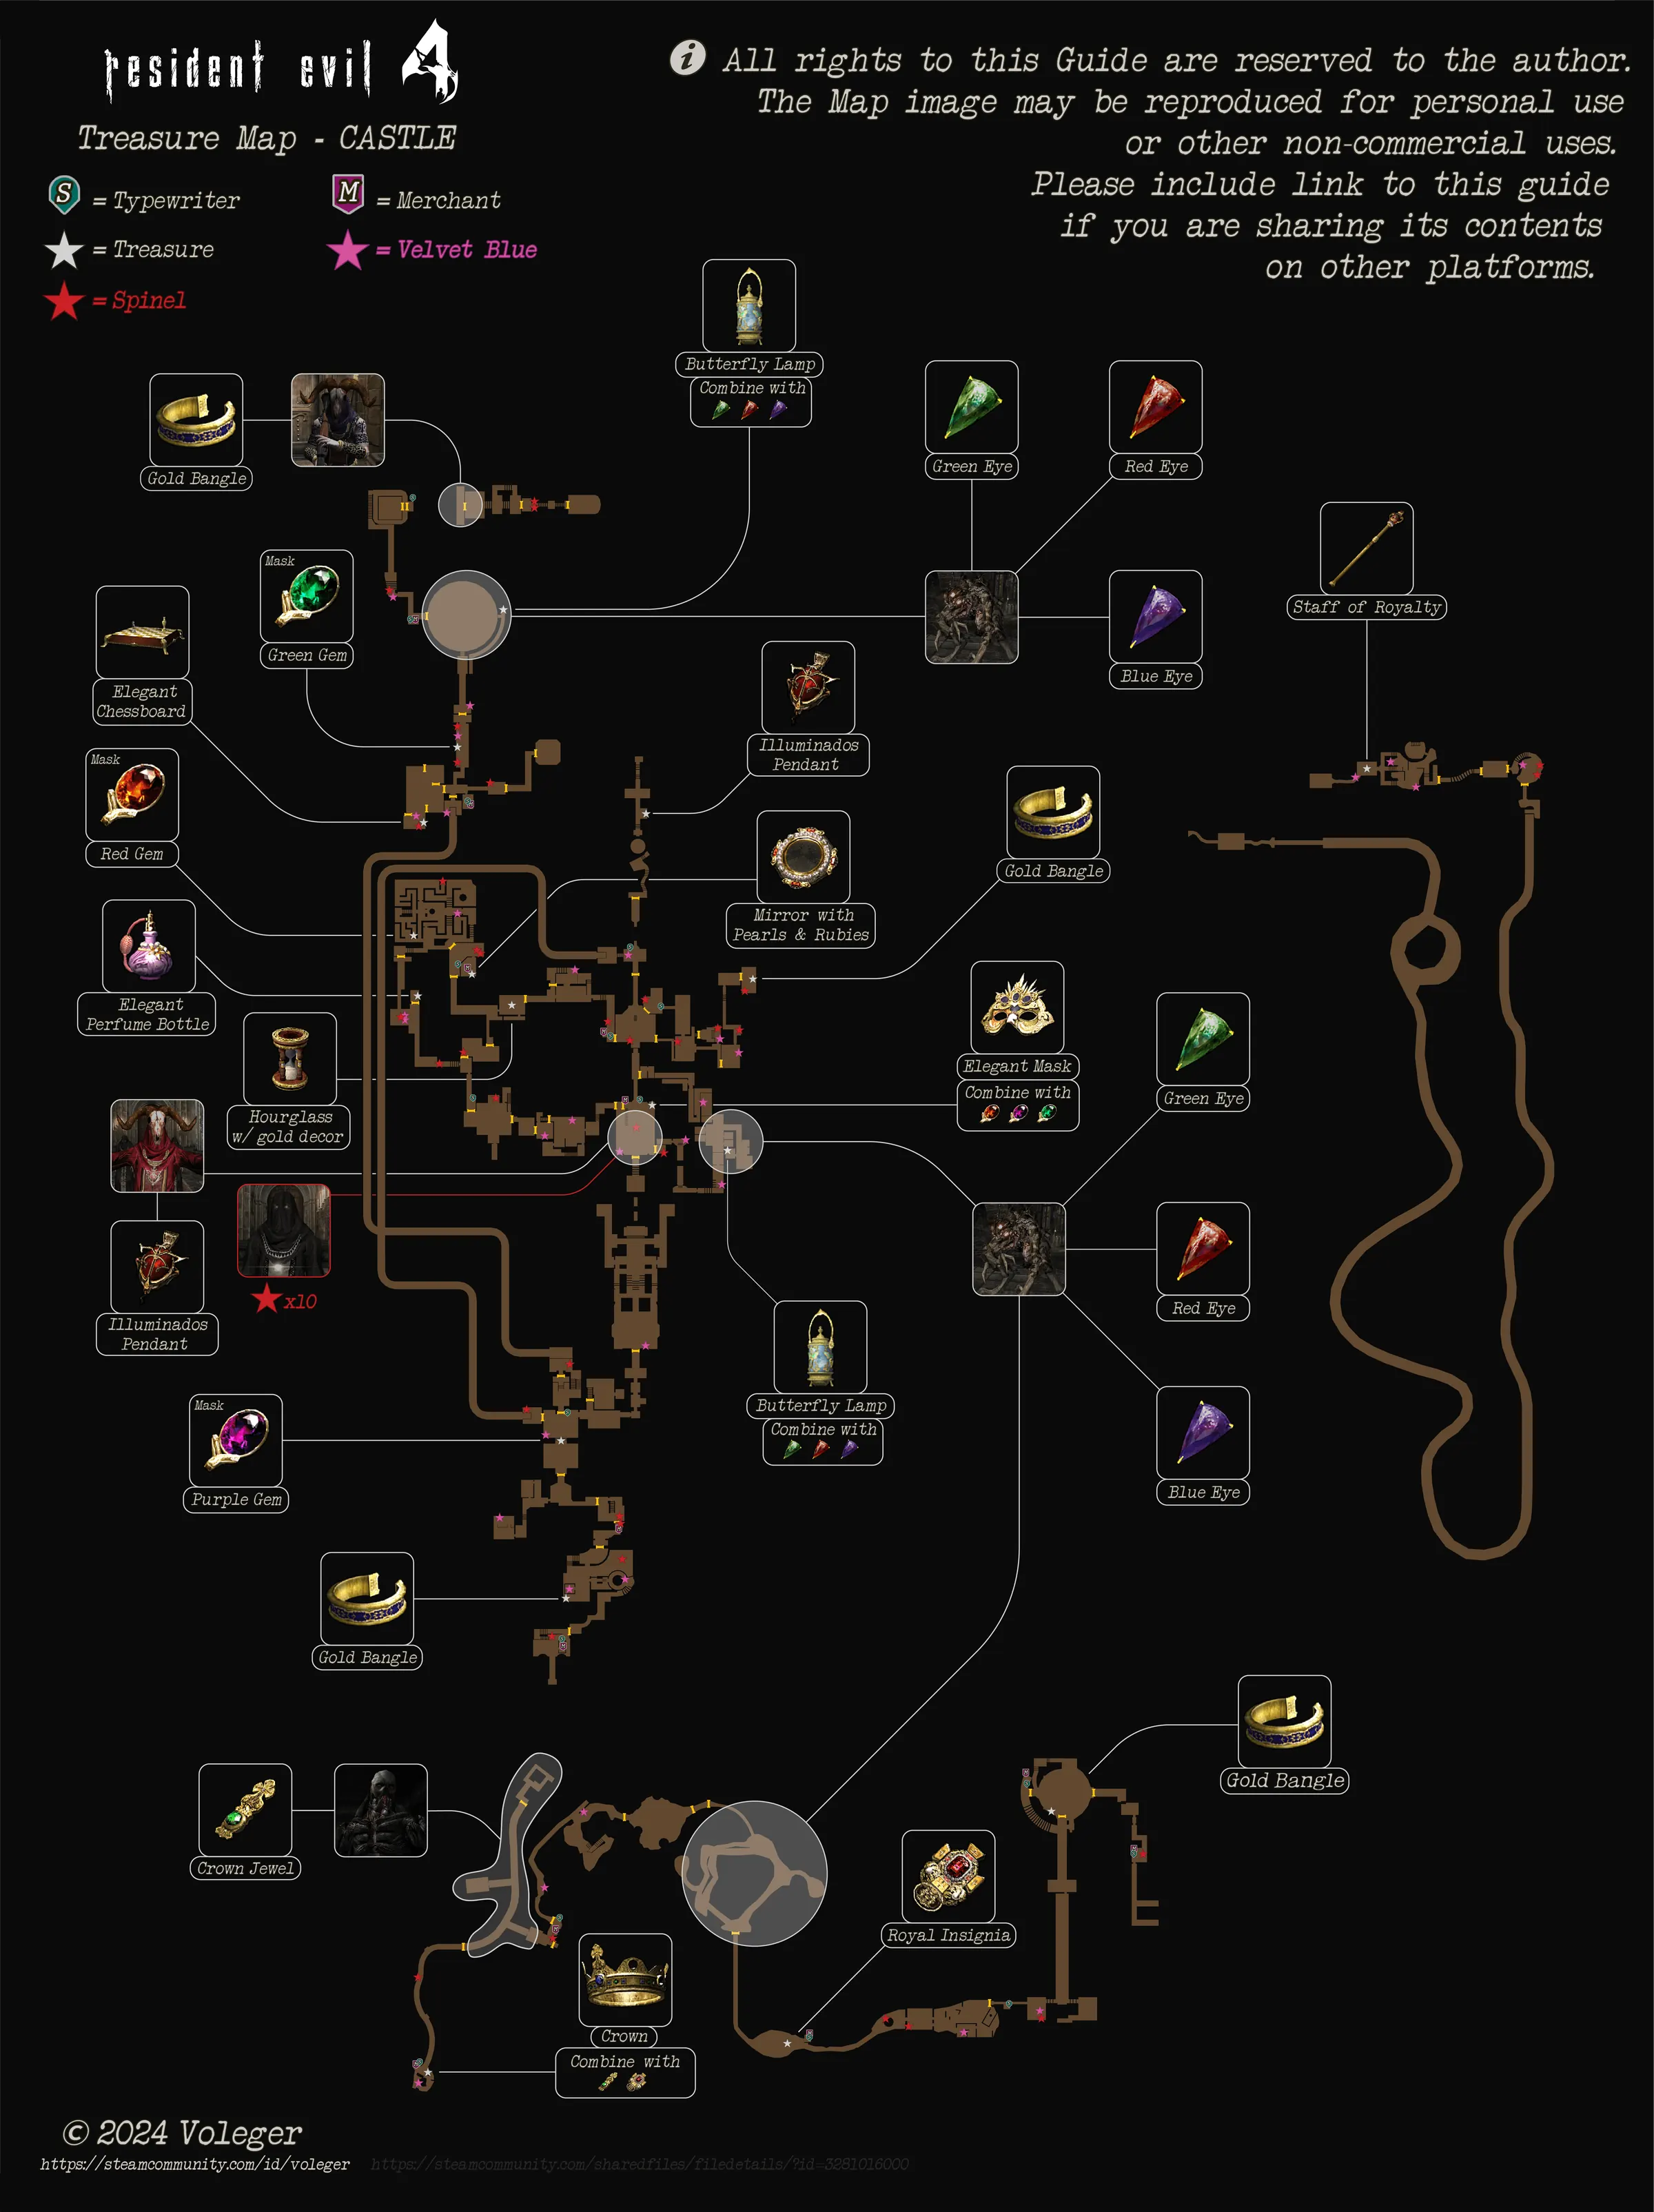
- Small treasures: a Velvet Blue and a Spinel in the cathedral, the Gold Bangle in the tower and another Spinel in the last Merchant’s room.
- Professional: every room holds the same items and enemies as on Normal (Evil Resource); what changes is the damage you take.
Cathedral Entrance Passage
You arrive from the lion lift. On the bench in the passage’s alcove there’s a typewriter and Handgun Ammo ×10. Save. There’s no Merchant until the top of the tower.
Cathedral: the floor sinks
The passage leads into the West Structure, a three-storey scaffold tower on one side of the nave. Before you step out into the nave, break the small vase in the SE corner of 1F: Velvet Blue.
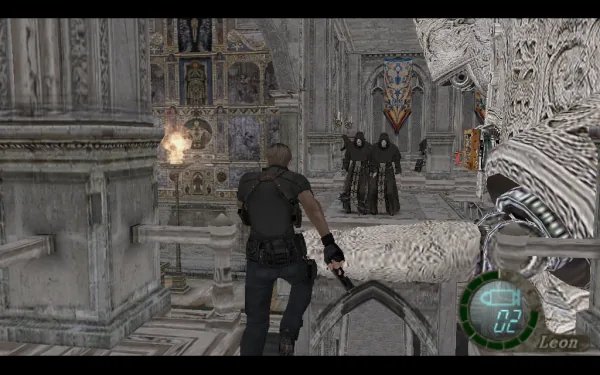
The Main Hall holds the colossal statue of Salazar. Walk toward the far exit: a red-robed zealot pulls a lever, the floor platforms sink under the water and you can no longer cross. Zealots appear everywhere, nearly all with flails and one crossbowman:
- 2 on the platform in front of the statue.
- West Structure: 1 on 1F, 1 on 2F and 4 on 3F.
- East Structure: 1 on 1F, 2 on 2F and 2 on 3F.
Tactic: don’t stay on the central platform, where both structures can shoot at you. Go back to the west one and fight your way up: kick the ones climbing the ladders and use the rifle on those aiming at you from the structure opposite.
The statue-hands puzzle
You have to move both of the statue’s hands to cross from one structure to the other and raise the last section of the bridge.
- West Structure, 3F: climb the ladders to the third floor. The large vase in the SE corner holds a Spinel. Hit the 3F switch: the statue’s hand rises to your level. 1 zealot on 2F and 2 on 3F of the East Structure appear.
- The statue’s back: step onto the hand and jump to the central platform. Hit the switch on the statue, on its back: the other hand moves.
- East Structure: ride the other hand across to the East Structure and go down to 1F. Its switch in the NE corner raises the last section of the bridge.
- Ambush: as soon as you hit it, 3 zealots drop onto 1F behind you, and 1 more on 2F and 2 on 3F of the West Structure appear. Turn around with the shotgun ready.
With the bridge complete, cross to the far exit.
The statue starts walking
It’s a trap: the colossal statue starts moving and chases you.
- Run for the exit. A pillar falls: press the buttons shown to dodge it.
- The far door has a padlock. Break it at once with the knife or a shot: the statue is right behind you. Better still: shoot the padlock beforehand, from the nave, as soon as you can see it and before you hit the last switch.
- Through it you’re out on the Cathedral Causeway. The statue smashes it behind you: QTE to jump and grab hold, and Leon climbs up. The statue falls into the chasm.
Tower 1F: cutscene with Salazar
As you enter the tower, Salazar explains his plan. Leon pins his hand with the knife, and his black-cloaked Verdugo (his second bodyguard, not the red-cloaked one from 4-1) throws it back: QTE to dodge. This scene plays the same whether or not you killed the 4-1 Verdugo. Salazar, wounded, escapes in the lift.
- Yellow Herb in the chest behind the large wooden boxes to the NW.
- Handgun Ammo ×10 on the stack of materials to the SW.
Tower stairs: the barrels
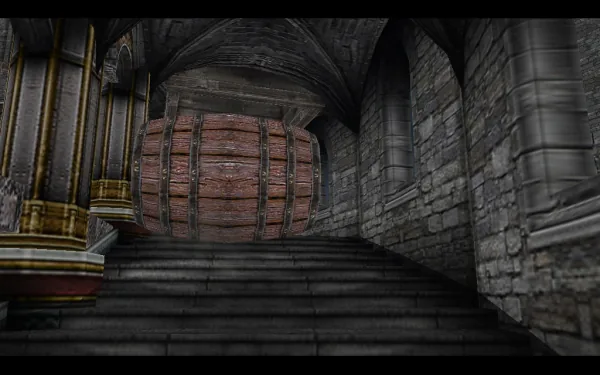
The zealots try to stop you from above: some throw dynamite (shoot their hand as they raise it) and others roll barrels down the stairs, some on fire. Burst each barrel in one or two shots before it reaches you, and don’t stand in the line of the stairs while they come down.
- Tower 3F Stairs: 3 zealots stand by the barrel-launcher switch (one jumps down to 2F). Kill them. Green Herb on the floor next to the large box blocking the way at the north end.
- Reinforcements: when you reach 3F, 6 zealots and a goat-masked Leader Zealot come in from 1F below. Turn the barrel launcher on them: it sweeps them down the stairs. The leader drops 5,500pts: if he falls below, go back down for it.
Tower 3F: the lift
- Incendiary Grenade and Shotgun Shells ×5 in the barrels in the NW corner.
- A zealot watches you from the west balcony on the floor above: take him out before you ride up.
Push both boxes off the lift and start it. As it rises, zealots jump in in groups of four (some with Plagas), and another waits on a balcony on the south side. If several pile in with you, the lift halts until you throw them off.
Tactic: stay in the middle with the shotgun and blast them as they land, or a handgun shot to the face and a kick to send them over the edge. For the ones carrying a Plaga: a Flash Grenade or the shotgun.
Tower 4F Walkway: the Gold Bangle
When the lift stops, follow the wooden walkway around the tower.
- TMP Ammo ×50 in the barrel in the SE corner of the outer NW platform.
- Handgun Ammo ×15 and Shotgun Shells ×10 in the barrels in the NE corner of the inner section.
- Red Herb on the floor in the SE corner of the inner section.
- Gold Bangle (8,500pts): near the walkway to the small southern lift, the screen offers “Drop down” into a small area. Down there, in the SW corner of the inner section, the chest holds the bangle. Climb back up and take the lift.
Tower 5F Stairs: the first Merchant
At the top of the stairs are the Merchant and a typewriter, and on the bench: First Aid Spray, Rifle Ammo ×5, Magnum Ammo ×5 and TMP Ammo ×50.
- Buy the Rocket Launcher (30,000pts). Salazar drops 50,000pts, so it pays for itself.
- Reload everything, heal and save.
- No need to sell here: the next Merchant is right after the boss.
In the next room, a cutscene: Ashley is on her way to the island, and Salazar and his Verdugo fuse with the plant.
Boss — Ramón Salazar
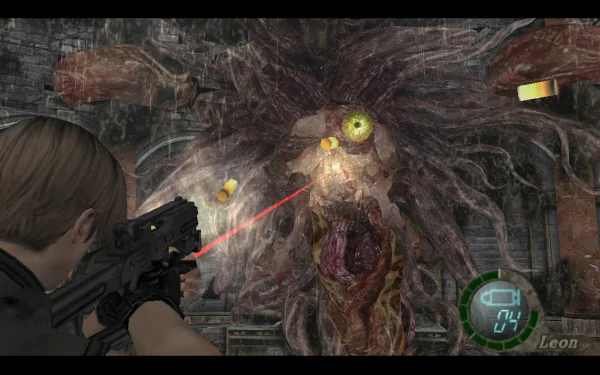
The room has two floors. Upstairs, a walkway facing the creature; downstairs, a pit with Plagas. In the middle of the wall, a huge Verdugo head with an eye guards Salazar, locked in a bone cage; two tentacles come out at the sides.
His attacks:
- Side tentacles: a bash (500 damage) and a grab that throws you to the lower floor (550). If it throws you, climb back up the ladder. Each tentacle retreats after 200 damage and comes back later.
- Body: a crush (800) and an instant-death bite if you stand in the middle, facing the head. The tentacles also come at you with QTEs: press the buttons to dodge.
Where to stand: on the upper walkway, to one side, next to one of the arms, never in the middle. From there the bite can’t reach you.
Step-by-step strategy:
- When the side tentacle on your side comes out, shoot it until it retreats (the handgun or the TMP will do).
- Shoot the big eye on the central head. After a few hits (the TMP works very well), the head goes limp and the bone cage opens.
- Hit Salazar with everything you have: the rocket kills him in one shot. Without a rocket, magnum or shotgun non-stop. The cage closes shortly after and the head wakes up.
- Repeat until he drops. Don’t waste the rocket on a tentacle: it barely does anything.
Ammo in the room:
- Upstairs: Shotgun Shells ×10 to the SE, a Green Herb to the north and Handgun Ammo ×15 to the NE.
- Downstairs, in barrels: Incendiary Grenade and Rifle Ammo ×10 (NE); Green Herb and TMP Ammo ×100 (SE); First Aid Spray and Handgun Ammo ×15 (at the end of the NW alcove); Flash Grenade and Shotgun Shells ×10 (at the end of the SW alcove).
- Up to 3 Plaga C respawn endlessly on the lower floor: if you run out of ammo, go down and kill them for drops.
Salazar drops 50,000pts. Once he’s dead, go down to pick up whatever is left and climb the ladder on the lower floor to collect the money.
After the boss: battlements and docks
- Leave the room, climb down the rope and take the third lift.
- Upper Battlements: Green Herb in a barrel by the north wall.
- Lower Battlements: the barrel in the SW corner hides a snake: break it with the knife and step back.
- Merchant Room: the Merchant and a typewriter on the west side. Rifle Ammo ×3, Shotgun Shells ×5 and Handgun Ammo ×10 on the stacks of materials on the north side; Spinel in the small crate on top of the large boxes on the east side; Flash Grenade on the boxes in the SE corner.
- The last Merchant in the castle: sell your treasures (Gold Bangle, Spinels, Velvet Blues) and upgrade. Exclusives: they only appear once every other upgrade on the weapon is maxed. Taking the Striker from purchase to its exclusive costs 392,000pts in all (43,000 for the gun, the upgrades and 60,000 for the exclusive); the Red9, 331,000pts (14,000 for the gun, the upgrades and 80,000 for the exclusive). On a first run you can rarely afford both here: fund the Striker’s first. The sources place their unlock at this Merchant; if they don’t show up yet, look for them at the island’s Merchants.
- Save and head out to the Docks: a cutscene with Ada, who is waiting with a boat. End of the chapter.
Before you board Ada’s boat
- Gold Bangle (8,500pts) from the Tower 4F Walkway.
- Velvet Blue (West Structure, 1F) and 2 Spinels (West Structure, 3F, and the last Merchant’s room).
- 5,500pts from the Leader Zealot and 50,000pts from Salazar.
- Staff of Royalty (4-3) and the Crown (48,000pts) already sold.
- Rocket spent on Salazar.
- Sold and upgraded at the last Merchant: the castle closes once you board the boat. The next Merchant is on the island, in 5-1.