Chapter order: Entrance Path (Saddler’s call, Emerald) → Outpost (J.J.) → laser and mirrors → Passageway (rolling boulder) → Caverns: red barrel and Golden Lynx → outside the facility → Merchant in the shack (Killer7, typewriter) → Larder and Kitchen → Lounge (Red Stone of Faith) → Security Room (Ashley on the cameras) → Main Passage and armoury: Merchant, vest and shooting range Game D → Stairway Passage (typewriter, Brass Pocket Watch) → operating theatre: arrow puzzle and Regenerators → Freezer (thermal scope) → crane → Storage Area (Ashley’s cell, locked) → Systems → Cupboard (typewriter) → laboratory: Iron Maiden (Storage Room Card Key) → communications tower (Merchant, optional) → back to Ashley’s cell.
BUY: Island Map 9,000pts · Tactical Vest 60,000pts (−30% damage; doesn’t exist on Professional), at the armoury Merchant · pending Exclusives (Red9 80,000pts, TMP 100,000pts). The Killer7 (77,700pts) only if you want a serious magnum: then sell the Broken Butterfly.
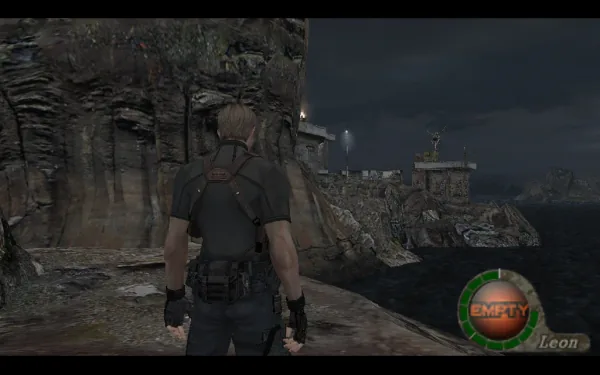
You’re Leon, alone. Ada has dropped you on Saddler’s island, a military base turned laboratory, and Ashley is locked up somewhere in its facility. The chapter crosses the shore and the Outpost, where J.J. waits with his Gatling gun, enters the research facility and works through it floor by floor. Upstairs it introduces the Regenerators, which regenerate unless you destroy their hidden parasites, and hands you the tool to see them: the thermal scope. The key to Ashley’s cell is carried by the first Iron Maiden, in the laboratory. The chapter ends when you open her cell.
Before you start
- New enemies: Soldiers (military Ganados) and Hammer soldiers. Some Soldiers wear a metal helmet or gas mask that stops headshots: with those, aim for legs and torso and finish with a kick. The hammer ones have an armoured body: go for their head.
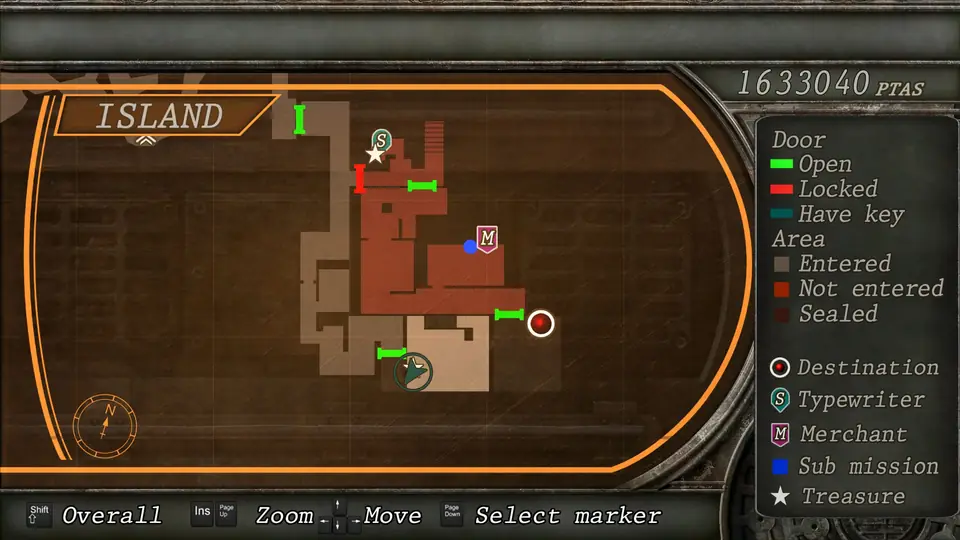
- Typewriters (3): the Merchant’s shack before the facility, the little room under the stairs (1F) and the Cupboard on 2F, right before the laboratory. The armoury has none: save on the stairs after shopping.
- Merchants (3): the shack on the Research Facility Approach (the first to sell the Killer7 and the island map; the Broken Butterfly’s capacity 12 upgrade, 25,000pts, opens here), the armoury off the Main Passage (the first to sell the Tactical Vest, with shooting range Game D) and the Communications Tower Entry, after the laboratory.
- Bring a rifle. Soldiers attack from range, with crossbows and dynamite, and on 2F the rifle is the only weapon that takes the thermal scope. Upgrade its firepower at the first Merchant if you can.
- Grenades: a Flash Grenade for J.J. and another for the crows at the tower (they carry money). Keep an incendiary handy: it kills a Regenerator without having to see its parasites.
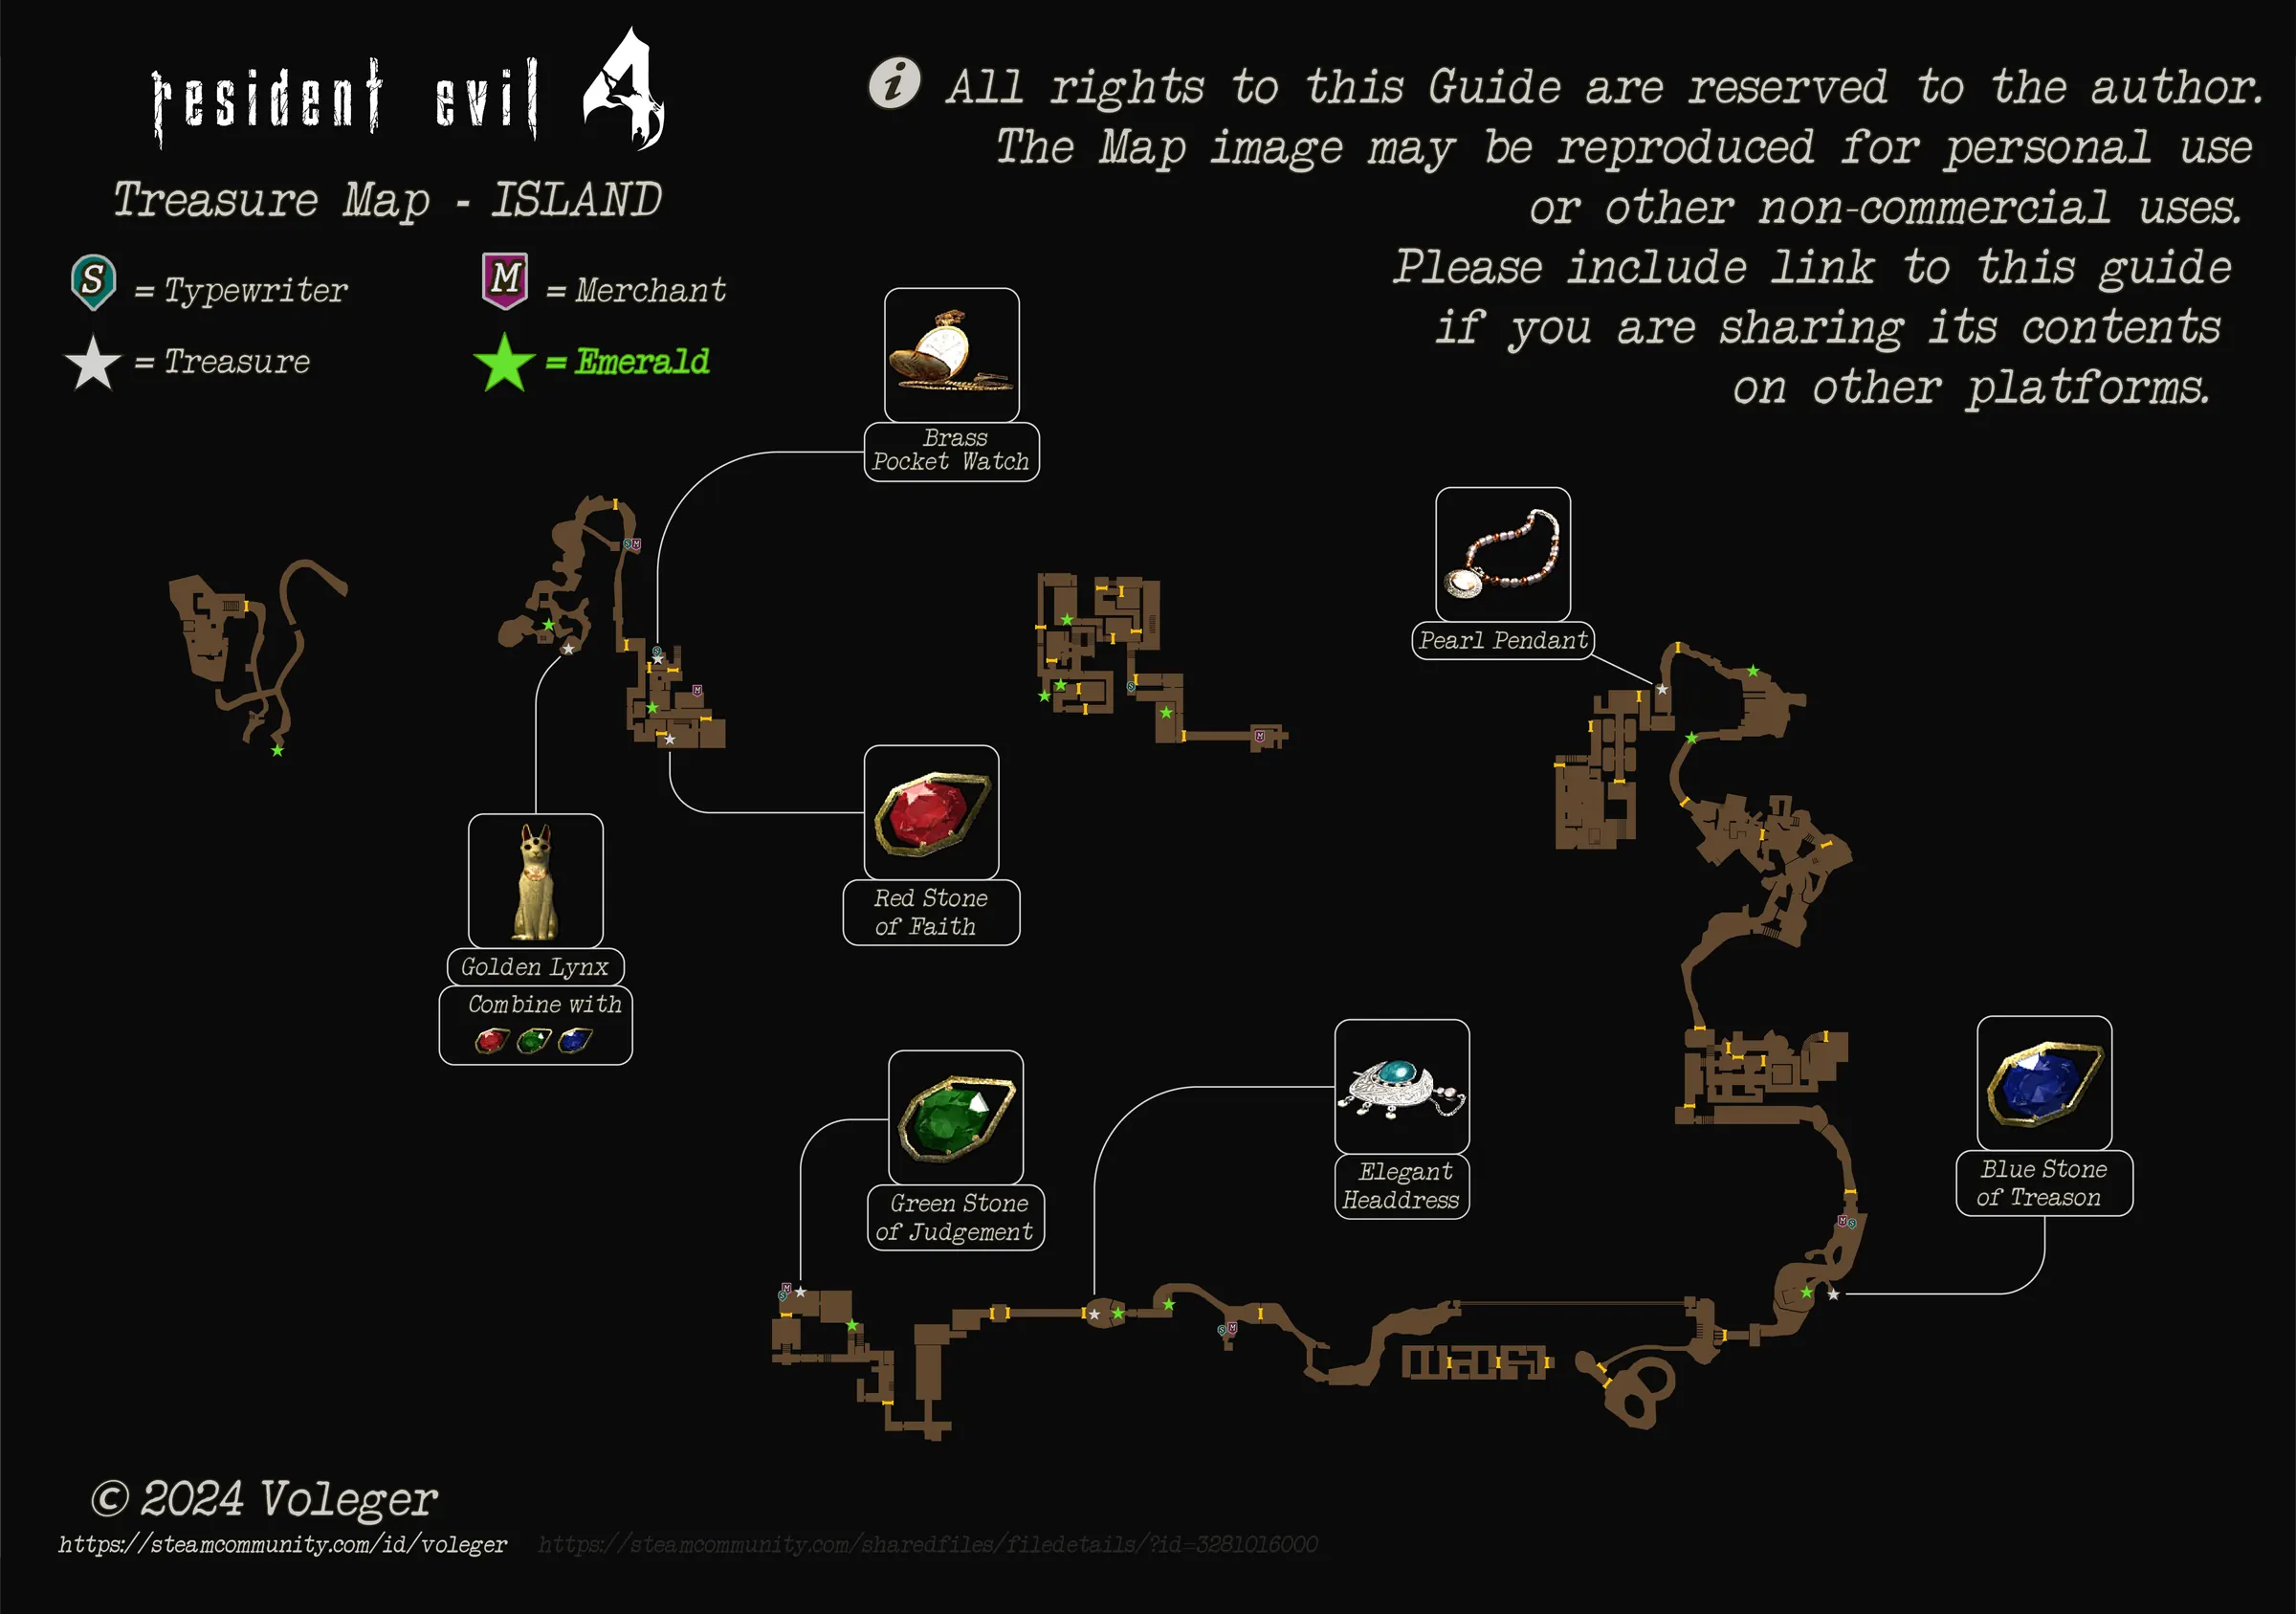
- Chapter treasures: the Golden Lynx (Secret Cave), the Red Stone of Faith (Lounge), the Brass Pocket Watch (stairs) and 7 of the island’s 13 Emeralds. Don’t sell the Golden Lynx: it’s worth 15,000pts on its own and 35,000pts with all three stones (Faith here, Judgment in 5-2, Treason in 5-3).
- Point of no return: early in 5-2, Leon and Ashley jump down the waste chute in the crane room and leave the whole building behind. Collect everything on 2F before you open Ashley’s cell.
- Professional: every room holds the same items and enemies as on Normal (Evil Resource). The only thing that disappears is the Tactical Vest, which isn’t sold on Professional (except on the US and Japanese GameCube releases).
Entrance Path
You arrive on Ada’s boat. As soon as you’re ashore, Saddler calls you on the radio (your first conversation with him).
- Emerald #1: at the end of the south-eastern path, in one of the small wooden crates on top of the climbable rocks. Break them all.
Follow the path to the tunnel that leads to the base.
Outpost: J.J.
On the other side of the tunnel you see some buildings and a searchlight. The area looks empty, but it isn’t: the Soldiers are hiding. Shoot the searchlight with the handgun before you move in: if it lights you up, they all see you at once.
When you step into the middle of the area, J.J., the Gatling man, appears on the left. He only fires with a direct line of sight and pauses to spin up before each burst.
- Take cover behind the broken wall and don’t step out while the barrel is spinning.
- Flash Grenade to stun him, then unload your strongest weapon at his head (rifle, magnum or Striker). The rifle keeps him pinned between shots.
- He drops 15,000pts. Most of the Soldiers come out once he falls: 13 in all keep appearing as you explore. Fight from cover and don’t stay in the open.
Outpost loot:
- Handgun Ammo ×10 on the large boxes in front of the south wall.
- Building 1: Magnum Ammo ×3 in the SE corner of its roof.
- Building 2: Green Herb on the boxes in the NW corner.
- Building 3: TMP Ammo ×50 on the boxes in the NW corner.
The laser and mirrors puzzle
The stone door up top, where Ashley was taken, opens with a laser beam.
- Climb the stairs. To the left of the locked door there’s a switch: press it and the laser turns on (it’s harmless).
- Climb the ladder to the roof of the building in front of the steps (the NW one) and turn its mirror until the beam reaches the second mirror, on the roof of the building to your right (SE).
- Go to that second mirror and turn it to send the beam back to the receptor panel to the right of the door. The door rises.
Passageway: the rolling boulder
Past the laser door, a long passage. Two Soldiers at the far, southern end send a boulder at you:
- It’s a QTE: unlike the village boulders there’s no running here, you only have to press the dodge combination in time when it appears on screen. Miss it and the boulder crushes you.
- A crossbowman waits behind it: drop him with the rifle before moving on.
- Shotgun Shells ×5 on the ground behind the sandbags at the north end; Green Herb in a barrel in the west alcove, halfway along.
Out the other side, the Cliff Edge: one Soldier behind the sandbags on the west side.
Caverns: the red barrel and the Golden Lynx
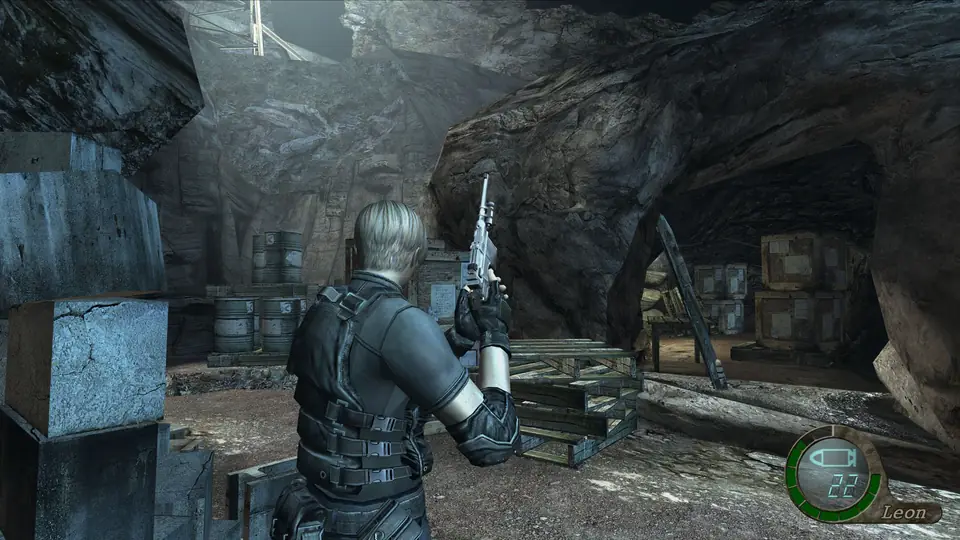
The Caverns hold 3 Soldiers in the middle of the tunnels.
- Rifle Ammo ×5 on the central table.
- Red Herb at the end of the north-east tunnel.
- Emerald #2: on the large boxes at the entrance to the south tunnel.
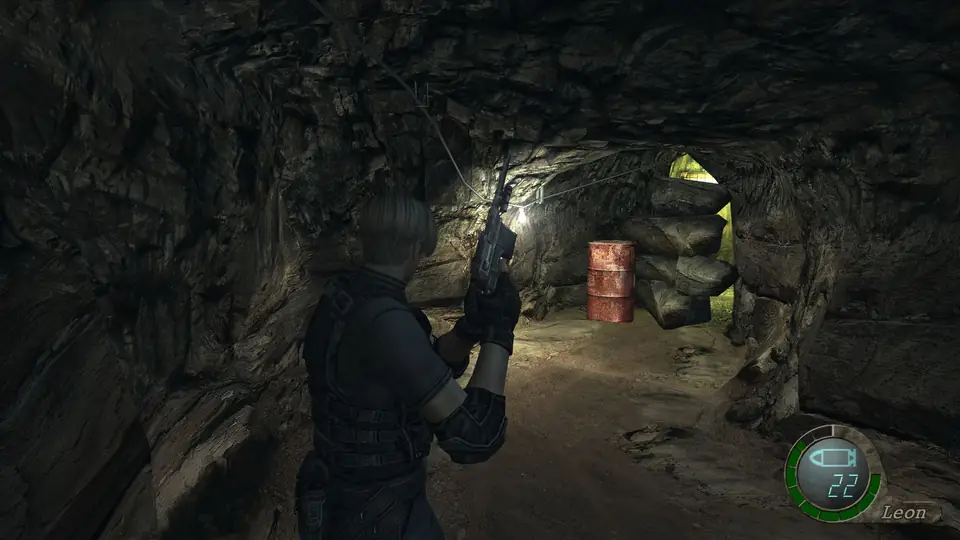
- Explosive red barrel in the south-east tunnel: shoot it and the blast opens the Secret Cave. In the chest on the rocky platform is the Golden Lynx (15,000pts alone; 20,000pts with 1 stone, 25,000pts with 2 and 35,000pts with all 3). Don’t sell it yet.
Outside the facility and the first Merchant
Outside the Research Facility: 3 Soldiers standing around and 1 by the doors to the Research Facility Approach. As you move forward, 8 more drop in from above. Back off to cover and pick them off one at a time with the rifle: many carry crossbows or dynamite. The switch at the top of the area opens the door towards the facility.
Side Passageway (1F): 2 Soldiers (one on the bridge over the outside area, one inside) and 2 more that appear in the room at the east end. In there: Shotgun Shells ×5 and a Green Herb.
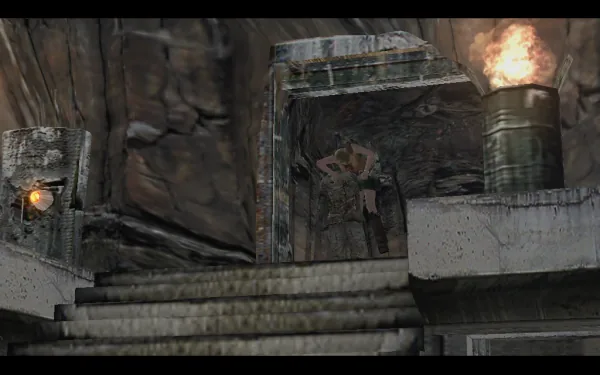
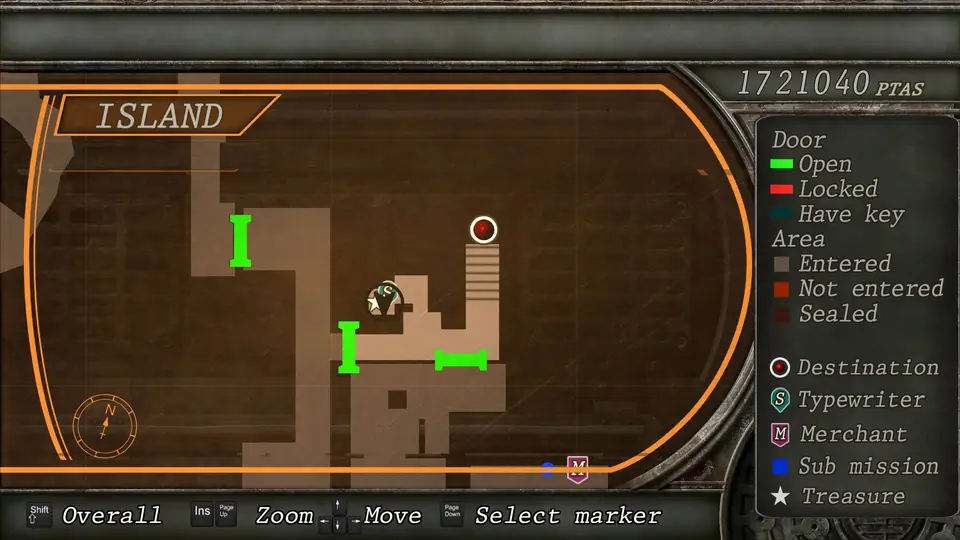
Research Facility Approach: 5 Soldiers at the south end. In the alcove on the east side, inside a shack, are the Merchant and a typewriter.
The island’s first Merchant:
- New: Killer7 (77,700pts), Treasure Map (Island) 9,000pts and the Broken Butterfly’s capacity 12 upgrade (25,000pts).
- What to do now: sell loose treasures and upgrade the rifle’s firepower; you’ll need it for J.J. in 5-4 and for the thermal scope. If you buy the Killer7, sell the Broken Butterfly: you don’t need two magnums.
- The Tactical Vest isn’t here: the armoury Merchant, a little further on, sells it.
- Save.
Facility 1F: Larder, Kitchen and Lounge
Entrance Passage: 2,000pts in the lockers at the north end; Incendiary Grenade in the large bin to the south, across from the Larder door.
Larder: 1 Soldier on the east side. Green Herb on the bench and Shotgun Shells ×10 in the silver briefcase in the small NE room.
Kitchen: rotting meat and a Soldier who bursts out of the oven on fire as you approach. He does double damage: step aside and let him burn to death, or shoot him. Hand Grenade in the sinks on the north side.
Security Corridor: a Hammer soldier on the east side. His armour stops body shots: headshot and kick.
Lounge, the room with the stairs: inside are another Hammer soldier and a Soldier, and 2 more come down the stairs while you explore. Don’t rush downstairs: you’ll be surrounded down there. Fight from the top, by the door, and go down once it’s clear.
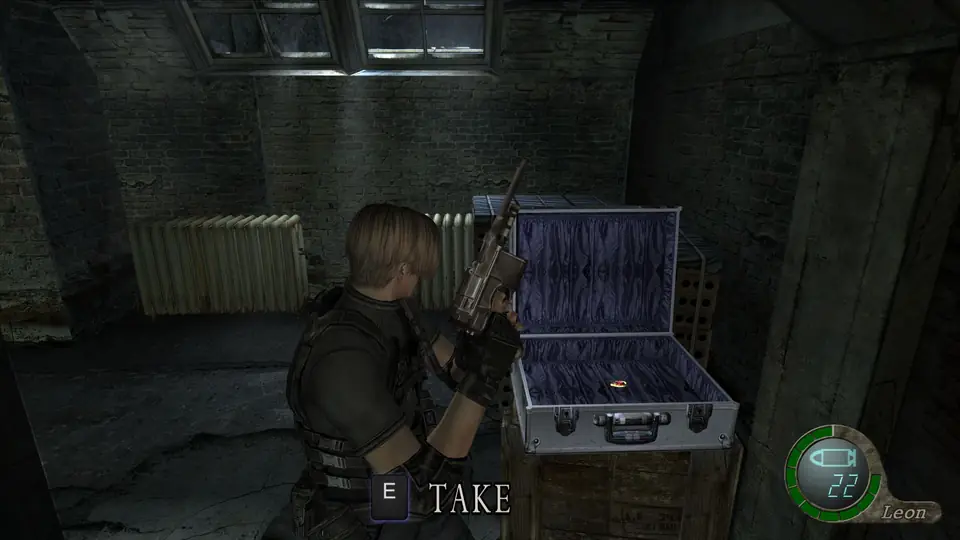
- RED STONE OF FAITH in the silver briefcase in the SW corner.
- Yellow Herb in a barrel in the little room under the stairs, to the NE.
Security Room: cutscene of Ashley on the cameras. Handgun Ammo ×10 on the small filing cabinet across from the door and 5,000pts in the SE locker.
Main Passage and armoury: Merchant and shooting range Game D
Main Passage: in the drawers of the filing-cabinet wall on the south side there are Shotgun Shells ×5.
Armoury (Merchant Room): the Merchant in the NE corner and Rifle Ammo ×5 in the glass cabinet to the NW.
- Tactical Vest 60,000pts: cuts the damage you take by 30% and sells back for 30,000pts. It’s the best defensive buy in the game if you can afford it. It doesn’t exist on Professional.
- Shooting range, Game D (the last one): 6 caps (Dynamite soldier, Stun-rod soldier, Hammer soldier, Isabel, Maria and J.J.) and 50,000pts for the full set. Caps are earned by score, as in the earlier games (the threshold varies by version: read the rules on the counter), and you mustn’t hit the Ashley targets. It’s optional and you can come back.
The sliding door (the Main Passage’s western room): as you approach, the metal shutter opens and closes while you’re attacked from behind it:
- First 2 dynamite Soldiers. Shoot their hands as they raise the stick.
- Then 3 with fire crossbows, and 1 more works the shutter switch. A Hand Grenade through the gap when it opens clears them.
- Once they’re all down, the shutter stays open. Behind it: Red Herb by the switch and TMP Ammo ×50 in the little NW cupboard. If you come back in later, 2 more Soldiers appear.
- Emerald #3: in a drawer of the filing-cabinet wall on the west side of the main room.
Stairway Passage
This is the building’s hub: it links 1F with 2F and with both the operating-theatre and freezer corridors.
- Typewriter in the little room under the stairs (1F). Save here after shopping at the armoury.
- Brass Pocket Watch (10,000pts) in the small wooden crate in the SW corner of that room.
- Green Herb by that room’s door.
Go up to 2F and take the East Corridor. It holds an Incendiary Grenade in the little cupboard by the door to the stairs and Magnum Ammo ×3 in the crate on the shelves.
Operating theatre: the arrow puzzle and the first Regenerator
Operating Room Entry. Here’s the coloured-arrow panel that opens the security door of the Main Operating Room. Each colour button turns every arrow of that colour one step; you need to form an unbroken path of arrows from one end of the panel to the other.
- Solution: Red ×3, Green ×2, Blue ×1 (order doesn’t matter). You don’t need yellow.
Main Operating Room:
- Luis’ Memo 3 on the gurney to the north: it warns you about Regenerators.
- TMP Ammo ×25 on the floor, SW corner.
- Freezer Card Key on the dead body on the east side.
Warning: when you take the Freezer Card Key, the grey body on the table in the Small Operating Room wakes up. It’s the first Regenerator, and it comes for you.
- Tactic: no panic. It’s slow, but its arms stretch, and kicks and suplexes don’t affect it. Shotgun its legs to knock it down and keep your distance: without a leg it crawls, and if you get close it can lunge and bite you. You don’t have the thermal scope yet: an incendiary grenade or heavy damage (Striker, magnum) finishes it.
- It drops 5,000pts.
- Emerald #4: in the glass medicine cabinet in the NE corner of the Small Operating Room.
With the Freezer Card Key in hand, two more Regenerators appear, one in the East Corridor and one in the West Corridor. Each drops 5,000pts. Same tactic.
West Corridor and Freezer: the thermal scope
West Corridor:
- Emerald #5: in the silver briefcase at the end of the southern offshoot.
- Rifle Ammo ×5 in the little cupboard in the SW corner.
Freezer, opened with the Freezer Card Key:
- In the SE room, use the Freezer Card Key on the terminal: it turns it into the Waste Disposal Card Key, which opens the way to the crane room.
- With the controls in that same room, thaw the freezer.
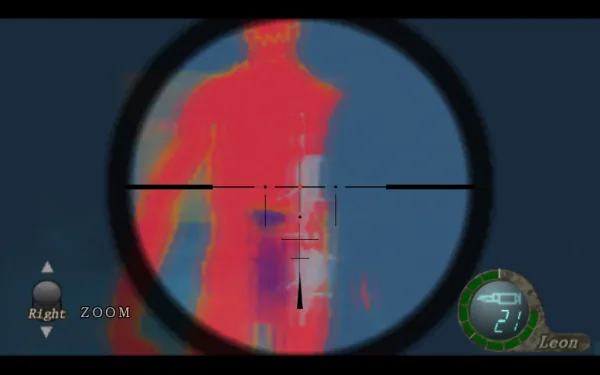
- In the NE room, the now-thawed cabinet holds the thermal scope (Infrared Scope). Fit it to the rifle.
- As you take it, one of the bodies hanging from the ceiling wakes up: another Regenerator. Try the scope out: aim with the rifle and you’ll see the parasites glow; each one you burst brings it closer to death, and when the last one goes it dies. It drops 5,000pts.
- Rifle Ammo ×5 on the pile of materials to the SW and a Green Herb in the NW glass cabinet.
Crane and Storage Area: Ashley is behind the door
Back in the West Corridor, open Connecting Passage 1 with the Waste Disposal Card Key: TMP Ammo ×25 on the boxes to the north.
Waste Disposal Control Room: Hand Grenade on the floor in front of the panel. From here you work the crane.
Waste Disposal Area: 4 Soldiers. Shoot them, or, the fun way, grab them with the crane and drop them down the chute.
- Emerald #6: on the SE waste container, on the south side.
- Green Herb by the SE waste containers.
- Note the chute: it’s the way out in 5-2.
Carry on through Connecting Passage 2 to the Security Center: Yellow Herb on the desk by the computers and a Flash Grenade in the SE locker.
Storage Area: you hear Ashley calling. Two Hammer soldiers guard her cell door. Kill them with shots to the head (Flash and rifle works well). Handgun Ammo ×10 in the little wall cupboard in the middle. The cell door needs the Storage Room Card Key: the laboratory’s Iron Maiden has it.
Systems and Cupboard: on the way to the laboratory
Connecting Passage 3 → Systems: 4 Soldiers in the upper room and 2 in the lower one. Use the doorways as chokepoints and the shotgun.
- Flash Grenade on the bench to the west, upstairs.
- Shotgun Shells ×5 in the open cabinet in the NW corner, downstairs.
Connecting Passage 4 → Cupboard: typewriter and a Green Herb on the table. Save: the Iron Maiden is next.
Laboratory: the Iron Maiden
Laboratory Monitor Room: Rifle Ammo ×3 on the metal table to the north and TMP Ammo ×25 in the NE glass cabinet. On one of the monitors you see the Iron Maiden: that wakes it in the room next door.
Laboratory Control Center: Iron Maiden. It’s a Regenerator covered in spikes.
- Danger: if it grabs you, it impales you on its spikes (huge damage). Stay out of reach of its arms.
- Tactic: thermal scope and go for the chest parasites. It has one more on its back: shoot its legs, and once it falls and writhes the back one is in your sights. A grenade behind it works too.
- It drops the Storage Room Card Key, the key to Ashley’s cell.
- Rifle Ammo ×3 in the silver briefcase on the far west side of the room.
Main Laboratory, reached through the control center’s windows:
- Emerald #7: inside one of the four small cryotubes in the middle.
- Shotgun Shells ×10 in the open cabinet to the west.
- Rifle Ammo ×3 in the valve-handle wall locker, SW.
- Green Herb and Red Herb in the glass cabinets on the east side.
Communications tower (optional) and the third Merchant
Through the Laboratory Exit you reach the Communications Tower Entry.
- Merchant in the SE offshoot, with an Incendiary Grenade and a Yellow Herb in the barrels. Sell treasures (Emeralds, Brass Pocket Watch) and upgrade.
- 6 crows on the girders. Three carry something: a Flash Grenade, 5,000pts and Handgun Ammo ×10. One Flash Grenade kills them all at once.
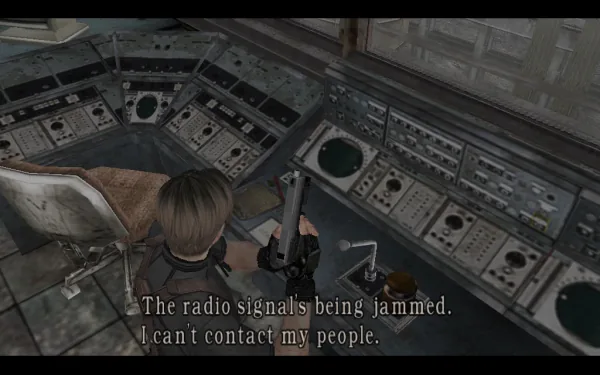
The lift up to the tower is optional: up there, Leon radios for backup and nobody answers (the radio is jammed). If you go up: Green Herb in the SE corner of the balcony and Shotgun Shells ×5 on the table in the tower.
Back to Ashley’s cell
Retrace your steps to Systems: once you hold the Storage Room Card Key, 6 Soldiers appear in the upper room. Shotgun at the doorways, or Flash and run.
In the Storage Area, open the cell (Storage Room) with the card. Shotgun Shells ×10 on the table at the back. Reunion with Ashley: end of the chapter. Check the list below before you go in.
Regenerators
Wheezing breath = run or get ready. With the thermal scope on the rifle, shoot the 2–5 hidden parasites. Without it, rifle or shotgun to the legs to knock them down and run (without a leg they crawl and can leap to bite you: don’t get close), or use a fire or fragmentation grenade: area damage destroys parasites without needing to see them (confirmed by speedrunners in no-merchant categories). Each Regenerator drops 5,000pts when it dies, not per parasite; 5-1 has four (Small Operating Room, East Corridor, West Corridor and Freezer), 20,000pts in all. Iron Maidens also carry one on the back and burst into spikes when they die: keep your distance. The 5-1 one drops the cell card; the two in 5-2, 20,000pts each.
Before you open Ashley’s cell
- Golden Lynx (Secret Cave), with the Red Stone of Faith (Lounge) already set or in the case. Don’t sell it.
- Brass Pocket Watch (little room under the stairs).
- 7 Emeralds: Entrance Path, Caverns, Main Passage, Small Operating Room, West Corridor, Waste Disposal Area and Main Laboratory.
- Thermal scope on the rifle and Luis’ Memo 3 read.
- Money: J.J. 15,000pts, 4 Regenerators × 5,000pts, crows 5,000pts, 2,000pts from the Entrance Passage and 5,000pts from the Security Room.
- Shooting range Game D (optional, 50,000pts) and the Tactical Vest if you can afford it.
- Upgrades done: the next Merchant, in 5-2, is in the waste plant’s basement, before the bulldozer.