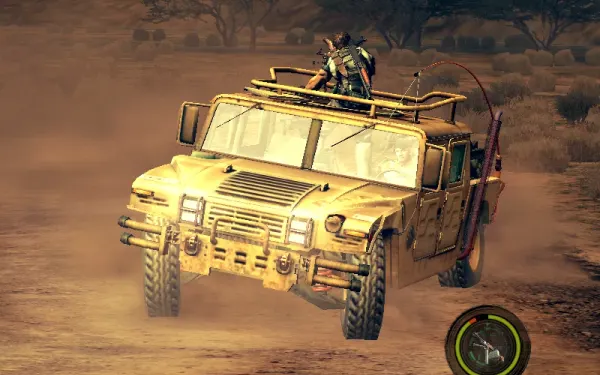
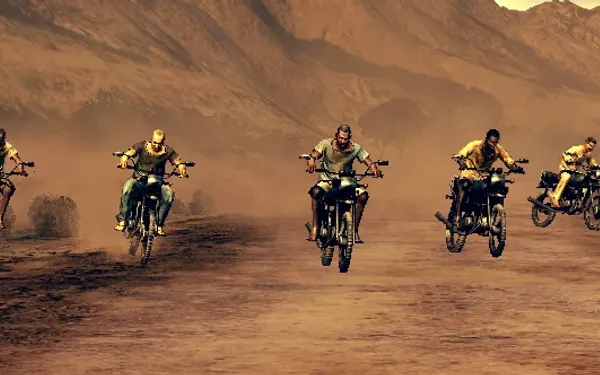
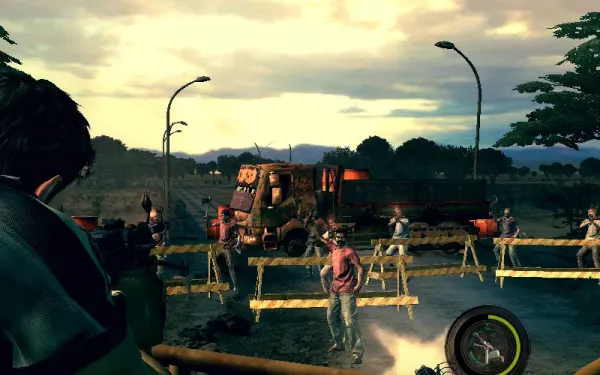
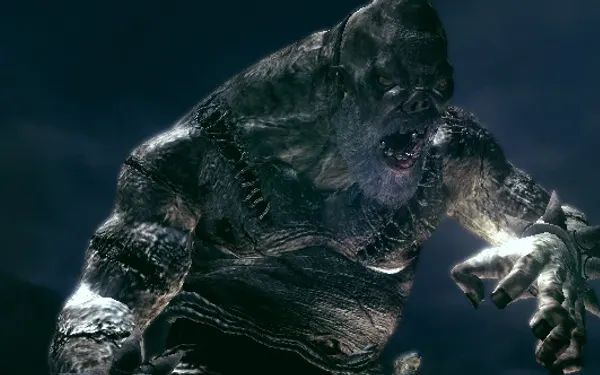
You play as Chris and Sheva, manning the two machine guns of the Gambit, the Delta Team’s armoured vehicle, with Dave Johnson at the wheel. This chapter is on rails: you don’t move, you don’t use your inventory and there is nothing to pick up. First comes a 5-to-10-minute chase across the savannah, with bikers throwing Molotovs and trucks trying to ram you. Then, at the Delta Team’s ruined camp, Ndesu, a giant with implanted Plagas, kills Dave and you have to bring him down without leaving the turret. What’s at stake is the Drive By achievement, which can only be earned in this chapter, and an S rank that depends on making the most of the chase.
Chapter order: Dave drives the Gambit → Savannah chase: Molotov bikers and ramming trucks (several checkpoints) → the ruined Delta Team camp → Ndesu kills Dave → Ndesu from the turrets → end of Chapter 2.
Before you start
Shop. For the whole chapter you only use the Gambit’s mounted machine guns: infinite ammo, but they overheat. Nothing in your inventory gets used, so there is no need to buy or reorganise for 2-3; don’t buy grenades or Proximity Bombs with this chapter in mind. Use the stop to sell the 2-2 treasures (₦21,000) and upgrade the Ithaca M37 and Sheva’s H&K MP5 for 3-1. Heal both characters before you start.
Collectibles. There are no BSAA Emblems, treasures or files.
Achievements at stake. Drive By (this chapter only: finish without it and you’ll have to replay 2-3) and Fireworks (if you don’t have it yet).
Difficulty. On Veteran and Professional the Gambit has less health. On Professional, Ndesu punishes you hard because you can’t move: your only defences are shooting him and the QTEs.
S rank on Normal: accuracy ≥70%, ≥40 kills, 0 deaths and ≤9:00. Clearing it unlocks the Majini Library entry.
The Gambit and the turrets
Dave Johnson drives. Chris takes the top machine gun and Sheva the lower one. In co-op (split-screen too) each player has a turret; solo, the AI takes the other.
- Fire in bursts: hold the trigger and the gun overheats, leaving you unable to fire for a few seconds. Watch the heat gauge and let go before it goes fully red.
- Sweep, don’t fine-tune: instead of trying to pin your sight on a moving target, sweep the burst from one side of it to the other. You hit more and build less heat.
- The Gambit’s health is the bar that matters. If it runs out, you lose. Every time you retry from a checkpoint it gets some health back (one Japanese guide says only a little): if you reach a checkpoint badly hurt, restarting from there is not a bad idea.
The AI beats a human here. On the turret the AI is very accurate and fires at enemies almost the moment they appear. Use it as an early warning: if Sheva starts shooting to one side, look there. It’s one of the few parts of the game that is easier solo as Chris than in co-op.
The Savannah chase
It lasts about 5 to 10 minutes and has several automatic checkpoints. A Japanese guide (the RE5 “strategy information centre”) lays it out like this; the exact flanks vary a little between sources:
- Bikes from behind. The first group of riders.
- QTE to hold on round a corner.
- A truck from behind on one side and bikes from behind.
- QTE.
- Another truck on the other flank and more bikes.
- QTE.
- Two trucks in a row, one on each side, with bikes behind.
- A barricade ahead.
- A river on the left: from here that flank is clear and you only need to watch the right.
- One last truck on the right and bikes on the right.
- Cutscene and arrival at the camp.
Another Japanese guide (game2.sub.jp) adds that on a bridge along the way the Gambit won’t move on until you destroy the truck: use the nearby barrels’ explosions to finish it sooner, and don’t waste time on the bikes there.
Bikes (Rider Majini). They ride in groups and throw Molotovs and tomahawks. The red-shirted riders are leaders and take more punishment.
- Shoot the rider, not the bike: the guides agree it’s quicker, and every rider is a kill.
- Hit the arm of a rider about to throw and he drops the Molotov on himself. Shooting the Molotov in his hand earns Fireworks.
- When a truck arrives, don’t forget the bikes: Molotov damage piles up while you stare at the truck. Give the truck just enough and clear the bike group first.
Trucks. They try to ram the Gambit and carry Molotov-throwing Majini. Focus fire until they explode, or aim for the fuel tank or the driver. Watch both sides: bikes often come up one flank while a truck comes up the other, so in co-op split the flanks between you.
Corners and QTEs. When the Gambit swerves round a corner, QTEs come up to hold on (about three in the whole chase). Don’t miss any.
Kills for the S rank. The Ndesu fight is risky (a charge or badly timed overheating kills you), so the 40 kills come from the chase: shoot everything that shows up, not just what threatens you, and the riders’ bodies, not only the bikes. You also need to finish in 9 minutes or less.
Drive By achievement (this chapter only)
You need to stop an armoured truck by killing its driver.
- Pick your truck. There are 3 to 5 trucks in the chapter, so you get several tries. According to PlayStationTrophies the first one comes from the left, and the one that pulls up on your right afterwards is the easiest for this (the Japanese guide above gives a different order of flanks; either way, look for one that pulls alongside you).
- Break the window armour. The driver’s window is boarded with armour. Shoot the window until the boards break or you shoot through them.
- Kill the driver the moment he is exposed, before the truck pulls ahead and out of your turret’s arc.
It doesn’t count if the truck blows up, if your partner kills the driver, or for the truck driver in 2-1. Solo, the AI shoots the truck on its own: focus on the window from the start. If every truck fails, restart from the last checkpoint or replay the chapter, which is short.
Difficulty and QTEs
- On Veteran and Professional the Gambit takes fewer hits, so bikes and trucks that reach you cost a lot more: always deal first with whatever is closest to the vehicle.
- On Professional QTEs are stricter and a wrong button is an instant fail.
- Action Assist (Options > Game Settings) helps with QTEs or completes them for you, and starting a new game on Amateur asks whether you want QTEs to auto-complete. It reached PC in an early-2023 update (consoles already had a similar mode). Note: it mainly applies to QTEs inside cutscenes, not to all of them. Don’t count on it for the Gambit’s swerves or Ndesu’s dodges.
Delta Team camp
You reach the Delta Team’s ruined base. Cutscene: Ndesu appears, crushes a soldier and then kills Dave. Chris and Sheva stay on the turrets with the Gambit stopped: the boss fight begins. According to the Japanese guide, the Gambit starts the fight at full health.
Boss — Ndesu
A Tricell B.O.W. built from El Gigante data, with several Plagas implanted (Evil Resource says five): it only dies when you destroy the large one on its back. You’re on the turret, so you can’t move. You don’t need to reload either, but overheating at the wrong moment can be fatal. He is backed by 2 crossbow Majini on the right and 1 Molotov Majini on the left, who respawn (you hear them laugh or cry out) and wear down the Gambit. Oil canisters are scattered around the arena.
His attacks and how to cut them short. Almost everything is interrupted by shooting his head:
- Stomp on the Gambit (foot raised): shoot the face or the leg / sole of the foot to stagger him.
- Pound with both fists (leans back, fists together): head and torso, as soon as it starts.
- Charge (a body tackle that can take over 50% of your health). The tell is him crouching in the distance, and Sheva’s “Something’s wrong with him! Watch out!” or Chris’s “I don’t like the looks of this! Keep firing!”. Keep hitting the head; if it lands, it can be death.
- Punch, telephone pole and ranged ground pound (shockwave): QTEs to dodge or brace. Follow every one. With the pole, the sideways sweep is dodged with the QTE and the overhead smash is cut short by shooting him.
- Boulder: he digs one up and throws it. Shoot it apart or shoot the oil canister to his right to break it. With the pole, shooting the nearest canister makes him drop it.
- Face. Both of you shoot the head continuously, in bursts, until he staggers. In co-op, alternate your bursts so one turret is always firing.
- Phase 1: 2 small Plagas sprout from his body (shoulders). With them out the face takes little damage, though shooting it still cuts his attacks short: one player shoots the Plagas while the other keeps on the face so he can’t attack. When they die, a large Plaga bursts from his back: both on it until it retracts, ignoring the Majini.
- Canisters. When he’s close to one (holding the boulder or the pole, or with the small Plagas out), shoot the canister: big damage and a stun. One canister is only there to take out a crossbowman.
- Support Majini. Kill them while Ndesu is stunned, not while he’s attacking.
- Phase 2: 4 small Plagas on the chest and arms. Destroy them and the large back Plaga comes out again. Killing it kills Ndesu. You may need to repeat the cycle once or twice.
- Reward: no drop. You finish Chapter 2 (achievement Completed Chapter 2-3) and, with 10 emblems, you can buy the Irving, Chainsaw Majini, Popokarimu and Ndesu figurines in Bonus Features (500 points each). With 5, the Dave, Majini (Cephalo) and Motorcycle Majini ones. If you took every emblem from 1-2 to 2-2, you already have 11.
Before you leave you should have: nothing in your inventory changes in this chapter. At the 3-1 shop, bring the upgraded shotgun, a Flash Grenade or Hand Grenade for the Duvalia and a rifle for the Marshlands’ distant emblems.
Don’t leave without: the Drive By achievement (the armoured truck’s driver, only here) · Fireworks with a biker’s Molotov still in his hand, if you still need it · the S rank’s 40 kills banked during the chase, if you’re going for it.