You play Grace Ashcroft for almost the whole chapter; in the last minute control switches to Leon for a required scene. It’s 6:20 AM on 9 October. Grace leaves the chapel through the underground with Emily in her arms and reaches the Rhodes Hill water treatment plant, which has a roof hatch: if she opens it, the sunlight will finish The Girl, who is stalking her again. But pressing the controls cuts the power, and Grace has to go down to 1F and restart 3 power distribution units, each with its own trick, while The Girl roams the central room. It’s a short chapter (Game8 puts it at about 8 minutes), with one safe room, a single collectible and the end of Rhodes Hill.
Chapter order: corridors to the surface (Grace carries Emily) → Storage Bay (safe room; Roof Hatch Manual, #47) → Loading Bay: Roof Hatch Controls (the power fails) → elevator and drop to 1F: Sedimentation → Storage Area (floodlight) → Control Room and Filing Room (Crank Lever, The Girl, Requiem) → Chemical Treatment (Molotov, jammed lever) → elevator to 2F → Loading Bay: The Girl and the roof hatch → Storage Bay: Emily → Leon: Emily (Mutated) → end of Rhodes Hill. The last two units can be done in either order.
Before you start
- Equip the Requiem in the Storage Bay and keep it out for the whole chapter: it’s your tool against The Girl, who can finally be killed here. The chapter gives you 7 rounds of 12.7x55mm Ammo (5 in the safe room and 1 in each of two 1F rooms); on Casual and Standard 1 round stuns her each time.
- Make room. Leave whatever you won’t use here in the Item Box.
- Blood. Before you pick up the Transfusion Bag (100 blood) spend the blood you’re carrying: the Blood Collector has a cap (100, or 150 with the Override Manual) and whatever a bag adds beyond it is lost. Good recipes here: Molotov Cocktail (Empty Bottle + 60 blood), which freezes her for a moment, and Med Injector (Green Herb + 60, or Mixed Herb (G+G) + 30).
- Bottles. Carry an Empty Bottle or two to throw as a distraction.
- Requiem ammo isn’t lost: at the start of chapter 9 Leon receives all of Grace’s rounds, Item Box included.
- Saving. Save at the Storage Bay typewriter (on Standard (Classic) and Insanity there’s an Ink Ribbon in the room). It’s the chapter’s only one.
- Missable: the Bring Out the Big Guns trophy (stun The Girl with the Requiem): after this chapter Grace never faces her again. The Roof Hatch Manual (#47) is in plain sight in the safe room, but it’s also lost if you finish the chapter without it.
- Point of no return: the Emily scene in the Storage Bay closes Rhodes Hill for good.
The Girl’s rules and Grace’s controls
Grace’s Switch 2 controls: ZL aims, ZR fires, right stick click crouches and A interacts (hold A on the levers that ask for it). The Girl’s rules:
- She hunts by sound: crouch-walk when she’s near.
- She won’t enter lit areas and flees from light. Every unit you restart lights up its room and makes it safe.
- The 1F floodlights stun her for about 15 seconds, but they burn out and can’t be used again (PowerPyx): switch them on when she’s in the beam, not before.
- A Molotov freezes her for a moment and one Requiem round stuns her.
- Until the roof hatch opens she can’t be killed: everything else only slows her down.
Corridors to the surface
Grace carries Emily through linear corridors; follow the main route and climb the stairs. At the top you pass a platform with a green-light panel: you can’t use it while carrying Emily, but it’s the elevator button that will take you down to 1F later. Go through the big open doorway past the panel: a cutscene has Grace spot The Girl (Game8 says this is another Shadow Ghost; the story treats her as the same girl, Marie). Grace lays Emily down on a metal platform in the Storage Bay.
Storage Bay (safe room, 2F)
Typewriter and Item Box. Take everything:
- Roof Hatch Manual (file #47) on the north bench, next to the typewriter: “If power supply errors persist, you must restart the three power distribution units in the lower area.” That’s the chapter’s solution.
- 12.7x55mm Ammo ×5 on the same bench.
- Med Injector.
- Transfusion Bag (100 blood) on a barrel on the south side. Spend your blood first (see Before you start).
- Ink Ribbon, only on Standard (Classic) and Insanity.
- Equip the Requiem now (PowerPyx; if you left it in the Item Box, move it to your inventory) and save.
Loading Bay (2F): the hatch won’t open
As you leave the Storage Bay, Grace shuts the door behind her (Emily stays inside). Head straight on: on the left there’s a floodlight aimed at the hatch switch, and the switch itself, the Roof Hatch Controls, is in the area it lights up.
- Better not switch the floodlight on now (a precaution). The Girl isn’t on 2F before the power cut, so it gains you nothing yet, and it’s the floodlight Game8 uses to stop her last attack when you come back. No source confirms that this particular floodlight burns out like the 1F ones (IntoIndieGames switches it on here with no trouble), but there’s no reason to risk it.
- Press the Roof Hatch Controls: the hatch doesn’t open, the power fails and the three power distribution units get marked on the map (− button).
Down to 1F (the elevator)
From the Roof Hatch Controls, turn right and follow the red lights to the railing. To go down, press the green elevator button, the green-light panel you couldn’t use with Emily in your arms (PowerPyx), or take the staircase beside the railing (QuestDuo), and drop down two levels. From here you can’t go back up until the power is back. Remember this spot: the elevator back up to 2F is right where you land.
Sedimentation (the 1F hub)
Right after the second drop, in Sedimentation (the central room all three units branch off), there’s 12.7x55mm Ammo ×1 on the metal container in the northeast corner, opposite the elevator. The Girl screeches and starts roaming (jump scare); Evil Resource has her wandering here whenever she isn’t at one of her set appearances.
The three-way split. Keep going forward until the path splits three ways: The Girl appears ahead of you. Back off toward the drop point and wait for her to go left, or throw an Empty Bottle well away from your path to pull her off. Crouch-walk. All three units branch off this room:
- Storage Area: the right-hand path, toward the red light and the barrels. It’s the easiest: start with it (every guide agrees).
- Control Room (with the Filing Room behind it): the next path to the right from the split; from the barrels, go straight ahead along the right railing and take the first right. It’s the room with a red light above the door, on the left.
- Chemical Treatment: the last path, at the far end, directly opposite the Control Room, entered from the east side.
PowerPyx, QuestDuo and IntoIndieGames go Storage Area → Control Room → Chemical Treatment (the order below); Game8, KeenGamer and GameTrek do Chemical Treatment before the Control Room. Either order works: guides number the units differently, but the names and methods are the same.
Unit: Storage Area (the floodlight)
From the split, take the right-hand path toward the red light and the barrels and keep turning right (QuestDuo: right, then left). The Girl is chasing you by now, and in the corner you find a floodlight.
- 12.7x55mm Ammo ×1 on a barrel in the southwest corner.
- As you arrive, The Girl knocks barrels over and blocks the lever. Switch on the floodlight when she’s in its beam: it stuns her for about 15 seconds, then burns out.
- Slip past her and pull the lever by the red light (a single press). The room lights up and she flees.
Unit: Control Room and Filing Room (the missing lever)
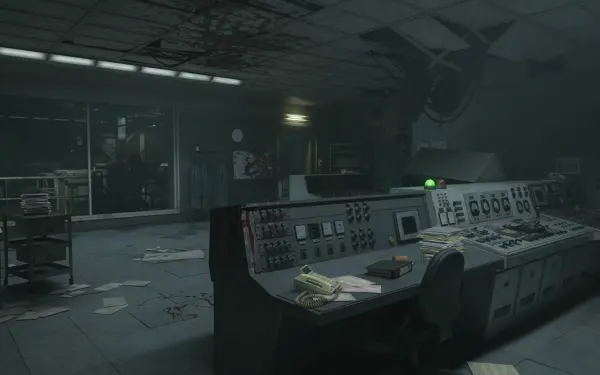
Go back to the split and take the next path to the right. The Girl doesn’t reappear yet, so you can run: cross the room with the red light (the Control Room) to the room at the back, the Filing Room.
- The Control Room console has no lever. In the Filing Room, the Crank Lever is on the shelves on the north side.
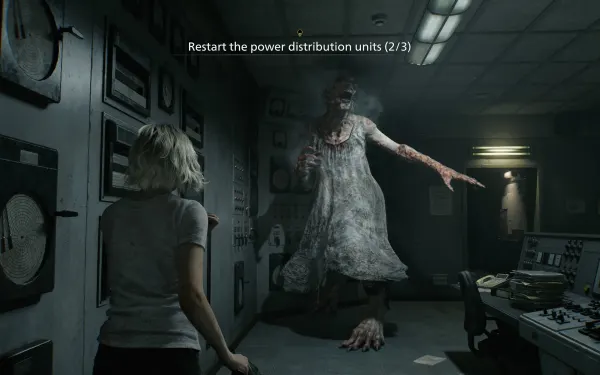
- Go back to the Control Room and try to fit it: The Girl bursts in, grabs Grace and throws her against the window, away from the console.
- Shoot her with the Requiem. This is the best spot for the Bring Out the Big Guns trophy (stun her with the Requiem, 200 CP), according to PowerPyx: 1 round on Casual and Standard, 2 on Insanity (Game8 says 2 or 3). Then go around to the console, fit the Crank Lever and turn it.
- Without the Requiem: get out to a safe distance, lead her into the Filing Room or an already lit room (the Storage Area), or throw a bottle away from the door, and loop back to use the console.
Last chance for the trophy: after this chapter Grace hands the Requiem back and never faces The Girl again. If you don’t have it yet, get it here or in the Loading Bay.
Unit: Chemical Treatment (the jammed lever)
Getting there. Leave the Control Room and go back to the split. Approach the last path slowly: The Girl is roaming the central area, so wait for her to move off to the left before you carry on toward the red light by the console (PowerPyx). QuestDuo puts it like this from the Control Room: follow the right-hand path all the way to the end, turn left (there’s a floodlight there: note where it is) and carry on to the right at the far end. The room sits directly opposite the Control Room, entered from the east side (IntoIndieGames).
- Molotov Cocktail on the metal trolley in the northeast, on the right, next to the lever.
- Med Injector on the barrels in the northwest (Standard (Modern) and Insanity; not on Standard (Classic)).
- As you pass, a vent grate falls from the ceiling (jump scare): note where, because that’s where The Girl will drop in.
The lever.
- Equip the Molotov before you touch the lever.
- The lever is jammed and you have to hold A for about 10 seconds to turn it, but don’t hold it yet: as soon as you touch it, she drops through the vent.
- Throw the Molotov at her where the grate fell (she freezes) and then hold A all the way.
Alternatives: a Requiem headshot, or leave the room and turn right to the floodlight on the way (the one on the other side of the window), switch it on when she follows you, and loop back around to the right to the lever.
Back to 2F: the hatch
With all three units running, the power comes back. Return to the spot where you dropped down in Sedimentation and take the elevator up to 2F (PowerPyx). Run to the Roof Hatch Controls in the Loading Bay: The Girl makes her last attack.
- Switch on the floodlight aimed at the hatch switch: it freezes her. If you already used it or can’t reach it, stun her with the Requiem.
- Press the hatch switch and don’t let go while she attacks (QuestDuo).
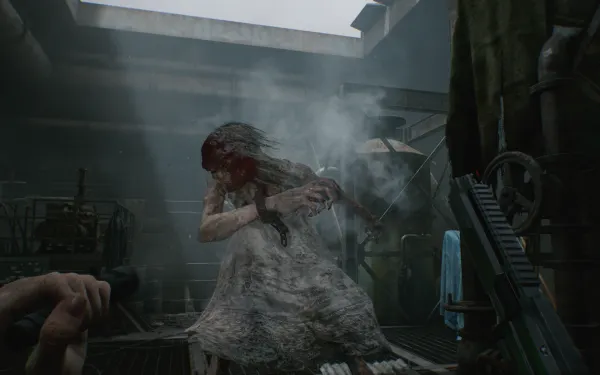
- The hatch opens, sunlight floods in and The Girl burns. From now on any weapon hurts her: a shoot prompt appears. Finish her with the handgun and save your Requiem rounds (Game8, KeenGamer); other guides say the sunlight finishes her on its own. Either works.
Storage Bay: Emily (point of no return)
The objective changes to returning to Emily. Go back to the Storage Bay door. Cutscene: she has bled out; Grace tries to revive her and Emily mutates.
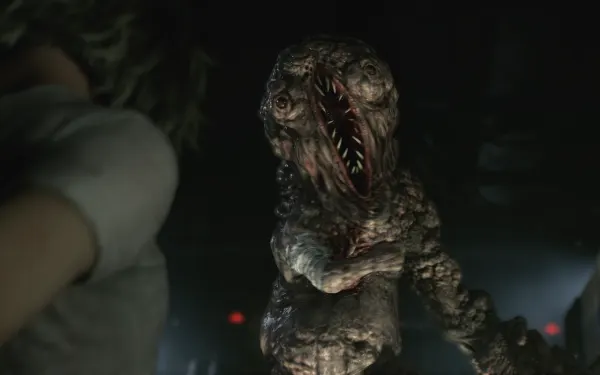
Leon: Emily (Mutated). Control switches to Leon, who arrives at the door. Shoot her until the cutscene starts (see below).
Ending cutscene. Grace throws the Requiem to Leon and walks away. At the back of the plant Victor and Zeno (the Connections) are waiting, and they take her to Raccoon City. Leon’s syndrome reaches its second stage: he coughs up blood. Trophy A Harsh Reality (200 CP, automatic): escape the care center. Rhodes Hill ends here and there’s no going back.
Difficulty
- Casual and Standard (Modern): unlimited saves; 1 Requiem round stuns The Girl.
- Standard (Classic): you need Ink Ribbons to save (there’s one in the Storage Bay) and the Chemical Treatment Med Injector is missing.
- Insanity: The Girl is faster, recovers sooner and needs 2 or 3 Requiem headshots or 2 Molotovs to be stunned (PowerPyx says 2 rounds; Game8, 2 or 3). Craft extra Molotovs and stay close to the floodlights. Ink Ribbons as on Standard (Classic); the Chemical Treatment Med Injector is there.
Boss — The Girl (final)
Arena: the whole plant. On 1F, Sedimentation (where she wanders), the Storage Area, the Control Room (she bursts in once you have the Crank Lever) and Chemical Treatment (she drops through the ceiling vent when you touch the lever); on 2F, the Loading Bay, where she appears when the power comes back. Weak point: light. The floodlights stun her (about 15 seconds, one use each), lit rooms drive her off and the sunlight from the roof hatch kills her. Weapons: Requiem (stun), Molotov Cocktail (freeze), Empty Bottle (distraction) and the handgun to finish her at the end. Reward: a clear path back to Emily and the Bring Out the Big Guns trophy if you stun her with the Requiem.
- Roof Hatch Controls: the hatch stays shut and the 3 units get marked. Take the elevator down to 1F.
- Sedimentation: at the split, back off and let her go left, or throw a bottle far away. Crouch-walk.
- Storage Area: switch on the floodlight when she’s next to the lever, slip past and pull it.
- Control Room: Crank Lever from the Filing Room; when she throws you against the window, one Requiem round (trophy) and use the console.
- Chemical Treatment: Molotov equipped, touch the lever, throw the Molotov when she drops from the vent and hold A.
- Loading Bay: elevator from the drop point, floodlight on the switch, press and hold the hatch switch, and finish her with the handgun in the sunlight.
Boss — Emily (Mutated)
Arena: the Storage Bay, seen from the doorway. You play Leon. She has no phases and no weak points; her movement is erratic but not fast. Reward: none; the scene is required.
- Keep shooting with the Alligator Snapper until the cutscene triggers. Don’t spend shells or rifle ammo: the handgun is enough.
- There’s no way around it: even if you don’t pull the trigger, Leon fires at the end (GameTrek).
- No consequences: in the Release Elpis ending, Leon says he didn’t aim for her vitals, and Emily survives and is cured.
Don’t leave without:
- the Roof Hatch Manual (#47, north bench of the Storage Bay; it’s the chapter’s only collectible and is lost when the chapter ends, although files count across saves);
- the chapter’s 3 stacks of 12.7x55mm Ammo (5 in the Storage Bay, 1 in Sedimentation and 1 in the Storage Area): whatever you don’t spend goes to Leon;
- the Chemical Treatment Molotov and Med Injector (the Med Injector isn’t there on Standard (Classic));
- the Storage Bay Transfusion Bag, picked up with an empty collector;
- the Bring Out the Big Guns trophy if you don’t have it yet (Control Room or Loading Bay);
- a save at the Storage Bay before you go down to 1F.
There are no Mr. Raccoons, coins, safes or charms in the plant.