Chapter order: Grace: Main Street (Wrenwood City Guide) → the alley and the police officer → Employee Entrance → Kitchen → Lounge & Bar (Photo of Grace → Old Key) → Lobby (Hotel Pamphlet) → Office (Notice of Closure, map) → Rec Room (Wire Cutters) → Room 204 → 2018 flashback → Lobby: the painting (Alyssa’s Journal) → the officer zombie (Emergency Exit Key) → Emergency Exit: Victor. Leon: Main Street → the axe zombie (parry, Can I Borrow This?) → the car pile-up at the junction (Requiem) → Déjà vu.
Prepare: Grace doesn’t fight at all in this chapter: there are no weapons to pick up and no enemies apart from the officer scene. Grace carries her own pistol (S&S M232), but you never get to use it: she loses it in that scene and gets it back in chapter 3 (Bar & Lounge). Wrenwood has no typewriter; the game autosaves. Requiem has no chapter select, so make a manual save at the first typewriter (chapter 2) and another one in every new area. As Leon, spend all 5 Requiem rounds: whatever you do, Leon hands the revolver to Grace at the end of chapter 2 with exactly 1 round, so saving them achieves nothing. Wrenwood has no Mr. Raccoons (the collectible raccoon figures you break), and no Antique Coins (Grace’s collectible coins) on Casual or Standard.
Walkthrough
You play Grace Ashcroft. Basic Switch 2 controls: X opens the items menu, − the map, ↑ (directional button) turns the flashlight on, right stick click crouches, A interacts (the official manual gives A = interact and B = quick turn; confirm it on the first on-screen prompt).
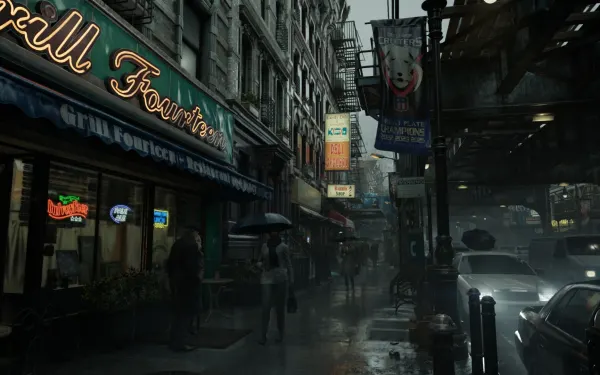
Main Street. The Investigation Report (file 1) is already in your inventory. Open it with X, zoom in on the folder and rotate it until you can pull out the photo; the game also asks you to read it later at the bar. Look closely at the photo: a body next to a toilet and an 8 written in blood. It is the clue for the Final Puzzle (Marie’s doll), which is solved after the Care Center basement: you flush the toilet in the West Corridor Restroom 8 times. Walk up the street past the pedestrians and the missing-person posters. Near the barber shop, on the information board on the right, is the Wrenwood City Guide (file 2). It is very easy to walk past and you never come back to this street: grab it before the alley cutscene.
- Insanity: an Antique Coin on the steps next to the Candy Deli & Grocery store, on your left right at the start.
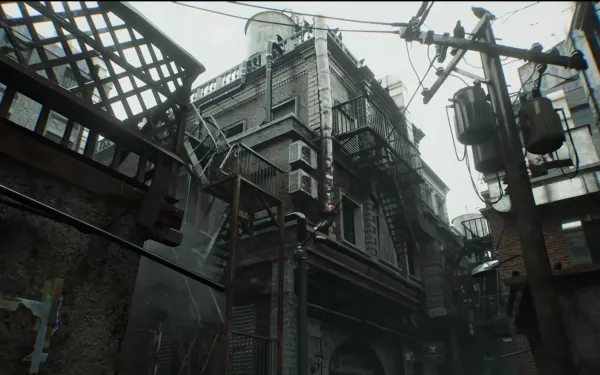
The alley. A police officer (Norman Cole) lets Grace through after she fumbles for her badge. Crouch (right stick click) to get under the scaffolding. The hotel’s front door is sealed: go left at the police tape and take the Employee Entrance. Turn the flashlight on with ↑.
Kitchen. Go through the red door. There is nothing to pick up; look in the pot if you want a scare.
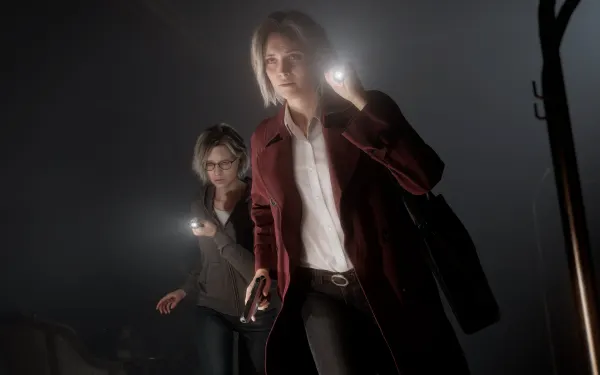
Lounge & Bar. Follow the police evidence markers to the Restroom: the body was found in the last stall, and you can open the toilet. By the Restroom some cables drop in front of you (jump scare). Back at the bar, a Photo of Grace (key item) is taped to the bar’s support pillar. Examine it and turn it over: the back says someone is waiting for her in Room 204, and the Old Key is taped to it. Pull the tape to take it. At that moment the Employee Entrance slams shut: from here you can no longer go back to Main Street. The map (−) works from this point on. Key items you no longer need discard themselves.
Lobby. The Old Key door is beside the bar, on the right; it leads through the 1F Corridor to the Lobby. The Hotel Pamphlet (file 3) is on the floor next to the luggage trolley in the middle. Behind the reception desk there is a busted, empty safe. Don’t move the trolley or touch the painting yet: the painting triggers the officer-zombie scene and, after it, all that’s left is the Emergency Exit, so loot the Lobby and the Office first.
- Insanity: an Antique Coin behind the reception desk, east side (on the second shelf at the back).
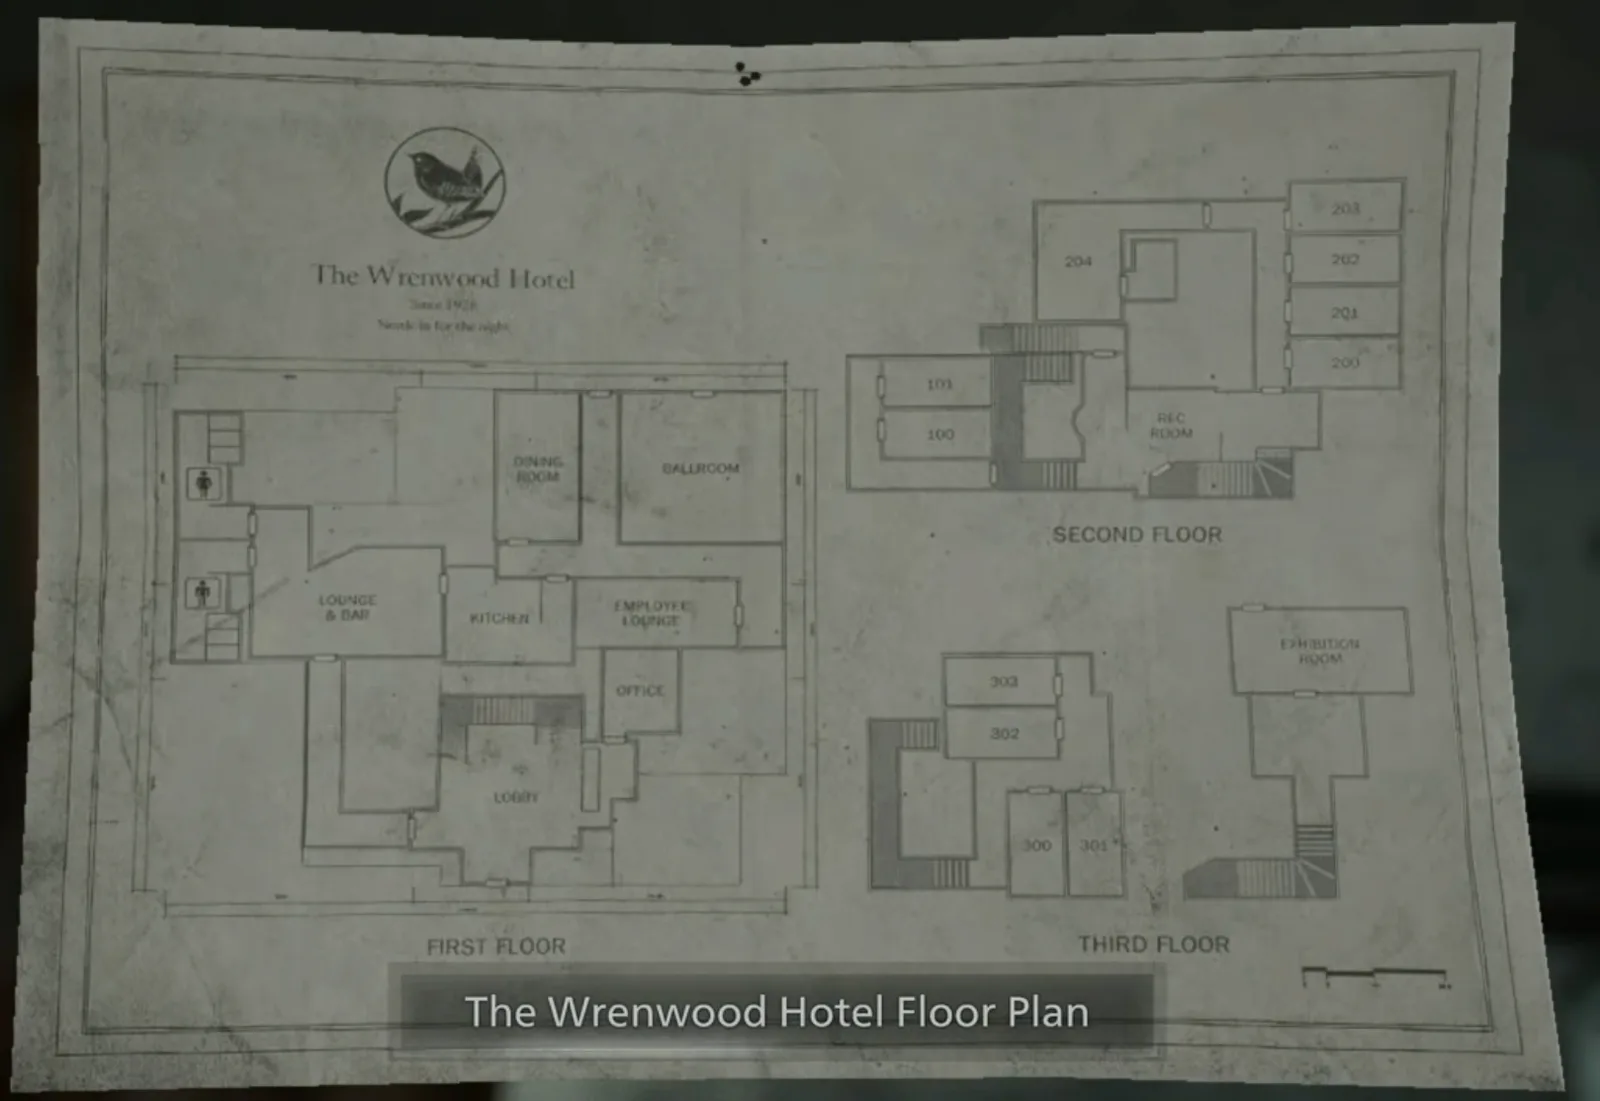
Office. This is the back room behind reception. The Notice of Closure (file 4) is in the drawer of the blue metal desk. The map, The Wrenwood Hotel Floor Plan, hangs on the wall in the northwest corner.
Rec Room (2F). Take the Stairway up. In the games room, the Emergency Exit on the right is locked and the door to the hallway is tied shut with wire. The Wire Cutters are in the small toolbox on the billiard table (west side), under the overturned stools. Cut the wire on the door. A deer head falls off the wall as you do (jump scare).
- Insanity: a Green Herb on the floor between the billiard table and the stairway.
Room 204. Follow the 2F corridor to Room 204. A radio reports a body found in Elbridge. Examine the photos on the bed, then look up and to the right: inspect the photo in the middle to start the flashback.
Flashback (2018). It is linear. Follow Alyssa downstairs. You watch the hotel manager being killed with a plastic bag (jump scare) and Alyssa hiding a satchel behind a painting in the Lobby. Run when the game tells you to.
Back in the present. A phone rings. As you pass through the Rec Room again, a lightning flash shows a figure behind the door (jump scare). Go down to the Lobby, push the luggage trolley aside and examine the painting on the west side. Take the satchel out: undo the clasp at the back and rotate it to read Alyssa’s Journal (file 5); keep examining it until you find a disk.
The officer zombie. Norman Cole comes back turned, with a shotgun. Grace’s pistol flies out of her hand and she is pinned on the trolley. The scene has two actions:
- Hold the interact button to work Grace free.
- Every time you hear the shotgun click, let go and push the left stick to one side, away from the barrel. He fires about every 10 seconds.
- You can’t dodge and struggle at the same time: between shots, hold the button again.
- Once Grace is free she picks up the Emergency Exit Key automatically. Then a fire poker appears: mash ZR to finish him. Grace comes out of the scene bitten.
Emergency Exit. Go up to the Rec Room and use the emergency door on the right; the key is used automatically. The cutscene introduces Victor Gideon. This door is Wrenwood’s point of no return: the Hotel Pamphlet and the Notice of Closure are lost if you didn’t pick them up. On Insanity, the 2 Wrenwood coins leave your inventory at the end of this section and wait for you in the Care Center item box.
You play Leon S. Kennedy. The Report on Victor Gideon (file 6) is added automatically during the opening cutscene. You start with the Alligator Snapper (handgun, 9-round magazine and plenty of ammo), the Requiem with 5 rounds and the Hatchet. On a first playthrough there is no Supply Box and no save point: everything relies on autosaves. Leon’s Switch 2 controls: ZL aim, ZR fire or swing, L block or parry, L + ZR strong attack, L + Y sharpen the Hatchet, R quick heal, Y reload.
Main Street (the outbreak). Head up the street and kill the first infected (a woman Victor hit with a dart). A car stops in front of a second zombie. At the intersection, turn right, towards where the crowd is running from. Clear the zombies in the middle of the road and on the sidewalks. Pick up a Green Herb from the back of the dark blue van on the right (east) side and break the Wooden Crate in front of the large white truck on the west side (its contents are random, usually whatever you are short of). Zombies drop Handgun Ammo.
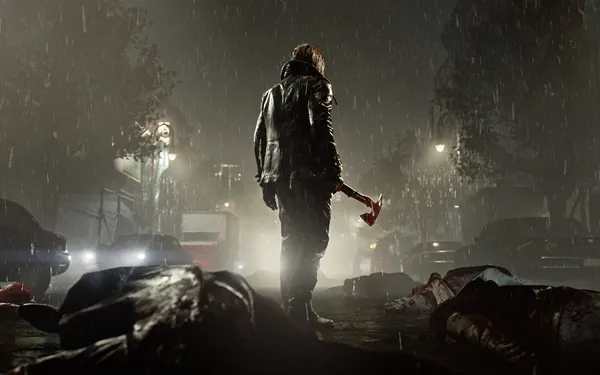
The axe zombie. Just past the van comes a zombie in a construction uniform carrying an axe: this is the tutorial for blocking, parrying and Hatchet attacks. Press L just before the hit to parry (trophy Untouchable) and counter with ZR. A perfect parry drops him to his knees and opens a finisher with ZR. When he drops the axe, stand over it and throw it with the interact button at another zombie: trophy Can I Borrow This?, the earliest chance in the game.
The junction pile-up. A large group climbs over the piled-up cars and the game prompts you to equip the Requiem. Its rounds pierce: wait until 2 or 3 zombies line up and shoot the first one; a single round can drop several. There is a second axe zombie: kill him first and throw his axe. Then back off and use the Alligator Snapper: a head or leg shot staggers them, kick with the interact button, and finish with the Hatchet. Hatchet finishers destroy the head, so that zombie will never rise again as a Blister Head; they also count towards the Chop Chop trophy (3 finishers). Don’t hoard them for Grace, but don’t spend them all here either: keep 2 or 3 for the chapter 2 chainsaw doctor, who soaks up a lot of shots. Grace gets the revolver with 1 round either way.
- How many: 1 + 1 near the start, 9 in the northwest part of the street and 8 more in the north after the car crash.
- Insanity: the northwest group is 8 zombies plus 2 Blister Heads (fast, tough and with lethal grabs: shoot them in the head and finish with the Hatchet). Kills already pay credits for the Supply Box, so it is worth fighting even though you could run to the end of the street.
- Casual: strong aim assist, and health refills on its own up to yellow.
The end. Keep going past the pile-up until Leon loses sight of Victor. The cutscene ends the chapter and unlocks Déjà vu.
On later playthroughs (any difficulty, Insanity included): there is a Supply Box (Leon’s shop: he buys, sells and upgrades weapons there with credits) at the east end of Main Street, where Leon starts, with a rare Tracking Module (loot redeemed for credits at the Supply Box; this one is worth 5,000) on top; and 2 common Tracking Modules (3,000 each) in the back of the brown van and in the shrub pot, both in the southwest part of the street.
Don’t leave without: the Wrenwood City Guide (the board on the right of Main Street, before the alley), the Hotel Pamphlet (Lobby floor) and the Notice of Closure (the Office’s blue desk), all before you move the trolley at the painting. As Leon, the Can I Borrow This? trophy with the first zombie’s axe (not missable: there are more chances). On Insanity, the 2 Antique Coins on Main Street and in the Lobby.