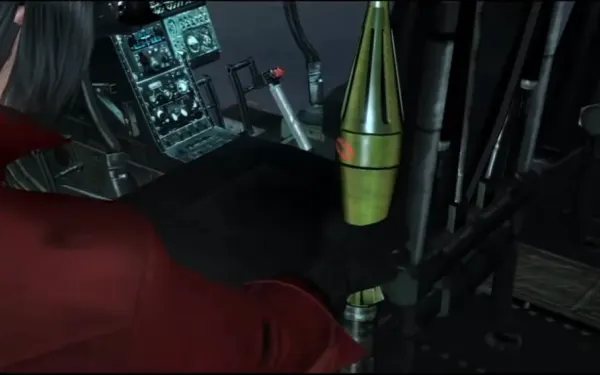
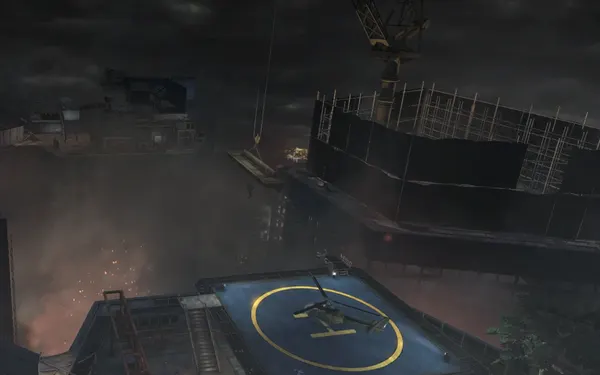
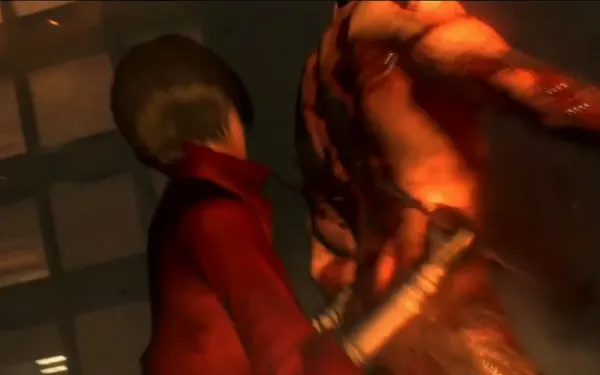
The end of Ada’s campaign, on the same 30 June 2013 in Lanshiang. Ada (player 1) flies a helicopter and, in split-screen, Agent (player 2) rides as co-pilot with his own gatling gun. The first half is an on-rails shooter: you cover Leon and Helena on the street, down helicopters and a gunship, fight dinosaur Simmons from the air and save the survivors on 3 rooftops. The second half is on foot in the Quad Tower: you hold out on top of the elevator, fight centaur Simmons on a walkway, cover Leon and Helena on the cable and, at the end, you have to save Leon or it’s Game Over. It ends in Carla’s lab, with the credits.
Chapter order: 5-1 High-Rise Area (helicopter: Serpent Emblem #17 on the yellow truck; covering Leon and Helena; the street chase against 4 helicopters; Serpent Emblem #18 on a signboard; the Attack Chopper by the building) → 5-2 Quad Tower Entrance (intersection with Leon’s section 5-3: dinosaur Simmons from the air, the Humvee midway) → 5-3 Quad Tower Roof (3 rooftops of survivors; Serpent Emblem #19 by the 2nd; the dynamite zombie and the spire; the helipad Whopper and armored zombies; landing and the loot below the helipad; the hanging girder and Serpent Emblem #20; the Green Herb before the tower) → 5-4 Quad Tower (intersection with Leon’s section 5-4: on top of the elevator; Simmons on the walkway, Ada alone; rifle cover for Leon and Helena on the cable; the final walkway with Leon; saving Leon; Carla’s lab and the credits).
Before you start
The helicopter: IGN calls it fairly easy because the chopper shrugs off almost everything: only enemy helicopters and giant monsters can hurt it. Controls: left stick to move, right stick to aim, ZL to ready the gun (zoom: more precise, but you fly slower), ZR for the gatling and B for the missile (the Xbox A button; unverified on Switch: if it doesn’t fire, use whatever button the screen shows). The gun doesn’t overheat, but every missed shot counts against your accuracy for the rank, and so does a missed missile.
The missiles: you get 6 according to IGN or 5 according to GameWith (sources disagree) and they can’t be picked up or regenerate during the flight: don’t waste them on zombies. But if you die and continue, you come back with a full rack (IGN: “six new rockets”); restarting the checkpoint probably does the same, though no source says so. If you reach the gunship or Simmons nearly out of missiles, starting that stretch over gives you a full load. With 6, 1 per street helicopter (4) leaves you 2 for the gunship; if you give the pair just 1 missile plus the gatling, you keep 3. Ideally, reach Simmons’ human form with 3-4.
Gear and skills: for the on-foot part, arrive with the Sniper Rifle loaded (7.62mm NATO Ammo), Arrows (Pipebomb) and the Bear Commander. There’s no shop: between chapters, get Rifle Ammo Pickup Increase (8,000 SP) and Eagle Eye (3,000) for the rifle, Arrow Pickup Increase (20,000), Firearm and Defense. There are no fixed SP suitcases.
Co-op with Agent: in the helicopter Ada flies and Agent sits in the co-pilot seat with his own gatling gun; the missiles are shared. The main camera is Ada’s, so Agent holds his aim button to look where he wants. The 2 guns fire independently: Ada focuses on flying and Agent on clearing. In the Quad Tower, Agent appears with whoever is left without a partner (probably Helena in her sniper room; unconfirmed). Pass him 9mm Ammo with Give to your Partner.
Intersections: 5-2 and 5-4 cross Leon’s chapter 5; offline, Leon and Helena are AI. The 5-1 stretch over Leon and Helena is not an intersection.
What slips by if nobody warns you: Serpent Emblems #17 and #18 can only be broken from the helicopter, in their stretch (#17 right at the start, #18 during the gunship fight). #19 is taken at the 2nd rooftop, with a backup from the girder, and #20 only from the hanging girder. The Protected Leon and Helena medal is decided in the first few minutes, and Rescued Leon from becoming B.O.W. chow in the dinosaur Simmons fight (keep a missile for that moment). Everything can be replayed from chapter select.
Saving: RE6 has no typewriter: it saves on its own, at checkpoints. The ones you can pick in Chapter Select are 5-1 High-Rise Area, 5-2 Quad Tower Entrance, 5-3 Quad Tower Roof and 5-4 Quad Tower. Restarting the 5-3 checkpoint replays the rooftop strafing if you missed #19 (IGN), and dying and continuing in the helicopter gives you your missiles back (IGN).
Difficulty: on Amateur the life-and-death QTEs complete themselves. On the walkway, the melee finisher QTEs need faster mashing the higher the difficulty (Gamer Guides). On Professional QTE timers are shorter, nobody drops Green Herbs and crates only give SP: ammo in the tower will be scarce, so arrive loaded. On No Hope there are no skills. No source gives enemy or missile changes per difficulty for this chapter.
Rank (single source, ST-RANK; Gamer Guides’ table is a copy of its chapter 4 one): A with 70% accuracy or better, 2 deaths or fewer, 55 minutes or less and 40 kills or more; B with 60%, 3 deaths, 70 minutes and 30 kills; C with 50%, 5 deaths, 90 minutes and 20 kills. No source gives different thresholds per difficulty.
5-1 High-Rise Area: covering Leon and Helena
Serpent Emblem #17 first. You start in the air, covering Leon and Helena on the street (section 5-2 of Leon’s chapter 5, seen from above). Before anything else, fly all the way left and shoot the bed of the yellow cargo truck: that’s Serpent Emblem #17 (3 guides say left; Evil Resource says right). File: Complete Mutations. You can only get it while you hover over this street. In co-op, let Ada break it: it isn’t confirmed that emblems Agent breaks count on her save.
Covering Leon and Helena. Kill the zombies with the gatling only and save the missiles. Aim ahead of Leon and Helena, not on top of them. Bronze medal Protected Leon and Helena (single source, a forum): kill every zombie around them with the gatling without any of them landing a hit. If they dodge or shove one, it counts as a hit: restart the checkpoint. The medal is awarded at the end of the chapter.
The street chase
Once Leon and Helena are safe, the helicopter moves down the street on its own. Enemy helicopters show up: one, then another from the top, then two at once (one top, one bottom).
- One missile each, then finish them with the gatling (IGN). If you want to save, give the pair 1 missile in total plus the gatling (Gamer Guides). GamePressure: keep at least 3 missiles for what’s coming.
- Watch out for rocket-launcher soldiers on the buildings: kill them before the helicopters if they’re aiming at you.
- Shooting signboards is fine.
- Don’t take much damage: reaching the gunship hurt puts you in a bad spot (IGN).
Cutscene.
The gunship and Serpent Emblem #18
You reach the gunship fight by the tenement building. Your helicopter stops moving forward here while the gunship attacks. Before fighting, drop altitude and go right: Serpent Emblem #18 sits on top of a signboard on the side of the building, lower right. File: Enhanced C-Virus. Only during this fight. Then the boss (see Boss — Attack Chopper (High-Rise Area)).
5-2 Quad Tower Entrance: intersection with Leon
This is section 5-3 Quad Tower Entrance of Leon’s chapter 5: they’re on foot in the obelisk plaza and you’re in the air against dinosaur Simmons (see Boss — Derek C. Simmons (dinosaur)). The fight is long: you go through every phase Leon does. It ends on a cutscene. Copper medal Approached Quad Tower from the outside (story; its exact moment isn’t confirmed).
5-3 Quad Tower Roof: the 3 rooftops
Now you fly between 3 rooftops to save survivors.
- Rooftop 1: protect the civilians from zombies with the gatling.
- Rooftop 2: survivors and a dynamite zombie by the spire. Before clearing it, fly left: Serpent Emblem #19 is on the lower section of the next roof over. File: The End of Derek Simmons. Then shoot the dynamite zombie so the spire topples (it’s the lightning rod Leon and Helena use later). If you miss the emblem, there’s a backup from the girder (below), or restart the checkpoint: the pass is easy.
- Rooftop 3 (the helipad): armored BSAA zombies and a Whopper hold the landing spot. Hose the armor down or use explosives: spend any missiles you have left here. The Whopper soaks a lot. Once they’re down, Ada lands.
The Whopper. On foot, a Whopper drops a Queen (Silver) worth 2,500 SP. No source confirms that the helipad one, downed from the air, leaves one you can pick up: check the helipad after landing.
The helipad: loot and the girder
The loot below the helipad. Don’t head for the objective yet. Go down the nearby stairs: there are 9 wooden crates, 2 wooden boxes and a case with a First Aid Spray and Arrows (Pipebomb). Search above and below the helipad. That many crates warns you of what’s coming: stock up. In co-op, split it: the arrows are Ada’s and the 9mm is shared (use Give to your Partner in split-screen).
The hanging girder and Serpent Emblem #20. Ada zip-lines to a girder hanging from the crane (the load on the line). From it, pull out the Sniper Rifle and look right, toward the unfinished building covered in blue tarp: Serpent Emblem #20 is on the edge of its lower roof, near a pipe (Evil Resource says left; the blue tarp is the safe landmark). File: Carla’s Revenge. Only from the girder. Backup for #19: from here, facing the way you zip-lined in, turn left toward the tower with the broken spire and, with the Sniper Rifle, look down and to the left of the tower (IGN). The chapter’s 4 give the Ingrid Hunnigan figure; Ada’s 20 give the Carla Spores figure; and if it’s your last of the 80, the Heirlooms achievement.
On to the tower. After the crane, drop down: there’s a Green Herb before the door into the tower. Go through the door: cutscene.
5-4 Quad Tower: on top of the elevator
This is section 5-4 Quad Tower of Leon’s chapter 5. You land on top of the elevator and have to hold out up there shooting Simmons while zombies spawn around you.
- Simmons is the main target: hit him with the Sniper Rifle or the Bear Commander whenever you have a clear shot.
- The zombies close in on the elevator roof: turn often so they don’t grab you from behind. They drop ammo: kill them when you run low.
- On Leon’s side, he and Helena climb the cable and, halfway up, stop on a temporary ledge to snipe Simmons while he fights you: with the AI or a friend online, they’re damaging him too. In local co-op, Agent is with you or with Helena (unconfirmed).
- The phase ends on its own and the walkway starts (see Boss — Derek C. Simmons (walkway)).
The ending
After saving Leon, cross the room (a short hallway) and, if you like, use the console (optional scenes). Enter the next room: Carla’s lab, with the cocoon in the glass chamber. Final cutscene and credits. Bronze medal Settled things once and for all and the What’s Next? achievement. If you’ve finished all 4 campaigns, the epilogue plays.
Boss — Attack Chopper (High-Rise Area)
A gunship by the tenement building. It has no weak point: it’s a damage sink, and missiles speed it up. It fires missiles that take a lot of health and sweeps you with its machine gun. While it attacks, your helicopter doesn’t move forward.
- Serpent Emblem #18 first: drop altitude, to the right, on a signboard.
- Cover: use the left and right edges of the building to shield yourself from its missiles.
- Keep moving to dodge the machine gun and swing out of cover spraying. GamePressure: during the shoot-out, drift slowly right so its missiles miss.
- Missiles: a few well-aimed ones end it fast, but keep 3-4 for Simmons if you can. If you die here, you come back with a full rack.
- Finish with good health: if you come out badly hurt, the dinosaur fight starts badly.
- In co-op: Agent empties his gatling into the gunship while Ada dodges using the building’s edges.
- Reward: on to 5-2 Quad Tower Entrance.
Boss — Derek C. Simmons (dinosaur)
The Quad Tower Entrance plaza, with a stone obelisk in the center, cars, red barrels and a red fuel tanker; Leon and Helena fight on foot. Simmons, now a giant dinosaur, attacks the helicopter with a leaping tail lash (a front flip that reaches very far), spits projectiles and picks up a car and throws it at you (with plenty of warning). From the air his head moves too much: the target is his back.
- Circle him constantly (either direction) while you fire: that dodges the leap.
- When he lifts a car, put the obelisk between you: hide behind the central pillar.
- Break the plates on his back with the gatling, then keep shooting the eye on his back. GamePressure: one missile on the eye is well spent.
- When he reverts to human form, keep shooting him: offline, AI Leon and Helena rarely do the melee finisher, so your guns are the reliable damage. This is where the missiles go: 3-4 on his human form, each time he turns human. Shoot any red barrels near him too.
- On Leon’s side, they can lure him into charging the red fuel tanker, then shoot the leaked fuel to set him on fire. Whether your gatling can light it from the air is unknown.
- Leon and Helena’s Humvee marks the midpoint of the fight: don’t burn everything before it.
- If Simmons catches Leon in his mouth (he lifts his head with Leon inside), hit him with a missile so he lets go: according to two player forum threads, that’s how you get the bronze medal Rescued Leon from becoming B.O.W. chow. Keep a missile in case it happens; there’s no sure way to trigger it.
- In co-op: Ada circles and saves the missiles for the human form; Agent never stops shooting the back.
- Reward: the fight’s closing cutscene and on to 5-3 Quad Tower Roof.
Boss — Derek C. Simmons (walkway)
A long pedestrian walkway between buildings inside the Quad Tower. Simmons has a centaur body and attacks with a charge (brutal: dodge to the side as he passes), a claw swipe (close), a tentacle smash (close and medium), a dart volley (medium and long), a shot claw you can dodge or counter, and a spear stab that drags you in for a tentacle barrage. Zombies wander the walkway.
- Ada alone: Leon and Helena are across a gap: don’t expect help from the AI. Stay at medium or long range.
- The joust: stand as far away as you can, by the edge of the walkway. When he charges, he almost always leaves a small gap between himself and the walkway edge: as he closes, sprint through it to the other side of the scaffolding to switch ends. After a few dodges the game tells you to kill him: between charges, shoot him with the Sniper Rifle or the Crossbow; better still, Arrows (Pipebomb) until the cutscene triggers.
- Human form: when he reverts, run in and do the melee finisher (follow the prompt and mash; faster on higher difficulties). Repeat until he leaves.
- Covering Leon and Helena: the walkway collapses and Ada swings to the last one. Leon and Helena climb the elevator cable with Simmons behind them: shoot him so he slips (any weapon but the shotgun reaches that range). Kill the zombies for ammo. The AI climbs reliably; a human Leon (online) needs your help or he dies. When they reach the top, Simmons stuns Ada: cutscene, and wait for Ada to recover.
- Final walkway with Leon (Helena shoots from her post): the same cycle. Darts at range: move sideways and away. Charge: stand to one side and pass him on the other; the small platform in the middle of the walkway is the best spot to dodge it. Beast form → damage → human form → close in, headshot and finisher (Leon can do it too). Helena’s shots knock him back to human. Use everything you have; zombies keep spawning and drop items.
- Save Leon: Simmons goes down and seems dead, but drags Leon to the ledge. Don’t stand there shooting while he talks: it’s a timed event. As soon as Simmons starts talking, run to Leon and press the partner prompt that appears on screen: if you’re too late, it’s Game Over (Leon can’t do anything). Ada throws Simmons onto the burning debris and escapes with the grapple (copper medal Jumped off the 80th floor, probably here).
- In co-op: where Agent appears here isn’t confirmed (probably with Helena). If he’s on the walkway with Ada, he draws the charges while Ada shoots, and Ada is the one who runs to save Leon.
- Reward: the end of Ada’s campaign.
Chapter medals
- Approached Quad Tower from the outside (copper): story.
- Jumped off the 80th floor (copper): story; probably the grapple escape after Simmons falls.
- Settled things once and for all (bronze): the ending.
- Protected Leon and Helena (bronze): its exact condition isn’t confirmed; the only lead (a forum) is covering them on the street without a zombie landing a hit.
- Rescued Leon from becoming B.O.W. chow (bronze): not the rescue at the end. According to two forum threads, it comes in the dinosaur Simmons fight if you hit him with a missile while he has Leon in his mouth.
Don’t leave without:
- Serpent Emblem #17 on the yellow truck right at the start and #18 on the signboard during the gunship fight (both only from the helicopter, in their stretch).
- #19 by the 2nd rooftop (with a backup from the girder) and #20 from the hanging girder, its only window.
- The First Aid Spray with the Arrows (Pipebomb) in the case below the helipad, the crates around it and the Green Herb before the tower door.
- Full ammo for the walkway: the Sniper Rifle and the Arrows (Pipebomb).
- If you’re missing any of Ada’s emblems, any checkpoint can be replayed from chapter select.