Chapter order: Bedroom (2F) → 2F Corridor → Nursery (cutscene) → encounter 1: under your bed → Nursery → Main Hall → encounter 2: under the table → 1F Corridor (two children guard the corner: go back to the Main Hall) → Director’s Room: lamp, drawer and Hatch Key → encounter 3: behind the white boxes → hatch → tunnel → Underground Chapel (B2): lever behind the altar → Crypt (Toe Tag) → stacked coffins → Crypt Storeroom (Fire Poker) → encounter 4: run to the altar and climb the ladder with the Fire Poker → Research Lab (B1: Series 60 Results, New Researcher’s Notebook) → Neonatal Observation Lab → Meeting Room: the slides → back to Leon (chapter 12).
Prepare: there’s nothing to prepare: Chloe carries no weapons, picks up no ammo or healing and can’t fight. Her only items are two story items (the Hatch Key and the Fire Poker) and 3 files. The Children can’t be beaten: if one grabs you, it snaps your neck and it’s game over on the spot, on any difficulty. The whole chapter is 4 hiding spots plus one trick in the 1F corridor, in a fixed order (summarised at the end). The key is patience: there is no indicator telling you when they’ve gone, and two of the hiding spots need a 1-2 minute wait. There’s no typewriter: the game only saves at character switches and after some cutscenes, and dying reloads the latest autosave. On Standard (Modern), after several deaths the Game Over screen offers to drop you to Casual: that change can’t be undone and costs you the difficulty trophies, so turn it down if you want them. Before this chapter you already saved as Leon in the R.P.D. Main Hall: when the flashback ends you’re back with him. Game8 puts the orphanage at about 10 minutes; for Speed Demon, PowerPyx aims to finish the orphanage with the run’s overall clock at 2:17:00 or less.
Walkthrough
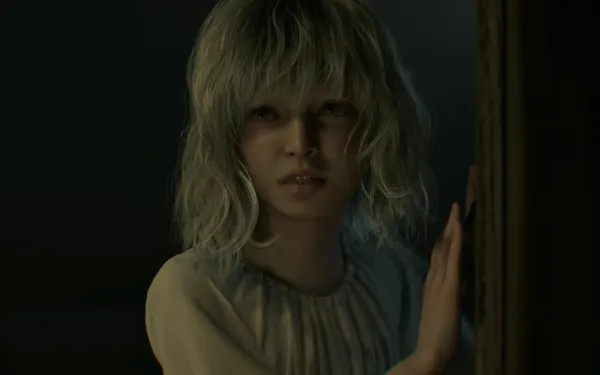
You play Chloe, a girl living in the Raccoon City orphanage in 1990 (the Toe Tag in the crypt is dated 14 January 1990; the Fandom wiki places the flashback in February). It’s the recording Zeno shows Grace at the end of chapter 10. Chloe is a Series 70 clone (the Series 60 Results file says so); IGN describes her as a girl who “looks startlingly like Emily”. Crouch with the same button you use as Grace (right stick click) to get under furniture and through low gaps; A interacts. Move slowly: the encounters start when you approach certain doors and objects (the 1F Corridor door, the hatch).
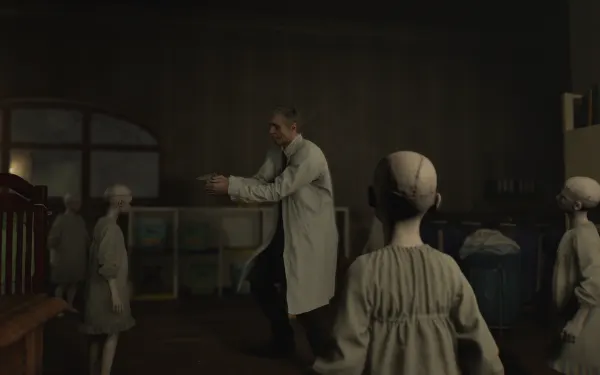
Bedroom → 2F Corridor → Nursery (2F). You start in your bedroom. Step into the corridor and take the first door on the left, the one that’s ajar: it’s the Nursery (the playroom). Cutscene: the Series 60 children kill a doctor. As soon as it ends, the first hiding spot begins.
Encounter 1: the bedroom. Run back to your Bedroom and get under your bed. The children come in looking for you and try to bait you out: don’t move, even if it seems they’ve left. A woman’s scream calls them away and they leave. Only then crawl out from under the bed.
Nursery → Main Hall (2F). Go back to the Nursery: there are more bodies now. Crouch into the play area, under the toy-block archway (upper left), and carry on to the Main Hall balcony. Go down the big staircase.
Encounter 2: the Main Hall (1F). Halfway down the stairs (or when you try the 1F Corridor door, per Game8) you hear tapping and a thump: the children are at the window up top. Get under the small table beneath the stairs, in the northeast corner of 1F, in front of the door. The children jump down, splat on the floor and get up as if nothing happened; one opens the door and the rest go back upstairs. Wait for the hall to go quiet and crawl out. Remember this table: you’ll use it again.
1F Corridor: the two children at the corner. Go slowly. Round the second corner and two children stand guard, blocking the way to the Director’s Room, and they won’t move however long you wait. The fix (Game8, PowerPyx, IGN, Evil Resource): let them see you, run back to the Main Hall and hide under the same table again (or just keep moving around the hall without letting them reach you). Wait 1-2 minutes, with no indicator, and go back to the corridor: they’re gone. Evil Resource says re-entering the Main Hall is what clears them; IGN suspects it’s almost a bug, but it works. If they’re still there, repeat: go back to the Main Hall and wait a little longer.
Director’s Room (1F): the Hatch Key. Walk around the shelves to the desk by the window. In the floor on the south side of the office (southeast corner) there’s a locked hatch: you need the key.
- Turn on the desk lamp (on the right, opposite the armchair). The light reveals the Hatch Key hanging high on the west wall, out of Chloe’s reach.
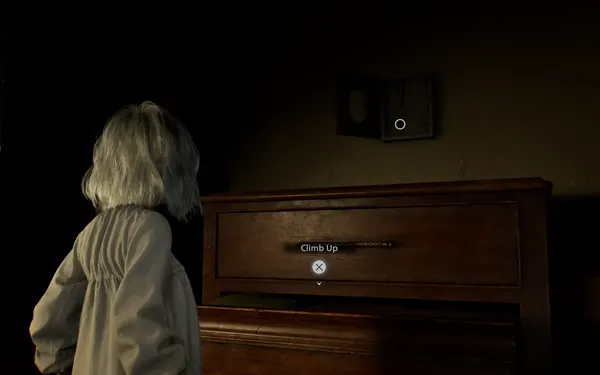
- Pull out the bottom drawer of the cabinet under the key and climb onto it.
- Chloe tugs at the key, wobbles and the key drops to the floor: pick it up.
Encounter 3: the Director’s Room. As you approach the hatch, a child breaks the window above it. Run to the far corner, past the lamp, and crouch behind the white boxes, right of the drawer you used. Stay still for 1-2 minutes until they leave. Then unlock the hatch with the Hatch Key and climb down: the children watch from the window, but they don’t follow.
Tunnel and Underground Chapel (B2). Follow the dark tunnel. A toy fire truck that switches itself on lights the stairs: creepy, but harmless. You reach the Underground Chapel, a chapel beneath the orphanage.
- Go behind the altar. A stone slab with the Umbrella logo slides open to reveal a ladder in the wall, but it’s too high for Chloe.
- In the same alcove, pull the wall lever: the lights come on and the crypt gate opens, through the side door.
Crypt (B2). Rows of black coffins. Open the first coffin on the right: the Toe Tag (file #62) is inside. Turn the tag over to read the back: it belongs to Charlotte, 7 years and 2 months old, died 14 January 1990, “discarded due to volatile symptoms”. Take it now: it’s lost once you leave the chapel.
- At the back there’s a locked gate. Pull out the coffin on the floor to the right (the one on the bottom shelf) to make a step, climb the 3 stacked coffins, vault the gate and land on a mattress.
- Crypt Storeroom: the Fire Poker is in the southeast corner. Take it and unlock the gate from the inside to get back.
Encounter 4: the Underground Chapel. Back in the chapel, a cutscene: the dead children rise from the coffins. Don’t hide: run straight back to the altar, keep to the right side and keep running. The child in the middle grabs you but lets go: don’t stop. Behind the altar, use the Fire Poker on the ladder in the secret alcove (you hook it down) and climb. The children don’t follow.
Research Lab (B1). The ladder comes up in the Storage Closet and a white corridor. You’re safe now: there are no more encounters. Take the first green-lit door on the right:
- Series 60 Results (file #63): right in front of you as you walk in, at the northeast corner of the northern bench. Memory transfer with Spencer’s plasma failed in the Series 60 (mental abnormalities); subject Chloe, from the Series 70, is more stable after the viral load was adjusted.
- New Researcher’s Notebook (file #64): on the back-right desk (northwest corner of the southern bench). A researcher newly hired into Spencer’s lab writes that ARK lies beneath the Umbrella orphanage and that the children carry surgical scars.
- A monitor shows Spencer visiting the orphanage.
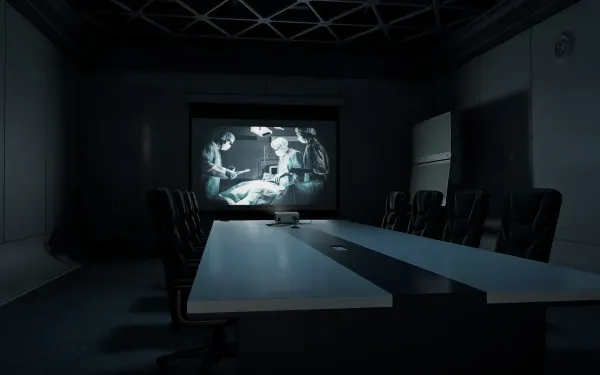
Neonatal Observation Lab and Meeting Room. Leave through the green door at the back right, cross the embryo room (Neonatal Observation Lab) and enter the Meeting Room. Use the slide remote on the table and click through all the slides until the picture of the girl appears. The final cutscene closes the flashback: Chloe learns she was grown in a tank and is caught. Grace faints at the sight and Zeno takes her to ARK. The game returns to Leon in the R.P.D. (chapter 12).
Difficulty. The hiding spots, the key items and the 3 files are the same on every difficulty, and no source describes any change in this chapter: the children kill in one touch on Casual just as on Insanity. The only thing that changes is saving: Standard (Classic) and Insanity have fewer autosaves (Game8), but since Chloe never passes a typewriter, you spend no Ink Ribbons. If you die a lot on Standard (Modern), remember to turn down the offer to drop to Casual.
The Children, step by step
They’re Spencer’s Series 60 clones: they regenerate instantly even from a headshot, snap a grown man’s neck and giggle. There is no fight: every encounter is solved by hiding or running, and the game never tells you when it’s over.
- Bedroom (after the Nursery cutscene): run to your Bedroom and get under your bed. Hold still even when they bait you; a woman’s scream draws them away.
- Main Hall (1F): under the small table beneath the stairs, northeast corner, in front of the door. Wait for them to jump down, open the door and leave.
- 1F Corridor: the two children guarding the corner don’t move. Let them see you, run back to the Main Hall, hide under the same table and wait 1-2 minutes. Go back: they’re gone.
- Director’s Room (with the Hatch Key): when they break the window, crouch behind the white boxes right of the drawer, in the corner past the lamp. Wait 1-2 minutes.
- Underground Chapel (with the Fire Poker): run to the altar along its right side; the middle child grabs you and lets go. Fire Poker on the ladder and climb. The danger is over.
Don’t leave without: the chapter’s 3 files, all on the path: the Toe Tag (#62, first coffin on the right in the crypt; lost once you leave the chapel), Series 60 Results (#63, right in front of you in the Research Lab) and New Researcher’s Notebook (#64, back-right desk in the same lab) before you click through the Meeting Room slides. If you miss one, files count across saves for Case Closed: you can recover it by loading an older save. There are no Mr. Raccoons, coins or charms here.