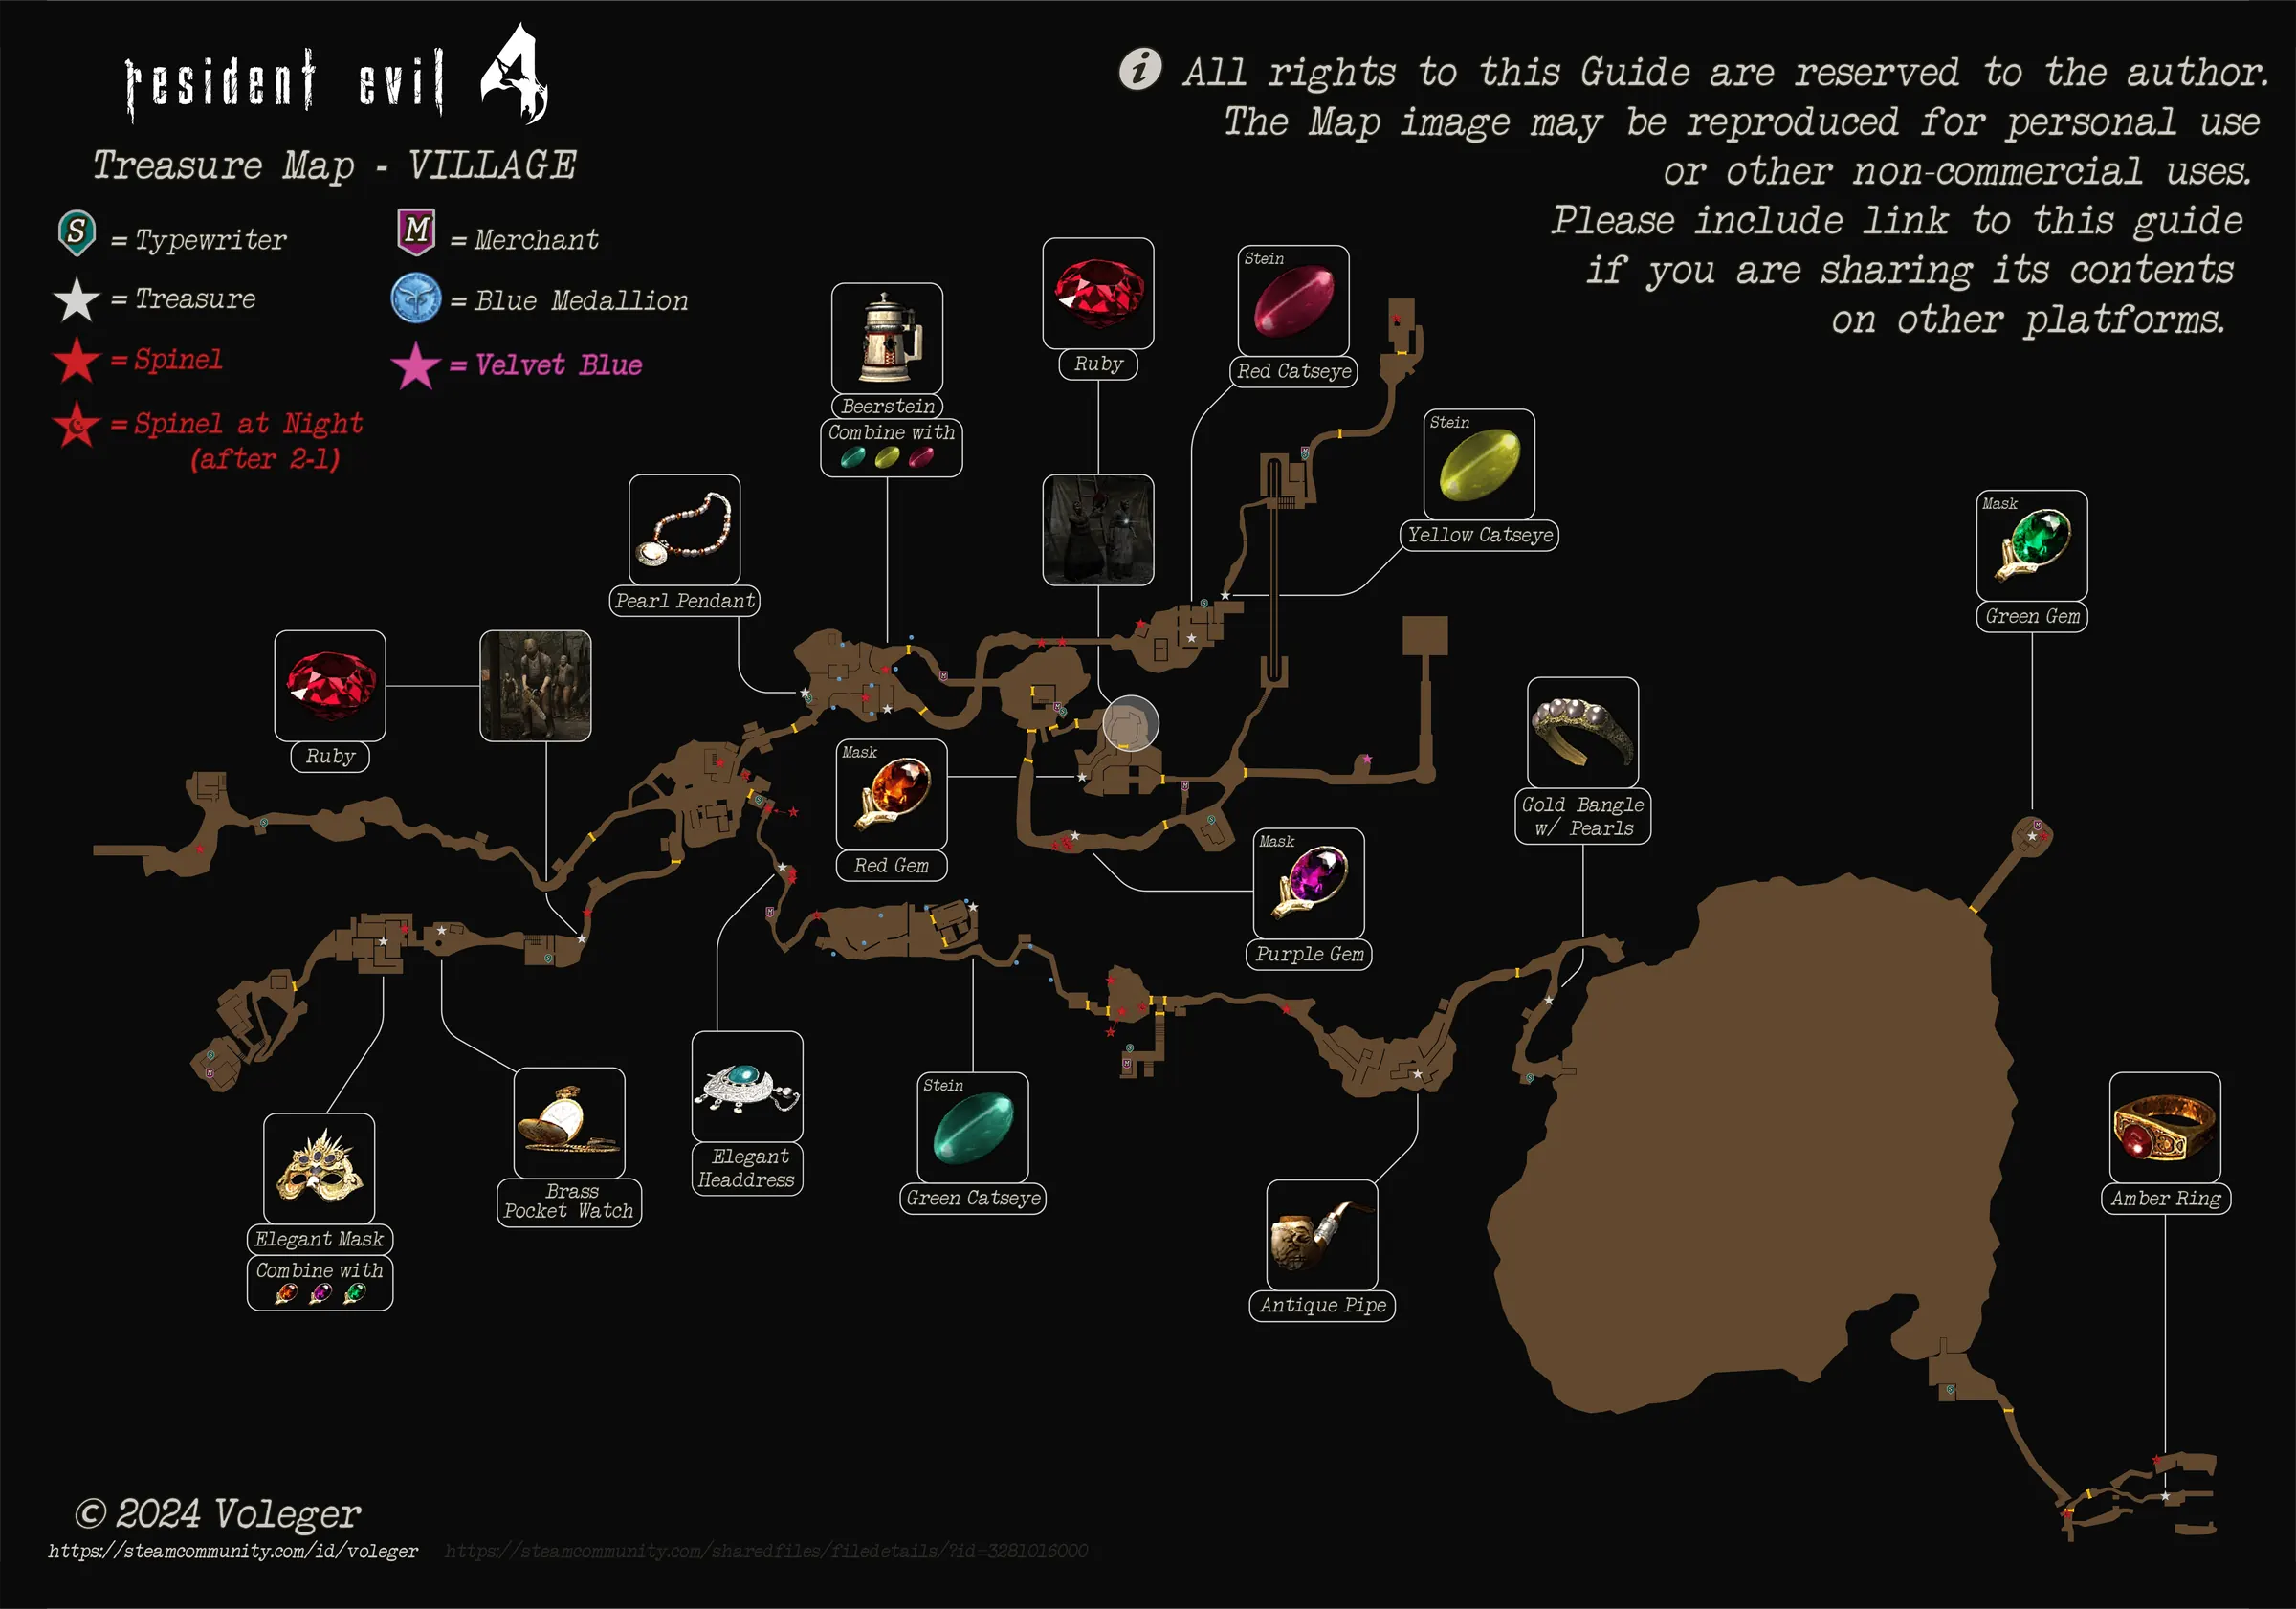
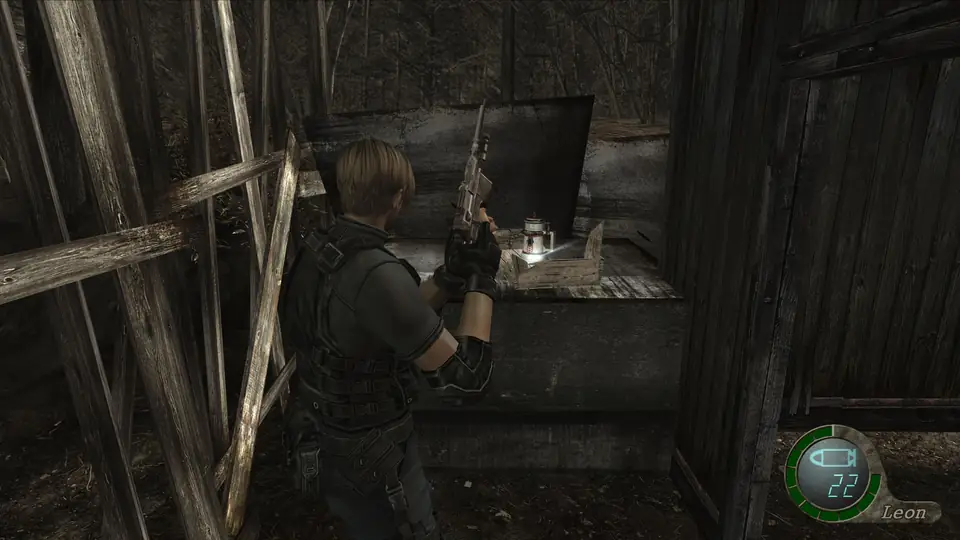
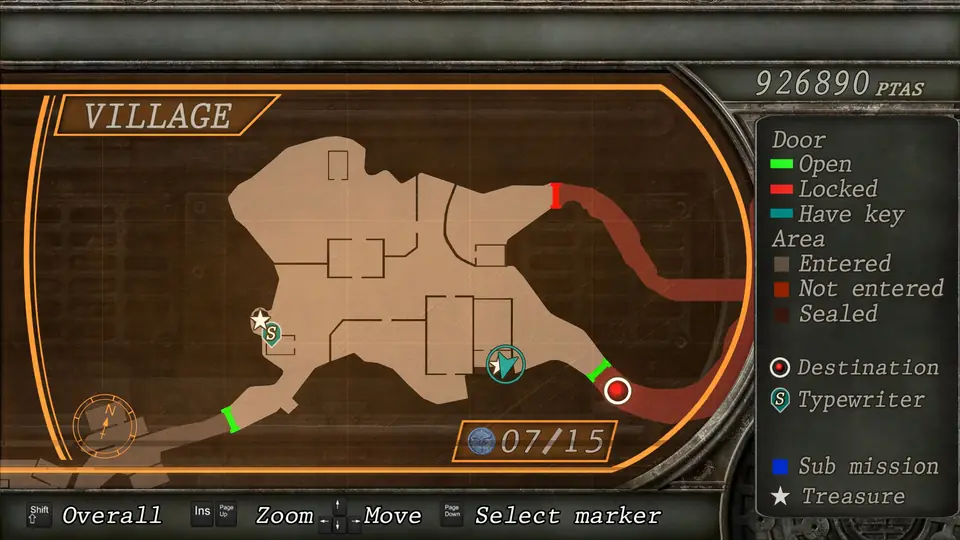
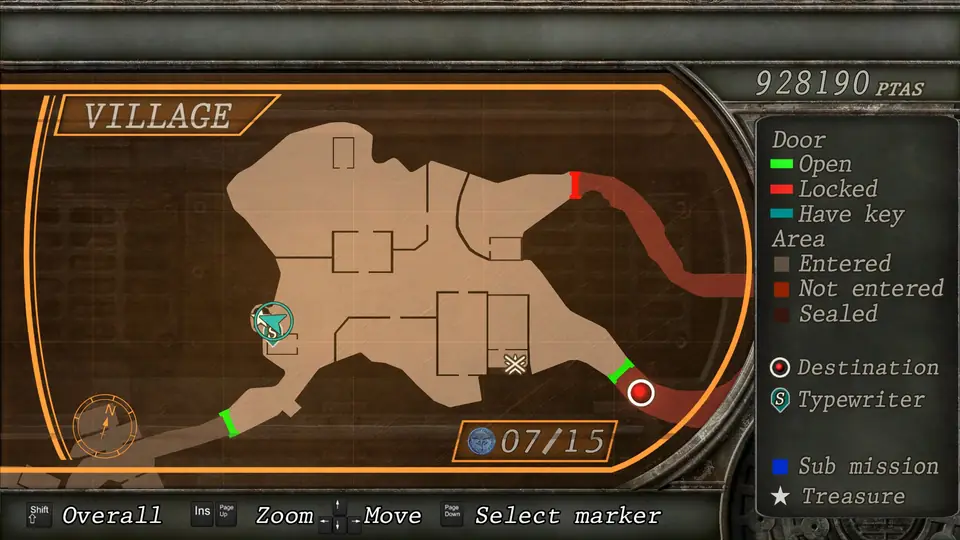
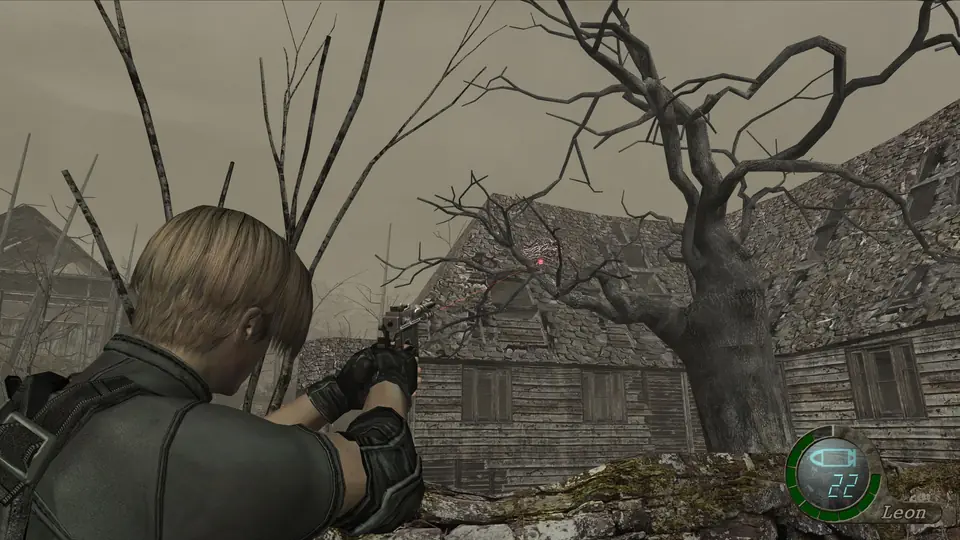
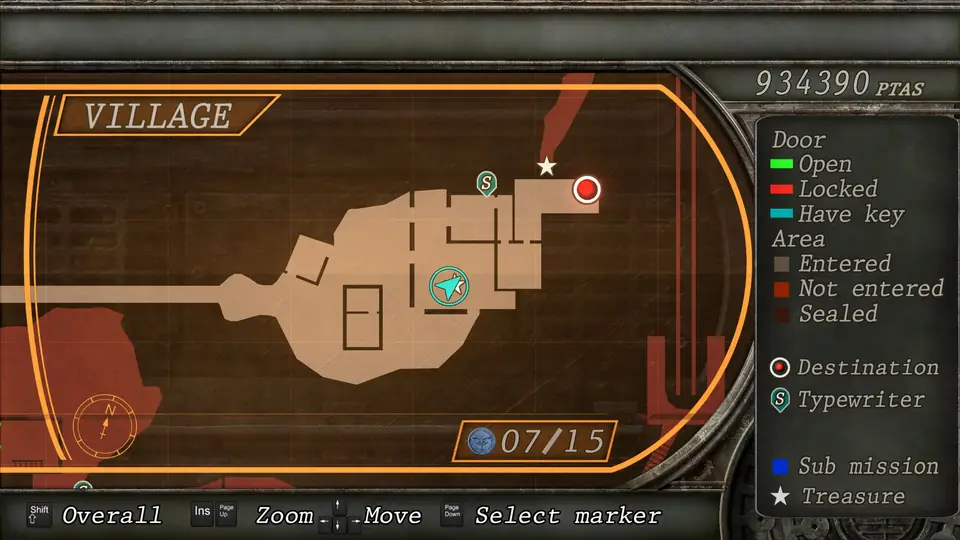
Chapter order: Hunter’s Lodge → path to the village (dog, bear traps, tripwires) → Village Square: siege until the bell (free Shotgun in the two-storey house; Dr. Salvador) → farm (7 medallions, Pearl Pendant, Beerstein) → boulder slope → tunnel (2 Spinels) → Homestead Ruins (dynamite throwers) → Old House yard (Red Catseye) → Old House: Luis in the wardrobe → Méndez.
Difficulty: this guide assumes Normal. On Easy you start with the Shotgun (there is none in the village) and shell boxes hold 25. On Professional there is no tactical vest and no dynamic difficulty: every shot counts.
You are Leon S. Kennedy, a government agent sent to a rural village in Spain to find Ashley Graham, the President’s daughter. The two policemen who drive you there stay in the car and you walk up alone. This chapter is the real tutorial: you learn to stop Ganados with head or knee shots and finish them with a kick, survive the village siege, loot the farm and end up in an old house where you meet Luis. There is no Merchant in 1-1 (the first one shows up at the start of 1-2), so everything you pick up is for selling later.
Before you start
- Saving: there are three typewriters: Shed 1 on the path to the village (before the square), the farm’s Shed 1 (next to the Pearl Pendant well) and the Old House front room, right before the end.
- Ammo: the Handgun and the knife are all you have until the village Shotgun. Aim for the head (they stagger and you can kick them) or the knees (they kneel and you finish them with the knife or a kick).
- What you lose if you don’t do it here:
- Free the dog from the bear trap by hand. If you shoot the trap it won’t help you against El Gigante in 2-1.
- The Ruby is carried by the Dr. Salvador at the farm gate, and he disappears if you enter the two-storey house first (see the siege).
- The clean Pearl Pendant (10,000pts): if it falls into the well’s water it becomes the Dirty Pearl Pendant (1,000pts).
- The farm’s 7 blue medallions: you need them for the Merchant to give you the Punisher for free in 1-3 (he asks for 10 and the other 8 are in 1-3). Shoot all 15 before talking to him and it also comes with a free firepower upgrade.
- Don’t sell the Beerstein when you reach the Merchant: this chapter’s Red Catseye is its first gem.
Hunter’s Lodge
After Hunnigan’s call in the car (Communication #1), walk up the trail. In front of you are 3 crows: two on the ground and one in a tree. The farthest of the ones on the ground drops a Spinel (the first of seven in this chapter). Shoot them from a distance before they fly off.
Go into the lodge. In the living room there is a villager with an axe: shoot him in the knee and finish him with the knife (or kick him when he staggers). When he dies Hunnigan calls again (#2) and outside a truck pushes the police car into the ravine. Three Ganados now wait in the front yard.
- Go upstairs: on the small table by the stairs there are 10 Handgun rounds.
- You can jump out of the upstairs window into the yard and fight them in the open, or wait at the lodge door and shoot them in the head one at a time as they come in. The key is not letting them surround you: shoot one, kick, back off.
Path to the village
The trail leaves the lodge heading east. In order:
- Shed 1 (typewriter): on the table, 10 Handgun rounds and the typewriter; a Green Herb in the small crates on the table and 1,000pts in a crate on the shelves. Save here.
- Two more crows: one on the warning signpost and one on the ground past the shed. The signpost one drops a Hand Grenade: worth it.
- The dog: in the clearing by the first “Pueblo” guidepost there are 3 bear traps; the dog is caught in one. Walk up and open it by hand (don’t shoot the trap). By the fence there is a Red Herb. Watch your step: the other two traps are still armed.
- Tripwires: in the clearing between Shed 1 and Shed 2 there are 2 tripwires between the trees and 1 bear trap on the ground. Shoot the tripwire bomb from a distance to clear it, or leave it and lure Ganados across: tripwires and traps work on them too.
- One Ganado waits by the second “Pueblo” guidepost, and two more at the entrance to the wooden bridge past Shed 2. On the bridge, kick them or wait for them to bunch up.
- Shed 2: 1,000pts in the big crate on the table and a Green Herb on the shelves. Shed 3: a Ganado inside and 10 Handgun rounds on the table.
At the edge of the village, before anyone spots you, you can look through the binoculars (optional scene): the policeman burning on the pyre and the villagers at work.
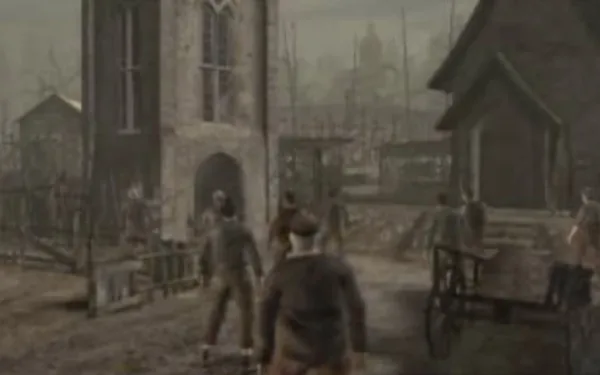
Village Square: the siege
When you enter, Hunnigan calls (#3) and hands you Playing Manual 2. As soon as a villager spots you the siege begins: Ganados keep coming until the church bell rings, and you can’t leave the square until then. After a few kills, a cutscene brings more Ganados. Sources disagree on what rings the bell: the RE Wiki speaks of a fixed number of kills (about 20) and other guides of holding out for a few minutes. In practice killing shortens the wait, so expect to fight. Trying to leave by the south or east exits during the fight spawns extra Ganados that don’t count toward that total.
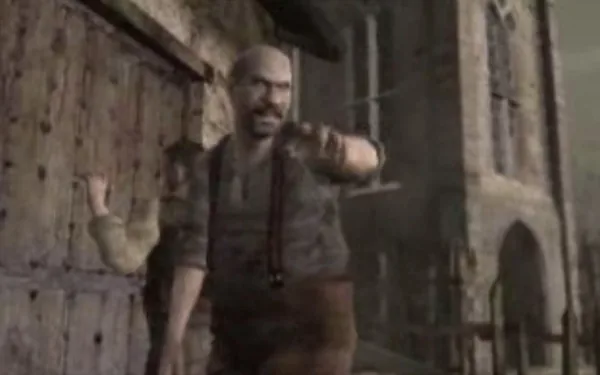
The two Dr. Salvadors (chainsaw). There are two, and which one you get is up to you:
- The one at the farm gate (north exit) waits there with two Ganados as long as you haven’t entered the two-storey house. He drops the Ruby.
- The two-storey house one: the moment you step inside, a cutscene plays, the house is surrounded and another Salvador appears. He drops money (between 5,000 and 10,000pts, depending on the source). He replaces the gate one: enter the house without having killed the first and the Ruby is gone.
- If you want both, kill the gate one first, then enter the house and kill the second.
The strategy for both is under “Boss — Dr. Salvador” below.
Where to hold out. Pick a spot with a single entrance and let them come in a line:
- Small House 2 (northeast corner). One door and no windows. At the back there is a padlocked door: shoot or knife the lock, and behind it, in the bedroom, you’ll find 5 shells in the crate on the table and 1,000pts on the bed. With the Shotgun in hand this room is the best place to hold out: shoot the doorway as they come in. Classic variant: throw a Flash Grenade, get into the cabin, shoot a gap open in the lower corner of the door, crouch and knife nonstop whoever shows up.
- Two-storey house (Main House). Inside, push the bookcase against the boarded window on the ground floor. Upstairs, push away the ladders the Ganados prop against the windows. One window lets you out onto the roof: there is a Spinel in the middle of the southeast roof and 10 Handgun rounds on the north chimney of Small House 1. Remember that entering here wakes up the second Salvador.
- The tower (north edge). A long ladder up, and at the top 5 shells on the table. Fine for a few shots, but stay too long and they pelt you with Molotov cocktails and you burn: climb up, fire a few shots and come down.
What to pick up in the square. Grab the Shotgun before breaking crates: it improves shell drops.
- Two-storey house: ground floor, 10 Handgun rounds on the northeast cabinet. Upstairs, the Shotgun hanging on the north wall (comes with 6 shells), a Hand Grenade in the northwest glass cabinet (smash the glass), 1,000pts on the northwest table and 5 shells on the bed on the south side.
- Small House 1 (next to the two-storey house): 10 Handgun rounds on the cabinet and an Incendiary Grenade in a crate on the table in the northeast corner.
- Old Building 2 (near the east exit): a Flash Grenade in the big crate.
- Small House 2: the padlocked bedroom (above).
- Outside: Green Herb on the northwest log pile; Red Herb in the crate behind Small House 1; 10 Handgun rounds behind the wooden structure attached to the Town Hall (east side); Green Herb in the lean-to on the east side of Small House 2; Red Herb on the cart behind Small House 2; Yellow Herb in the big crate on the south edge, behind the barn (combine it with a Green Herb: it raises max health).
- Storage Shed (north path toward the farm): 10 Handgun rounds on the table and the Alert Order file on the east wall.
The Town Hall door with the Los Iluminados symbol is locked: you’ll open it in 1-3 with the Insignia Key. Chickens → eggs (gold ones heal to max).
When the bell rings the villagers head off to the church and Hunnigan calls (#4). Pick up whatever is left and leave through the north gate toward the farm.
The farm (Farm Yard)
The farm is quiet if you don’t make noise. There are 3 Ganados in the yard (one by the Main Barn’s south entrance, one around the north side and one on the east side), 1 in the Cow Barn and 1 upstairs in the Main Barn. They don’t attack until you get close or fire, and the well shot alerts them: clear them first with headshots, or do everything from range. There are 3 chickens that lay eggs.
Farm Shed 1 (typewriter). On the west side, next to the well. Save before going after the treasures.
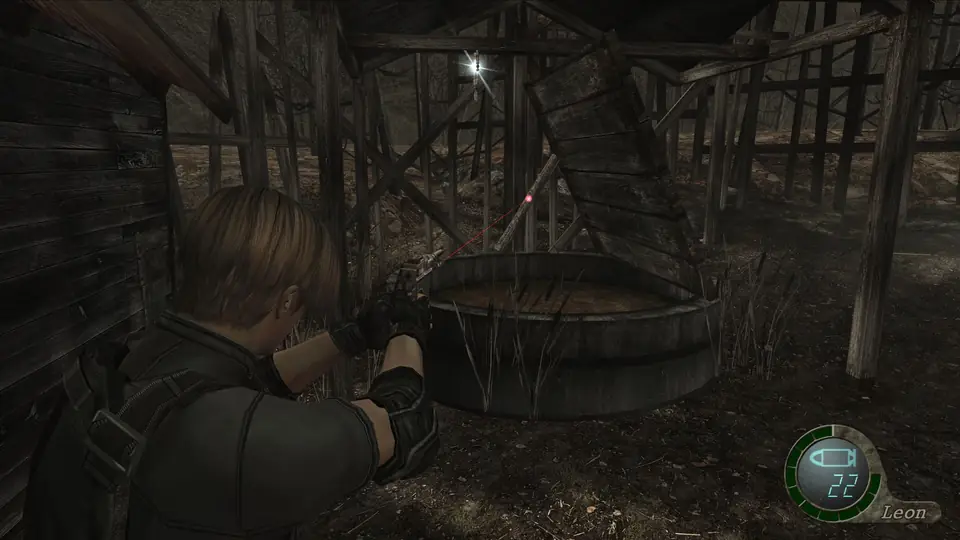
Pearl Pendant (well). It hangs from the roof of the well next to Shed 1. First shoot the small piece of wood holding the lid open: the lid closes. Then shoot the pendant, which lands on the lid: 10,000pts. If it falls into the water you get the Dirty Pearl Pendant (1,000pts). It’s the same trick you’ll use on the Brass Pocket Watch in 1-2.
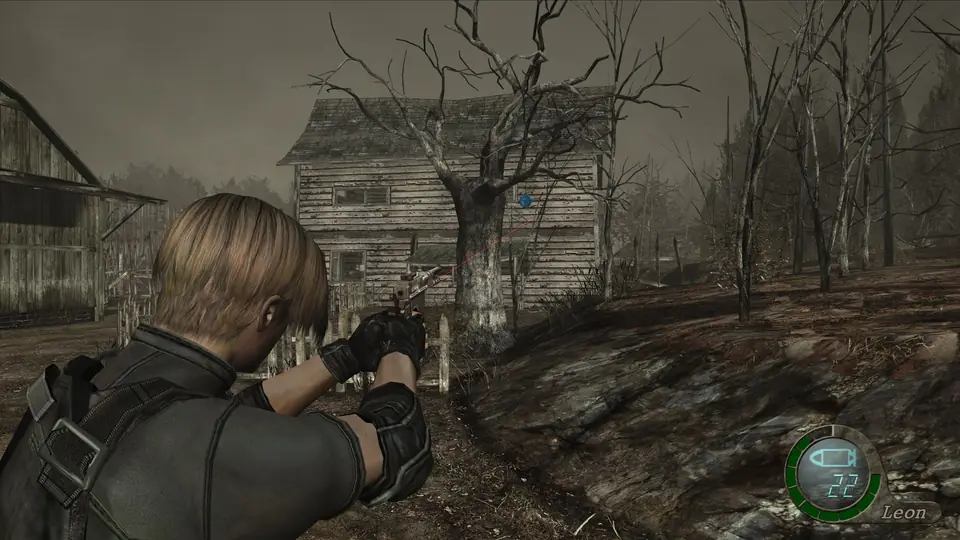
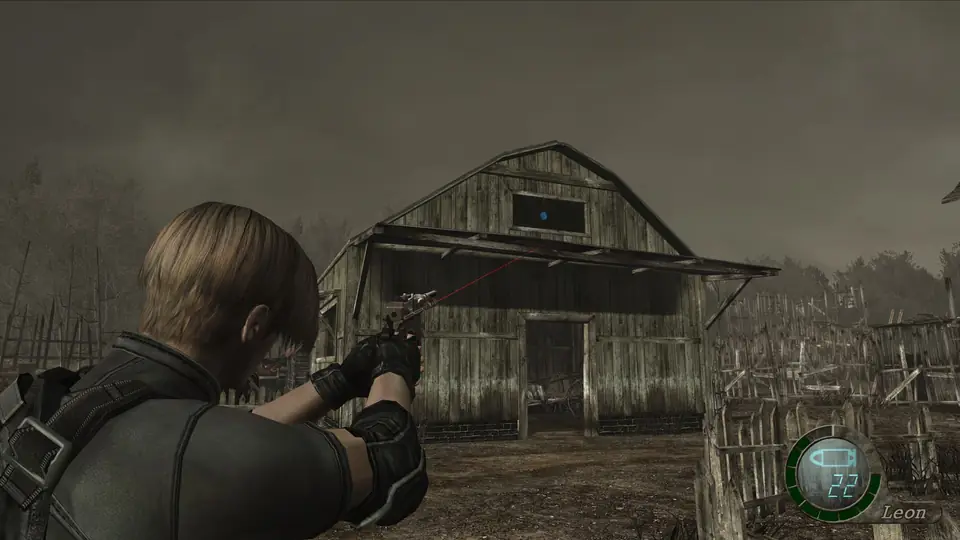
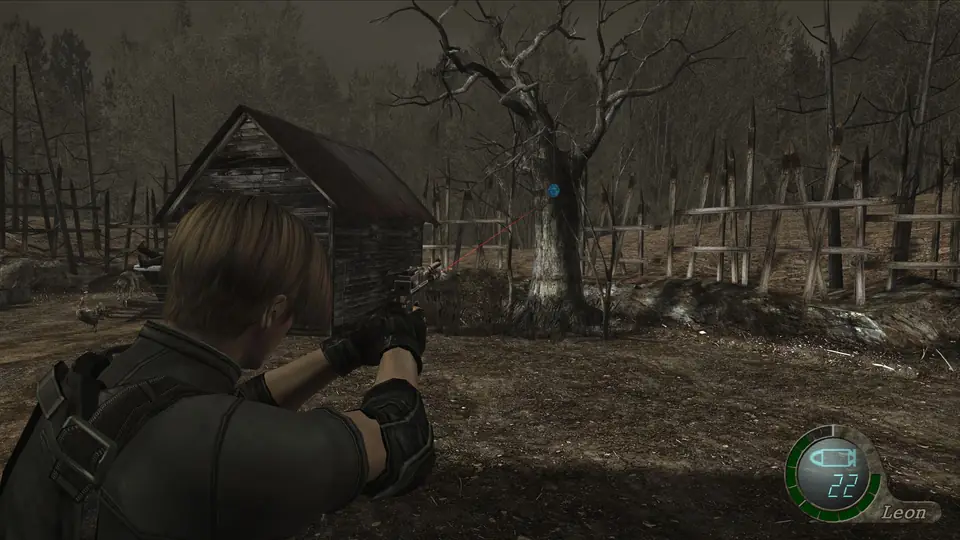
The 5 yard medallions (the note About the Blue Medallions is pinned to the trunk of the first one):
- Tree in the yard’s southern fenced area (the one with the note).
- Window frame of the Cow Barn, above its south doorway.
- Tree on the east side of Shed 2, in the north of the yard.
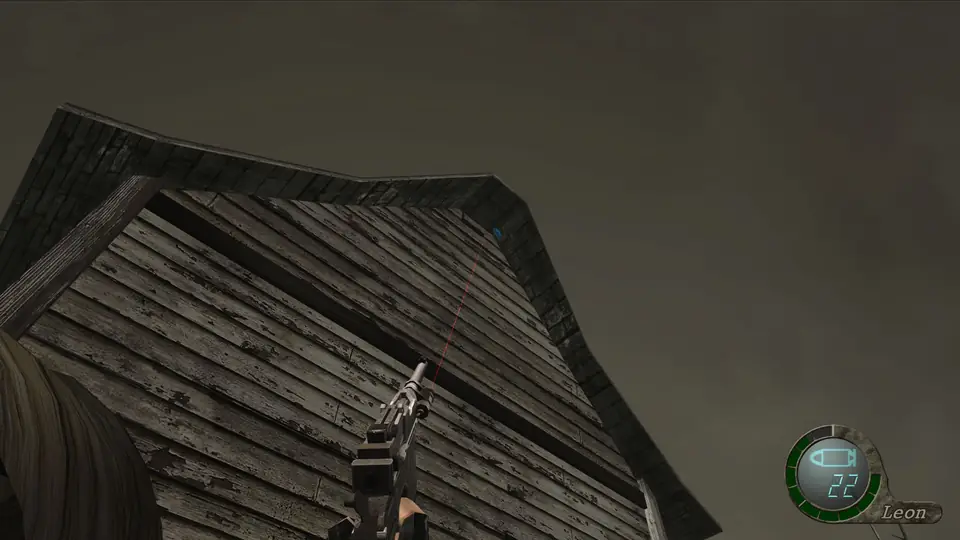
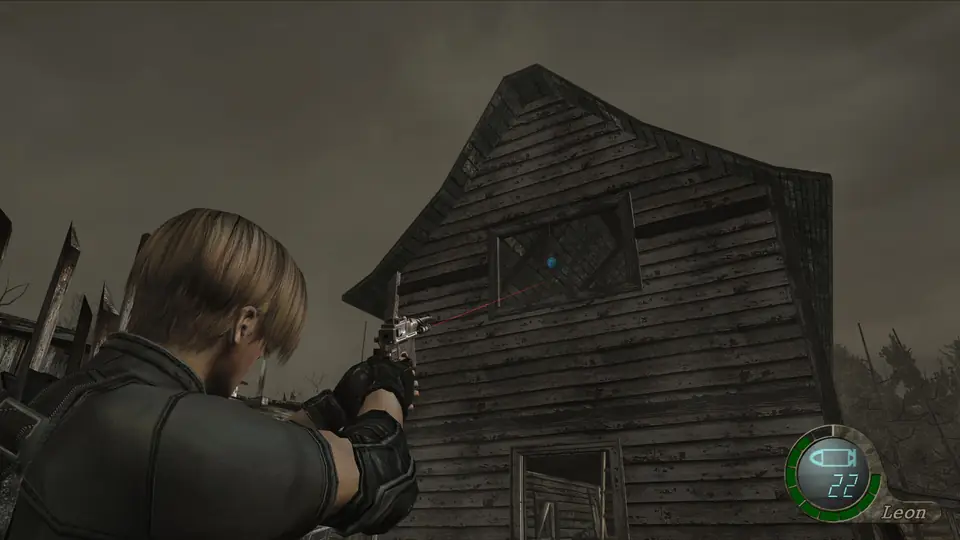
- Roof of the Main Barn, above its south doorway.
- Window frame of the Main Barn, above its north doorway.
Main Barn and the Beerstein. On the ground floor there are 3 bear traps by the ladder: knife them or walk around. Grab a Spinel in the small cabinet in the northwest corner, 1,000pts in the cabinet in the southwest corner and another 1,000pts in a barrel in the southeast corner. Go up: one Ganado and 10 Handgun rounds in the cabinet in the southeast corner. Then jump out of the upstairs window onto the wooden Upper Walkway and drop into the Main Barn Storage fenced area: the Beerstein is in the small breakable crate. Keep it: it takes this chapter’s Red Catseye and two more gems.
More items: an Incendiary Grenade in the barrel behind Shed 2 (north side).
Farm exit (2 medallions):
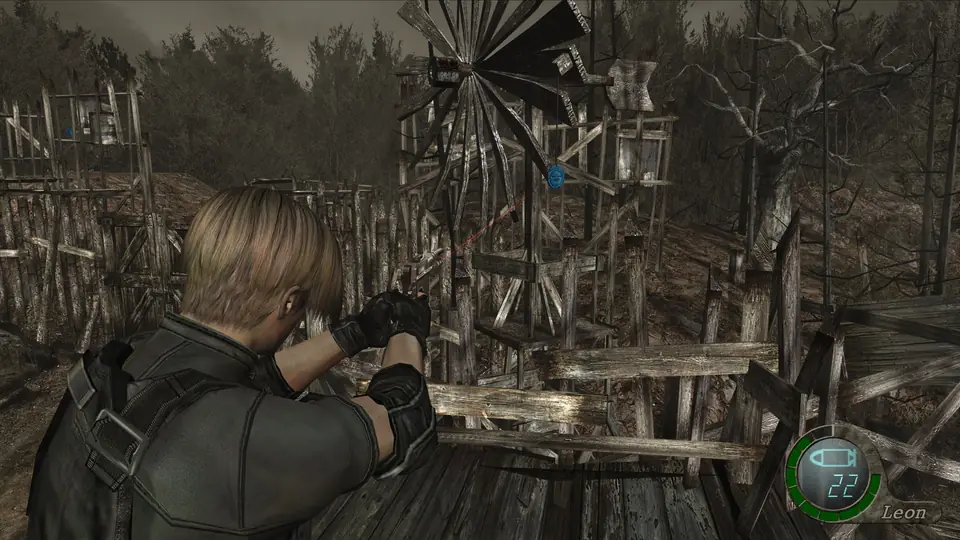
- Hanging from the windmill, on the south side.
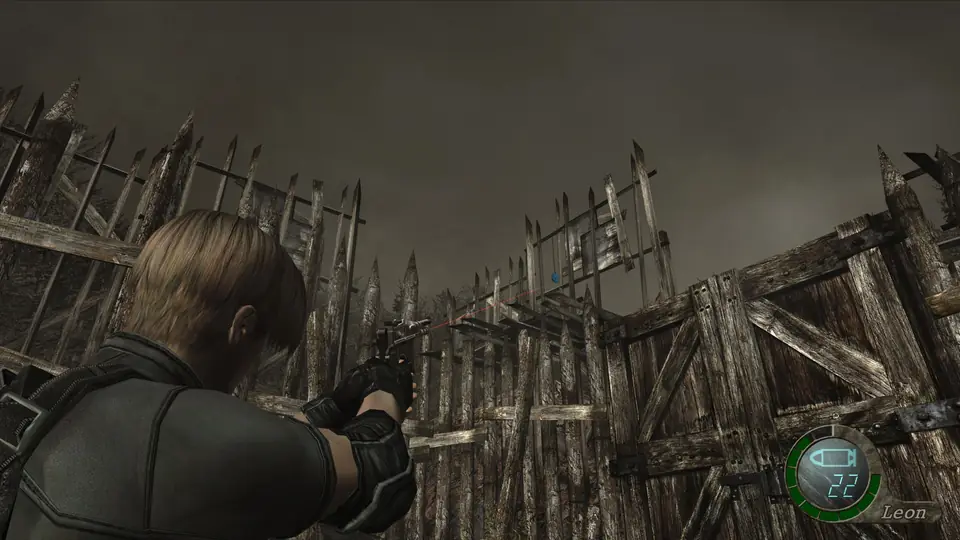
- On the fence above the locked door to the Abandoned Cabin Path (that door opens in chapter 2).
In Shed 3 there is a Spinel in the small crate on the table. Before moving on, check you have 7/7 medallions: without them the free Punisher in 1-3 is impossible.
Boulder slope and tunnel
Head down the path toward the ruins. Halfway down, Ganados push a boulder off the cliff: QTE. Mash the prompted button to run and, when the two buttons appear, press them together to dive aside. Fail and the boulder crushes you and you restart at the top of the slope. Afterwards 2 Ganados appear on the bridge above the path.
In the tunnel, look at the ceiling: 2 Spinels are embedded in it. Shoot them down.
Homestead Ruins
Here the Ganados throw dynamite from the ruined buildings. There are 2 outside (one in front of the Dilapidated Building and one in the clearing to the north) and 3 bear traps in front of the building’s west side. Keep moving (dynamite takes a moment to go off) and shoot the stick while it’s still in their hand: it blows up on them and takes out the ones nearby.
- Dilapidated Building: 2 Ganados, one in the north room and one in the south room. Hand Grenade on the table in the southwest corner of the north room.
- Homestead Ruins Shed: a tripwire runs the length of the shed and there is a bear trap on the floor. Shoot the wire from outside before going in. In a small crate on the shelves, a Spinel.
Old House
Yard. In the nest in the tree in the southwest corner is the Red Catseye. Shoot the nest and pick it up. Combine it with the Beerstein now (worth 10,000pts with one gem; the green one comes in 1-3 and the yellow in 2-3).
Front room (typewriter). The typewriter is on the table in the northeast corner, 10 Handgun rounds on the middle table and 1,000pts in the cabinet in the southeast corner. Save here: it’s the last point before the end.
Corridor. A tripwire crosses the middle of the corridor and there’s no way around it: shoot it from a distance.
Dining room. Another tripwire in the middle of the room: shoot it too. 1,000pts on the table and a Green Herb in the cabinet in the southwest corner. To go on, push the dresser that hides a passage: the back room is behind it.
Back room. Someone is banging inside a wardrobe in the northeast corner: examine it and Luis Sera comes out. Méndez shows up right away, knocks you out and the chapter ends. Pick everything up before opening the wardrobe.
Boss — Dr. Salvador (chainsaw)
One touch of the chainsaw = decapitation. The RE Wiki gives chainsaw men between 3,000 and 6,000 HP depending on the individual, so don’t expect to drop him with the Handgun.
- What knocks him down: a point-blank Shotgun blast (ideally to the head), a Hand Grenade or an Incendiary Grenade. When he falls, knife him on the ground and back off before he gets up; repeat.
- What stuns him: a Flash Grenade or a headshot. Use it to knife or kick him.
- Never stay in his reach after firing: turn and run to open distance; in the siege, having him in the same room as other Ganados is the most dangerous situation.
- Reward: the gate one drops the Ruby; the two-storey house one, money (see the siege).
Before opening the wardrobe
- Shotgun (and the Hand Grenade from the glass cabinet).
- 7/7 medallions from the farm.
- A clean Pearl Pendant.
- Beerstein with the Red Catseye set in it.
- The Ruby (gate Salvador) or the house Salvador’s money.
- 7 Spinels: starting crow, two-storey house roof, Main Barn, farm Shed 3, 2 in the tunnel and the ruins shed.
- The Alert Order and About the Blue Medallions files.
- The dog freed by hand.
- Game saved in the Old House.